How to Restore Antique Books Using Book Glue :Professional Guide
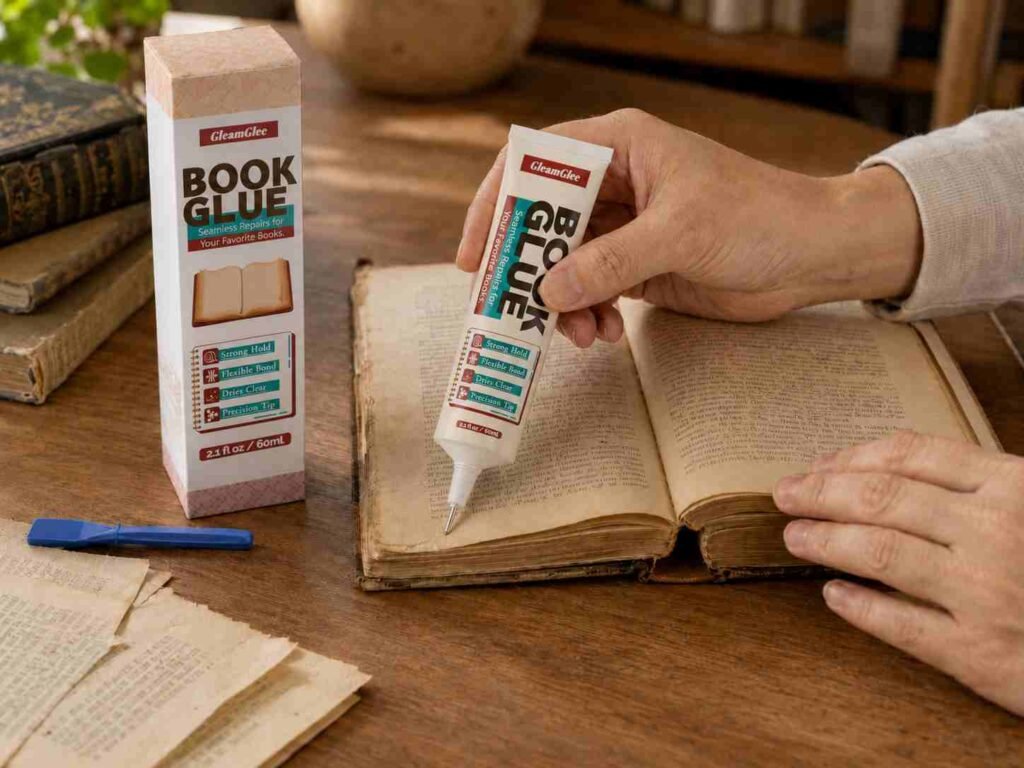
To restore antique books using book glue, first check whether the paper is still flexible and clean enough for repair. Then use a clear, flexible book glue in a very thin line on the loose page, cracked spine, or lifted cover. Press the part into position gently, protect nearby pages with wax paper, and let the book dry flat under light weight. Valuable, brittle, moldy, or rare books should be reviewed by a professional before any glue is applied.
How to Remove Sticky Residues from Shoes : Expert Cleaning Guide
To remove sticky residues from shoes, identify the material first, remove loose residue gently, test the cleaner on a hidden area, soften the sticky film, brush lightly, wipe with a microfiber towel, and air dry naturally. Rubber soles can handle more cleaning pressure, while suede, leather, mesh, and canvas need lighter moisture and softer tools.
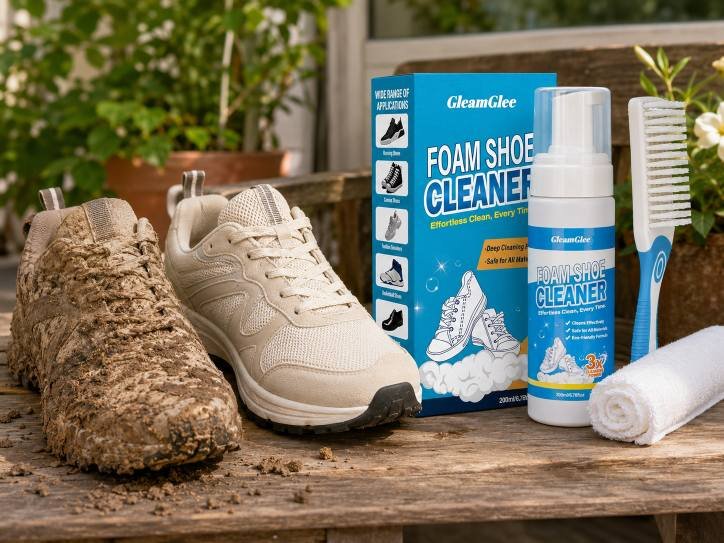
How to Remove Mud Stains from Outdoor Shoes : Smart Cleaning Guide
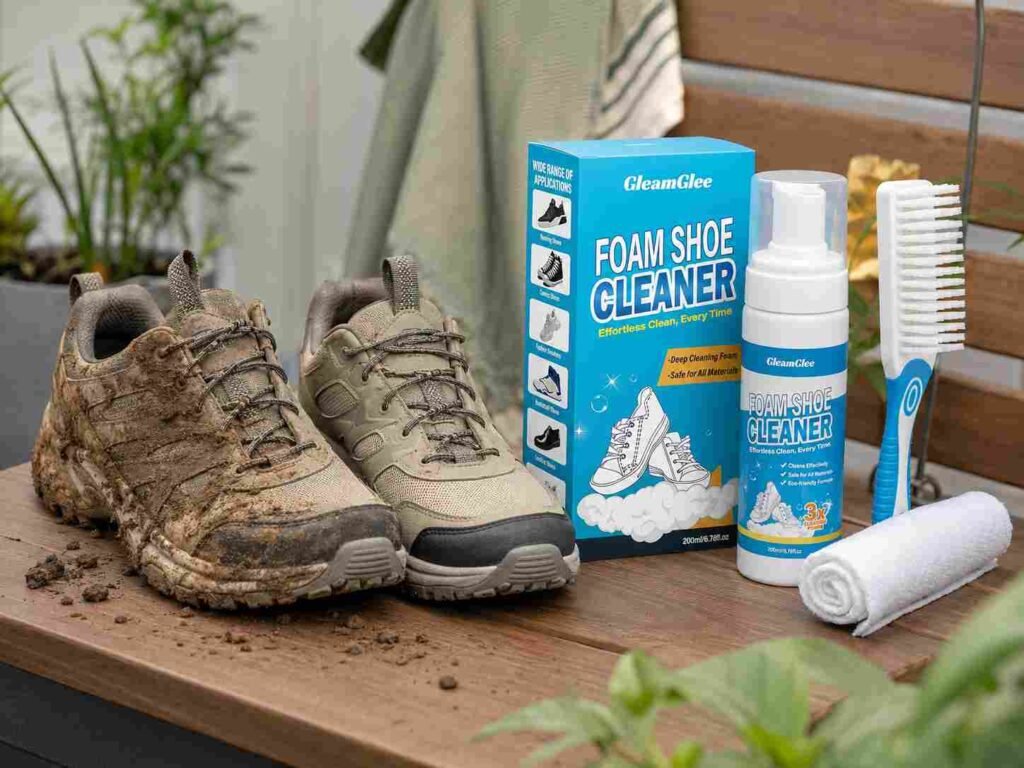
The safest way to remove mud stains from outdoor shoes is to let thick mud dry first, brush away loose dirt, apply a gentle foam shoe cleaner, scrub by material, wipe with a microfiber towel, and air-dry the shoes naturally. This method removes dirt without soaking the upper or damaging delicate surfaces.
How to Repair Leather Straps on Bags: Complete Home Guide
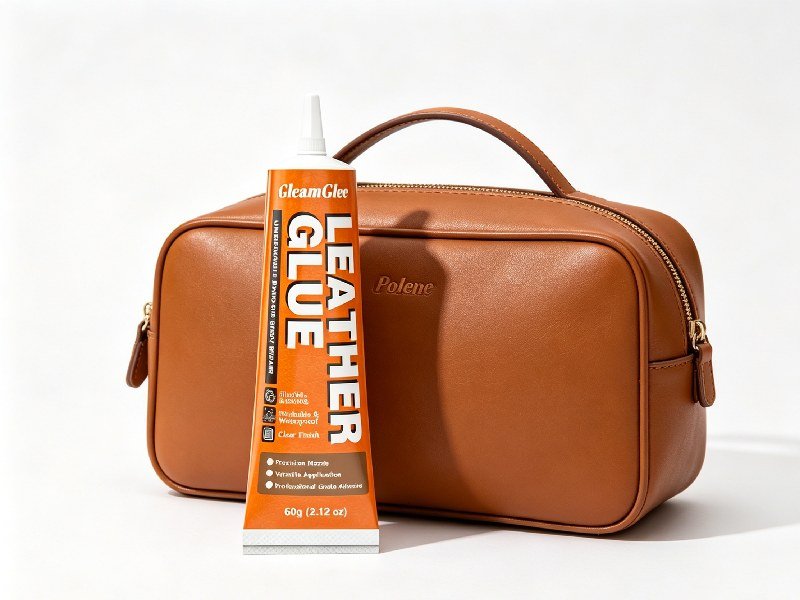
To repair leather straps on bags, clean the damaged area, remove loose dirt or old glue, apply a thin layer of flexible leather glue, press the strap firmly, hold it flat with clips or tape, and let it cure fully before carrying weight. Clear, flexible, waterproof leather glue is usually better than hard super glue because bag straps bend, pull, and rub during daily use.
How to Fix Leather Jackets at Home: Expert Repair Guide

Leather jacket repair at home begins with careful inspection of the damage, cleaning the affected area, trimming loose fibers, applying a flexible leather adhesive, pressing the patch, and allowing it to cure fully. With a structured approach, even minor tears, lifting edges, or cracked trims can be restored to look neat and maintain durability.
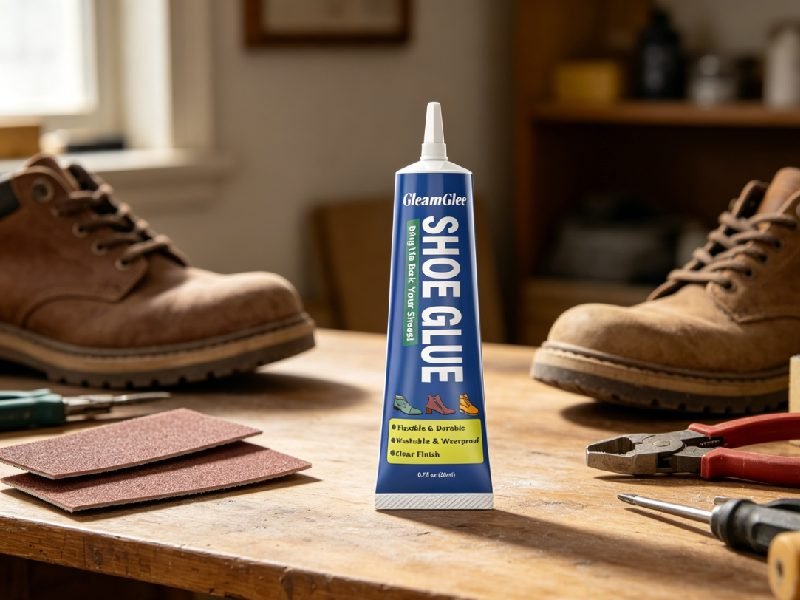
How to Fix Worn Out Shoes: A Shoe Adhesive Guide
To fix worn out shoes using shoe adhesive, clean and dry the damaged area, lightly sand both bonding surfaces, apply a thin layer of flexible waterproof shoe adhesive, press the parts together firmly, hold them with rubber bands or clamps, and let the repair cure for at least 24 hours before wearing. A good repair depends on surface preparation, pressure, and full curing time.
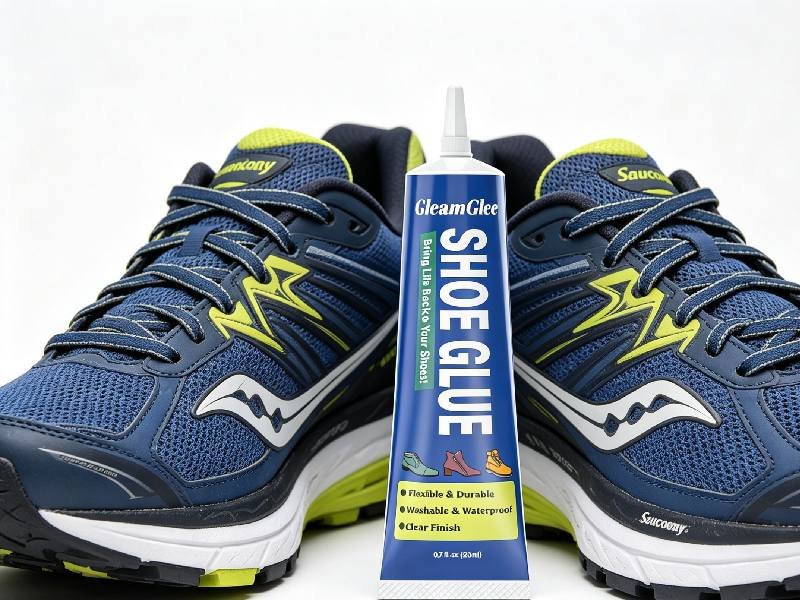
How to Restore Vintage Sneakers Using Shoe Glue: A Practical Repair Guide
Vintage sneakers are not just old shoes. For many people, they are a pair from college, a discontinued colorway, a rare thrift find, a collector piece, or the first style that made them love sneakers. The upper may still look good, the stitching may still hold, and the logo may still have that original charm. Then one day, the sole starts opening at the toe, the sidewall pulls away, or the insole curls up after years in storage. That small separation can feel like the end of the pair, but in many cases, it is still repairable with the right shoe glue and a patient process.
How to Fix Stretch Fabrics : A Guide for Fabric Glue Repairs
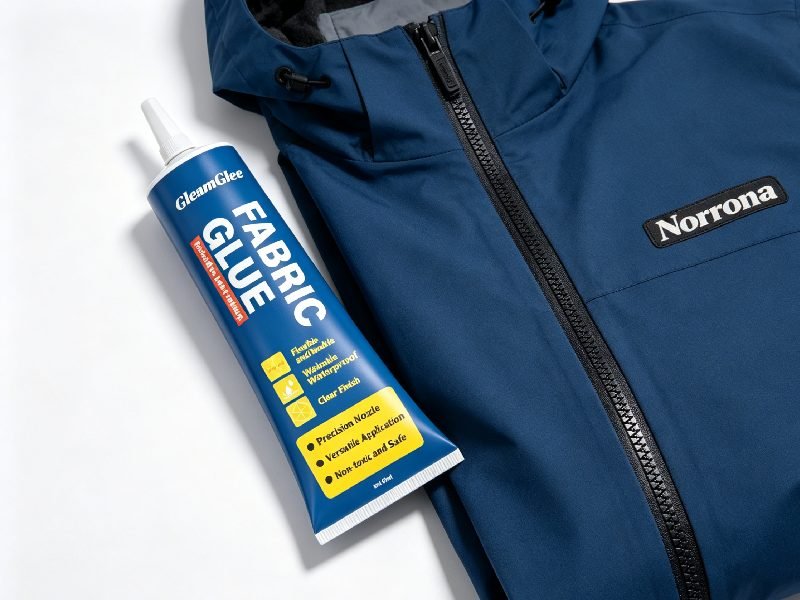
To fix stretch fabrics using fabric glue, clean and dry the fabric, keep the damaged area flat without stretching it, apply a thin layer of flexible fabric glue, press the repair firmly, let it set for 6–10 minutes, and allow 24 hours for full curing before washing or ironing. For weak or high-stretch areas, add a matching backing patch.
How to Make Custom Patches Using Fabric Glue : A No-Sew Guide

A custom patch can do more than cover a hole. It can turn an old denim jacket into a personal piece, save a pair of jeans from the trash, upgrade a backpack, add a logo to a work apron, or make a school costume look finished without hours of sewing. Fabric glue makes this possible because it gives fabric a direct bond without thread, needles, or a sewing machine. The difference between a patch that looks handmade in a good way and one that peels after two washes usually comes down to five things: fabric choice, glue amount, edge control, pressure, and curing time.
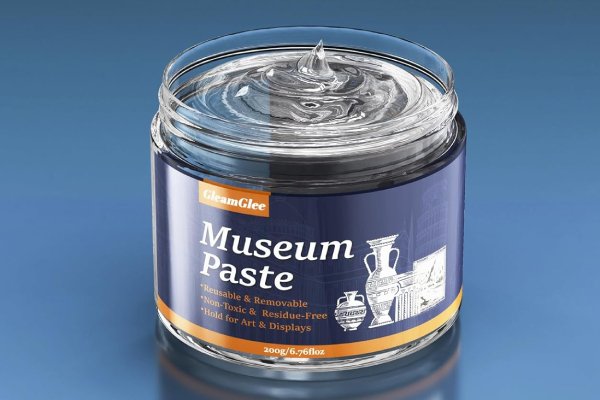
How to Use Museum Gel : A Guide for Display Stability
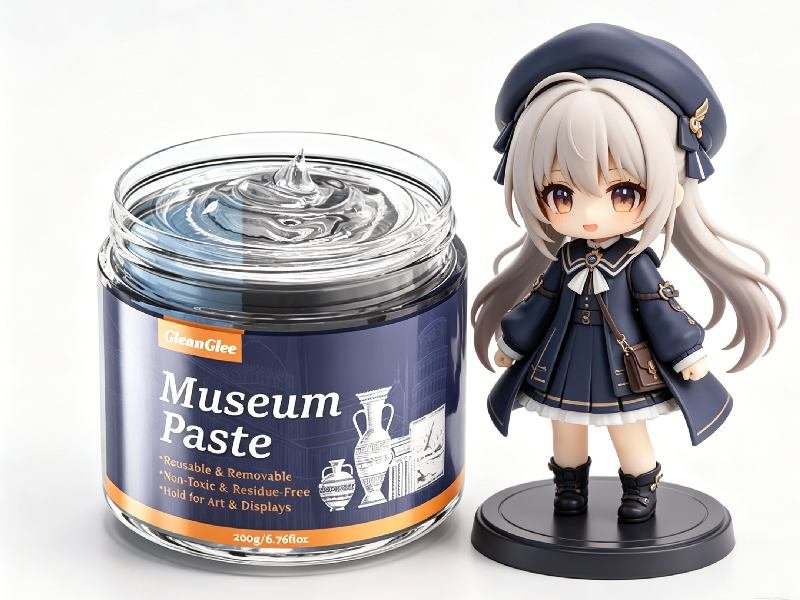
A display does not need to fall loudly to become a problem. Most display damage starts with small movement: a vase shifts a little when the table is wiped, a figurine slides forward each time a cabinet door closes, or a glass ornament slowly moves closer to the shelf edge. Smooth décor on smooth furniture […]