How to Identify Patch Backing Types: A Visual Guide
This guide is written for ordinary clothing owners, craft users, uniform families, collectors, costume makers, repairers, and anyone who has a patch in hand but no longer has the original packaging. The goal is not to memorize industry vocabulary. The goal is to help you look at the back of a patch, recognize the strongest clues, understand which clues are only suggestive, avoid destructive tests, and move from identification to a sensible attachment method. In textile-adhesive work, the most expensive mistakes often happen before the adhesive is even opened: a glossy surface is misread, a heat-sensitive garment label is ignored, or a stiff structural layer is mistaken for a meltable glue film. Good identification prevents all three.
Fast Way to Attach Multiple Patches: A Practical DIY Guide
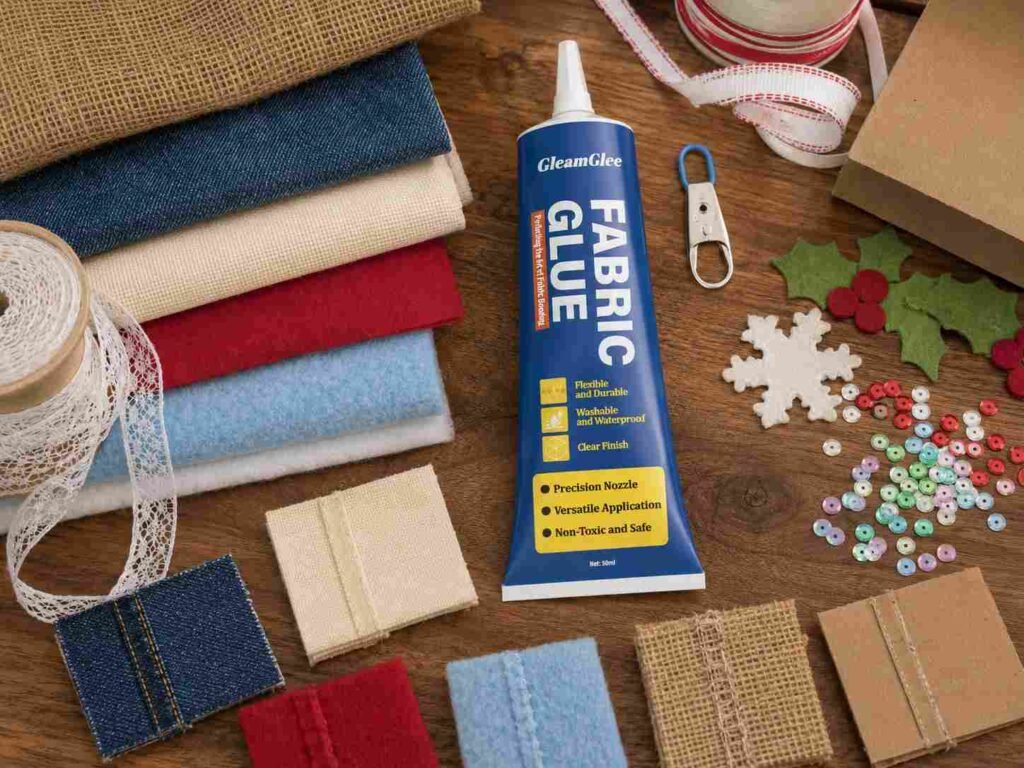
For most home projects, the practical rule is simple: batch everything that can safely be batched, including sorting, layout, numbering, measuring, surface preparation, and final inspection. Bond several patches together only when the selected method can give every patch the required conditions. Heat-seal patches may be processed quickly with a suitable heat press when time, temperature, pressure, and platen contact are consistent. Plain fabric-backed patches may be faster with a flexible textile adhesive, while frequent-wash uniforms or high-motion locations often justify machine or edge stitching even when adhesive is used for positioning.
Fast Way to Attach Multiple Patches: A Practical Batch Guide
The fastest reliable approach is therefore not simply “use glue” or “use an iron.” It is to plan all patches before permanently attaching any of them, identify the backing of each patch, group patches that use the same attachment method, prepare the garment in batches, work one flat garment zone at a time, and separate active application time from curing or cooling time. This batch approach is also the central recommendation in the supplied user-problem research for multiple-patch projects.
How Long to Wait before Washing Fabric Glue:A Safe Guide
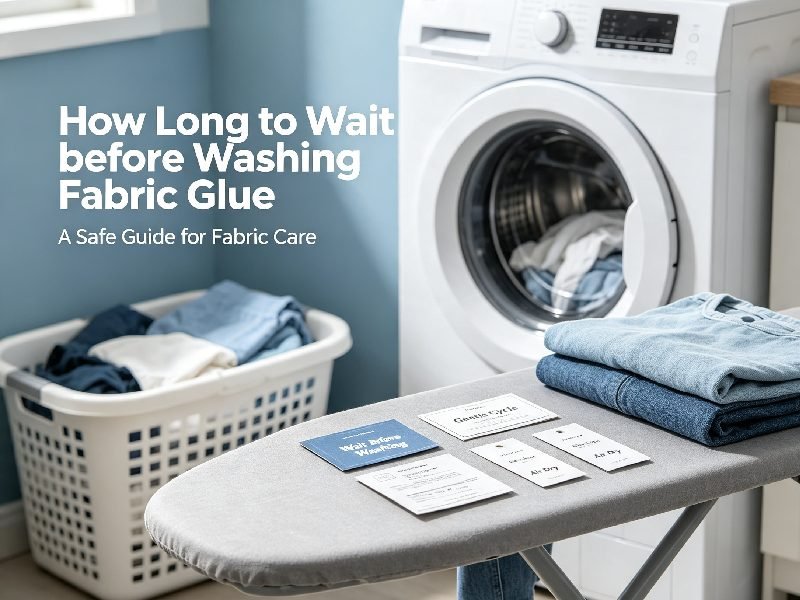
A fabric repair can look finished surprisingly quickly. The hem stays folded, the patch no longer slides, the adhesive becomes clear, and a fingertip may no longer pick up wet glue. Those visual changes often create the impression that the garment is ready to return to normal life. Washing, however, is a much more demanding event than touching a repaired area on a table. Water penetrates the textile, detergent surrounds the fibers, the washer bends and moves the fabric repeatedly, and spinning or drying adds further mechanical stress. A bond can therefore look perfectly dry while still being too early in its curing or laundering schedule.
Fabric Repair Method by Fabric Type: A Practical Guide
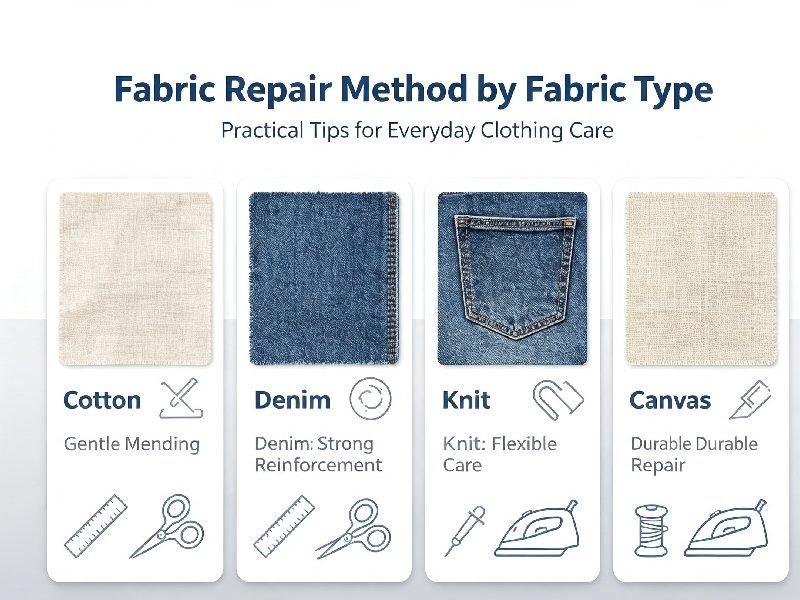
A dependable repair therefore starts with diagnosis rather than glue, thread, or a patch. The most useful sequence is identify the textile → inspect the damaged structure → judge movement and stress → select the least disruptive suitable repair → test compatibility → repair → allow the repair to stabilize or cure → return the item to normal care gradually. This approach is especially important for clothing because a visually closed tear can still fail if the new repair is much stiffer than the surrounding cloth, while an apparently strong seam can damage weakened fibers immediately beside it.
How to Iron Clothes After Fabric Repair: A Practical Guide
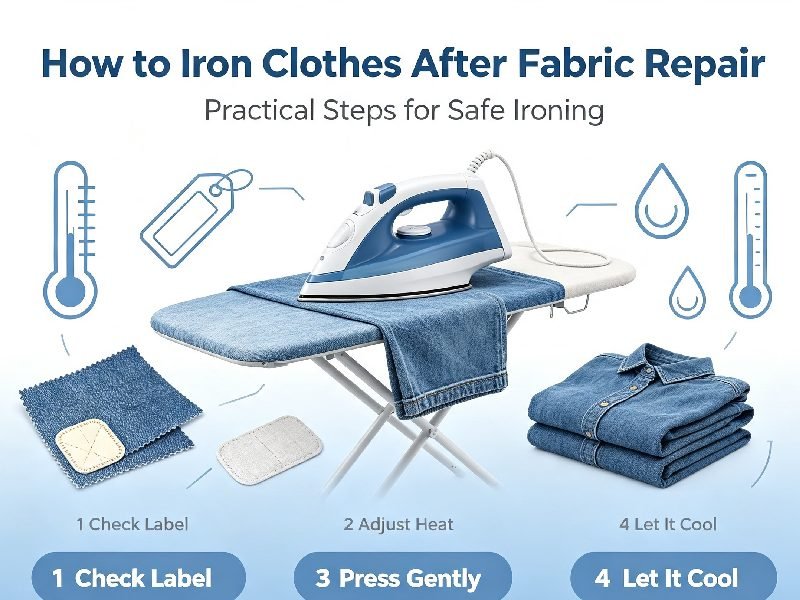
Fixing a loose hem, patch, cuff, small tear, trim, or lining edge is only part of bringing a garment back into normal use. The next challenge often appears when the repaired clothing becomes wrinkled and needs ironing. At this point, many people hesitate because the repaired area is no longer made from a single piece […]
How to Iron Clothes After Fabric Repair: A Practical Guide
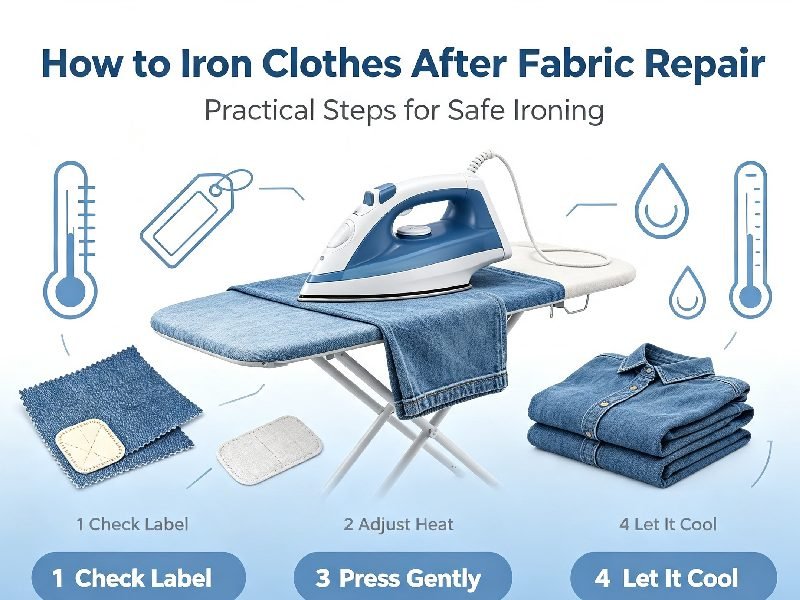
The safest approach is not complicated once the decisions are made in the correct order. First identify how the clothing was repaired. Next, confirm whether any adhesive has reached its full-cure or manufacturer-specified heat-ready stage. Then read the original garment care label and check any patch, tape, decoration, backing, or repair material added during the repair. If those instructions differ, work within the most restrictive limit rather than choosing the highest temperature one material can tolerate. This simple hierarchy prevents many avoidable mistakes.
Fabric Glue for Cotton Clothes: A Practical Repair Guide
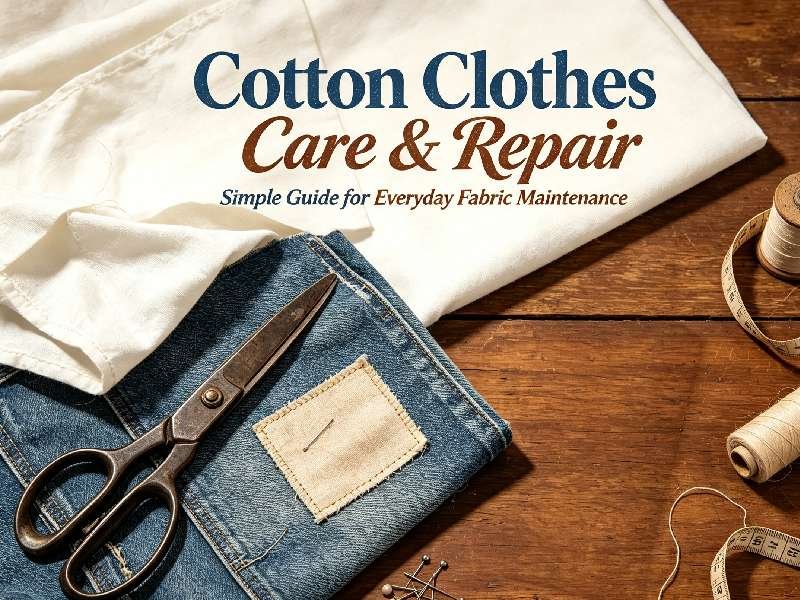
Fabric glue can provide a practical no-sew solution for many cotton clothing repairs when the adhesive is specifically formulated for textiles and the damaged area does not carry heavy structural loads. Hems, patches, appliqués, decorative trims, badges, and some localized tears are common examples. A permanent clothing adhesive should do more than merely stick two surfaces together: it needs to remain reasonably flexible after curing, tolerate the intended laundering method, and avoid creating a conspicuous hard or dark patch on the garment.
How to Keep Fabric Repairs Flexible: A Complete Repair Guide
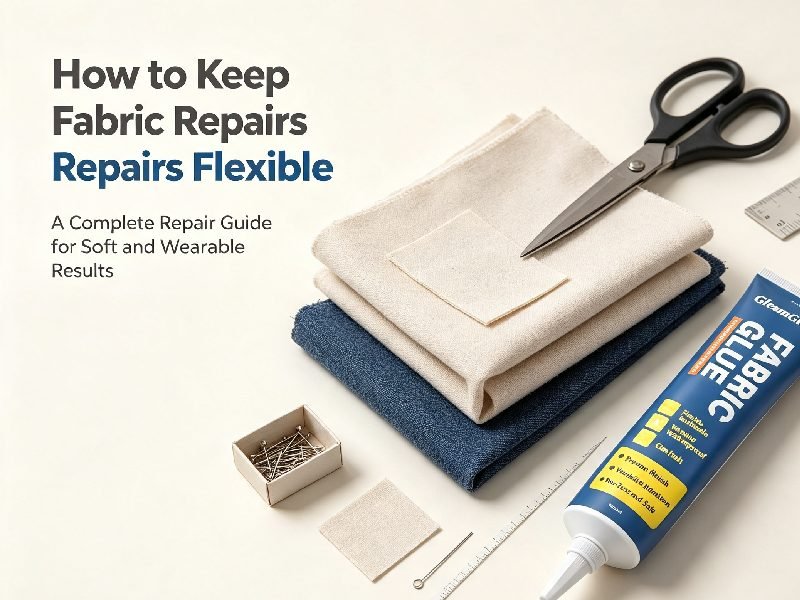
After many years of working with adhesive applications, one lesson becomes especially clear: flexibility problems rarely come from one cause alone. A soft textile adhesive cannot compensate for a rigid patch, an oversized reinforcement, the wrong stretch direction, or a repair placed across a heavily loaded seam. In the same way, a perfectly selected patch can still become uncomfortable when it is saturated with too much adhesive. The best results come from treating the repair as a complete system made of fabric, patch or reinforcement, adhesive or stitches, repair geometry, curing conditions, and later washing or ironing.
How Long to Wait Before Ironing Fabric Glue: A Trusted Guide
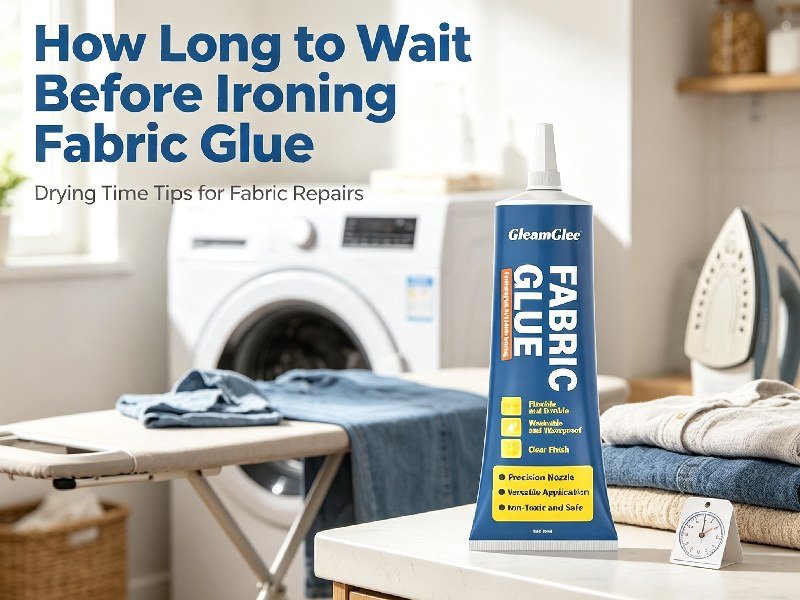
The most reliable household routine is therefore simple: identify the exact adhesive, record when the final bonded section was completed, wait for its product-specific cure or ironing period, read the clothing care label, use the least aggressive permitted heat, protect sensitive surfaces, and inspect the repair again after cooling. Following this order prevents two common mistakes at once—ironing an adhesive before it is ready and using a heat level the garment was never designed to tolerate.