 Skip to content
How to Make Fabric Crafts in Batches: A Step-by-Step Guide

To make fabric crafts in batches, approve one master sample, calculate materials from its measured requirements, and sort every component into labeled kits. Complete one operation across a manageable group—preparing, cutting, marking, sewing or gluing, pressing, decorating, curing, inspecting, and packing—before moving forward. Check the first piece after every irreversible operation so one mistake is not repeated across the entire batch.
How to Join Different Materials in Fabric Crafts: Easy Guide

After more than two decades of working with adhesive formulation, surface preparation, application control, and material testing, I have seen many projects fail for a reason unrelated to the advertised strength of the product. The maker selected one joining method for the entire craft without separating the individual material pairs. A decorated tote bag, for example, may contain canvas joined to felt, felt joined to rhinestones, canvas joined to ribbon, and canvas joined to a metal ring. Those are four separate joints with four different risks.
How to Attach Small Embellishments to Fabric: A Simple Guide

Use a flexible fabric adhesive in the smallest effective amount for light, flat-backed embellishments on clean, dry, low-stress fabric. Sew items with holes, significant weight, high value, or a location exposed to repeated bending and rubbing. Use hot-fix only when the embellishment has a heat-activated backing and the fabric safely tolerates heat. Test a sample first, keep adhesive away from any future needle path, and allow the selected product to reach its stated full cure before wearing or washing the item.
How to Attach Patches to a Backpack Without Damaging It: An Expert Guide

The dependable approach starts by examining the whole attachment system: the outer fabric, any coating or foam underneath it, the patch backing, the position of the patch, the expected wear, and the way the bag will be cleaned. Once those factors are clear, sewing, fabric glue, hook-and-loop, controlled heat, or a purpose-made gear patch becomes a practical decision instead of a guess.
How to Wash Clothes with Fabric Patches: A Practical Guide

Clothes with fabric patches can usually be washed, but the safest method depends on more than the patch visible from the outside. A denim jacket with a securely sewn embroidered badge can tolerate a different routine from a T-shirt carrying a fresh glue-on patch, while a peel-and-stick badge may not belong in water at all. Before choosing a cycle, look at the garment care label, identify the patch backing or attachment method, and confirm whether any adhesive has reached its full cure time. These three checks prevent most avoidable lifting, distortion, color transfer, and heat damage.
How to Sew a Patch Without Visible Stitches: A Clean Guide

For most flat embroidered or fabric patches, the best approach is to hide the starting knot beneath the patch and secure the perimeter with tiny appliqué, fell, or slip-style stitches. Each stitch should catch only a few fibers of the garment and a small amount of the patch’s underside or finished border. A ladder stitch remains useful for closing an opened lining, but it is not automatically the best stitch for every flat patch.
How to Position Multiple Patches on Clothing: A Practical Layout System

Placing one patch is a location decision. Placing five, ten, or twenty patches is a composition problem. The difficulty is not simply choosing a chest, sleeve, or back panel; it is deciding which patch should attract the eye first, how much open fabric should remain between pieces, how bright and dark designs should be distributed, how seams and pockets affect usable space, and whether the arrangement still works after the garment wraps around a moving body. A strong result therefore begins with a complete dry layout before any patch becomes permanent. In professional textile-adhesive practice, one rule repeatedly proves useful: solve the position first and solve the attachment method second. A patch can be sewn perfectly or bonded perfectly and still look wrong if the underlying layout was never properly tested.
How to Identify Patch Backing Types: A Visual Guide
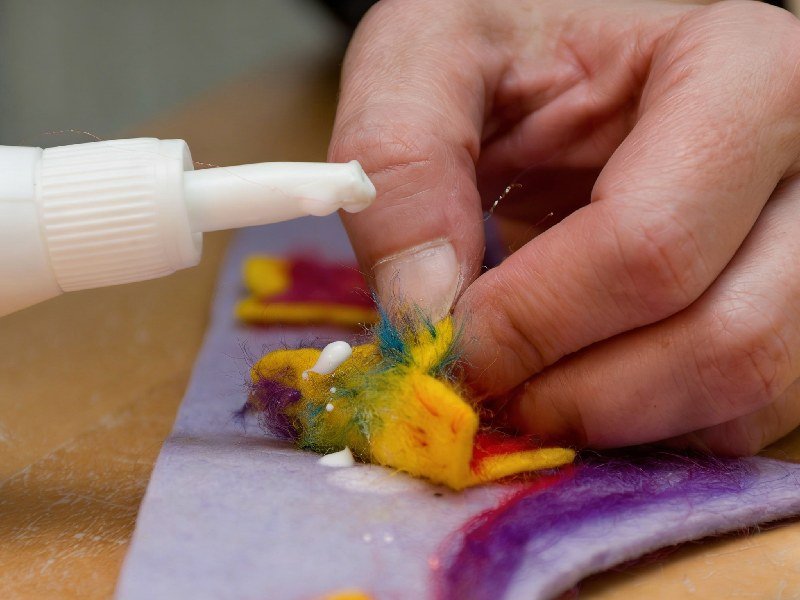
This guide is written for ordinary clothing owners, craft users, uniform families, collectors, costume makers, repairers, and anyone who has a patch in hand but no longer has the original packaging. The goal is not to memorize industry vocabulary. The goal is to help you look at the back of a patch, recognize the strongest clues, understand which clues are only suggestive, avoid destructive tests, and move from identification to a sensible attachment method. In textile-adhesive work, the most expensive mistakes often happen before the adhesive is even opened: a glossy surface is misread, a heat-sensitive garment label is ignored, or a stiff structural layer is mistaken for a meltable glue film. Good identification prevents all three.
Fast Way to Attach Multiple Patches: A Practical DIY Guide
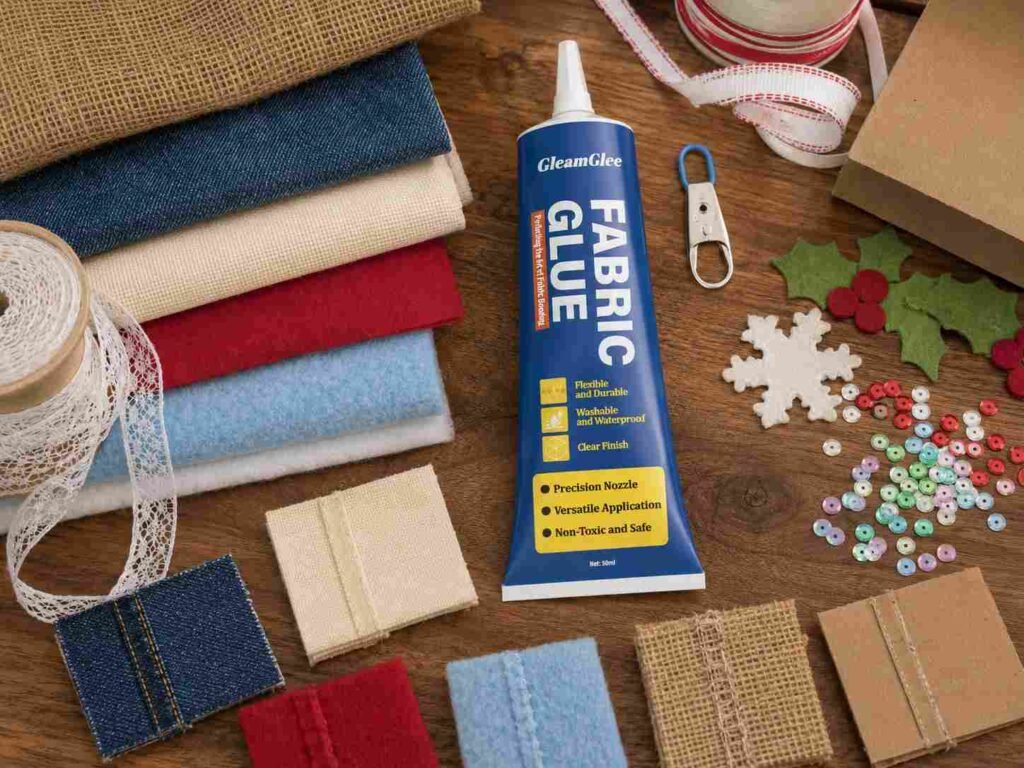
For most home projects, the practical rule is simple: batch everything that can safely be batched, including sorting, layout, numbering, measuring, surface preparation, and final inspection. Bond several patches together only when the selected method can give every patch the required conditions. Heat-seal patches may be processed quickly with a suitable heat press when time, temperature, pressure, and platen contact are consistent. Plain fabric-backed patches may be faster with a flexible textile adhesive, while frequent-wash uniforms or high-motion locations often justify machine or edge stitching even when adhesive is used for positioning.
Fast Way to Attach Multiple Patches: A Practical Batch Guide
The fastest reliable approach is therefore not simply “use glue” or “use an iron.” It is to plan all patches before permanently attaching any of them, identify the backing of each patch, group patches that use the same attachment method, prepare the garment in batches, work one flat garment zone at a time, and separate active application time from curing or cooling time. This batch approach is also the central recommendation in the supplied user-problem research for multiple-patch projects.



















