 Skip to content
Waterproof Tent Glue for Rainproof Outdoor Adventures
Seal seams, pinholes, and small tears with a flexible polyurethane repair adhesive made for compatible outdoor fabrics and camping gear.
- Seal leaking stitch lines and worn tent seams before moisture reaches sleeping bags, clothing, electronics, or stored gear inside the shelter.
- Repair isolated rainfly pinholes, short fabric tears, lifted edges, and small groundsheet punctures without sewing or heat.
- Create a clear, flexible repair layer that follows foldable fabric after proper surface preparation and full curing.
- Use one 60ml tube for multiple repairs and up to 60 feet of thin, even seam or fabric application.

Where Rain Usually Enters a Camping Tent
Rain rarely enters through one dramatic rip. It usually follows worn seams, tiny holes, and damaged floor areas that need targeted sealing.

Leaking Seams
Stitch lines contain needle holes and overlapping fabric layers where water can travel under pressure. Door seams, rainfly seams, floor seams, and corner intersections deserve close inspection before every wet-weather trip. A thin line of waterproof flexible sealant can cover the thread path and surrounding weak points more accurately than a wide patch.
- Inspect both sides of the seam.
- Mark damp or discolored sections.
- Seal only on clean, dry fabric.

Rainfly Pinholes
Small rainfly holes can come from branches, folding friction, storage abrasion, or repeated contact with poles and clips. They may look harmless in dry weather yet release a steady drip during prolonged rain. Liquid repair glue is useful because it can cover a tiny irregular opening without adding a bulky square of tape.
- Check the fabric against daylight.
- Circle each bright point.
- Apply a controlled, thin coat.

Wet Tent Floors
Tent floors and groundsheets face stones, roots, dry grass, mud, and concentrated body weight. Fine punctures often allow ground moisture to reach sleeping pads long before a large tear becomes visible. Waterproof repair needs both sealing and flexibility because the floor is folded tightly after every trip.
- Clean away soil and grit.
- Repair punctures from the accessible side.
- Let the floor cure flat.
GleamGlee Tent Glue Facts at a Glance
Review the core product facts before matching the adhesive to your tent material, damage size, repair location, and available curing time.
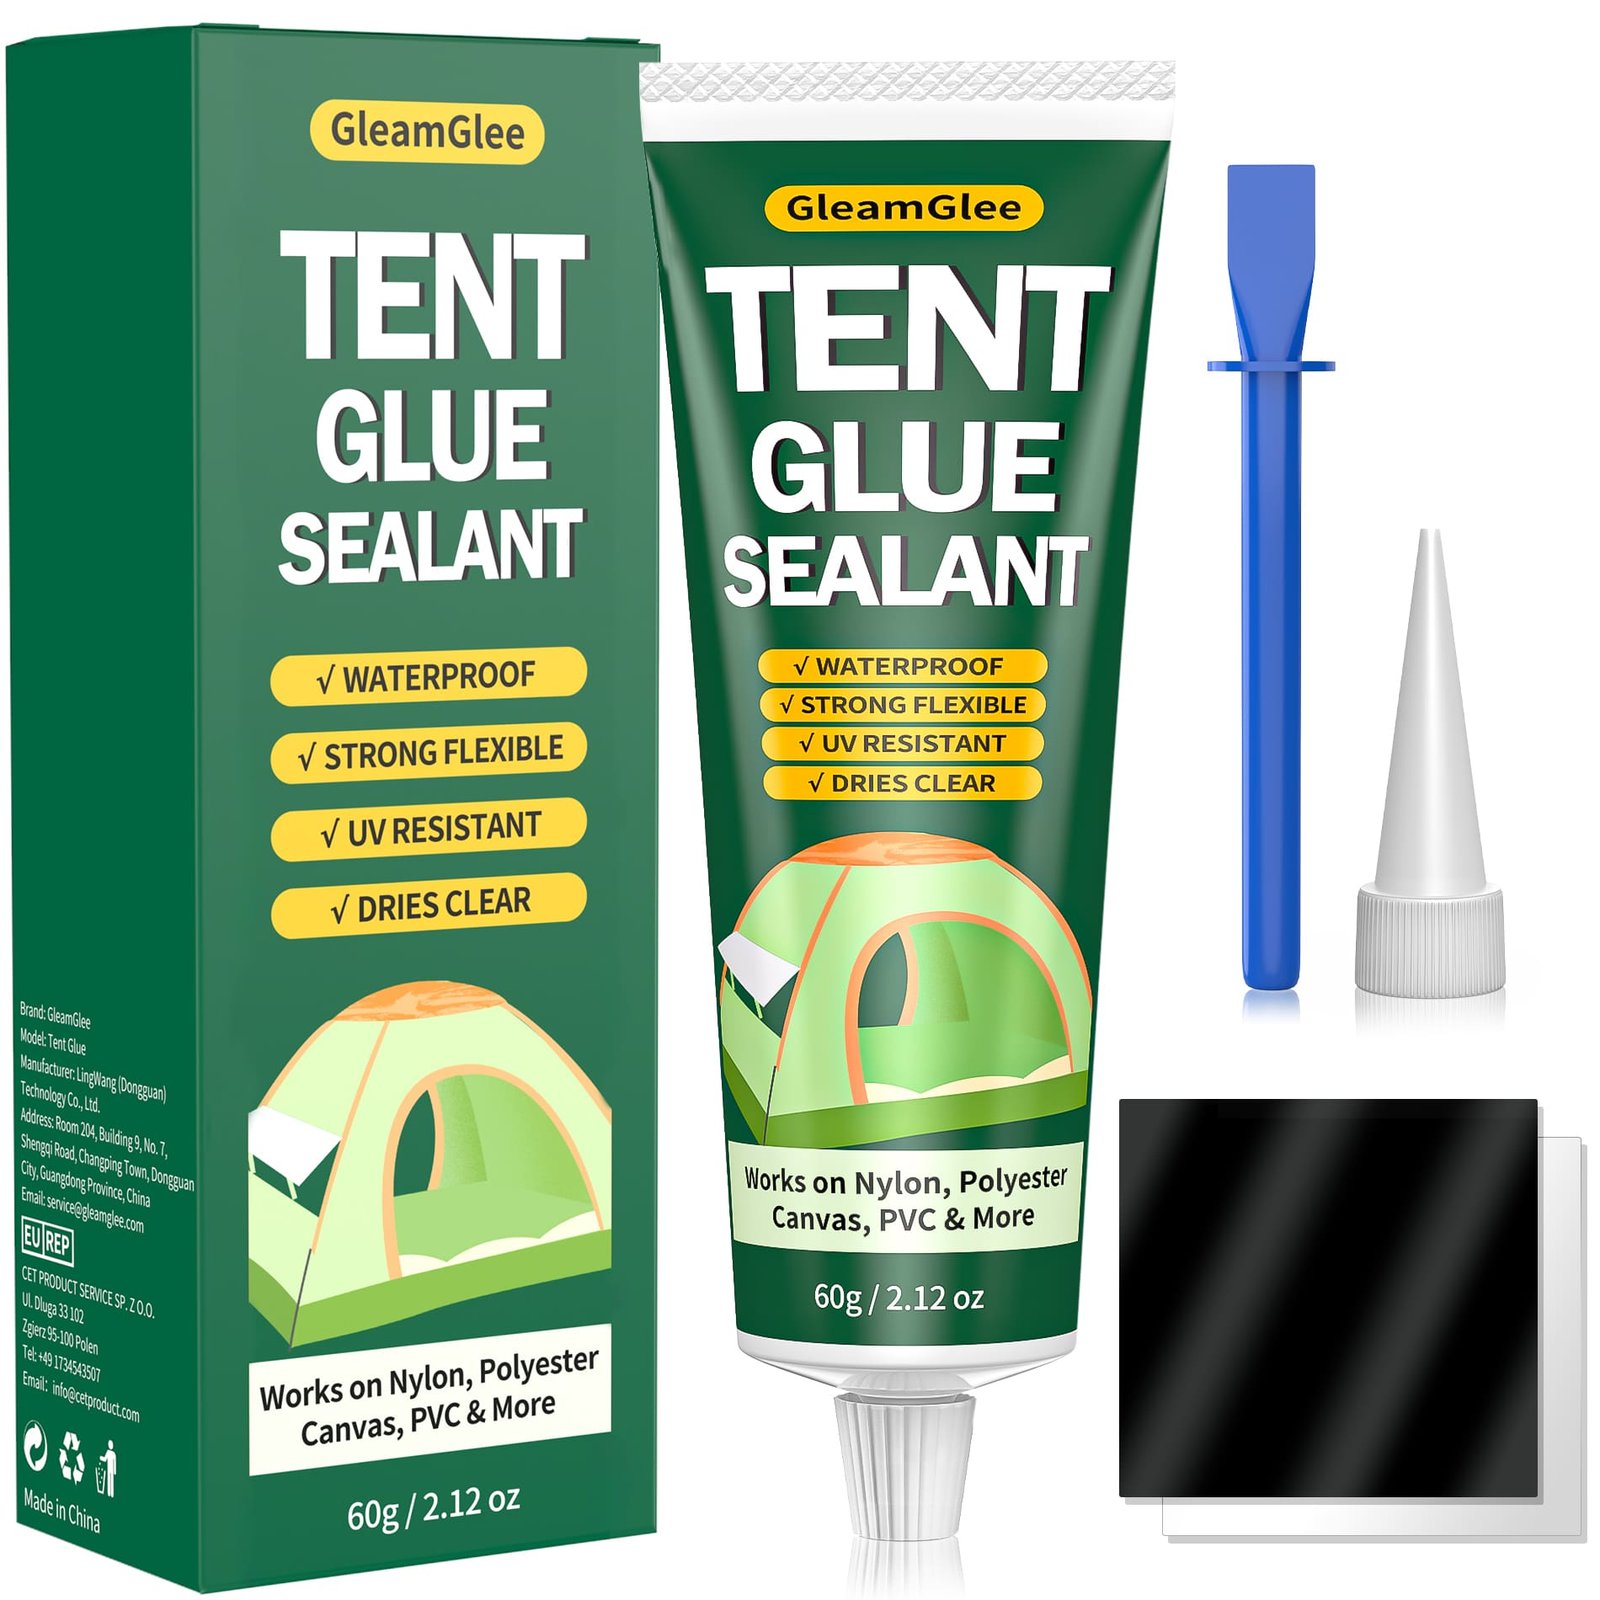
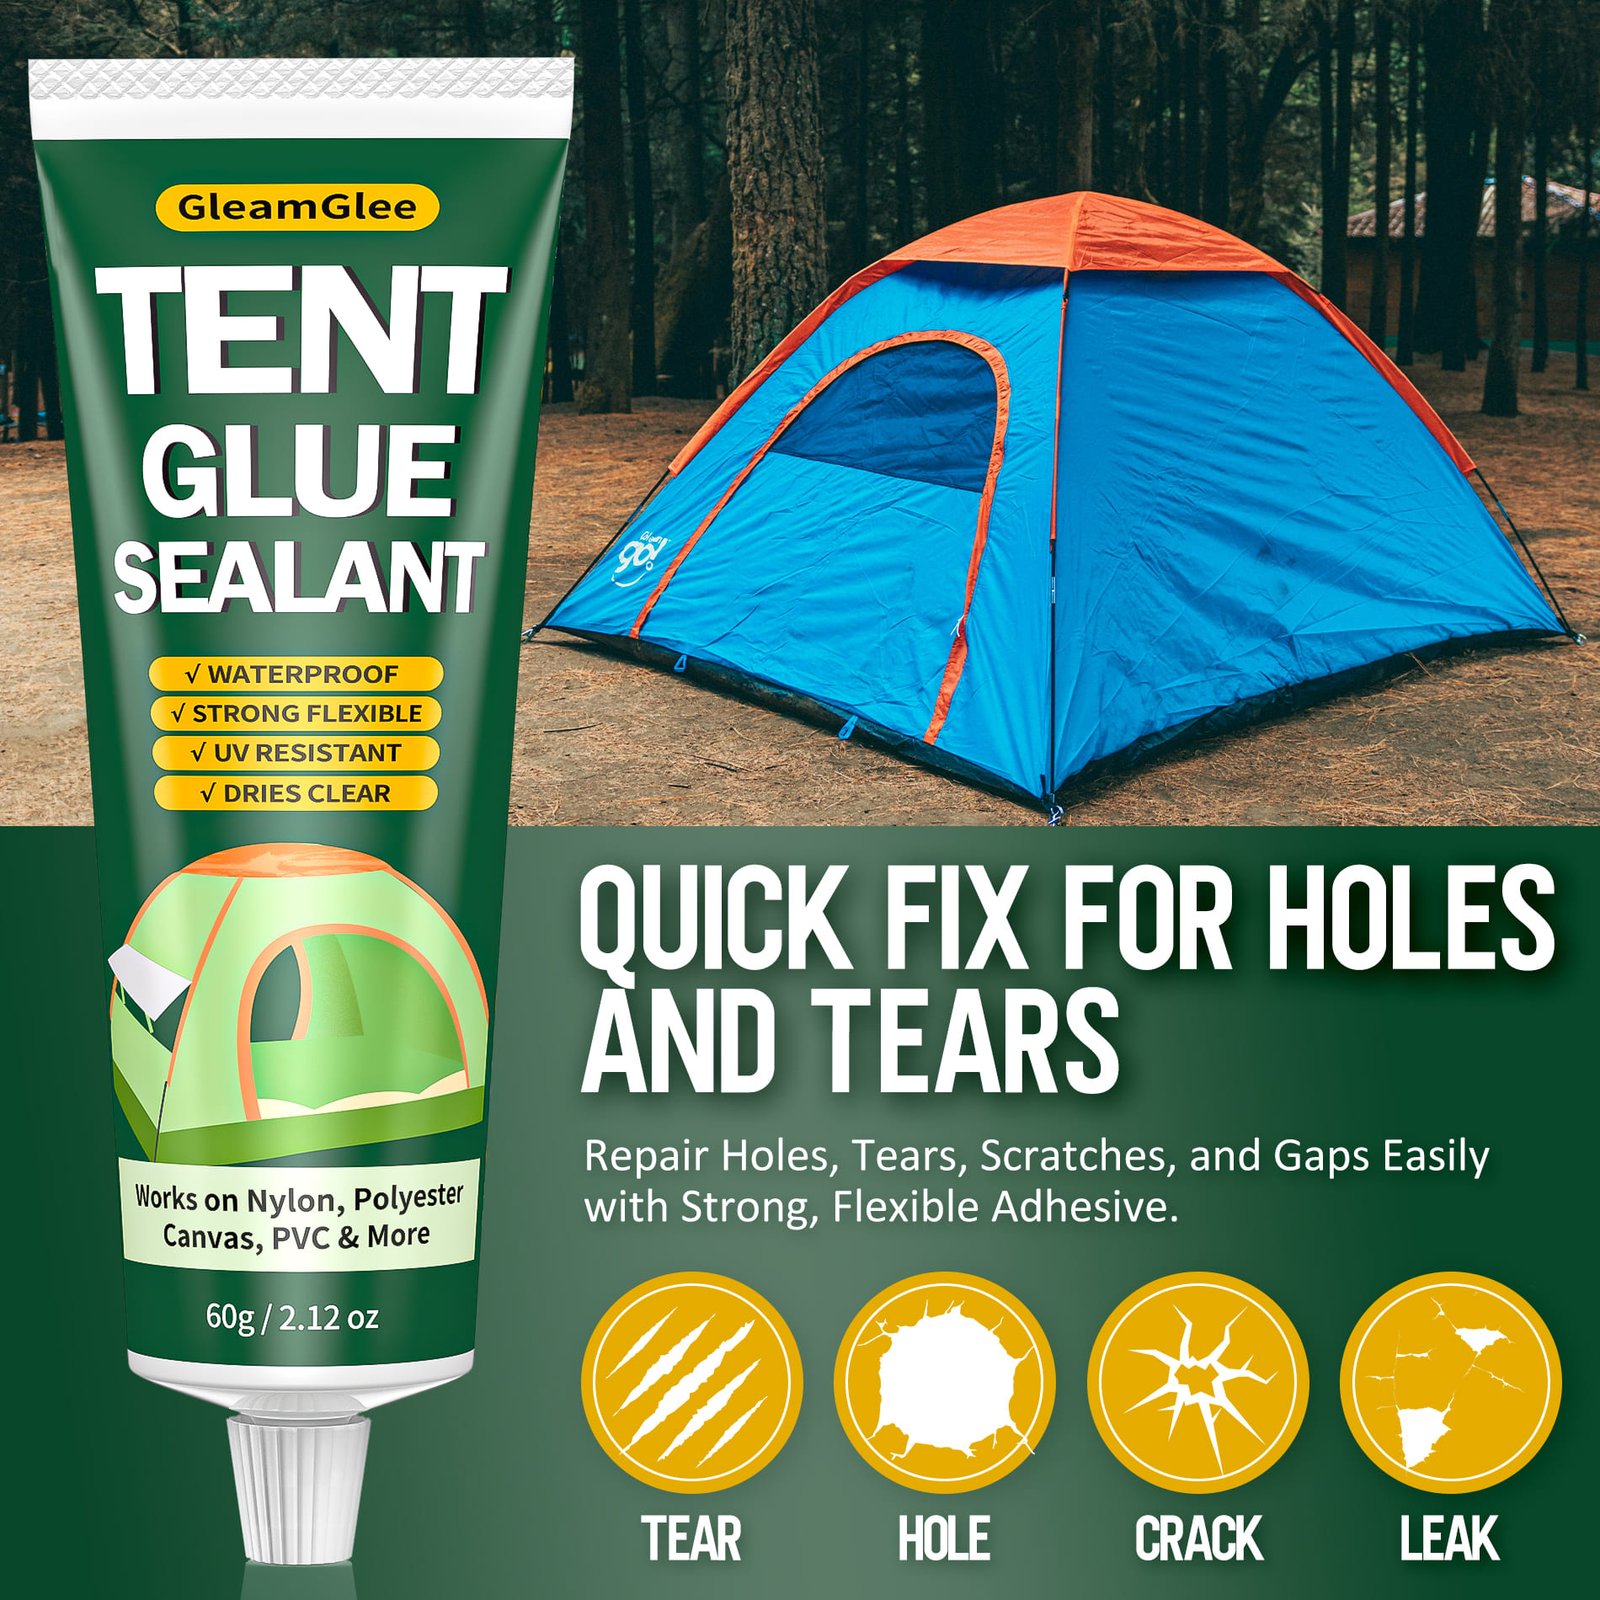
| Product Detail | Verified Information |
|---|---|
| Brand | GleamGlee |
| Product Type | Tent Repair Glue + Seam Sealer |
| Capacity | 60ml / 2.12oz |
| Formula | Polyurethane-Based Liquid |
| Water Resistance | Waterproof after proper application and full curing |
| Cured Layer | Clear, flexible rubber seal |
| Confirmed Materials | Nylon, polyester, canvas, vinyl, PVC plastic, PVC-coated fabric |
| Repair Types | Seams, pinholes, small tears, lifted edges, patch borders |
| Coverage | Up to 60 feet with a thin, even application |
| Initial Set | About 10-15 minutes |
| Full Cure | About 24 hours, depending on temperature and humidity |
| Required Tools | No sewing or heat required |
| Amazon ASIN | B0F2SN6RB9 |
| Primary Purchase Channel | Amazon US |
Choose Glue Sealer or Waterproofing Spray
The right repair product depends on whether water enters through a local defect, a stitched seam, or a broad aging fabric surface.
Tent Repair Glue
Choose repair glue when the problem includes a small tear, pinhole, edge split, patch border, or local seam leak. A liquid adhesive can follow uneven damage, bond loose fabric edges, and seal the water path in one controlled application. GleamGlee is positioned for compatible outdoor fabrics that need both adhesion and waterproof sealing.
- Best for local damage.
- Useful on irregular edges.
- Supports no-sew repairs.
Seam Sealer
Choose a dedicated seam sealer when the fabric is intact but water tracks through needle holes or long stitched lines. Some tent materials require a specific chemistry: polyurethane-coated fabrics commonly use polyurethane-compatible sealers, while silnylon and silpoly often require silicone-based products. Always identify the coating before covering an entire seam.
- Best for stitch lines.
- Chemistry must match the coating.
- Thin coverage improves consistency.
Waterproofing Spray
Choose a waterproofing spray when a large fabric panel wets out, absorbs moisture, or no longer beads rain, yet has no visible tear or leaking seam. Spray treatments restore surface water repellency; they do not close holes, reconnect torn edges, or reinforce weak seams. Local defects still need glue, sealant, tape, or a patch.
- Best for broad surface treatment.
- Not a structural repair.
- Clean fabric before recoating.
Why Waterproof Flexibility Matters Outdoors
Tent repairs must resist moisture while moving with fabric through wind, setup, folding, packing, ground contact, and repeated seasonal use.
Waterproof Barrier
A repair succeeds only when it closes the route water follows. Strong adhesion alone is not enough if moisture can still move beside a stitch, under a lifted edge, or through a pinhole. After proper curing, GleamGlee forms a waterproof layer over compatible fabric defects and seam areas.
- Cover the entire leak path.
- Extend slightly beyond damaged edges.
- Keep the repair dry during curing.
Flexible Movement
Tent walls, rainflies, tarps, and groundsheets bend every time they are pitched, rolled, compressed, or moved by wind. A rigid repair can create a hard stress point along otherwise soft fabric. A flexible rubber seal follows normal fabric movement more naturally and is better suited to foldable camping equipment.
- Avoid thick adhesive ridges.
- Cure fully before packing.
- Store without sharp folds over the repair.
Outdoor Abrasion
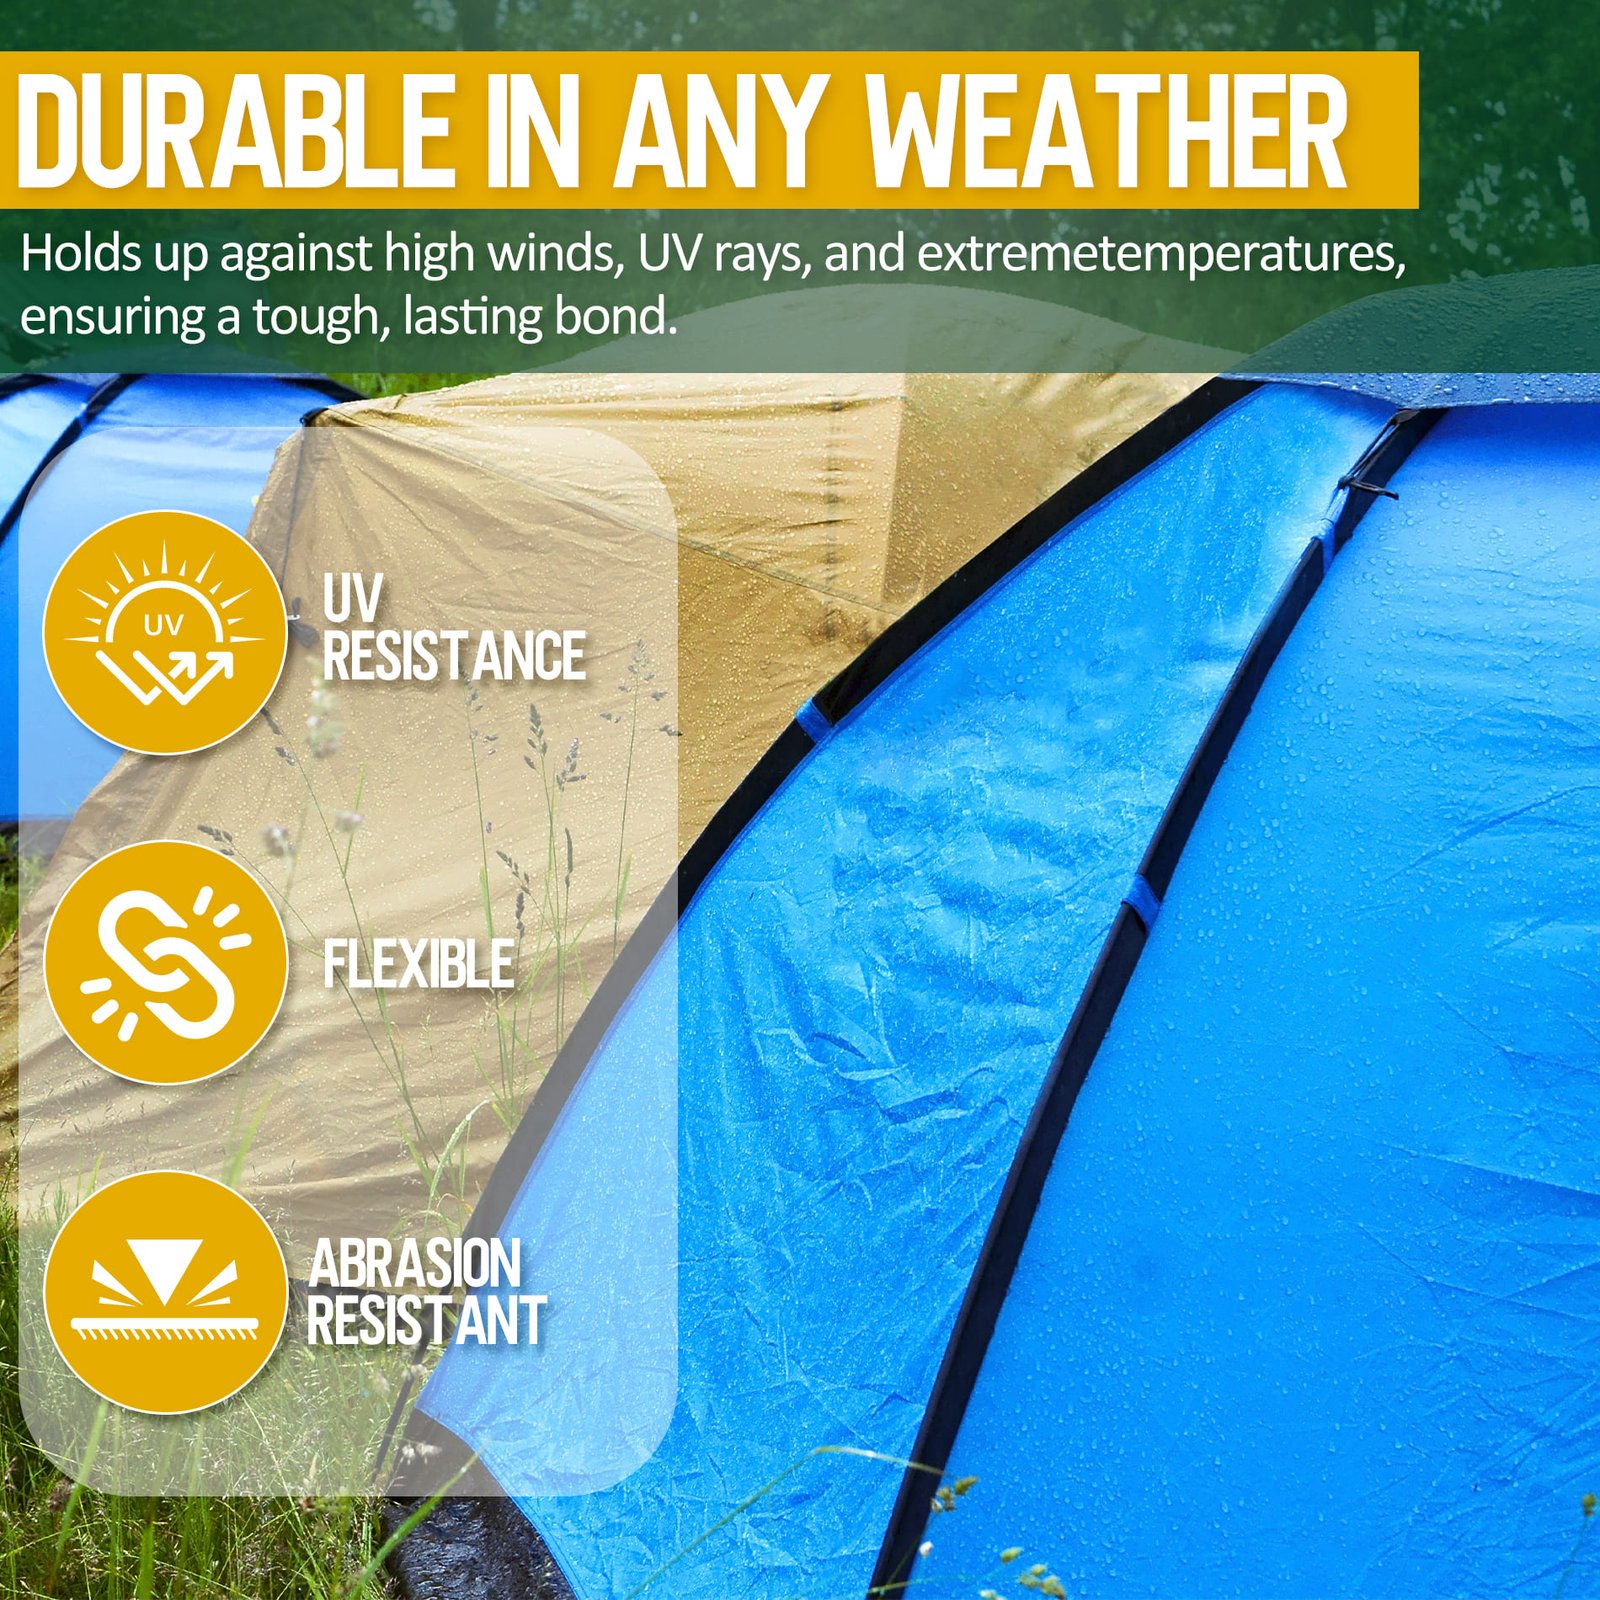
Ground contact, branches, straps, buckles, grit, and storage friction can wear both fabric and repaired edges. Outdoor repair should account for repeated scuffs, not only the first rain test. GleamGlee is designed for abrasion-resistant sealing on compatible gear, including tent floors, tarp edges, awning seams, and frequently handled fabric areas.
- Remove abrasive debris first.
- Reinforce early-stage edge wear.
- Inspect repairs after demanding trips.
Why GleamGlee Fits Rainproof Tent Repairs
Four product characteristics address the most common reasons tent repairs fail during wet trips, repeated folding, and ordinary outdoor wear.
Bond and Seal
A tent repair often requires two actions: hold damaged fabric in position and block water from entering. GleamGlee works as both a repair adhesive and seam sealer, making it suitable for small tears, pinholes, worn stitch lines, lifted edges, and patch borders on compatible outdoor materials.
- Bonds loose fabric edges.
- Seals the surrounding water path.
- Reinforces localized weak points before they spread.
Waterproof After Cure
Waterproof performance develops after the adhesive has been applied correctly and allowed to cure. The surface should be clean and dry, and the glue should remain protected from rain while setting. About 24 hours is recommended for full cure under typical conditions, with additional time possible in cool or humid weather.
- Repair before the trip.
- Keep the area dry.
- Test only after full cure.
Flexible Rubber Seal
Once cured, the repair forms a flexible rubber-like seal rather than a brittle spot. Flexibility matters on rainflies, tent walls, tarps, and floors because these parts are repeatedly bent and packed. A thin, even layer helps the finished repair follow fabric movement while maintaining sealed coverage around the damage.
- Suitable for foldable gear.
- Reduces rigid stress points.
- Supports cleaner edge control.
Outdoor Fabric Focus
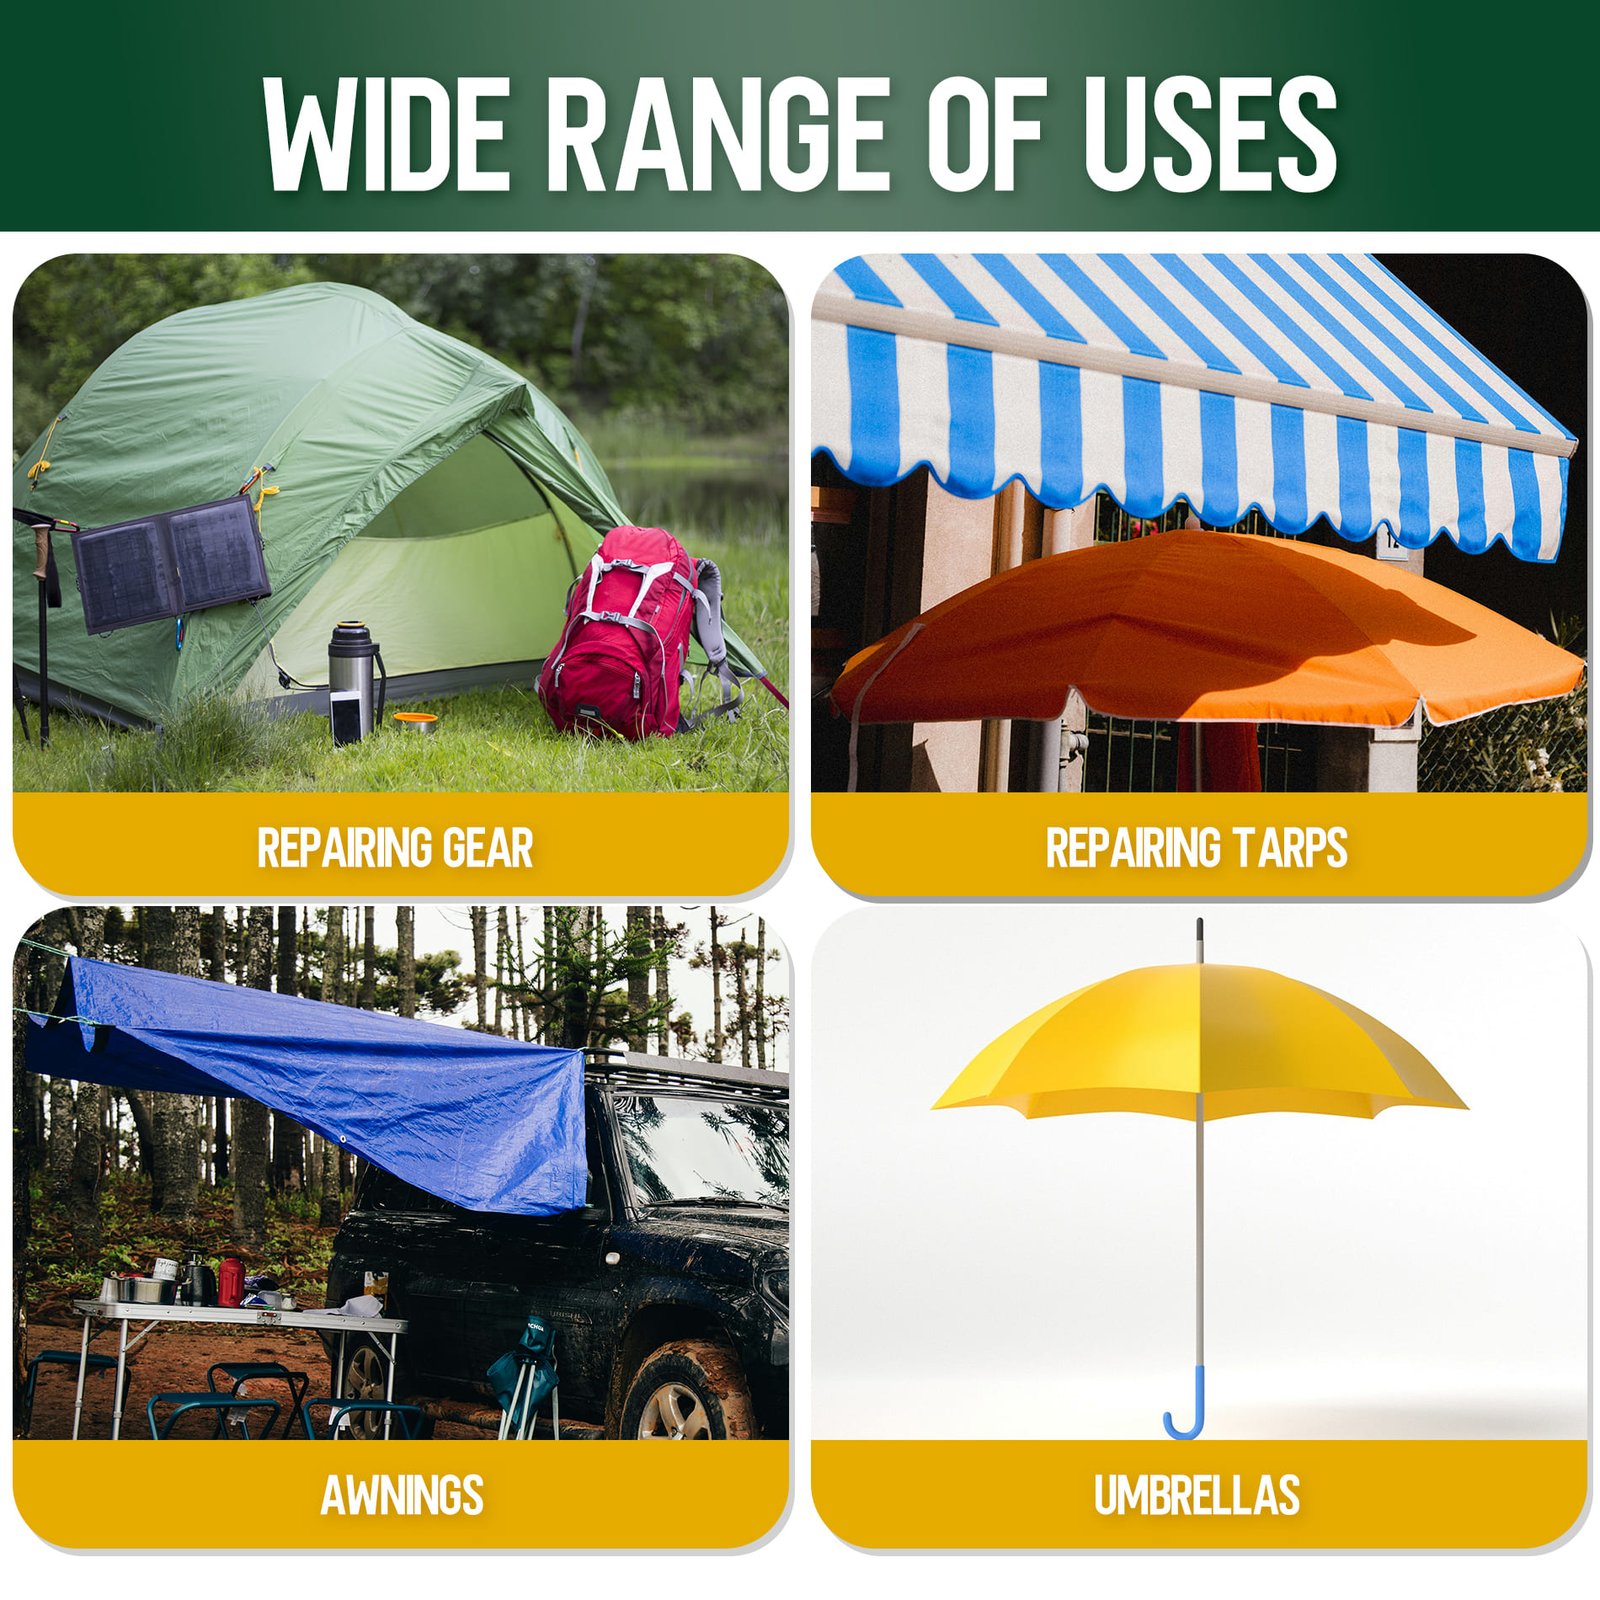
The formula is intended for outdoor fabric and coated gear rather than general household bonding. Confirmed materials include nylon, polyester, canvas, vinyl, PVC plastic, and PVC-coated fabric. Suitable uses include tents, rainflies, tarps, awnings, groundsheets, patio umbrellas, and compatible outdoor covers.
- Match the material first.
- Use on localized fabric damage.
- Test unfamiliar coatings discreetly before full application on valuable gear.
Check Tent Material Before Applying Glue
Base fabric and surface coating both affect adhesion. Use the label, manufacturer specifications, and a discreet test before treating unfamiliar materials.
| Material | General Fit | Common Locations | Important Check |
|---|---|---|---|
| Nylon | Confirmed | Rainflies, lightweight tent walls | Identify polyurethane or silicone surface treatment |
| Polyester | Confirmed | Family tents, canopies, outdoor covers | Check coating and clean finish treatments |
| Canvas | Confirmed | Wall tents, glamping tents, awnings | Test waxed, oiled, or heavily treated canvas |
| Vinyl | Confirmed | Window edges, covers, awning sections | Clean the smooth surface and apply a thin layer |
| PVC Plastic | Confirmed | Compatible outdoor gear components | Not intended as rigid PVC pipe cement |
| PVC-Coated Fabric | Confirmed | Groundsheets, tarps, waterproof covers | Dry the coating completely before application |
| Mesh | Limited Use | Borders, seams, patch edges | Use a mesh patch for large open holes |
| Silicone-Treated Fabric | Verify First | Silnylon and silpoly shelters | A silicone-based sealer may be required |
Damage Types Suited to Liquid Tent Glue
Liquid adhesive works best where controlled coverage can follow small, irregular, or stitched damage without adding a wide, bulky repair layer.

Leaking Seams
Use a thin line along stable stitch rows where needle holes or aging seam areas allow moisture through. Extend coverage slightly beyond the observed wet section because water can travel along thread before appearing inside. If seam tape has detached across a wide area, remove loose material and consider a dedicated retaping method instead.
- Good for localized leaks.
- Smooth over the stitch path.
- Cure before water testing.

Small Pinholes
Pinholes in a rainfly, tent wall, floor, or tarp are ideal for precise liquid sealing. Mark the opening before cleaning because tiny points can disappear when the fabric lies flat. Apply enough adhesive to cover the hole and nearby fibers without creating a thick mound that becomes difficult to fold.
- Inspect against daylight.
- Seal beyond the hole edge.
- Keep the fabric flat.

Minor Tears
A short tear that remains aligned and does not carry major structural tension can often be sealed with flexible glue. Bring the edges together gently, avoid stretching the fabric, and cover the split with a controlled layer. If the tear opens under light tension, add a compatible patch before sealing the border.
- Suitable for small stable splits.
- Avoid overpulling the fabric.
- Patch when the gap opens.

Lifted Edges
Lifted fabric, coating, or patch edges can catch dirt and water, allowing damage to spread. Liquid glue can reach narrow corners and create a sealed transition around the border. Remove loose debris, press the edge into its natural position, and smooth excess adhesive away from the surrounding fabric.
- Useful on irregular borders.
- Seal the full lifted section.
- Do not trap moisture underneath.

Patch Borders
Large flat tears usually need tape or a fabric patch for broad reinforcement. GleamGlee can support the repair by sealing the patch perimeter, especially around corners and uneven edges. The patch carries the load while the liquid adhesive helps block water and reduce edge lifting after curing.
- Combine patch strength with edge sealing.
- Round patch corners.
- Press borders evenly across every corner.

Weak Seams
Older seams may look intact yet show worn coating, thread exposure, or fine cracking. Preventive sealing before a rainy trip can reinforce these weak lines before active leakage begins. Apply sparingly over clean, stable seams and focus on corners, floor junctions, door edges, and rainfly attachment areas.
- Inspect before each season.
- Treat early wear.
- Avoid covering damaged structural stitching alone.
Rainproof Repair Uses Beyond One Tent Seam
One 60ml tube can support several localized repairs across camping shelters and compatible outdoor fabrics when each area receives a thin application.

Tent Seams
Seal worn stitch lines along doors, floor junctions, corners, and wall panels. Start where moisture appears, then inspect the seam above and beside the visible leak because water may travel before dripping. Apply a narrow, even line and smooth it over the needle holes. Extensive detached seam tape may require removal and replacement rather than simple surface sealing.
- Best for stable stitched areas.
- Follow the complete leak path.
- Cure before folding.
Rainfly Holes
Repair isolated pinholes, small branch punctures, and short edge splits in a compatible rainfly. The repair layer should remain thin because rainflies are lightweight and tightly packed. For larger tears, use a low-profile patch and seal its perimeter. Confirm the rainfly coating before application, especially on silnylon or silpoly shelters.
- Keep the layer light.
- Patch larger openings.
- Match the coating chemistry.
Groundsheet Punctures
Seal fine holes and abrasion points where stones, roots, or rough ground have damaged a tent floor or separate groundsheet. Remove every grain of soil before applying glue, as trapped grit can weaken contact and create raised spots. Allow the repair to cure flat before placing body weight, sleeping pads, or gear over it.
- Clean both sides when possible.
- Cover the puncture perimeter.
- Avoid pressure during cure.
Tarp Edges
Tarp corners and edges experience wind load, rope tension, dragging, and repeated folding. Liquid adhesive is useful for small edge splits, pinholes, and irregular cracks where tape may not sit neatly. Large flat tears or stressed tie-out points need a patch or reinforced repair, with glue used mainly for sealing the border.
- Good for uneven edge damage.
- Reinforce loaded corners.
- Inspect after strong wind.
Awning Fabric
RV awnings, patio awnings, and canopy fabric are rolled, unfolded, and exposed to sun and rain. Small cracks, seam leaks, or edge wear can be sealed before they expand. Clean smooth vinyl or coated surfaces carefully and test an inconspicuous spot. Structural arm, frame, or heavily tensioned damage requires a different repair.
- Suitable for local fabric defects.
- Test treated surfaces first.
- Do not repair frames with fabric glue.
Outdoor Covers
Compatible grill covers, furniture covers, equipment covers, and patio umbrella canopies may develop pinholes, seam leaks, and corner wear. A clear flexible seal helps preserve the cover without adding a large visible patch to every small defect. Brittle, sun-rotted fabric should be replaced because surrounding material may fail beyond the repaired point.
- Useful on localized cover damage.
- Check fabric strength first.
- Replace degraded material.
Choose Glue Tape Patch or Sewing
Match the repair method to damage shape, size, location, and load. The most reliable solution may combine reinforcement with waterproof edge sealing.
| Damage | Recommended Method | Why It Fits | Use Another Method When |
|---|---|---|---|
| Localized leaking seam | Liquid glue or compatible seam sealer | Follows stitch lines and needle holes | Seam tape is broadly detached or fabric is degraded |
| Single pinhole | Thin liquid glue | Provides precise coverage without a wide patch | The surrounding panel has widespread wear |
| Short irregular tear | Glue or patch + glue | Seals uneven edges and small gaps | The tear opens under tension |
| Large flat tear | Repair tape or fabric patch | Provides broad reinforcement | The location carries structural load |
| Large canvas split | Patch, sewing, and edge sealing | Restores support across thick fabric | Canvas is brittle, rotten, or heavily waxed |
| Lifted patch edge | Liquid edge sealing | Reaches corners and irregular borders | The entire patch has failed |
| Guyline anchor damage | Reinforcement patch or professional repair | The area carries concentrated wind load | Never depend on glue alone |
| Mesh opening | Mesh patch + edge seal | Restores ventilation and closes the border | Glue alone would block open mesh |
Identify Fabric Coatings Before Starting Repairs
A tent label may name nylon or polyester while the outer coating determines which adhesive chemistry can form a dependable bond.
Check the Tent Label
Start with the sewn-in care label, owner manual, manufacturer website, or product specifications. Look for both the base fabric and the surface treatment. Common labels include nylon, polyester, canvas, vinyl, PVC-coated fabric, polyurethane-coated fabric, silnylon, and silpoly. The first word describes the fabric structure; the coating often controls how glue behaves.
A polyurethane-coated nylon rainfly may accept a polyurethane-based repair adhesive, while silicone-treated nylon often repels products that bond well to untreated or polyurethane-coated surfaces. Canvas can also vary widely. Untreated canvas, acrylic-coated canvas, waxed canvas, and oil-treated canvas do not present the same surface. Vinyl and PVC-coated fabrics are smoother and require careful cleaning before application.
Use a flashlight and inspect the damaged zone from both sides. Note whether the coating is glossy, rubbery, flaky, powdery, or peeling. A sound coating supports a localized repair. A coating that crumbles when rubbed may continue failing around the glued area. Check the manufacturer guidance when a shelter is expensive, ultralight, or made with a proprietary laminate.
Before applying any adhesive, record four facts: base fabric, coating type, damage size, and whether the area carries structural tension. Those details determine whether glue alone is suitable or whether the repair needs a patch, seam tape, sewing, or professional service.
Test Unknown Surfaces
When the coating cannot be confirmed, test a small hidden area before treating the visible repair. Choose a clean section near an inside hem or covered edge that uses the same material. Apply a tiny amount, allow it to cure fully, then inspect adhesion, discoloration, stiffness, surface distortion, and edge lifting. Do not judge the result after only a few minutes; initial set and full cure are different stages.
A suitable test should remain attached when the fabric is bent gently. The glue should not bead up, slide away, turn the coating sticky, or peel off as a separate skin. Stop if the material wrinkles, softens, changes color, or shows coating damage. Silicone-treated surfaces commonly require a silicone-compatible sealer, and some specialty laminates may need a repair product specified by the shelter manufacturer.
Surface preparation also changes test results. Remove dust with a clean dry cloth, then follow the material maker’s cleaning guidance. Avoid oily cleaners, fabric softeners, waxes, and silicone sprays because residue can interfere with bonding. Let the area dry completely, including moisture trapped between folded layers.
A discreet test takes more time than immediate application, but it reduces the risk of a visible failed repair. Once compatibility is confirmed, repeat the same preparation, layer thickness, and curing conditions on the damaged area.
Six Steps for a Clean Waterproof Repair
Careful preparation and controlled application matter as much as adhesive strength. Follow the complete sequence before exposing repaired fabric to rain.

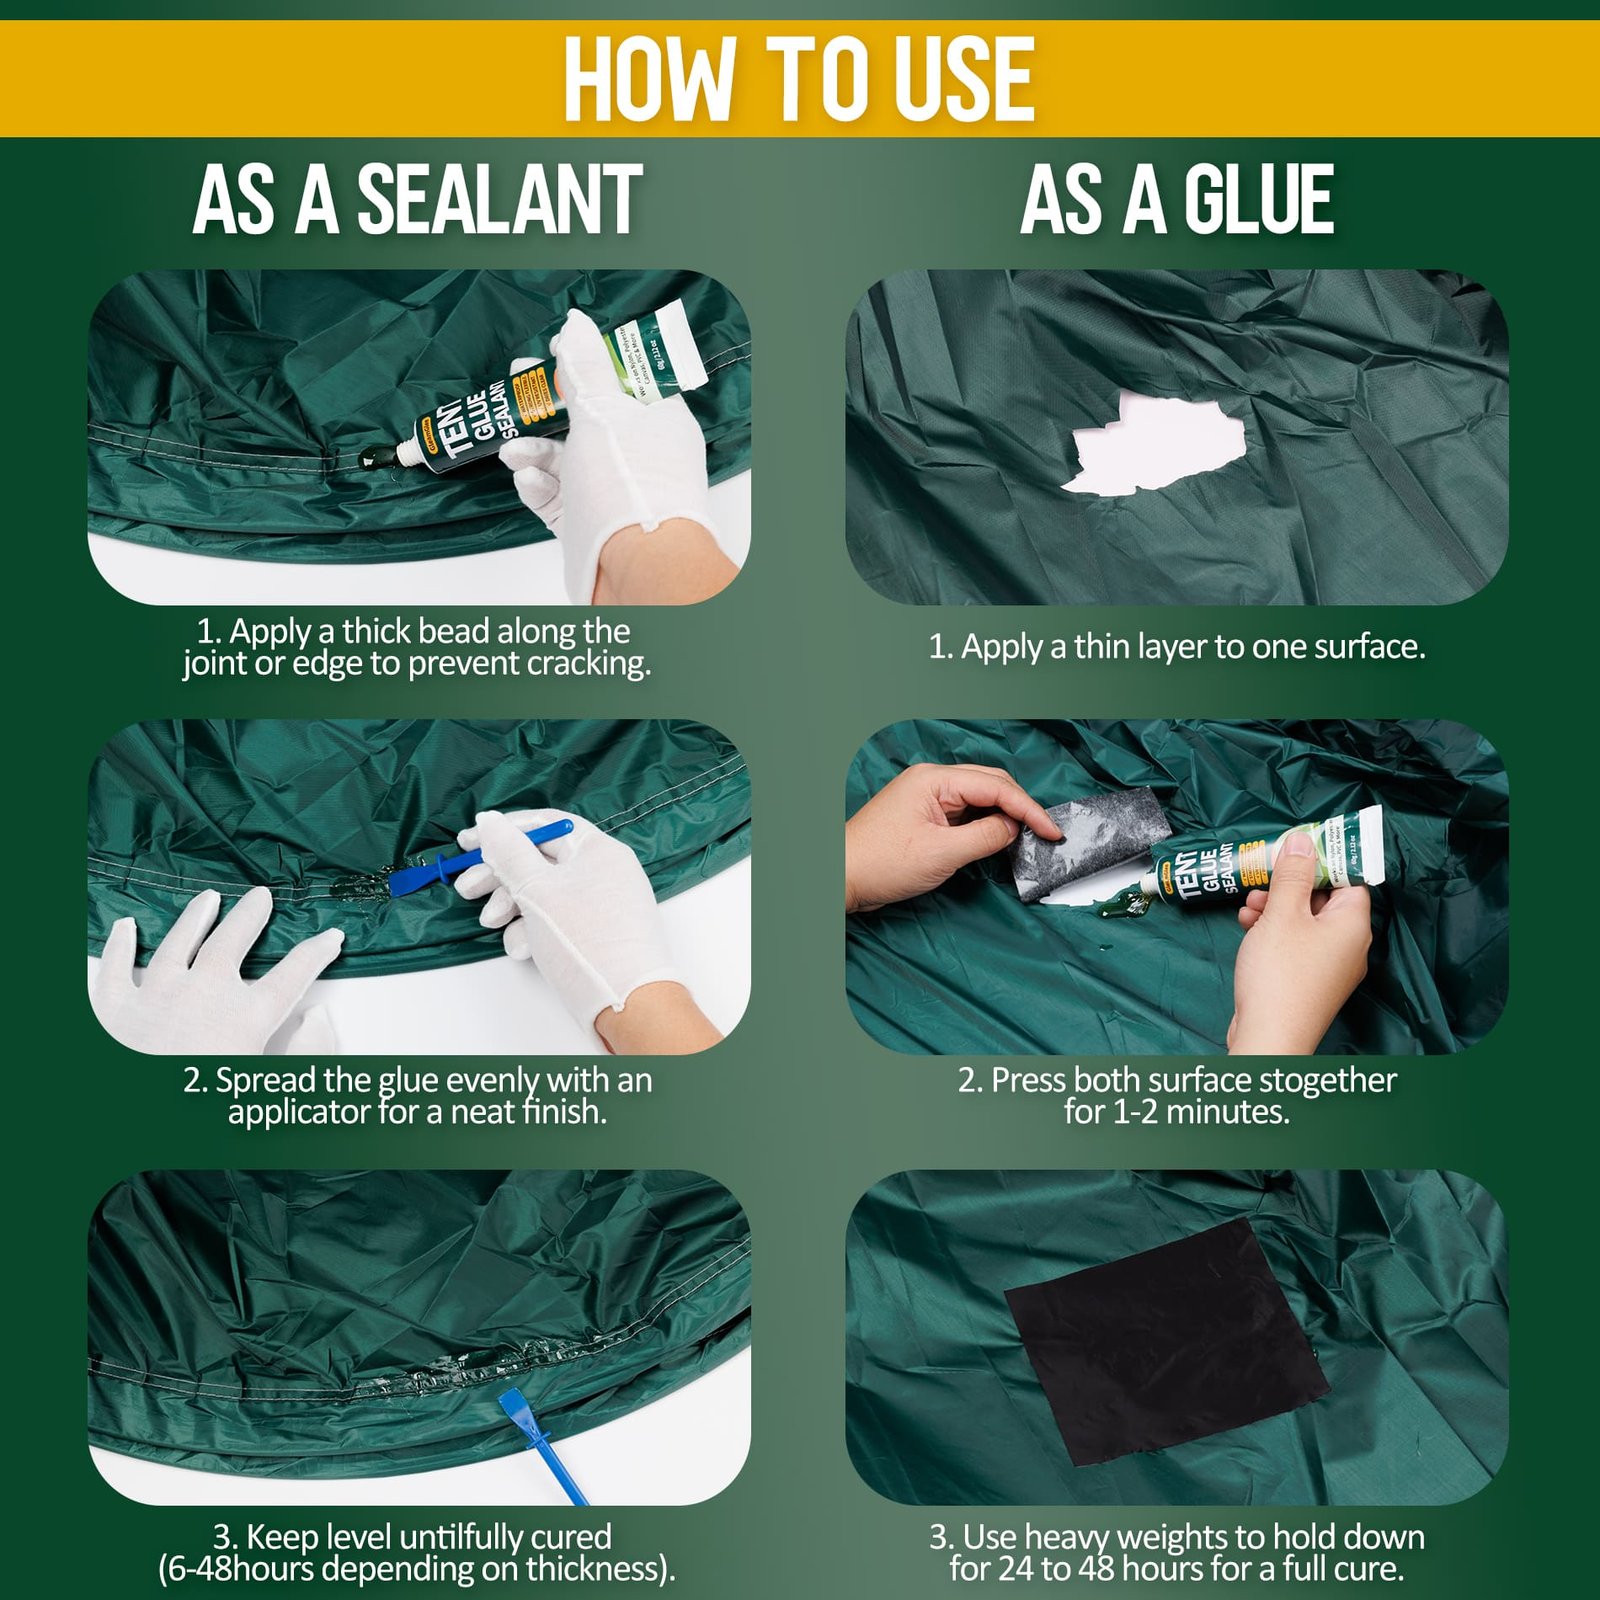
1. Clean
Remove mud, dust, grass, loose coating, old adhesive flakes, and oily residue. Grit trapped below the repair can create weak contact and a raised edge. Use a cleaning method approved for the tent material and avoid products that leave wax, silicone, or fabric-softener residue. Let any cleaned seam open enough for air to circulate.
- Work on a stable surface.
- Use a lint-free cloth.
- Remove only loose failed material.

2. Apply
Apply a thin, even layer over the damaged point and extend slightly onto sound surrounding fabric. Follow seam lines slowly and control the amount around pinholes and edges. More glue does not automatically create a better repair; excessive thickness increases cure time, creates a rigid ridge, and may make lightweight fabric harder to pack.
- Use steady pressure.
- Cover the full leak path.
- Avoid thick pools.

3. Smooth
Smooth the adhesive so the repair has continuous coverage and feathered edges. Keep aligned tear edges in their natural position without stretching the fabric. For a patch repair, press from the center outward to remove trapped air, then seal the complete border. Clean tools before cured residue accumulates.
- Maintain edge alignment.
- Remove air pockets.
- Keep the finished layer low-profile and continuous.

4. Cure
Leave the repair flat, protected, and undisturbed while the adhesive sets. GleamGlee begins setting in about 10-15 minutes, yet full cure takes about 24 hours depending on temperature and humidity. Do not fold, compress, load, or expose the repaired area to heavy water until curing is complete.
- Plan repairs one day early.
- Add time in cool humidity.
- Test gently after curing.
Plan Repairs Before the Rain Arrives
Wet-weather reliability starts before departure. A controlled repair needs enough time for inspection, preparation, curing, and a gentle post-cure check.
Check 24 Hours Early
Unpack the shelter at least one day before departure when rain is possible. Inspect seams, rainfly panels, door edges, floor corners, and groundsheets in good light. Early inspection leaves time to clean, repair, and cure without rushing. A last-minute application shortly before packing may look dry on the surface while remaining soft underneath.
- Pitch or spread the tent fully.
- Mark every repair point.
- Finish application before the final packing window.
Keep Fabric Dry
Adhesive should not be applied over rainwater, condensation, mud, or moisture trapped between folded layers. Work under a roof, in a garage, or inside a ventilated shelter where the fabric can remain dry. Avoid direct contact with wet lawns during curing, especially when repairing a tent floor or separate groundsheet.
- Protect from rain and dew.
- Elevate floor sections when needed.
- Maintain ventilation during curing.
Allow Full Cure
Initial set only means the adhesive has begun forming its repair layer. GleamGlee may start setting in about 10-15 minutes, but normal full cure is about 24 hours. Cooler temperatures, higher humidity, thick application, and absorbent canvas can extend the schedule. Build extra time into the trip plan instead of folding early.
- Do not confuse set with cure.
- Avoid touching the repair repeatedly.
- Add time when conditions are cool.
Test After Curing
After full cure, inspect the surface for continuous coverage, open edges, missed pinholes, or soft adhesive. A gentle spray or controlled water check can confirm a seam repair before the shelter faces sustained rain. Do not use high-pressure water, and allow the tent to dry completely before packing after the test.
- Start with light water exposure.
- Watch the inside surface.
- Dry before storage.
Avoid Common Tent Repair Mistakes
Many failed repairs come from preparation, layer thickness, curing, or damage assessment rather than a simple lack of adhesive strength.
Applying Too Much
A thick bead can remain soft inside after the surface appears dry. Excess glue also creates a raised ridge that bends differently from lightweight tent fabric and may collect dirt along its edges. Apply enough to cover the damage continuously, then smooth the layer rather than piling adhesive over the same point.
- Favor thin continuous coverage.
- Add a second controlled coat only when appropriate.
- Keep fold lines low-profile.
Repairing Damp Fabric
Moisture reduces direct contact between adhesive and the intended surface. Damp seam layers may also release water into the repair while curing. Fabric can feel dry outside yet remain wet under a hem, floor fold, or overlapping tape. Give the area time and ventilation before application.
- Check for dew and condensation.
- Dry hidden seam layers.
- Never seal visible moisture underneath.
Folding Too Early
Packing before full cure can crease the repair, transfer adhesive to another panel, or pull an edge out of alignment. Initial set does not mean the center has developed full strength. Leave the panel flat and undisturbed for about 24 hours under normal conditions, then confirm the repair is dry and stable.
- Schedule work before packing day.
- Avoid compression during cure.
- Store without a sharp fold on the repair.
Ignoring Structural Damage
Glue is not a substitute for lost stitching, torn webbing, broken pole hardware, or heavily damaged guyline anchors. These areas carry concentrated loads that require reinforcement, sewing, replacement parts, or professional repair. Liquid adhesive can seal patch borders and protect local fabric edges, but the structural repair must carry the force.
- Identify load-bearing areas.
- Reinforce before sealing.
- Replace brittle or rotten fabric.
Understand 60ml Capacity and Coverage
Coverage depends on seam width, material absorption, damage size, and application thickness, so measured value matters more than tube appearance.
60ml Capacity
Each GleamGlee tube contains 60ml / 2.12oz of liquid adhesive. The capacity supports more than one isolated pinhole and is suitable for seasonal seam maintenance, several small tears, patch-border sealing, and minor repairs across compatible camping gear. Keep the cap secure between jobs and prepare every repair point before dispensing.
- Suitable for multiple local repairs.
- Useful in a home gear-maintenance kit.
- Avoid leaving the tube open during setup.
Up to 60 Feet
One 60ml tube can cover up to 60 feet of seams or fabric areas when applied as a thin, even line. Actual coverage decreases on absorbent canvas, wide repair zones, rough surfaces, or thick applications. Plan long seam projects by measuring total length and reserving extra material for corners, intersections, and porous sections.
- Measure before application.
- Use controlled line width.
- Do not treat the maximum as guaranteed for every material.
Multiple Repair Areas
A single tube can address a rainfly seam, several marked pinholes, a small groundsheet puncture, a tarp edge, and patch borders when each repair remains localized. Completing several small issues before departure reduces the chance that one neglected weak point will interrupt a wet trip. Prioritize active leaks and structural safety first.
- Group repairs into one curing session.
- Label completed areas.
- Reinspect after the next camping trip.
Best Uses and Important Repair Limits
Clear suitability guidance helps prevent failed applications, protects valuable gear, and directs structural or incompatible materials toward a safer repair method.
Best For
GleamGlee Tent Repair Glue is best suited to localized waterproof repairs on compatible outdoor fabrics and coated materials. Strong applications include stable leaking seams, isolated rainfly pinholes, short aligned tears, small groundsheet punctures, lifted fabric edges, patch borders, tarp cracks, awning seams, and preventive reinforcement of worn stitch lines. Confirmed material categories include nylon, polyester, canvas, vinyl, PVC plastic, and PVC-coated fabric. The liquid form is especially useful around curved corners and irregular edges where a wide repair strip may not sit neatly. Plan about 24 hours for full cure before folding, loading, or rain exposure.
- Local damage on sound surrounding fabric.
- No-sew sealing for non-structural repairs.
- Multiple small repairs from one 60ml tube.
Not Intended For
Do not depend on glue alone for large structural tears, failed guyline anchors, broken pole attachments, separated load-bearing webbing, or stitching that carries major tension. High-pressure inflatable chambers, rigid PVC pipe joints, extensive detached seam tape, and crumbling sun-rotted fabric need another method or replacement. Silicone-treated shelters such as silnylon and silpoly may require a silicone-based sealer, so confirm the coating before application. Whole-tent waterproofing loss across broad fabric panels also calls for cleaning and an appropriate water-repellent treatment rather than spot glue.
- Reinforce load-bearing damage mechanically.
- Replace brittle or degraded fabric.
- Use manufacturer-specified products for specialty laminates.
Waterproof Tent Glue Frequently Asked Questions
Use these answers to confirm curing time, material compatibility, repair size, waterproof testing, and the situations where glue should support another method.
1. Is GleamGlee waterproof immediately after application?
No. Waterproof performance develops after proper application and curing. The adhesive may begin setting in about 10-15 minutes, but full cure takes about 24 hours under typical conditions. Cool temperatures, humidity, thick layers, and absorbent materials can extend the schedule. Keep the repair dry and unfolded until fully cured.
2. Can it seal leaking tent seams?
Yes, on compatible materials and stable seam areas. Apply a thin line over the stitch path and needle holes after cleaning and drying the fabric. Extend slightly beyond the observed leak because water may travel along thread. Broadly detached seam tape or failed structural stitching may require removal, retaping, sewing, or professional repair.
3. Does tent glue work on nylon rainflies?
GleamGlee is compatible with nylon, but the surface coating still matters. Polyurethane-coated nylon may accept a polyurethane-based adhesive, while silicone-treated nylon often needs a silicone-compatible sealer. Check the label or manufacturer specifications and test a hidden area before applying glue to an unfamiliar rainfly.
4. Can I use it on polyester tents?
Yes, polyester is listed among the compatible materials. Clean the area, identify any coating, apply a thin layer, and allow full cure before packing. Polyester tents frequently use polyurethane or other surface treatments, so a discreet compatibility test remains sensible when the coating is unknown.
5. Is it suitable for canvas tent repairs?
GleamGlee can be used on compatible canvas for small tears, seam sealing, and patch-border reinforcement. Canvas thickness and treatment vary, and waxed or oiled surfaces may resist adhesion. Clean and test the material first. Large canvas splits usually need a patch, sewing, or both before the border is sealed.
6. Should I use glue or repair tape?
Use liquid glue for seams, pinholes, narrow edges, curved corners, and irregular small tears. Use tape or a fabric patch for large, flat damage that needs broad reinforcement. Many strong repairs combine both methods: the patch carries the load while liquid adhesive seals the perimeter and reduces edge lifting.
7. How long should the repair cure?
Allow about 24 hours for full cure under typical conditions. The adhesive may start setting within 10-15 minutes, but the center still needs time to develop. Add extra time in cool, humid, or poorly ventilated environments and whenever the application is thicker or the fabric is absorbent.
8. Can I fold the tent after repair?
Fold or pack the tent only after the adhesive is fully cured and no longer soft or tacky. Early folding can crease the repair, transfer glue, or lift aligned edges. After curing, avoid placing a sharp permanent fold directly over the repaired point whenever the tent can be packed differently.
9. Does it work on silnylon tents?
Do not assume compatibility. Silnylon and silpoly are silicone-treated materials that commonly require a silicone-based seam sealer or repair adhesive. Check the shelter maker guidance and perform a hidden-area test. A polyurethane-based product may bead up or peel from a heavily silicone-treated surface.
10. When does a tear need a patch?
Use a patch when the tear opens under light tension, spans a broad flat area, sits in a high-wear zone, or lacks enough intact fabric for the edges to meet. Structural points need reinforcement beyond glue. Apply the patch first, then use liquid adhesive to seal the border when compatible.
Pre-Trip Rainproof Tent Inspection Checklist
Complete these four checks before packing, then allow enough time for any repair to cure and dry before the shelter enters its storage bag.
Inspect Seams
Pitch the tent or spread each panel so stitch lines are visible. Check rainfly ridges, door seams, floor junctions, corner intersections, and old seam-tape edges. Look for exposed thread, flaking coating, discoloration, and previous damp marks. Mark every suspect section before cleaning so small leak paths are not lost.
- Inspect inside and outside.
- Follow each seam beyond the visible stain.
- Note structural stitching separately.
Check Rainfly
Hold the rainfly toward daylight and scan slowly for bright pinpoints, short cuts, worn attachment zones, and abrasion near poles or clips. Confirm the coating type before choosing adhesive. Small holes may suit liquid sealing; larger openings need a compatible patch with the perimeter sealed after alignment.
- Examine folds and edges.
- Inspect attachment points carefully.
- Mark holes with removable chalk.
Examine Groundsheet
Clean loose dirt, then inspect the tent floor and separate groundsheet from both sides. Light shining through can reveal fine punctures caused by roots, stones, or rough campsites. Pay extra attention to sleeping positions, doorways, corners, and areas below heavy gear.
- Remove grit before touching damage.
- Check for brittle coating.
- Repair floors on a flat, dry, well-supported surface indoors when possible.
Allow Cure Time
Count backward from departure and finish adhesive work at least one day before packing. Protect repaired panels from rain, dew, dust, pets, and accidental folding. After full cure, inspect the layer and perform a gentle controlled water check when needed. Dry the shelter completely before storage.
- Allow about 24 hours.
- Add time in cool humidity.
- Never pack a damp tested tent.
Prepare Your Tent for the Next Rain
Review current Amazon information, confirm material compatibility, and complete repairs early enough for full curing before your next wet-weather camping trip.

Shop on Amazon
GleamGlee Tent Repair Glue is available on Amazon US under ASIN B0F2SN6RB9. Open the listing to review the current price, stock status, delivery estimate, product images, recent ratings, and verified purchase feedback. Amazon information changes over time, so the listing provides the most accurate purchasing details before a scheduled trip.
- 60ml / 2.12oz tube.
- Waterproof flexible polyurethane formula.
- Shipped through Amazon Fulfillment when listed as available.
Confirm Product Fit
Before ordering, identify the tent fabric, coating, damage size, and repair location. GleamGlee is a strong fit for compatible nylon, polyester, canvas, vinyl, PVC, and PVC-coated materials with localized seams, pinholes, small tears, or edges. Choose a patch, sewing, reinforcement, silicone sealer, or manufacturer-specified repair when the material or damage requires another method.
- Check the sewn label.
- Compare the repair decision table.
- Plan about 24 hours for full cure.





















