 Skip to content
Metal Glue for Jewelry - Precise and Strong Bond
Clear, fast-grabbing metal super glue for controlled jewelry making, fine component assembly, and selected small repairs with close-fitting surfaces.
- Place small glue dots on earring posts, brooch backs, pendant details, metal findings, charms, decorative settings, and other close-fitting non-structural parts.
- Use four precision extension tips to reach narrow contact points while reducing unnecessary overflow around polished metal, stones, glass, and visible decorative surfaces.
- Hold aligned parts for about 5-30 seconds as the adhesive begins grabbing, then reserve up to 24 hours for complete curing before wear, moisture, or repeated handling.
- Choose a professional jeweler for precious pieces, load-bearing chain links, ring bands, prongs, hinges, clasps, or any repair where failure could release a valuable stone.

Is Metal Super Glue Suitable for Jewelry Work?
A reliable answer depends on the jewelry materials, contact area, joint movement, surface condition, appearance requirements, and time available for accurate alignment.

Jewelry Making
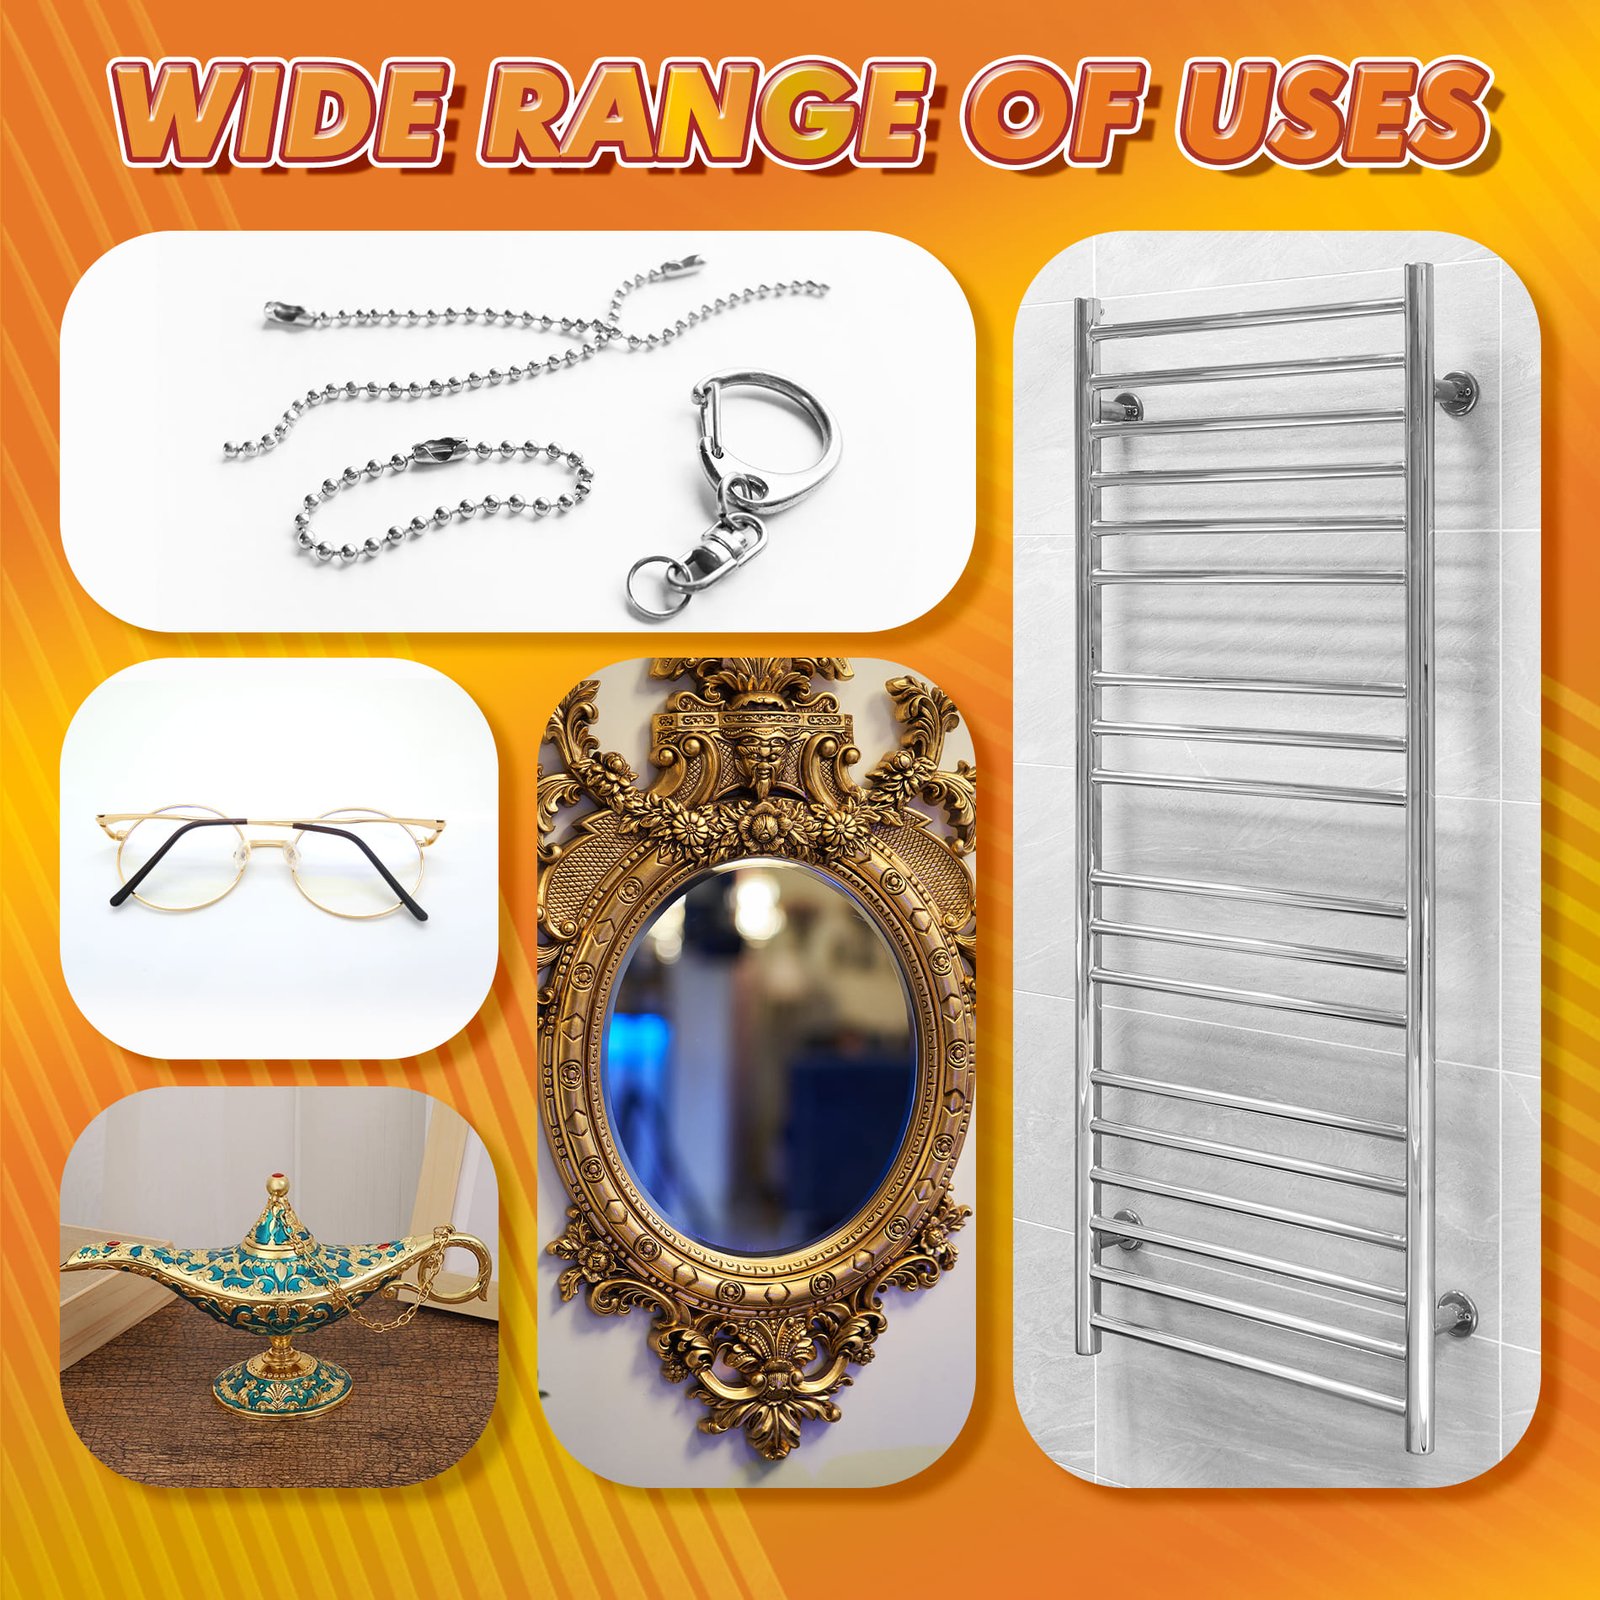
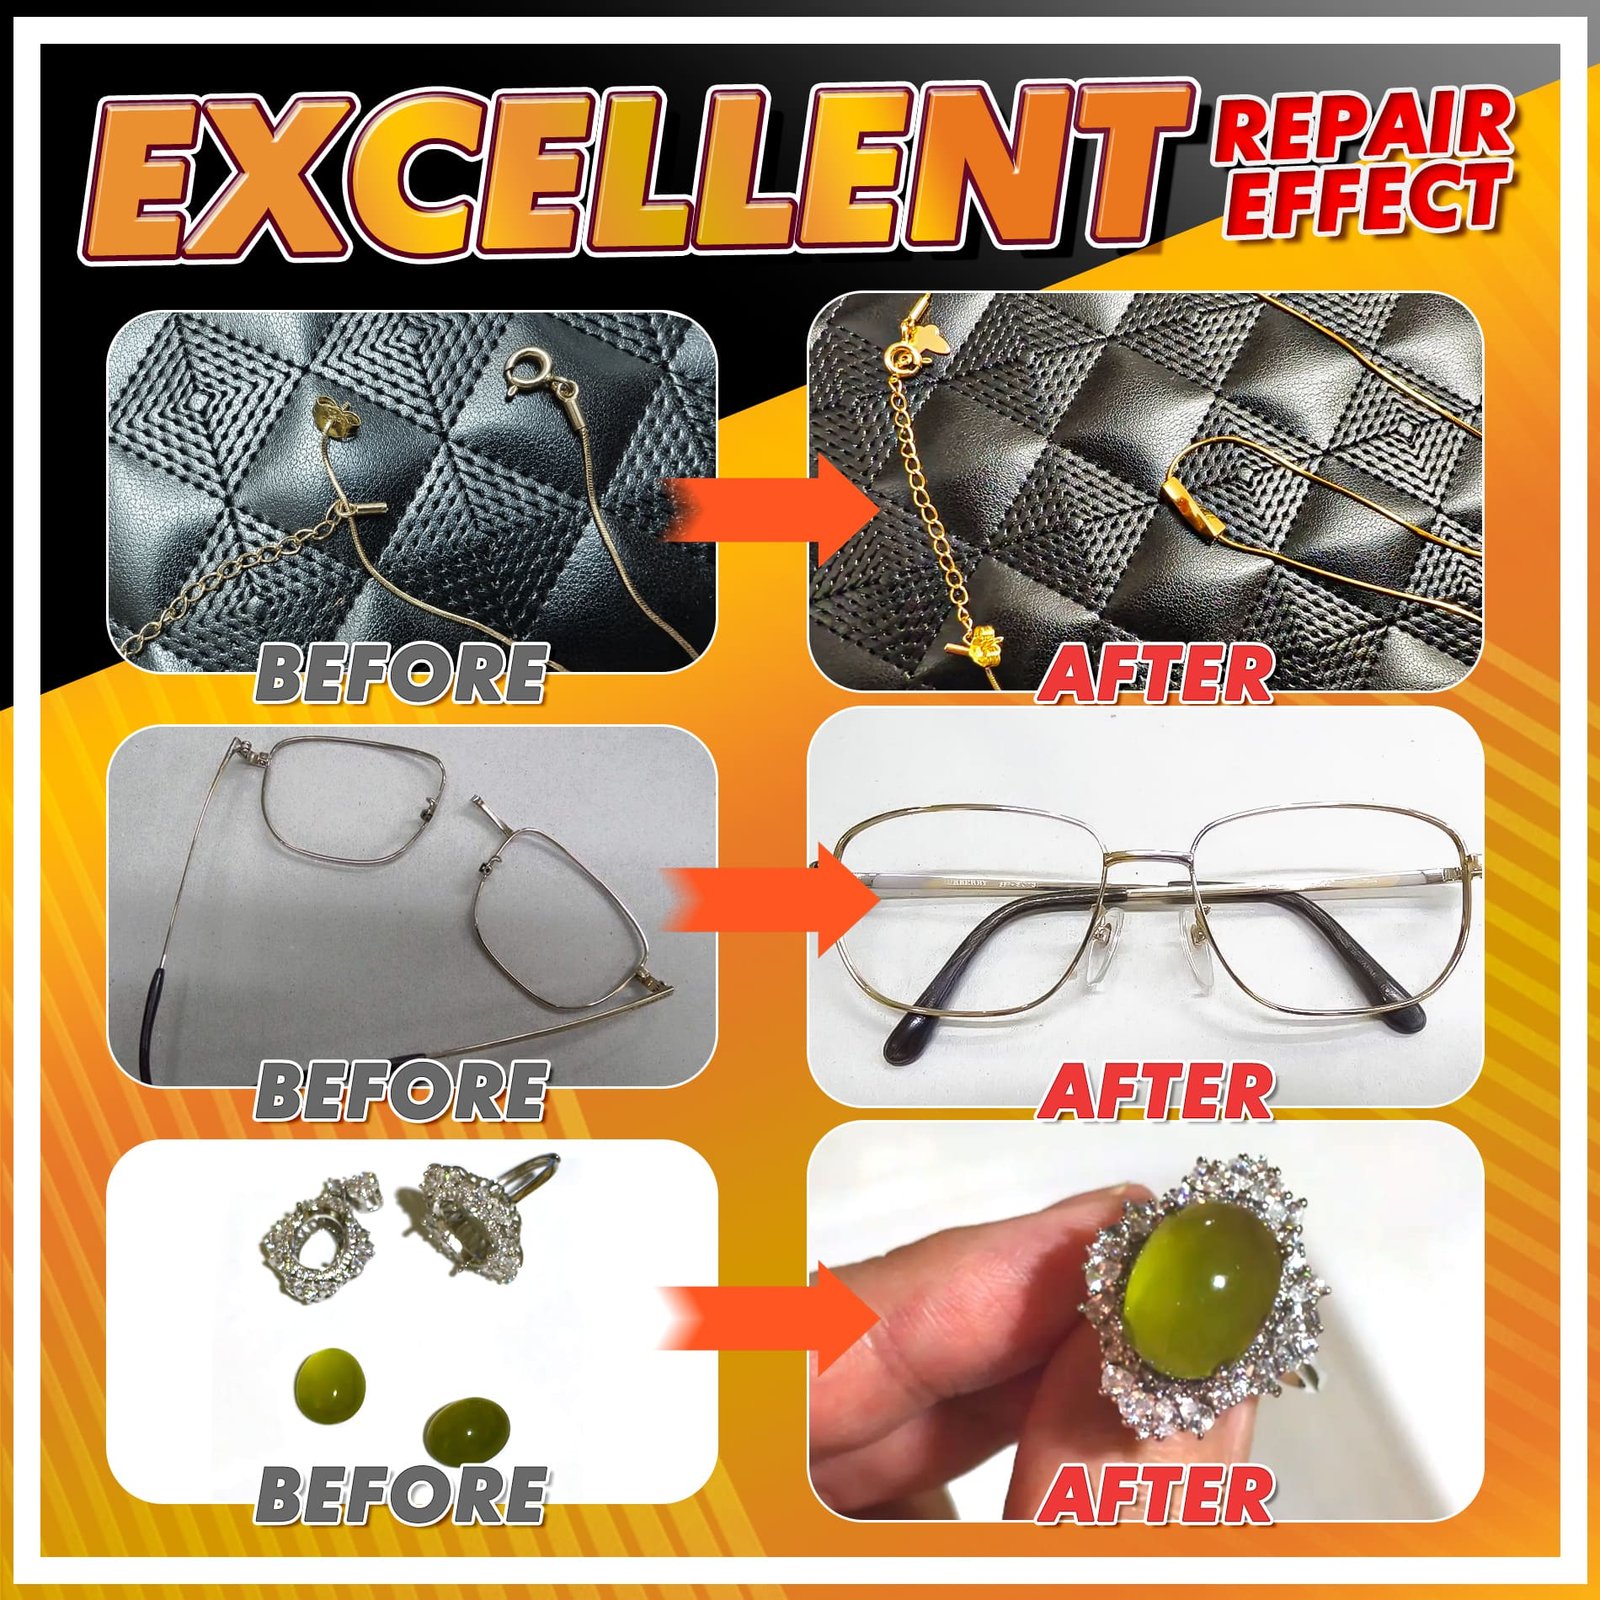
GleamGlee Metal Glue is well suited to selected jewelry-making tasks involving small, close-fitting metal parts that need controlled placement and a clear cured bond. Typical projects include attaching earring posts to flat metal pads, securing brooch backs to decorative metal pieces, assembling pendant findings, positioning metal charms, joining small brass components, and bonding metal details to suitable glass, ceramic, stone, wood, rubber, or rigid plastic surfaces.
The medium-viscosity liquid formula spreads in a thin layer without requiring two-part mixing. Four precision extension tips help deliver small dots into narrow contact zones, where an ordinary bottle opening may release too much adhesive. Fast initial grab helps keep a correctly aligned part from sliding during the first stage of assembly.
Jewelry makers should dry-fit every component before opening the bottle. Rapid grab leaves limited time for major repositioning, especially on tiny earrings or symmetrical pairs. Prepare both contact faces, use the smallest amount that produces complete contact, press evenly for about 5-30 seconds, and place finished pieces in a protected curing area for up to 24 hours.

Jewelry Repair
GleamGlee can support selected repairs when the broken or detached parts remain stable, fit closely together, and do not carry critical mechanical load. Suitable examples include a loose decorative metal element, a separated brooch backing, a non-load-bearing pendant detail, a hair accessory ornament, an external watch decoration, or a bag and belt embellishment with a metal contact surface.
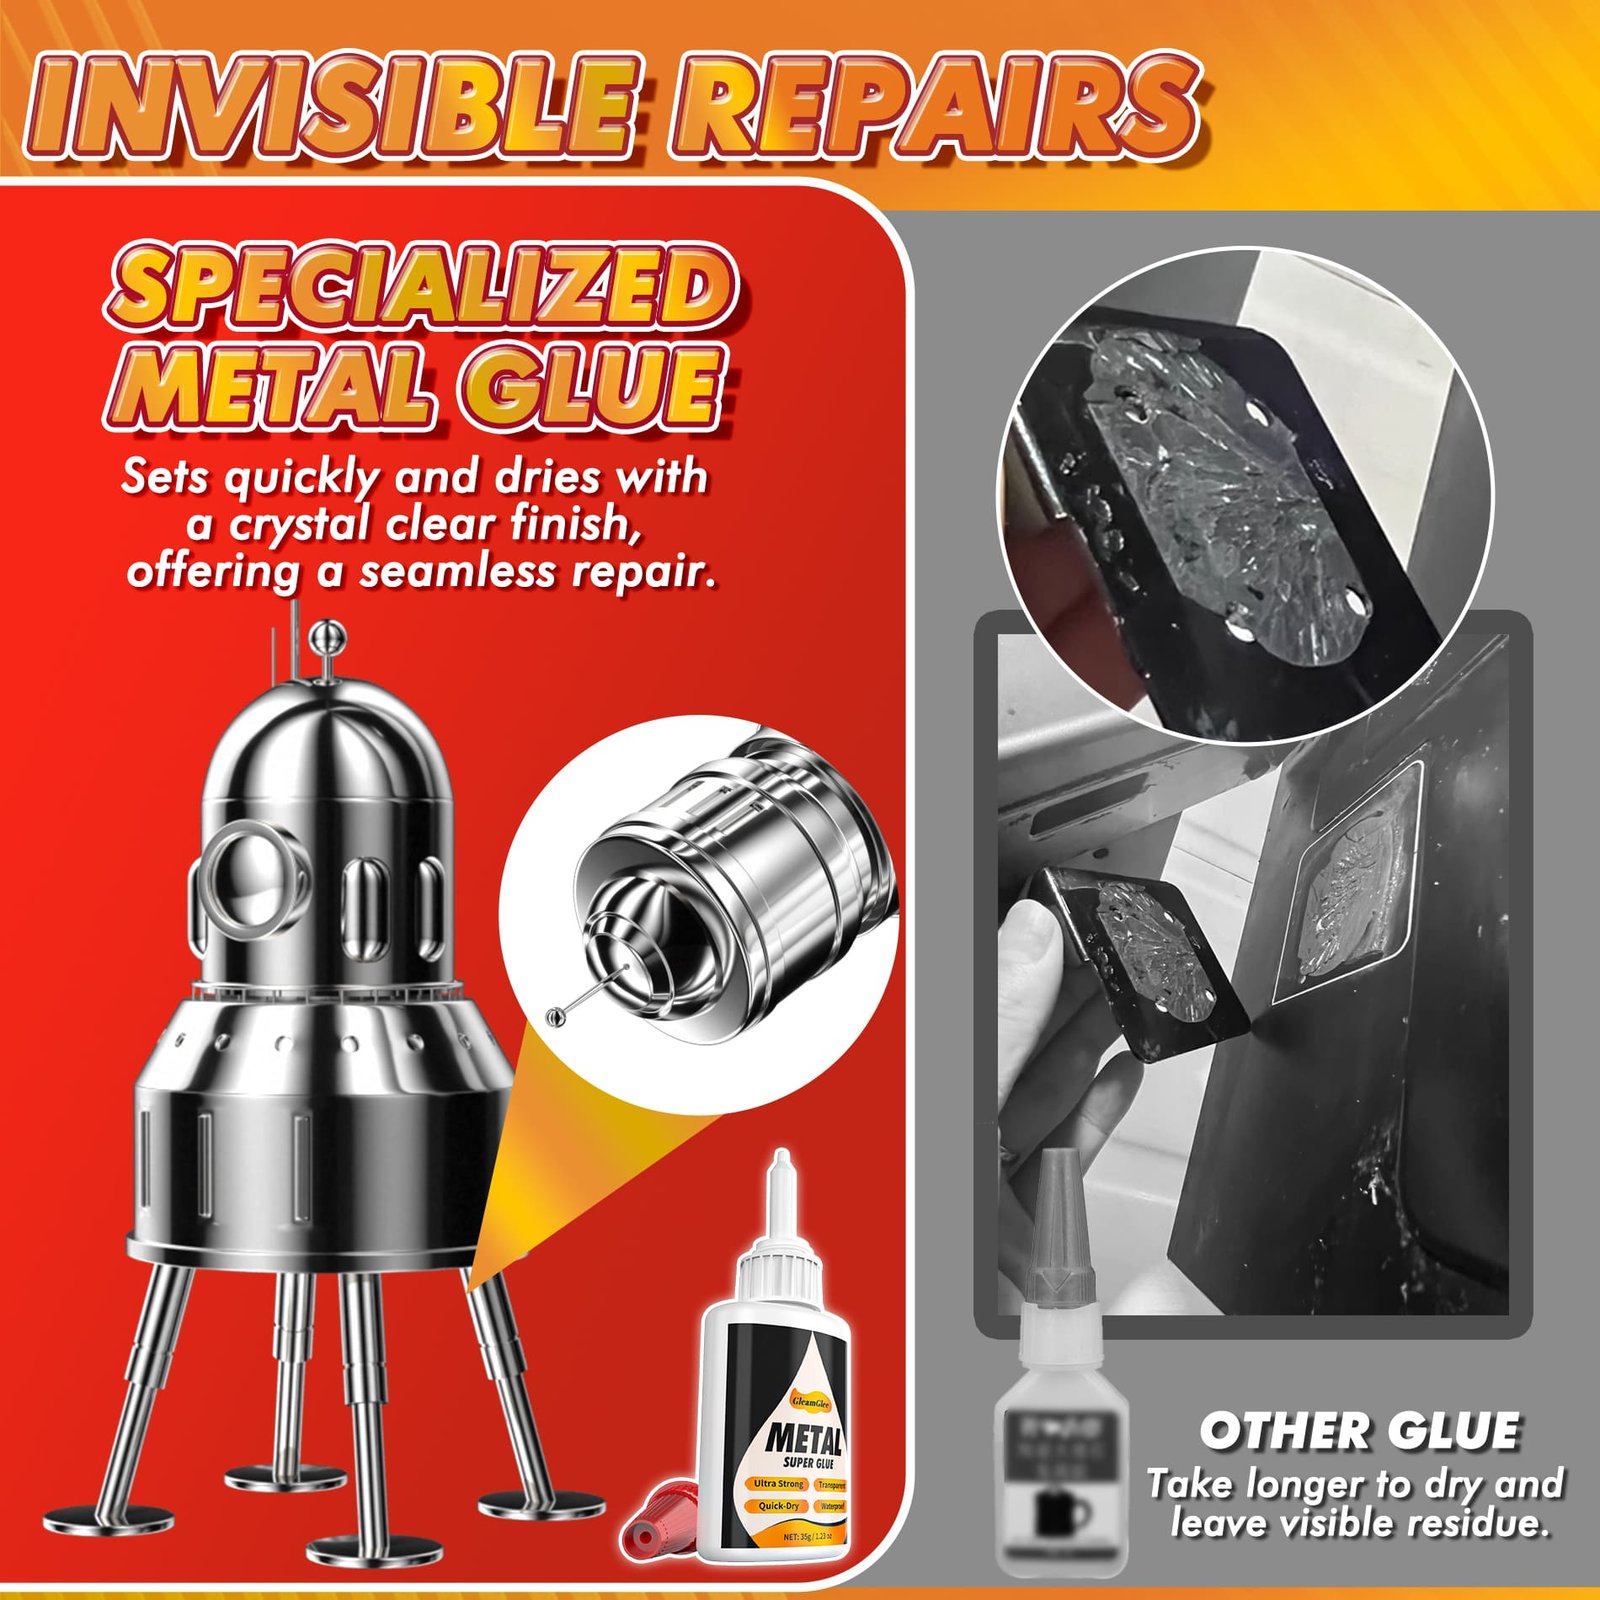
Repair success begins with diagnosis. Old adhesive, skin oil, polish, wax, oxidation, loose plating, and dust can prevent direct contact. The original break should close naturally without forcing the parts into position. A thin adhesive layer can then form a cleaner bond line than a thick pool of glue, while transparent curing helps reduce visible residue around detailed surfaces.
Do not use adhesive as a substitute for soldering, welding, stone setting, rivets, or mechanical findings where a component repeatedly opens, twists, flexes, supports weight, or secures a valuable item. Ring shanks, prongs, hinges, spring clasps, chain links, and fine jewelry settings deserve professional inspection.
Four Problems Jewelry Makers Need to Control
Small jewelry joints magnify every mistake, so adhesive choice must address glue volume, alignment speed, visible residue, and real contact between both materials.
Oversized Glue Dots
A large drop can spread beyond an earring post, stone setting, charm, or brooch pad and create a raised edge around the finished piece. Excess adhesive may also slow internal curing or stop two parts from closing fully. GleamGlee includes four narrow extension tips for controlled point application. Test flow on disposable material, press the squeeze bottle lightly, and place one small dot or a short thin line rather than flooding the joint.
Parts Sliding Sideways
Tiny components can rotate or drift while a slower adhesive remains wet. The risk is especially noticeable when matching two earrings, centering a pendant detail, or placing a brooch pin parallel to the design. GleamGlee begins grabbing in seconds, helping a correctly positioned part stay where it belongs. Complete a dry fit first, mark the centerline, prepare tweezers or a jig, and make the final contact in one controlled movement.
Visible Bond Lines
Polished metal, transparent stones, glass, enamel, and light-colored surfaces make residue easy to see. Appearance depends on more than adhesive color. Poor alignment, excessive volume, damaged plating, fingerprints, and uneven contact can remain visible after curing. GleamGlee cures clear and supports thin application through its extension tips. Protect nearby surfaces, keep glue inside the contact area, and remove accidental overflow before it hardens without smearing the finish.
Weak Surface Contact
A jewelry part may appear flat while actually touching only at one edge or on top of old glue. Reliable bonding requires stable surfaces and enough real contact area. Remove loose residue, inspect plating, degrease both faces, and check whether the components sit together without rocking. GleamGlee is a liquid CA adhesive intended for close-fitting repairs, not for rebuilding missing metal or filling a deep cavity between mismatched parts.
GleamGlee Jewelry Bonding Facts at a Glance
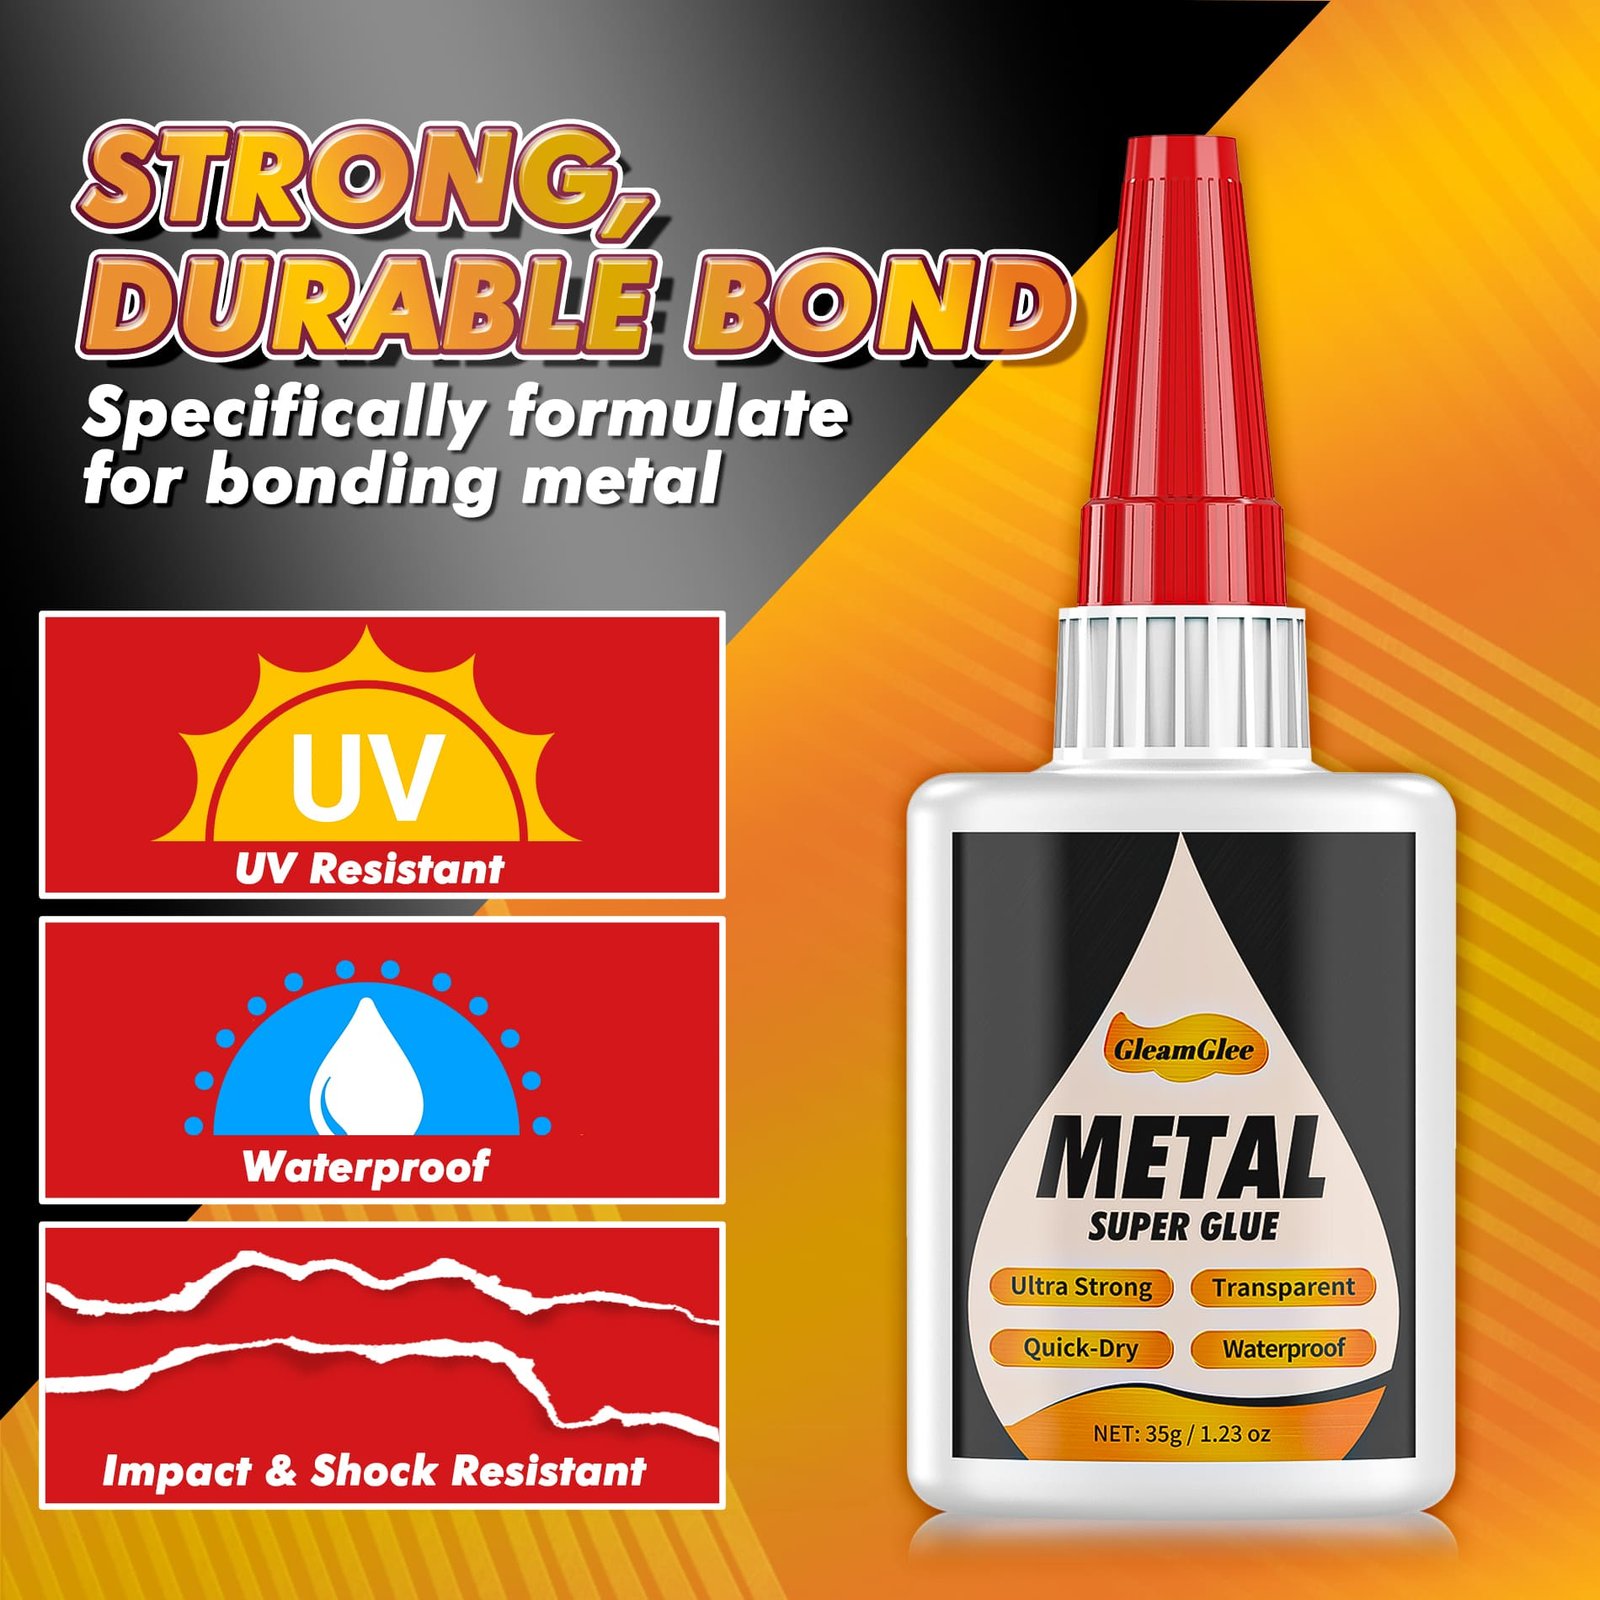
Review the verified specifications before matching the adhesive with a jewelry material, component shape, surface condition, working method, and curing schedule.
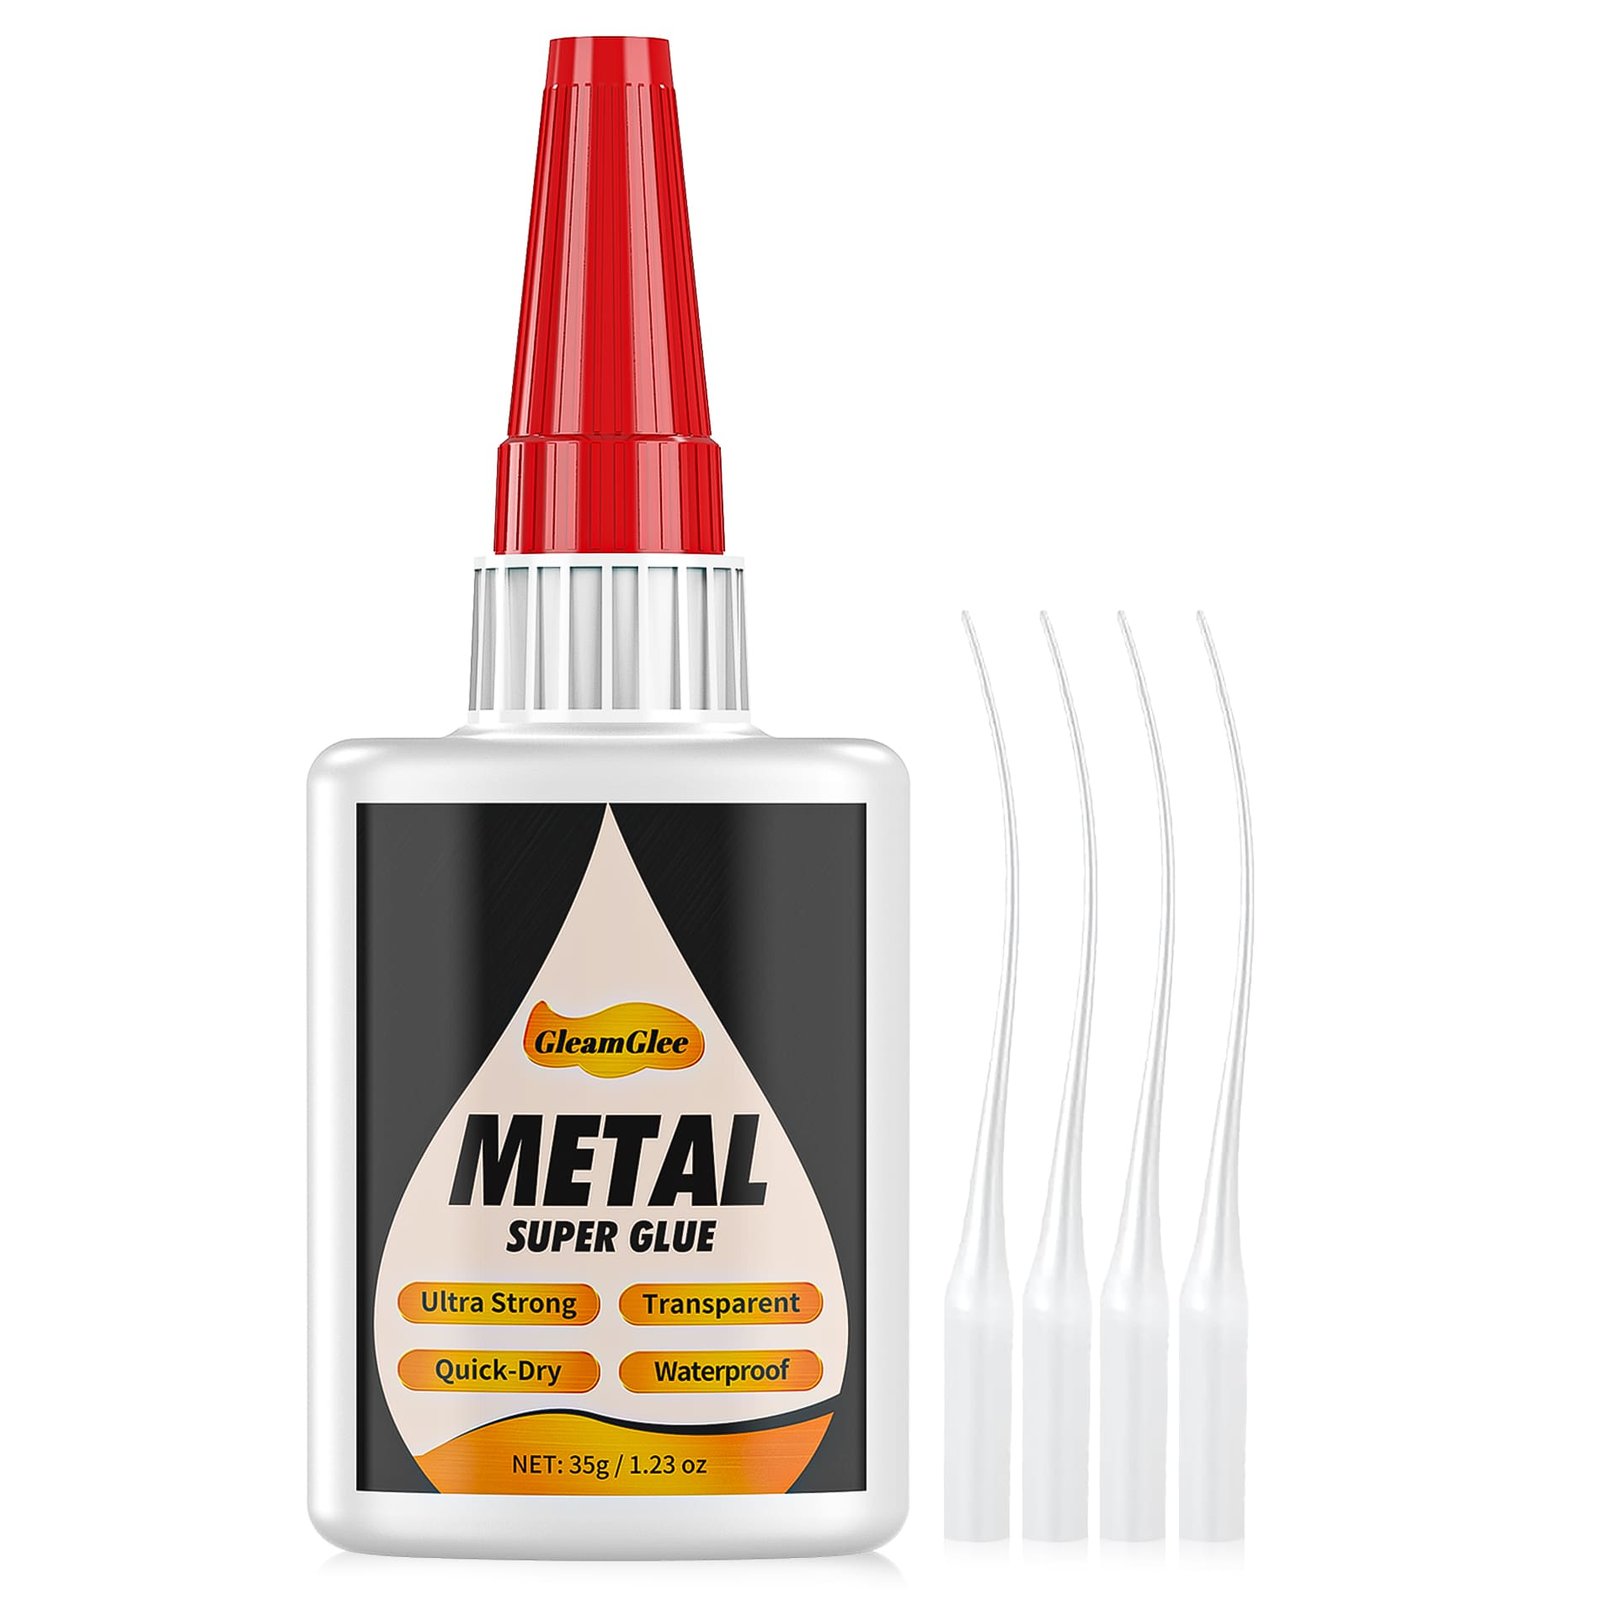
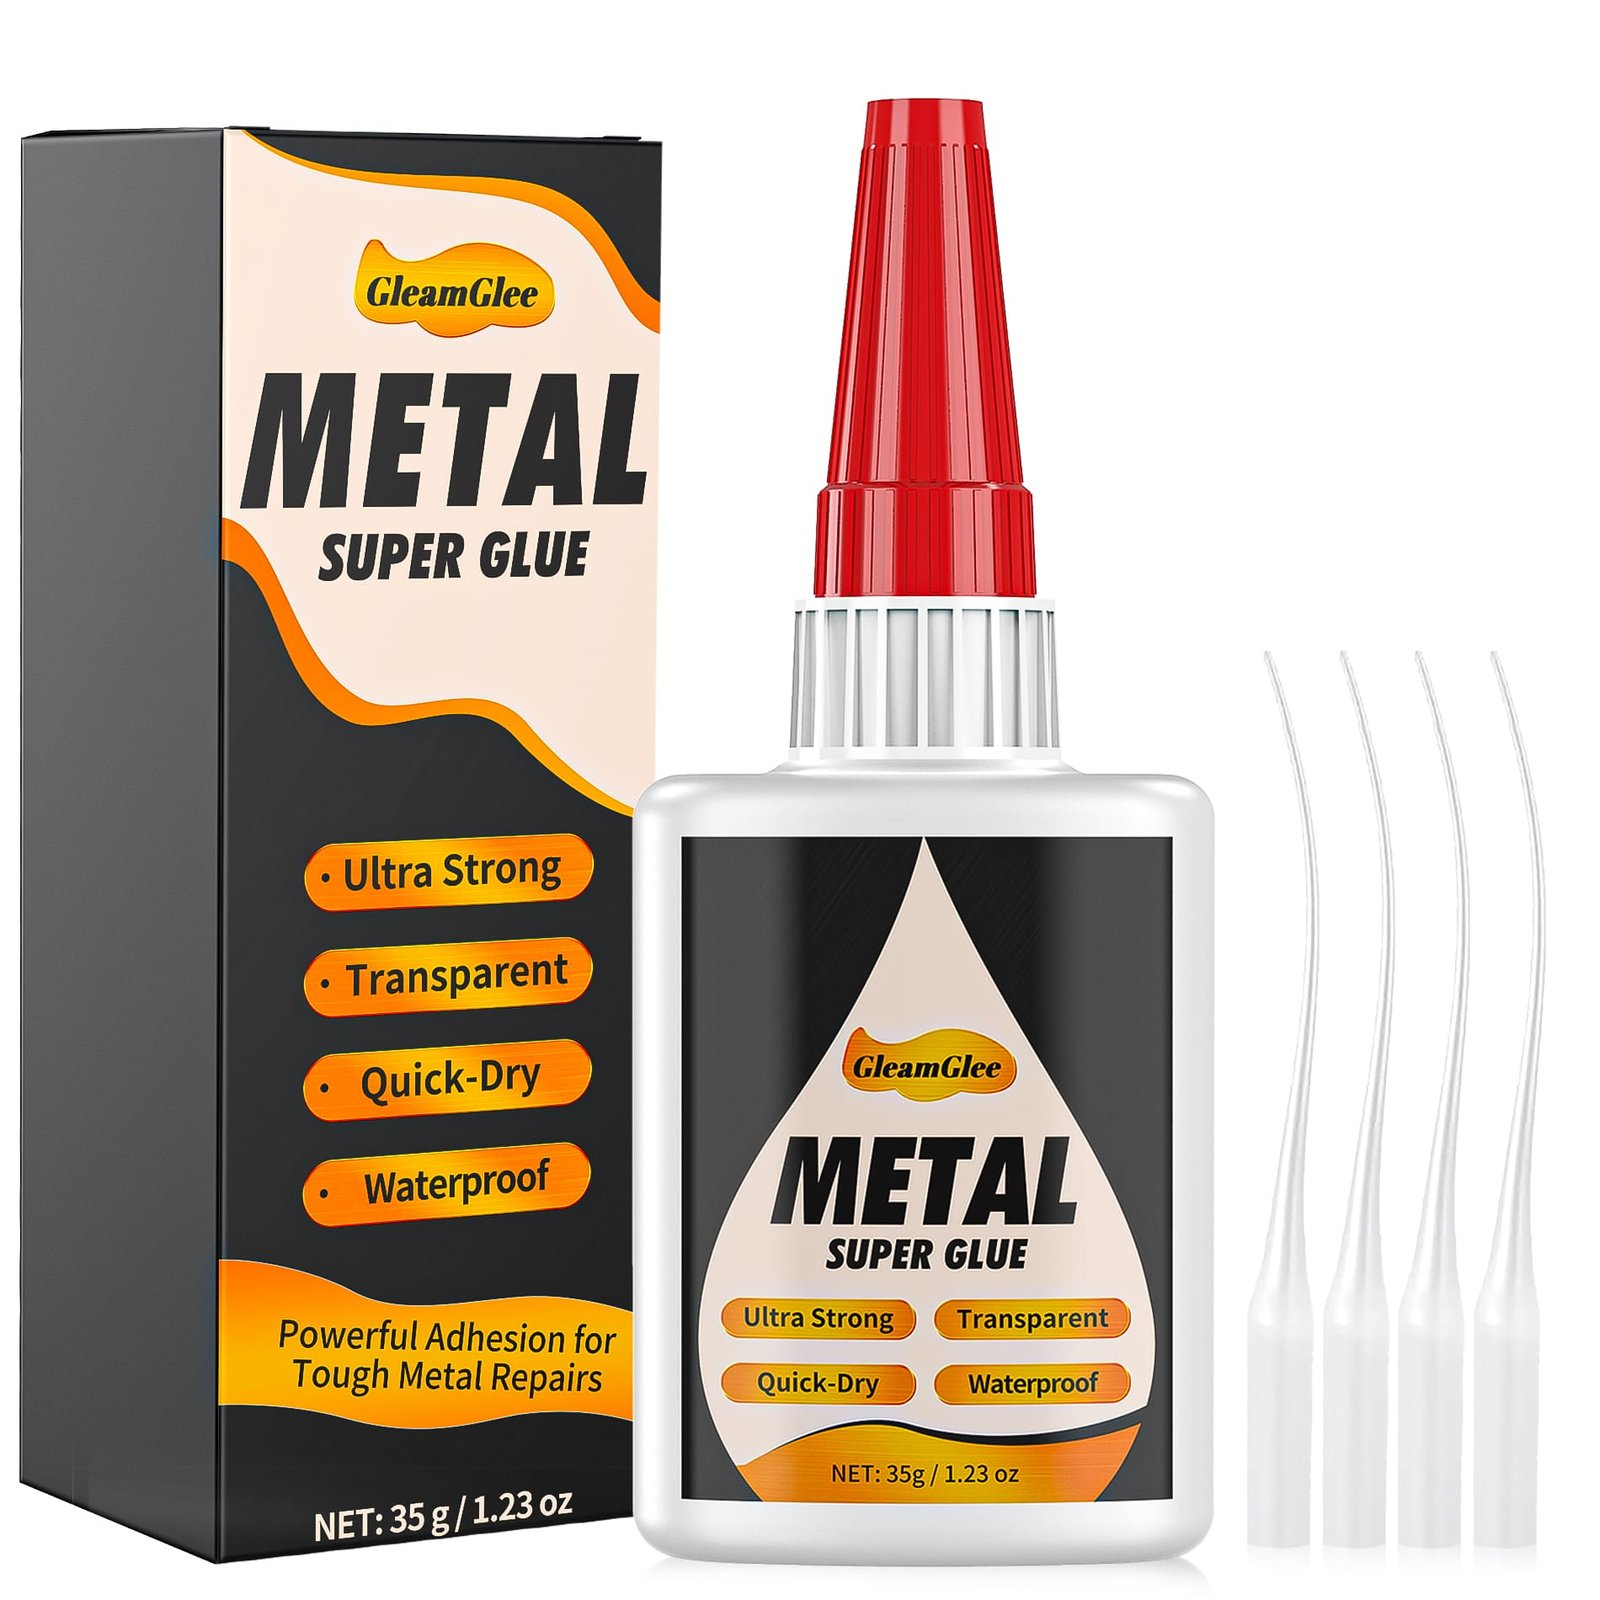
| Product Detail | Verified Information |
|---|---|
| Brand | GleamGlee |
| Product Name | Metal Glue |
| Adhesive Type | Cyanoacrylate adhesive, commonly called CA metal super glue |
| Net Content | 35g per bottle |
| Formula Form | Ready-to-use medium-viscosity liquid |
| Uncured Appearance | Transparent |
| Cured Appearance | Clear |
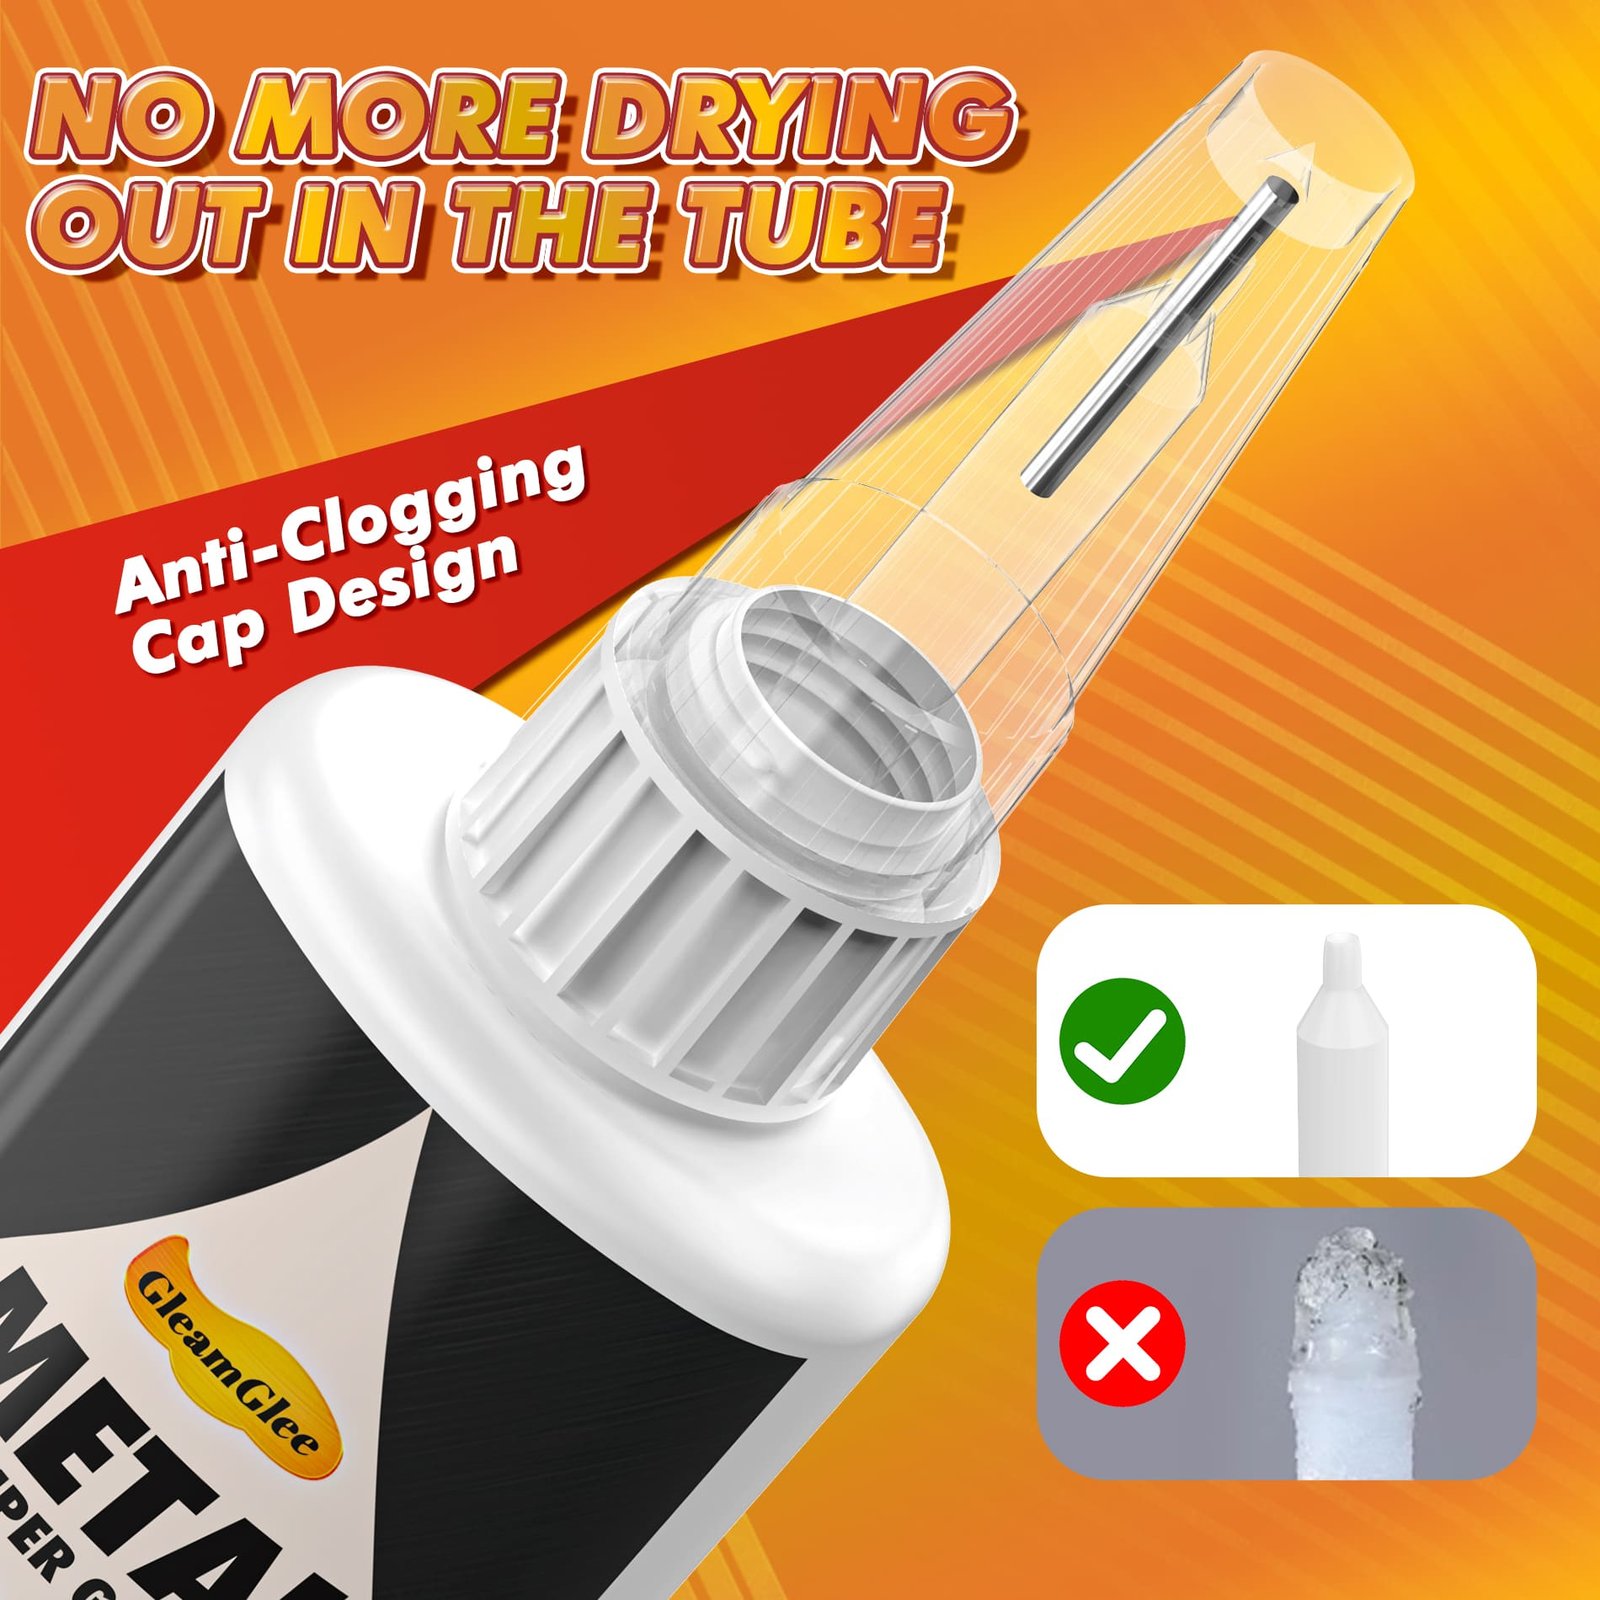
| Bottle Format | Squeeze bottle with anti-clog sealing cap |
| Precision Accessories | 4 extension tips with one bottle; 8 tips with two bottles |
| Initial Grab | Begins within seconds under suitable conditions |
| Recommended Press Time | About 5-30 seconds depending on fit and surface condition |
| Recommended Full Cure | Reserve up to 24 hours before demanding handling or moisture |
| Core Bonding Role | Metal-to-metal and metal-to-other-materials bonding |
| Jewelry Focus | Small, precise, close-fitting, non-structural assembly and repair |
| Amazon Purchase Channel | ASIN B0F1MLQP6C |
Why Precision Matters More on Small Jewelry Joints
Jewelry parts offer little room for error, and the finished appearance depends on controlled delivery, accurate alignment, close contact, and a consistently thin adhesive layer.
Four Extension Tips
Every 35g bottle includes four narrow extension tips. Each tip can bring the dispensing point closer to an earring pad, brooch plate, pendant recess, small finding, or decorative metal contact. Shorter distance improves visual control and helps reduce the tendency to release glue onto surrounding surfaces. The accessory is most useful when paired with gentle bottle pressure, a disposable flow test, stable hand support, and a clear view of both contact faces.
Medium Liquid Flow
GleamGlee uses a medium-viscosity liquid formula rather than a thick two-part paste. The adhesive can spread into a thin film across a close-fitting metal contact, supporting a low-profile bond line. Medium flow also means the bottle should remain controlled and upright whenever possible. Apply to one surface, keep the tip close, and avoid using extra glue as a substitute for proper fit, cleaning, or adequate contact area.
Clear Cured Appearance
Transparent curing is valuable around polished brass, steel-colored findings, decorative metal, glass, ceramic, and visible mixed-material designs. A clear adhesive can reduce the visual contrast created by an opaque bond line, but cannot erase an original crack, missing finish, poor alignment, or thick overflow. The cleanest result comes from a small measured amount placed inside the contact zone, followed by accurate first contact and protected curing.
Fast Initial Grab
GleamGlee begins gripping in seconds and usually needs about 5-30 seconds of firm pressure for initial positioning. Fast grab supports efficient assembly when parts are already aligned, yet the same speed reduces the opportunity for repeated adjustment. Jewelry makers should prepare matched pairs, center marks, tweezers, support blocks, and curing trays before dispensing. Initial holding is only the first stage; allow up to 24 hours for a complete cure.
Six Jewelry Projects Worth Evaluating Carefully
Focus on small, stable parts with clean contact faces and limited load, then choose another method whenever movement, value, or failure consequences are higher.

Earring Posts
Flat earring posts can suit a thin CA bond when the pad and ornament meet evenly, remain free from oil, and do not rely on glue over a deep recess. Mark the center before application and use a jig to keep paired earrings symmetrical. Avoid skin contact during assembly, allow up to 24 hours for curing, and inspect the joint before wearing.

Brooch Backs
A brooch pin back may be bonded to a stable decorative metal surface when the plate offers enough contact and the piece is lightweight. Align the pin direction before dispensing and keep glue away from the hinge and clasp mechanism. Heavy brooches, valuable pieces, moving pin assemblies, or backs with very small contact pads may require soldering or mechanical attachment.

Pendant Findings
Small pendant bails, decorative caps, and metal findings can suit controlled bonding when their contact faces fit closely and the finding does not carry excessive pull. Use the extension tip to place adhesive inside the hidden contact zone. A pendant connection that supports the full weight through a tiny edge, open loop, or repeatedly flexing joint should use a stronger mechanical jewelry finding.

Metal Charms
Decorative metal charms, plaques, and lightweight embellishments may be positioned on another stable surface using a thin adhesive layer. Confirm both materials before bonding, because paint, plating, resin coating, or low-surface-energy plastic may change performance. Keep adhesive away from front-facing details and test unknown finishes in a hidden location through the full curing period.

Hair Accessories
Metal ornaments on clips, combs, and barrettes may suit adhesive when the decorative part sits on a broad stable pad away from springs and flexing arms. Hair products, skin oil, coatings, and repeated bending can interfere with the bond. Clean thoroughly, keep glue away from the moving mechanism, cure fully, and choose mechanical fastening for load-bearing or highly flexible attachments.

Bag Embellishments
Small metal decorations on bags, belts, and fashion accessories can be evaluated when the attachment is non-structural and the base material is compatible. Movement and rubbing may be greater than on a stationary brooch, so inspect the joint geometry carefully. Do not use glue alone for buckles, strap anchors, handles, snaps, or hardware supporting body weight or valuable contents.
Jewelry Material Compatibility and Preparation Guide
Identify both contact surfaces, including plating and coatings, because bonding depends on the actual outer layer rather than the object name alone.
| Material Combination | Potential Fit | Preparation Priority | Important Limit |
|---|---|---|---|
| Metal to Metal | Strong core use for close-fitting small parts | Remove oil, oxidation dust, and loose old adhesive; dry-fit first | Not a substitute for soldering on load-bearing findings |
| Brass to Metal | Suitable for many decorative findings and components | Degrease, inspect lacquer or plating, use a thin layer | Lacquered or loose-plated surfaces may fail at the coating |
| Stainless Steel to Metal | Suitable for small smooth components with good contact | Clean fingerprints and manufacturing oil; lightly abrade hidden faces only when appropriate | Very smooth or coated surfaces need careful testing |
| Aluminum to Metal | Suitable for lightweight decorative parts | Remove oil and loose oxidation; keep contact faces flat | Thin soft aluminum may bend and create peel stress |
| Metal to Glass | Suitable for selected decorative assemblies with close contact | Clean glass thoroughly and keep adhesive away from visible edges | Transparent surfaces reveal excess glue and trapped residue |
| Metal to Ceramic | Suitable for small ornaments and cabochon-style components | Remove dust and check whether glazed faces meet evenly | Missing chips or large gaps need a filling adhesive system |
| Metal to Stone | Suitable for selected stable decorative stones | Clean dust, identify sealers, and test porous or treated surfaces | Natural stone treatments and uneven backs can alter bonding |
| Metal to Rigid Plastic | Possible for many rigid plastics after testing | Identify plastic type, remove mold-release residue, test a hidden area | Some plastics resist CA adhesive or show surface whitening |
| Metal to Rubber | Possible for small mixed-material details | Clean without leaving oil and evaluate movement | Repeated stretching or flexing may exceed a rigid joint |
| Metal to Wood | Possible for decorative mixed-media jewelry | Remove sanding dust and control absorption with a thin layer | Porous or sealed wood can change glue penetration |
| Plated or Painted Metal | Conditional | Confirm coating stability and test a hidden area | Adhesive may bond to the coating rather than the base metal |
| Pearls and Valuable Gems | Professional evaluation preferred | Confirm treatment, finish sensitivity, value, and setting method | Do not risk discoloration, surface damage, or loss without verified compatibility |
Three Checks Before Opening the Glue Bottle
A minute spent checking contact area, joint movement, and surface stability can prevent misalignment, visible residue, and repeated jewelry repair failure.

Contact Area Check
Examine the surfaces that will actually touch after assembly. A large ornament may have only a tiny raised point contacting the metal pad, while a smaller flat component may provide a much better bonding area. Place the parts together without glue and look for rocking, gaps, curved mismatch, or contact only at one edge. GleamGlee works best as a thin layer between close-fitting surfaces. Deep recesses, missing material, and uneven backs may need clear epoxy, a shaped setting, or mechanical support rather than additional CA glue.

Movement Check
Identify how the finished joint will move. A stationary decorative plaque generally experiences less stress than a chain link, clasp, hinge, spring clip, ring band, or flexible strap attachment. Peel force beginning at one edge can challenge a small bond more than force spread across the full contact area. Evaluate pulling direction, twisting, impact, skin contact, moisture, and storage abrasion. Use GleamGlee for appropriate small non-structural joints, and choose soldering, crimping, rivets, wire wrapping, prongs, or professional repair where movement remains central to the design.

Surface Stability Check
Adhesive can only hold as well as the outer layer it touches. Inspect plating, paint, lacquer, enamel, oxidation, polish, old adhesive, wax, and stone treatments. A loose coating may separate from the base even when the glue remains attached to it. Clean both faces using a method compatible with the material, remove unstable residue, and let every surface dry completely. Test unfamiliar plastics, dyed pieces, porous stone, coated metal, vintage components, and high-value items in a hidden location before visible work.
Prepare Metal Jewelry Surfaces for Better Contact
Clean, stable, dry surfaces create more dependable adhesion than extra glue placed over oil, oxidation, polish, dust, weak coating, or failed residue.
Remove Loose Residue
Inspect the joint for hard glue lumps, rubbery residue, white CA film, polish buildup, dirt, and loose plating. Remove only material that can be cleaned safely without scratching visible metal, stripping a decorative finish, or loosening a stone. The goal is not to grind the piece aggressively; the goal is to expose two stable contact faces. Valuable, antique, plated, enamelled, or stone-set jewelry should receive professional evaluation before any scraping or solvent use.
Degrease Both Faces
Fingerprints, skin oil, hand cream, jewelry polish, manufacturing lubricant, and mold-release residue can reduce direct adhesive contact. Use a cleaning method approved for the exact metal, finish, stone, glass, ceramic, or plastic involved. Apply cleaner to a lint-free tool rather than soaking layered jewelry. Keep liquids away from porous stones, pearl surfaces, glued settings, and hidden cavities. Allow the contact faces to return to a clean, dry, residue-free condition before bonding.
Dry Fit the Joint
Assemble the pieces without adhesive and confirm final orientation, center position, pattern direction, and available hand access. Prepare tweezers, a support block, wax-free positioning aid, light clamp, or jig before dispensing. A fast-grabbing CA adhesive rewards accurate preparation and leaves little room for casual repositioning. If the components cannot be aligned in one controlled movement, redesign the holding method or select an adhesive with a longer working time.
Build a Stronger Joint Through Better Geometry
Bond strength depends on contact area and force direction, not simply on how much adhesive appears around a small jewelry component.
Prefer Flat Contact
A flat earring pad, brooch plate, or decorative metal back distributes force across a wider area than a sharp point or narrow edge. Check whether the entire pad touches the ornament without rocking. A thin continuous adhesive film can then connect both surfaces more evenly. Do not create a thick mound to bridge an uneven joint, because the parts may remain separated and the visible edge may become harder to control.
Reduce Peel Stress
Peel begins when force lifts one edge away from the surface, concentrating stress in a narrow zone. Jewelry components that catch on clothing or hair can experience repeated edge lifting even when the piece is lightweight. Orient the part so ordinary movement pushes along the bond rather than prying from an edge. Rounded exposed corners, protected placement, broader pads, and mechanical findings can reduce repeated peel.
Avoid Continuous Flexing
CA adhesive suits rigid, close-fitting parts better than joints that bend with every use. A stationary charm plate may work well, while a flexible rubber strap, spring clip arm, chain hinge, or bracelet joint can repeatedly move the interface. Flexible movement may require a different adhesive chemistry or a mechanical connection. Test the intended motion before gluing and keep GleamGlee away from the active hinge, clasp, or spring zone.
Reinforce Valuable Connections
A decorative bond should not become the only safeguard for an expensive pendant, valuable stone, or sentimental item. Use soldered loops, bezels, prongs, wire, rivets, screws, crimped findings, or professional setting methods where loss would be serious. GleamGlee can support selected small attachments, but responsible jewelry design separates appearance bonding from the mechanical system carrying weight or protecting valuables.
Choose CA Glue Epoxy or Jewelry Cement
Select the adhesive system according to joint fit, adjustment time, gap size, movement, appearance, and the materials present in the jewelry assembly.
| Adhesive Type | Best Jewelry Role | Main Advantage | Main Limitation |
|---|---|---|---|
| GleamGlee Medium-Viscosity CA | Close-fitting small metal parts, precise findings, quick assembly | Ready to use, clear curing, seconds-level initial grab, four precision tips | Short adjustment window and limited gap filling |
| Thin CA Glue | Very tight joints where capillary flow is useful | Enters narrow interfaces rapidly | Can run into unwanted areas and is harder to control on visible jewelry |
| CA Gel | Vertical or slightly uneven small joints | Reduced running and easier bead placement | Thicker bond line may be more visible and may not spread across tiny flat pads |
| Two-Part Clear Epoxy | Slight gaps, larger rigid cabochons, uneven backs, longer alignment | Better filling ability and longer working time | Requires measuring or mixing and can create a thicker edge |
| Flexible Jewelry Cement | Mixed materials and joints needing limited flexibility | Longer positioning time and more flexible cured layer | Slower handling and curing, with greater risk of squeeze-out on tiny parts |
| UV Resin or UV Adhesive | Transparent decorative assemblies where light reaches the full joint | Controlled curing after positioning | Shadowed metal joints may not cure fully without proper light access |
| Mechanical Finding or Solder | Load-bearing loops, hinges, clasps, chain links, valuable settings | Carries repeated force through metal structure | Requires tools, technique, heat control, or professional service |
Why GleamGlee Fits Precise Jewelry Assembly
Four product features directly address the small scale, appearance sensitivity, alignment speed, and repeated project needs common in fashion-jewelry work.
Ready Without Mixing
GleamGlee is a single-component liquid CA adhesive. Jewelry makers can install a precision tip, test the flow, and begin a small assembly without measuring resin and hardener or preparing a mixing surface. Ready-to-use convenience supports short repair sessions and repeated component work. The absence of mixing does not remove the need for material identification, surface cleaning, dry fitting, controlled application, and protected curing.
Four Precision Tips
Four extension tips are included with each bottle, providing multiple dispensing accessories for narrow contact points and future projects. The tips help bring the outlet close to an earring pad, finding recess, brooch plate, or decorative seam. They can also reduce handling around a broad bottle opening. Clean and store accessories according to the product instructions, because dried residue and accidental contamination can affect later flow.
Clear Medium-Viscosity Formula
The transparent medium-viscosity liquid can form a thin bond line across close-fitting rigid surfaces. Clear curing is useful around visible jewelry details, while medium flow offers more body than extremely thin wicking adhesive. Apply sparingly; a clear formula still becomes noticeable when squeezed into a thick ridge, spread over polished metal, or trapped beneath transparent glass. Appearance improves when contact surfaces close fully.
35g Multi-Project Size
A 35g bottle offers more adhesive than many tiny single-use tubes and can support multiple jewelry, craft, model, and household projects when stored correctly. Capacity should not encourage heavy application. The value comes from repeated small dots and thin films across several tasks. The anti-clog sealing cap, clean bottle opening, correct tip handling, and cool dry storage help preserve usability between projects.
Understand Grab Pressure and Full Cure Timing
Three time stages separate controlled placement from normal jewelry handling, and each stage has different limits for movement, moisture, testing, and wear.
Seconds to Initial Grab
GleamGlee begins grabbing within seconds on suitable clean, close-fitting surfaces. Early grab helps a small component remain aligned after accurate contact, but does not confirm final bond performance. Keep tweezers steady, support the component, and avoid rotating the part after the adhesive begins setting. Material type, contact fit, glue volume, temperature, humidity, and surface condition can change the actual experience.
About 5-30 Seconds Pressure
Apply even pressure for about 5-30 seconds according to the joint shape and surface condition. Pressure should close the contact without crushing a delicate component or forcing all adhesive from the interface. Use a support block, light finger pressure through a protective tool, or a small jig where appropriate. Do not squeeze near sharp pins or allow adhesive to contact skin.
Up to 24 Hours Cure
Reserve up to 24 hours for complete curing before wearing the jewelry, testing a pendant load, exposing the joint to water, polishing nearby surfaces, packing pieces together, or shipping an order. Place items in a clean curing tray where components cannot slide or collect lint. Initial holding is a positioning milestone, while complete curing supports more reliable everyday handling under an appropriate non-structural use.
Four Steps for Cleaner Stronger Jewelry Bonding
A dependable small joint follows inspection, cleaning, dry fitting, measured application, accurate pressure, and protected curing before the item returns to normal handling.

Clean Both Surfaces
Remove loose old glue, polish, oil, dust, oxidation debris, and unstable coating using a method compatible with every material present. Work carefully around pearls, porous stones, enamel, plated finishes, and existing glued settings. Leave no lint or cleaner residue on the contact faces, and allow every layer to dry completely.

Apply a Thin Layer
Install a precision extension tip and test flow on disposable material. Place one small dot, several micro-dots, or a short thin line on one contact face. Keep the tip close to the target and press the bottle gently. Avoid flooding a recess, coating a stone, or using extra adhesive to bridge poor fit.

Align and Press
Bring the components together in the planned orientation and press evenly for about 5-30 seconds. Keep pressure centered over the contact area so the part does not tilt. Avoid repeated separation after contact, because repositioning can spread adhesive, introduce dust, create whitening, and leave an uneven bond line around visible edges.

Cure Before Wear
Place the item in a clean, stable tray and reserve up to 24 hours before normal wear, moisture, polishing, packaging, or shipment. Inspect the full joint under magnification after curing. Apply only light handling at first. Any movement, edge lifting, coating separation, or unstable fit indicates a need for another repair method.
Six Mistakes That Weaken Jewelry Glue Results
Most small-part failures begin with poor fit, contamination, excess glue, delayed alignment, early handling, or using adhesive where a mechanical connection is required.
Gluing Over Old Adhesive
Fresh glue placed on a loose failed layer bonds to the residue rather than the stable jewelry surface. Inspect both faces and remove weak material carefully. Aggressive scraping can damage plating, enamel, soft metal, glass, or stone, so valuable pieces may require a professional. Rebond only after the contact faces are stable, clean, and dry.
Using Too Much Glue
A large drop can hold the pieces apart, squeeze onto visible metal, reach a moving mechanism, create a raised edge, and extend the cure inside the joint. Strong small-part bonding usually comes from complete surface contact and a thin continuous layer. Use the extension tip to place the minimum amount needed across the actual contact zone.
Skipping Dry Alignment
Jewelry parts often have a correct centerline, pattern direction, or front-facing orientation. Applying adhesive before rehearsing the movement increases the chance of a tilted post, reversed brooch pin, crooked pendant, or mismatched earrings. Assemble the parts dry, mark the position, stabilize the work, and prepare tools before opening the bottle.
Touching Clean Surfaces
Freshly cleaned metal can receive new fingerprints immediately when handled with bare fingers. Skin oil, hand lotion, polish, and dust may reduce contact. Hold parts at their edges with clean tweezers or suitable tools after preparation. Keep the jewelry bench free from loose fibers, sanding dust, food, cosmetics, and contaminated polishing cloths.
Wearing Too Soon
A part may stop sliding after a short press while the adhesive continues developing through the joint. Wearing, flexing, packaging, polishing, or exposing the piece to water too early can reopen an edge. Reserve up to 24 hours for full curing and inspect the connection under magnification before normal handling or shipment.
Gluing Mechanical Parts
Clasps, hinges, chain links, jump rings, spring clips, prongs, ring bands, and load-bearing loops are designed to move or carry force through metal structure. Adhesive can lock a mechanism, create false confidence, or fail under repeated movement. Repair such parts through soldering, crimping, replacement findings, wire techniques, or professional jewelry service.
Jewelry Making and Jewelry Repair Need Different Workflows
The same adhesive can support both activities, but production assembly emphasizes repeatability while repair work emphasizes diagnosis, preservation, and risk control.
Build Repeatable Jewelry Assembly
Jewelry making begins with component selection and joint design, giving the maker an opportunity to improve contact before adhesive is applied. Choose findings with flat pads, broad contact surfaces, protected edges, and compatible materials. Test one prototype before producing a pair or a batch. Record the component source, material, surface preparation, adhesive amount, press method, and curing schedule so later pieces follow the same process.
Organize the bench into separate preparation, bonding, and curing zones. Prepare matched earring parts in pairs, clean all contact faces before opening the bottle, and install a precision tip suited to the joint scale. A small positioning jig can keep posts centered and brooch backs parallel. Place the same approximate micro-dot pattern on each part instead of squeezing by intuition. Fast initial grab can improve workflow only when parts, tools, and orientation are already controlled.
Move newly assembled pieces to a protected tray labeled with the assembly time. Reserve up to 24 hours before attaching heavy pendants, packaging items together, polishing nearby surfaces, photographing under tension, or shipping an order. Final inspection should include alignment, visible residue, edge contact, component movement, and light handling appropriate to the design. Do not convert a decorative adhesive joint into the only support for a valuable or load-bearing connection.
Diagnose Jewelry Before Repair
Repair begins with an existing failure, so the first question is why the part separated. The original adhesive may have aged, the contact area may be too small, plating may have lifted, oil may have entered the interface, or the joint may be exposed to repeated peel and twisting. Reapplying glue without identifying the cause often recreates the same failure. Examine both faces under magnification and determine whether the parts still fit naturally.
Remove only unstable residue that can be cleared safely. A repaired fashion-jewelry decoration may tolerate careful cleaning, while a plated antique, pearl, treated stone, enamel surface, or sentimental item may be harmed by scraping or solvent. Protect nearby stones and moving mechanisms. If the connection is a chain link, clasp, hinge, prong, ring band, or setting that secures value, stop and seek professional service rather than relying on adhesive.
For an appropriate small repair, complete a dry fit, use one extension tip to place a thin controlled amount, align the part once, and press for about 5-30 seconds. Cure the item for up to 24 hours without wear or moisture. Inspect whether the adhesive bonded to stable material rather than loose coating. A repair that lifts again, rocks, or reveals an expanding gap needs a different attachment method.
Three Jewelry Project Examples With Clear Limits
These scenarios show how fit, preparation, glue volume, alignment, and curing work together without promising universal performance across every jewelry material or design.

Earring Post Assembly
Project: Attach a flat stainless-steel post to a lightweight brass ornament with a broad, close-fitting back. Clean both faces, mark the center, support the ornament in a jig, and apply one tiny dot through an extension tip. Press for about 5-30 seconds, then cure the pair for up to 24 hours. The method suits decorative fashion earrings, not valuable stones, heavy drops, or posts with almost no pad area.

Brooch Back Repair
Project: Reattach a stable brooch plate that separated from an inexpensive metal ornament while the hinge and clasp remain intact. Remove loose old residue without damaging the finish, degrease the hidden contact faces, dry fit the pin direction, and place a thin line inside the plate area. Keep adhesive away from moving parts. Cure fully before pinning the brooch to clothing. Heavy, valuable, or mechanically damaged brooches require another solution.

Pendant Detail Bonding
Project: Secure a small ceramic decorative piece to a flat metal pendant base. Clean the ceramic dust and metal oil, confirm full contact, test appearance in a hidden spot, and use several micro-dots rather than one large pool. Align once and cure flat for up to 24 hours. The adhesive supports the decorative insert; a separate metal bail or mechanical loop should carry the pendant weight.
When Jewelry Glue Is Not the Right Repair
Safe material care requires choosing soldering, replacement findings, mechanical settings, or professional service whenever movement, value, heat, load, or joint geometry exceeds adhesive bonding.
Rings and Prongs
Ring bands, stone prongs, bezels, and settings experience impact, skin contact, cleaning, and repeated force. A loose prong can release a valuable stone even when a small amount of adhesive appears to hold temporarily. Do not use metal super glue as the primary repair for fine-jewelry settings, cracked ring shanks, sizing seams, or structural ring damage. Seek a qualified jeweler.
Chains and Clasps
Chain links, jump rings, lobster clasps, spring rings, hinges, and swivels move repeatedly and carry the item’s weight. Adhesive may seep into the mechanism or fail under pull and twist. Use correctly closed findings, soldering, crimping, wire wrapping, or replacement hardware according to the design. A decorative charm plate can be bonded, while the load-bearing connection should remain mechanical.
Valuable Materials
Pearls, opals, porous stones, treated gemstones, antique finishes, enamel, plated heirlooms, and sentimental jewelry can react poorly to cleaners, scraping, adhesive vapors, or accidental overflow. Material value and replacement difficulty should guide the repair decision. When compatibility is uncertain, avoid experimental application in a visible area and ask a professional who can identify the stone, finish, and setting method.
Large Gaps and Missing Metal
GleamGlee is intended for thin adhesive layers between close-fitting surfaces. A broken component with missing metal, a hollow cavity, a rocking back, or a deep uneven space needs more than extra liquid glue. Consider a clear two-part epoxy for suitable rigid decorative gaps, a redesigned metal pad, soldered reinforcement, a replacement component, or professional fabrication. Filling a cavity with CA adhesive does not recreate lost structure.
Metal Glue for Jewelry Frequently Asked Questions
Use these answers to confirm jewelry fit, compatible materials, application amount, pressing time, full cure, appearance, pack options, limits, and Amazon purchasing details.
1. Is GleamGlee Metal Glue suitable for jewelry making?
Yes, for selected small, close-fitting, non-structural jewelry parts such as earring posts, brooch backs, pendant findings, metal charms, and decorative components. Identify both materials, clean the contact faces, dry fit the parts, apply a thin amount through a precision tip, press for about 5-30 seconds, and reserve up to 24 hours for full curing.
2. Does the glue dry clear on metal jewelry?
GleamGlee cures clear, helping reduce the contrast of a visible bond line. Clear curing does not make every repair invisible. Original cracks, damaged plating, misalignment, excessive adhesive, trapped residue, and uneven contact may remain visible. Use a small amount inside the contact area and protect polished or transparent surfaces from overflow.
3. How fast does GleamGlee grab jewelry parts?
The adhesive begins grabbing within seconds under suitable conditions. Recommended pressure is about 5-30 seconds depending on surface condition and fit. Initial grab is not complete cure. Keep the item stable and reserve up to 24 hours before wear, moisture, polishing, packaging, or demanding handling.
4. How much metal glue should I apply?
Use the smallest amount that creates complete contact: one tiny dot, several micro-dots, or a short thin line depending on the pad shape. Excess glue can squeeze onto visible surfaces, hold parts apart, reach moving mechanisms, and extend internal curing. Test the extension-tip flow on disposable material first.
5. Can it bond metal to glass or ceramic?
GleamGlee is positioned for metal-to-other-materials bonding, including glass and ceramic. Results depend on clean surfaces, stable coatings, close contact, joint movement, and full curing. Transparent glass reveals excess glue easily, while chipped ceramic may create gaps. Test valuable, treated, painted, or unfamiliar materials before visible use.
6. Can it bond metal to plastic jewelry parts?
It can bond metal to many rigid plastics, but plastic chemistry and surface treatment vary. Identify the plastic when possible, remove mold-release or oily residue, and test a hidden area through the full curing period. Some low-surface-energy plastics may resist bonding or show whitening. Avoid broad compatibility claims for unknown plastic.
7. Can I repair a chain link or clasp with it?
Do not depend on glue alone for chain links, jump rings, spring clasps, hinges, swivels, or other moving load-bearing findings. Those components should use soldering, properly closed metal findings, crimping, wire techniques, replacement hardware, or professional service. Adhesive is better suited to stationary decorative components with stable contact pads.
8. Is GleamGlee suitable for precious jewelry?
Professional evaluation is safer for valuable stones, pearls, antique finishes, prongs, bezels, ring bands, sentimental pieces, and settings where failure could cause loss. Cleaning methods and adhesive overflow may damage sensitive materials. GleamGlee is best positioned for appropriate fashion jewelry, crafts, and small non-structural components after compatibility testing.
9. How many precision tips are included?
One 35g bottle includes four precision extension tips. The two-bottle option includes eight tips and 70g of adhesive in total. Tips help deliver small amounts into narrow contact zones. Pack availability can change, so confirm the selected variation and current packaging on the live Amazon listing.
10. Where can I buy GleamGlee Metal Glue?
GleamGlee Metal Glue is available through Amazon under ASIN B0F1MLQP6C. Open the live listing to confirm the current price, coupon, stock, seller, pack option, estimated delivery date, ratings, reviews, and return details. Order early enough to test materials and reserve up to 24 hours for complete curing.
Need Help Matching Glue to Your Jewelry Project?
Share the two materials, component size, contact shape, finish, movement, repair history, and intended use before ordering for an unusual or high-volume jewelry project. Helpful photos include the separated parts, a close view of both contact faces, the assembled position without glue, and a wider image showing how the item will be worn or handled.
GleamGlee can help clarify whether a small close-fitting metal or mixed-material task appears suitable for a transparent medium-viscosity CA adhesive, whether surface preparation or a hidden compatibility test should come first, or whether epoxy, soldering, replacement findings, mechanical reinforcement, or professional jewelry service offers a safer route. Product guidance cannot confirm gemstone identity, precious-metal value, structural safety, or long-term performance without appropriate inspection and testing.
For immediate retail purchase, use the Amazon option and review the live price, inventory, pack selection, and delivery estimate. Jewelry studios, repair shops, educators, or distributors considering repeated use can provide the expected quantity, destination country, project materials, application method, and packaging needs through the inquiry form.





















