 Skip to content
Quick-Drying Ceramic Adhesive for Home Use
Clear, controlled ceramic bonding for everyday household repairs with fast initial hold, precision application, and no mixing required.
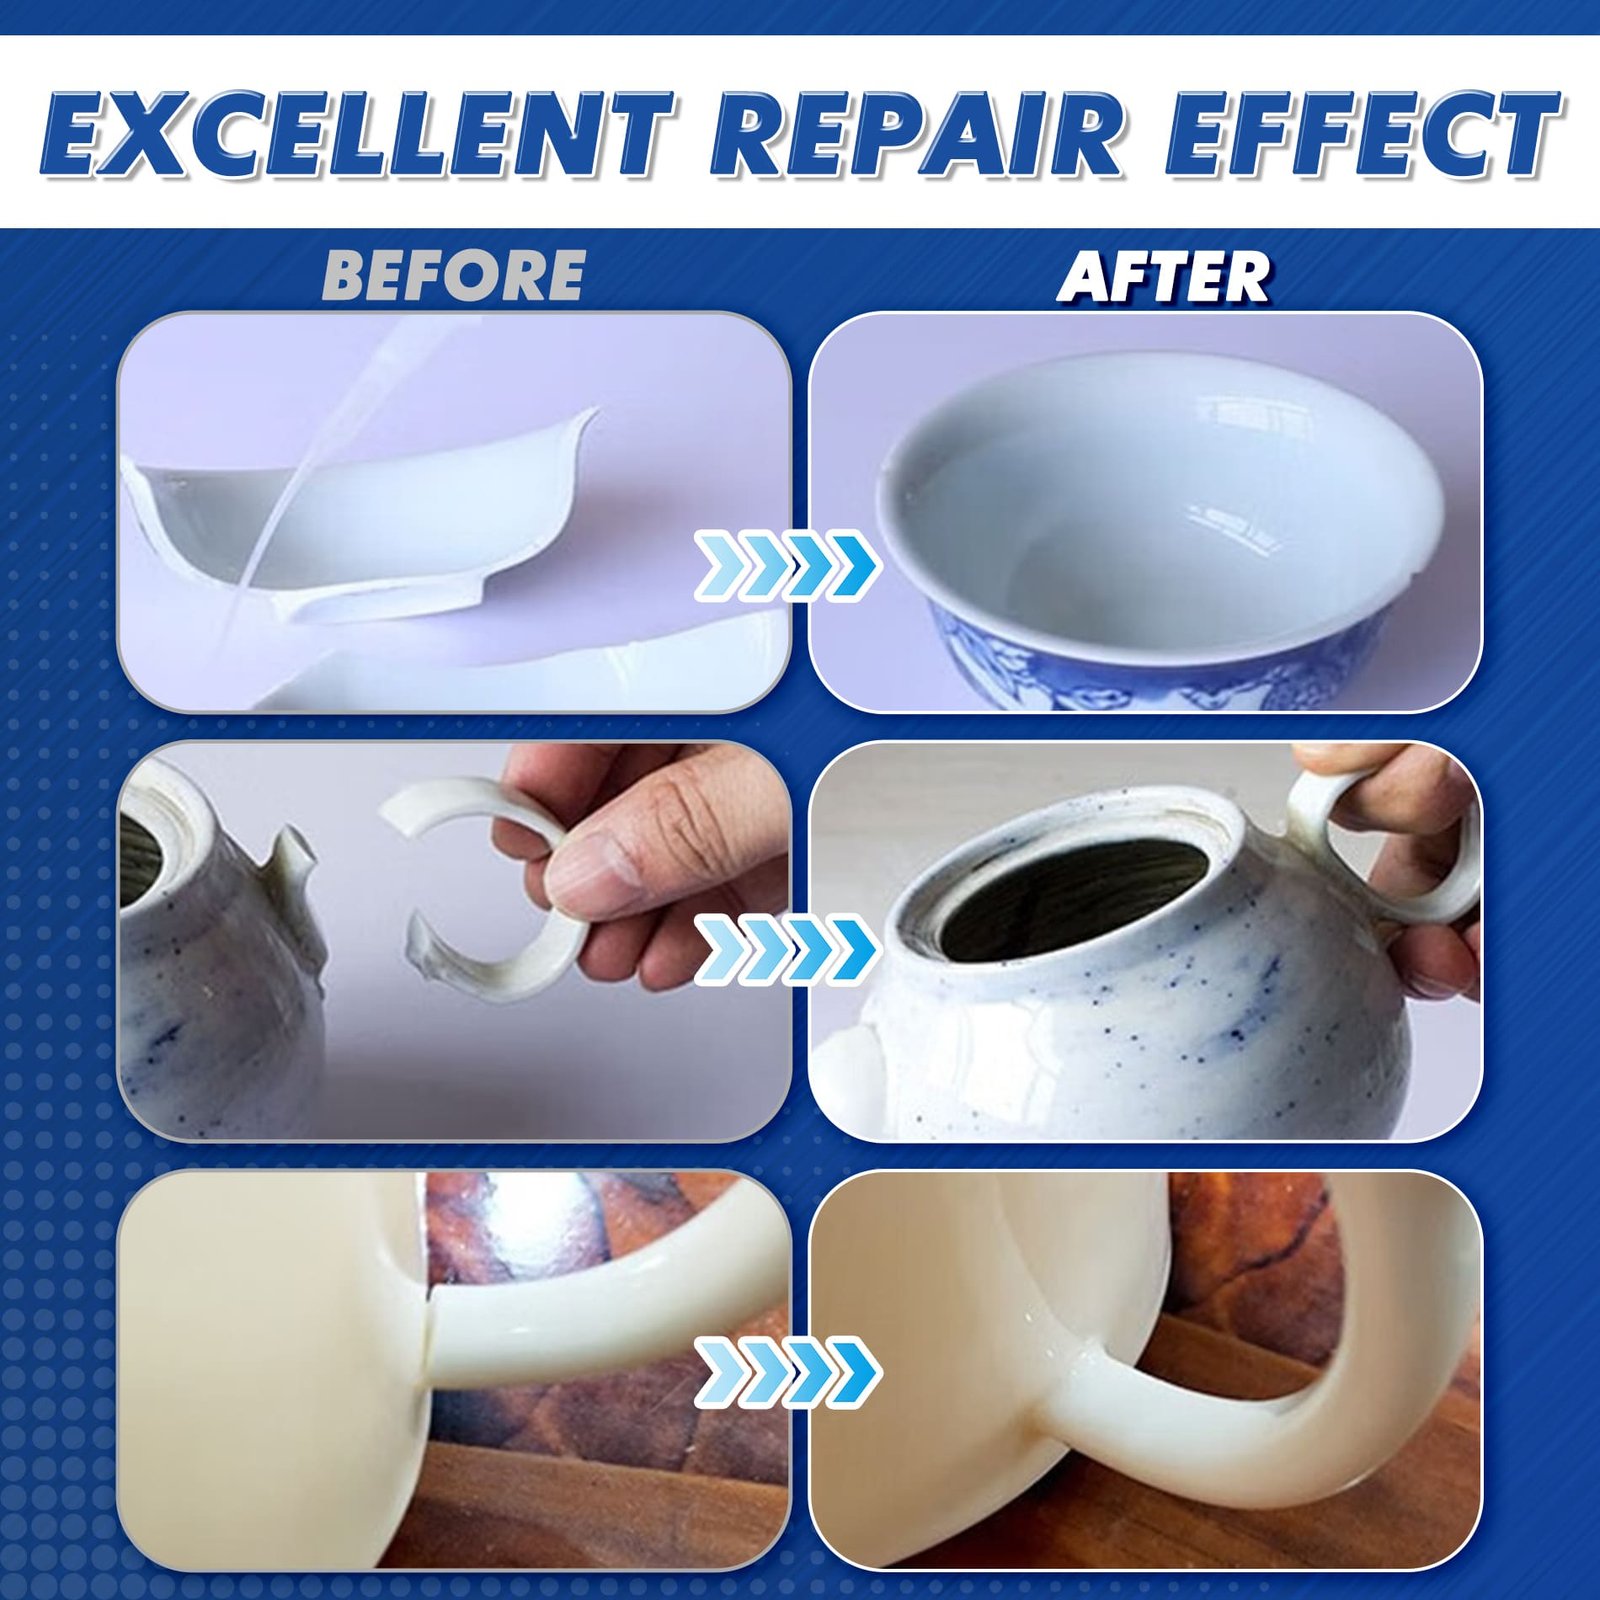
- Repair close-fitting breaks on ceramic, porcelain and pottery, including mug handles, vases, figurines, planters, ornaments and other small household pieces.
- Apply directly from the bottle with no measuring, resin mixing or separate hardener, reducing preparation before a quick repair.
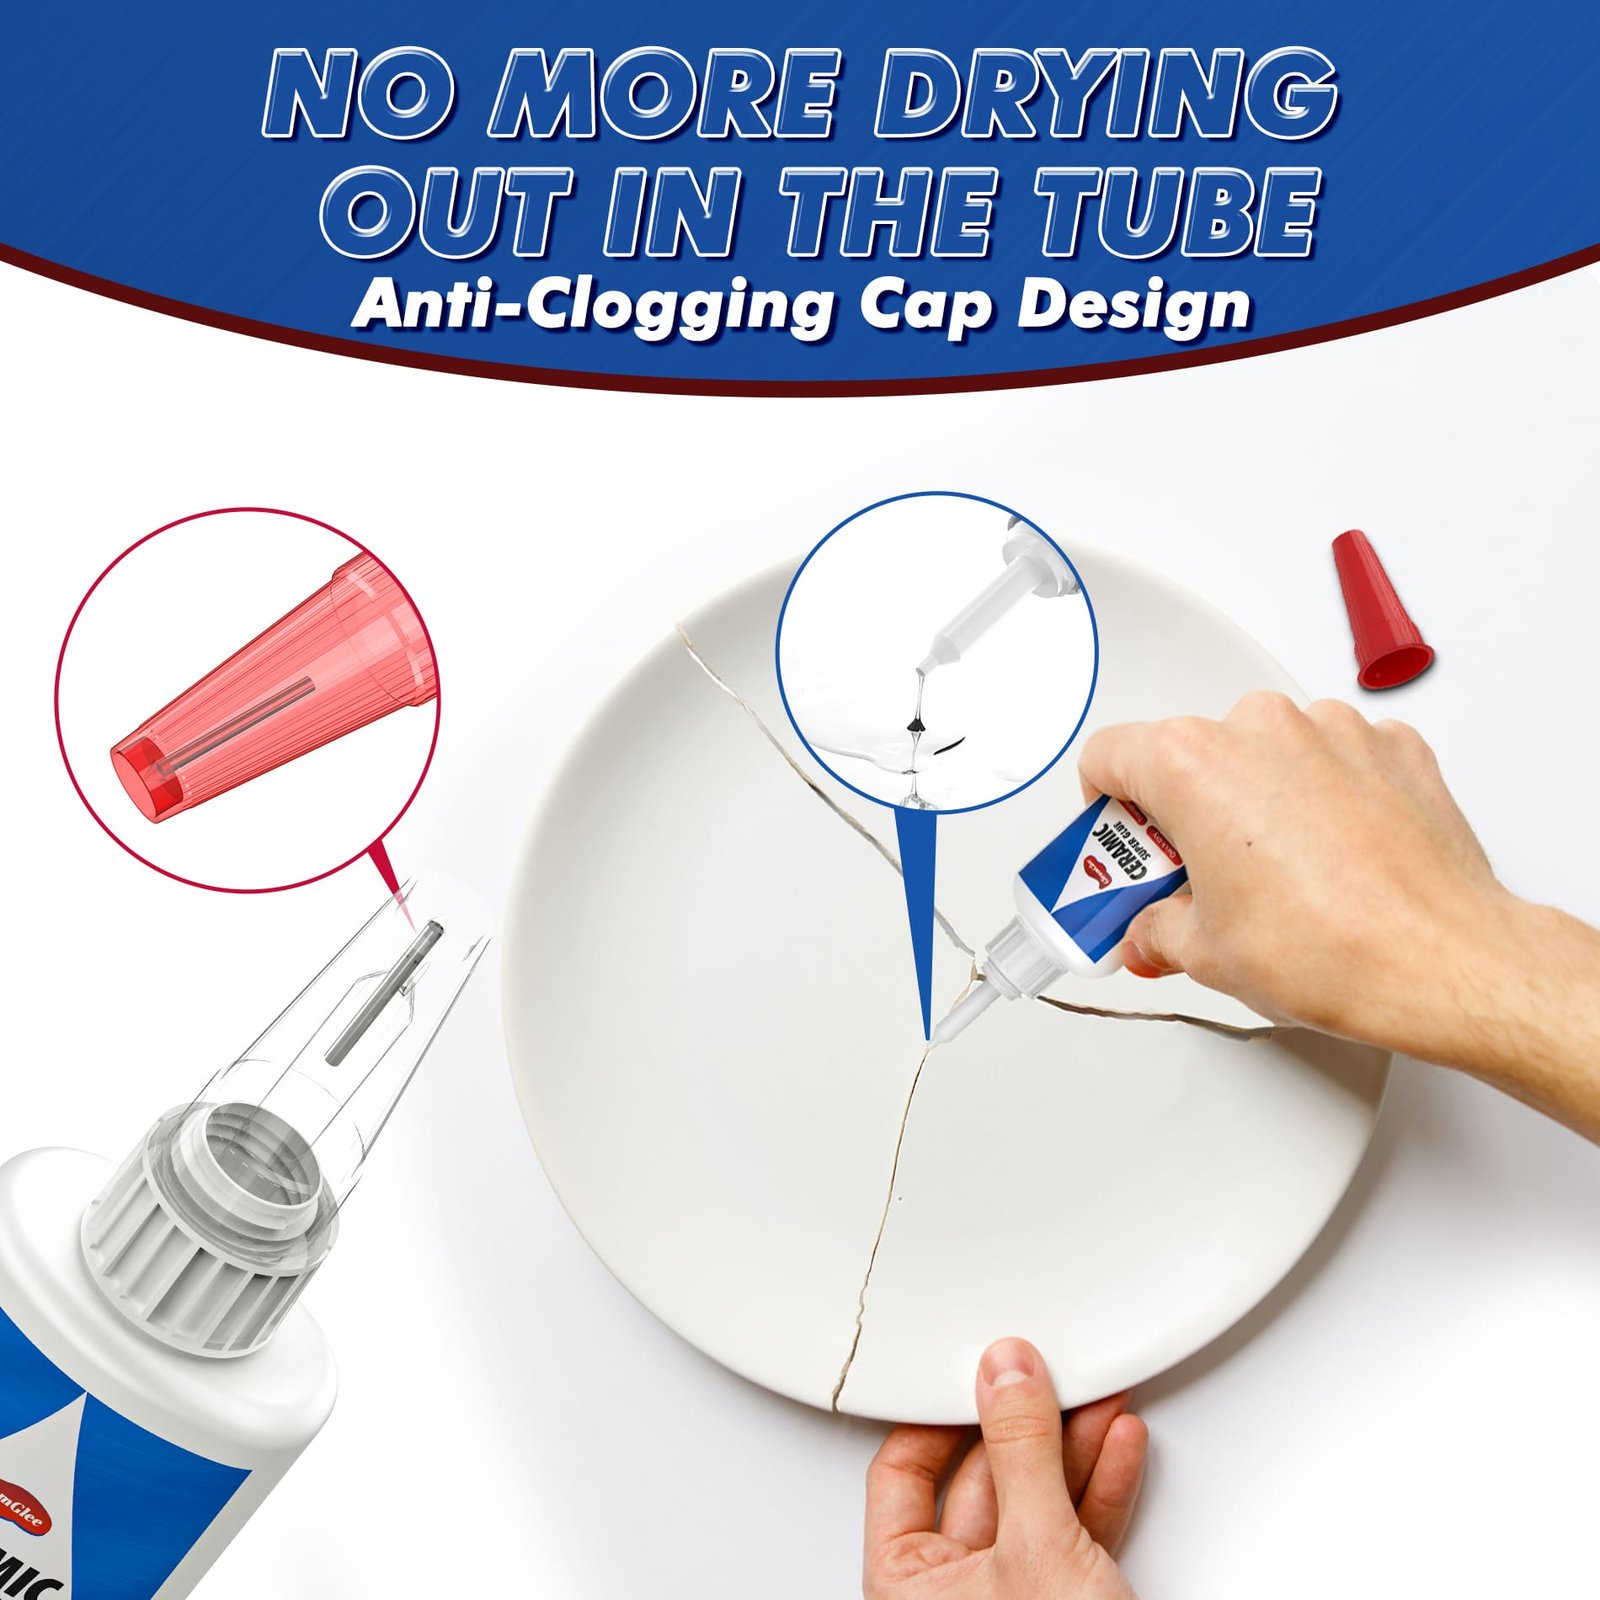
- Use four included precision applicator tips to place a thin adhesive line along narrow edges, small contact points and detailed ceramic parts.
- Press aligned pieces firmly for 5–10 seconds, then keep the repair stable and undisturbed for 24 hours to complete curing before regular use.

Three Numbers Define a Faster Ceramic Repair
Three clear facts explain the working rhythm of GleamGlee without confusing fast positioning with complete curing or everyday-use readiness.
No Mixing Required
GleamGlee uses a single-component cyanoacrylate formula, so household repairs do not require measuring two materials, calculating a ratio or mixing adhesive before application. Clean the break, choose a precision tip and apply directly from the bottle. Fewer preparation steps are especially useful when handling small ceramic fragments that already require careful alignment and controlled glue placement.
Press 5–10 Seconds
After applying a thin, even layer, bring the pieces together in their final position and press firmly for 5–10 seconds. Keep pressure directed toward closing the joint rather than twisting the parts. The time refers to recommended pressing and initial holding, not complete strength. Curved, heavy or unbalanced pieces may still require tape or a support after pressing.
Cure for 24 Hours
Allow the repaired object to remain stable and undisturbed for 24 hours before returning it to regular household use. Avoid early washing, moisture exposure, repeated flexing, twisting or unnecessary handling. A repair can appear stationary long before the adhesive has completed its full curing period, so planning one protected day remains part of a reliable repair process.
Quick Ceramic Repairs Across the Home
Every room creates different ceramic repair problems, yet most successful small repairs begin with intact pieces, clean surfaces and close-fitting break lines.

Kitchen Ceramic Repairs
Mug handles, decorative bowls, ceramic containers and external pieces can develop small, clean breaks during everyday handling. A fast initial hold reduces prolonged hand pressure while a precision tip helps place adhesive along narrow contact edges. Keep food-contact claims separate from general ceramic bonding, and reserve 24 hours for full curing before normal handling.

Living Room Décor
Vases, porcelain figurines, display plates, ceramic frames and decorative ornaments often have visible finishes where excess glue is especially noticeable. Transparent curing, accurate dry fitting and a thin adhesive layer help maintain a cleaner appearance. Use a stable padded work surface so curved or fragile parts remain aligned while the repair completes its cure.

Bathroom Accessories
Ceramic soap dishes, trays, decorative jars and small bathroom accessories may encounter humidity or occasional moisture after repair. Bond only when the surfaces are clean and completely dry. GleamGlee is positioned as water-resistant after full cure, so moisture exposure belongs after the 24-hour curing period rather than during application or early setting.

Garden Decorations
Planter ornaments, ceramic garden figures, plaques and decorative tile pieces can suit localized repairs when broken parts still fit closely together. Remove soil, mineral residue and moisture before bonding. Complete the repair in a dry protected area and wait through the full cure before returning the object to a patio, planter area or outdoor display.
Six Household Ceramic Repairs Worth Evaluating
Small everyday ceramic damage varies by shape, force and visibility, so each object deserves a repair method matched to its own break geometry.

Broken Mug Handles
A mug handle usually has two contact points that must return to the correct position together. Dry-fit both ends before opening the glue. Use a precision tip to apply a thin layer, align the handle once, press firmly for 5–10 seconds and support it if necessary during the 24-hour curing period.

Decorative Vases
Curved vase fragments can slide even when the break surfaces fit well. Rehearse the alignment without adhesive and decide where your hands or support blocks will sit. Apply only enough glue to wet the close-fitting edge. Clear curing helps keep visible repair lines discreet when alignment is accurate and excess adhesive remains minimal.

Porcelain Figurines
Arms, ears, tails, wings, flowers and other projecting details may have very small contact areas. Fine-tip application helps place adhesive on the actual break rather than the surrounding painted or glazed surface. Use tweezers when useful, align carefully, press for the initial hold and protect the small component from accidental contact while curing.

Ceramic Planters
Planter edges and decorative pieces often carry dust, soil, water or mineral deposits. Empty and dry the repair area before bonding. Localized, close-fitting breaks can suit a thin CA adhesive layer. Wide cracks, missing ceramic or major structural damage need a different repair approach rather than additional liquid glue.

Holiday Ornaments
Christmas village pieces, ceramic ornaments, seasonal figurines and keepsakes commonly lose small projections during unpacking or storage. Sort and dry-fit every fragment before applying adhesive. Small controlled dots reduce unnecessary glue around painted details. Allow full curing before hanging, stacking or returning repaired ornaments to tightly packed storage.

Mosaic and Craft Pieces
Ceramic mosaic fragments, decorative tiles and small craft components often need controlled placement more than large adhesive volume. Arrange the composition before gluing, then lift and bond one piece at a time. GleamGlee can also support selected ceramic-to-wood, ceramic-to-metal or ceramic-to-glass craft connections when materials and surfaces are suitable.
Is Your Ceramic Break a Good Match?
Check joint fit, missing material, repair size, accessibility and expected use before deciding whether a fast liquid ceramic adhesive suits the job.
| Repair Check | Good Match for GleamGlee | Consider Another Method |
|---|---|---|
| Broken Pieces | Main pieces are present and stable | Significant ceramic is missing |
| Joint Fit | Edges return closely to their original position | Wide gaps remain between pieces |
| Repair Size | Localized small break or detached detail | Large panel or structural section |
| Adhesive Layer | Thin, even layer can contact both sides | Cavity needs substantial filling |
| Alignment | Pieces can be dry-fitted accurately | Parts rock, shift or cannot close |
| Application Access | Precision tip can reach the contact edge | Break is inaccessible or sealed internally |
| Typical Task | Mug handle, figurine detail, vase piece, ornament | Large tile installation or construction work |
| Surrounding Material | Ceramic remains sound around the break | Ceramic is crumbling or badly weakened |
Why CA Glue Suits Fast Ceramic Repairs
Cyanoacrylate chemistry favors small, accurately fitted joints where users need controlled application, short pressing time and minimal preparation before curing begins.
Thin Close-Fitting Joints Favor Efficient Bonding
CA stands for cyanoacrylate, a family of fast-setting adhesives commonly used for small bonded assemblies and repairs. GleamGlee Ceramic Glue uses a single-component CA formula with medium viscosity. Its working character is very different from a thick ceramic filler, repair putty, tile mortar or two-part compound.
For a household ceramic repair, the strongest reason to choose a CA adhesive is often not speed alone. A clean ceramic break can produce two surfaces that return very closely to their original position. Such geometry allows a thin adhesive film to contact both sides without requiring a large mass of material between them.
Medium viscosity supports a useful balance. The liquid can spread over a narrow break face while remaining easier to place than an extremely runny formula. Precision applicator tips further reduce the distance between the bottle and the repair edge, helping users deliver a small dot or fine line exactly where contact occurs.
CA also eliminates a separate mixing stage. Once surfaces are cleaned, dried and dry-fitted, adhesive can be applied directly. That shorter workflow matters because ceramic fragments often require accurate positioning before the fast initial hold develops.
However, rapid CA bonding does not make every ceramic break suitable. Large cavities, missing chunks, unstable structures and wide irregular gaps usually require a filling or rebuilding material. Adding more CA does not recreate missing ceramic.
A useful decision rule is straightforward: choose a fast CA ceramic adhesive when the pieces are intact, contact surfaces fit closely and a thin precise bond is possible. Consider another repair system when the job requires gap filling, substantial reconstruction or structural support.
GleamGlee Ceramic Glue Facts at a Glance
Verified product specifications make it easier to compare application speed, package size, curing expectations and repair suitability without relying on vague performance language.
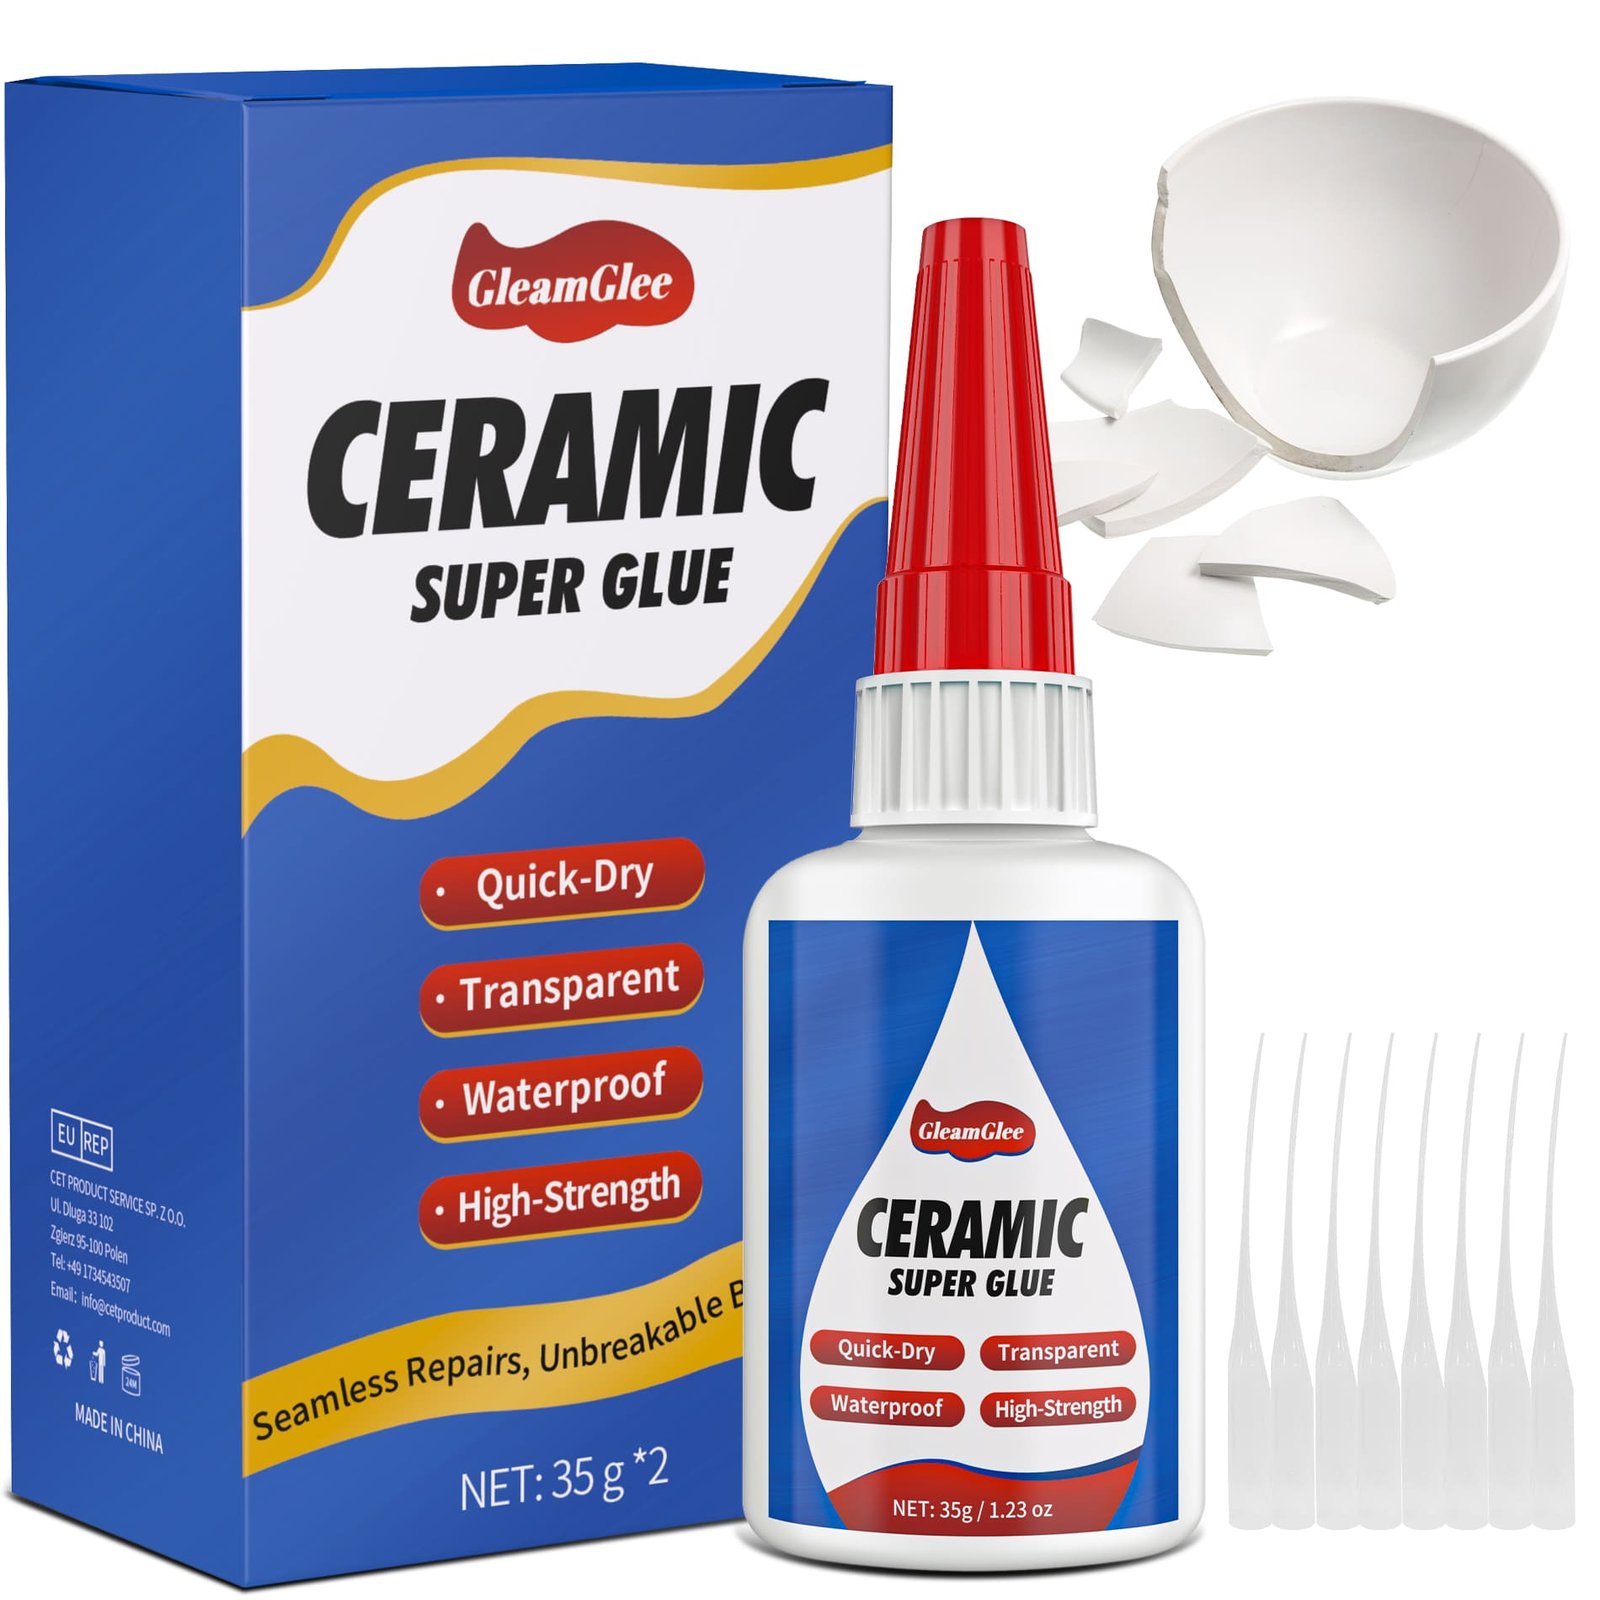
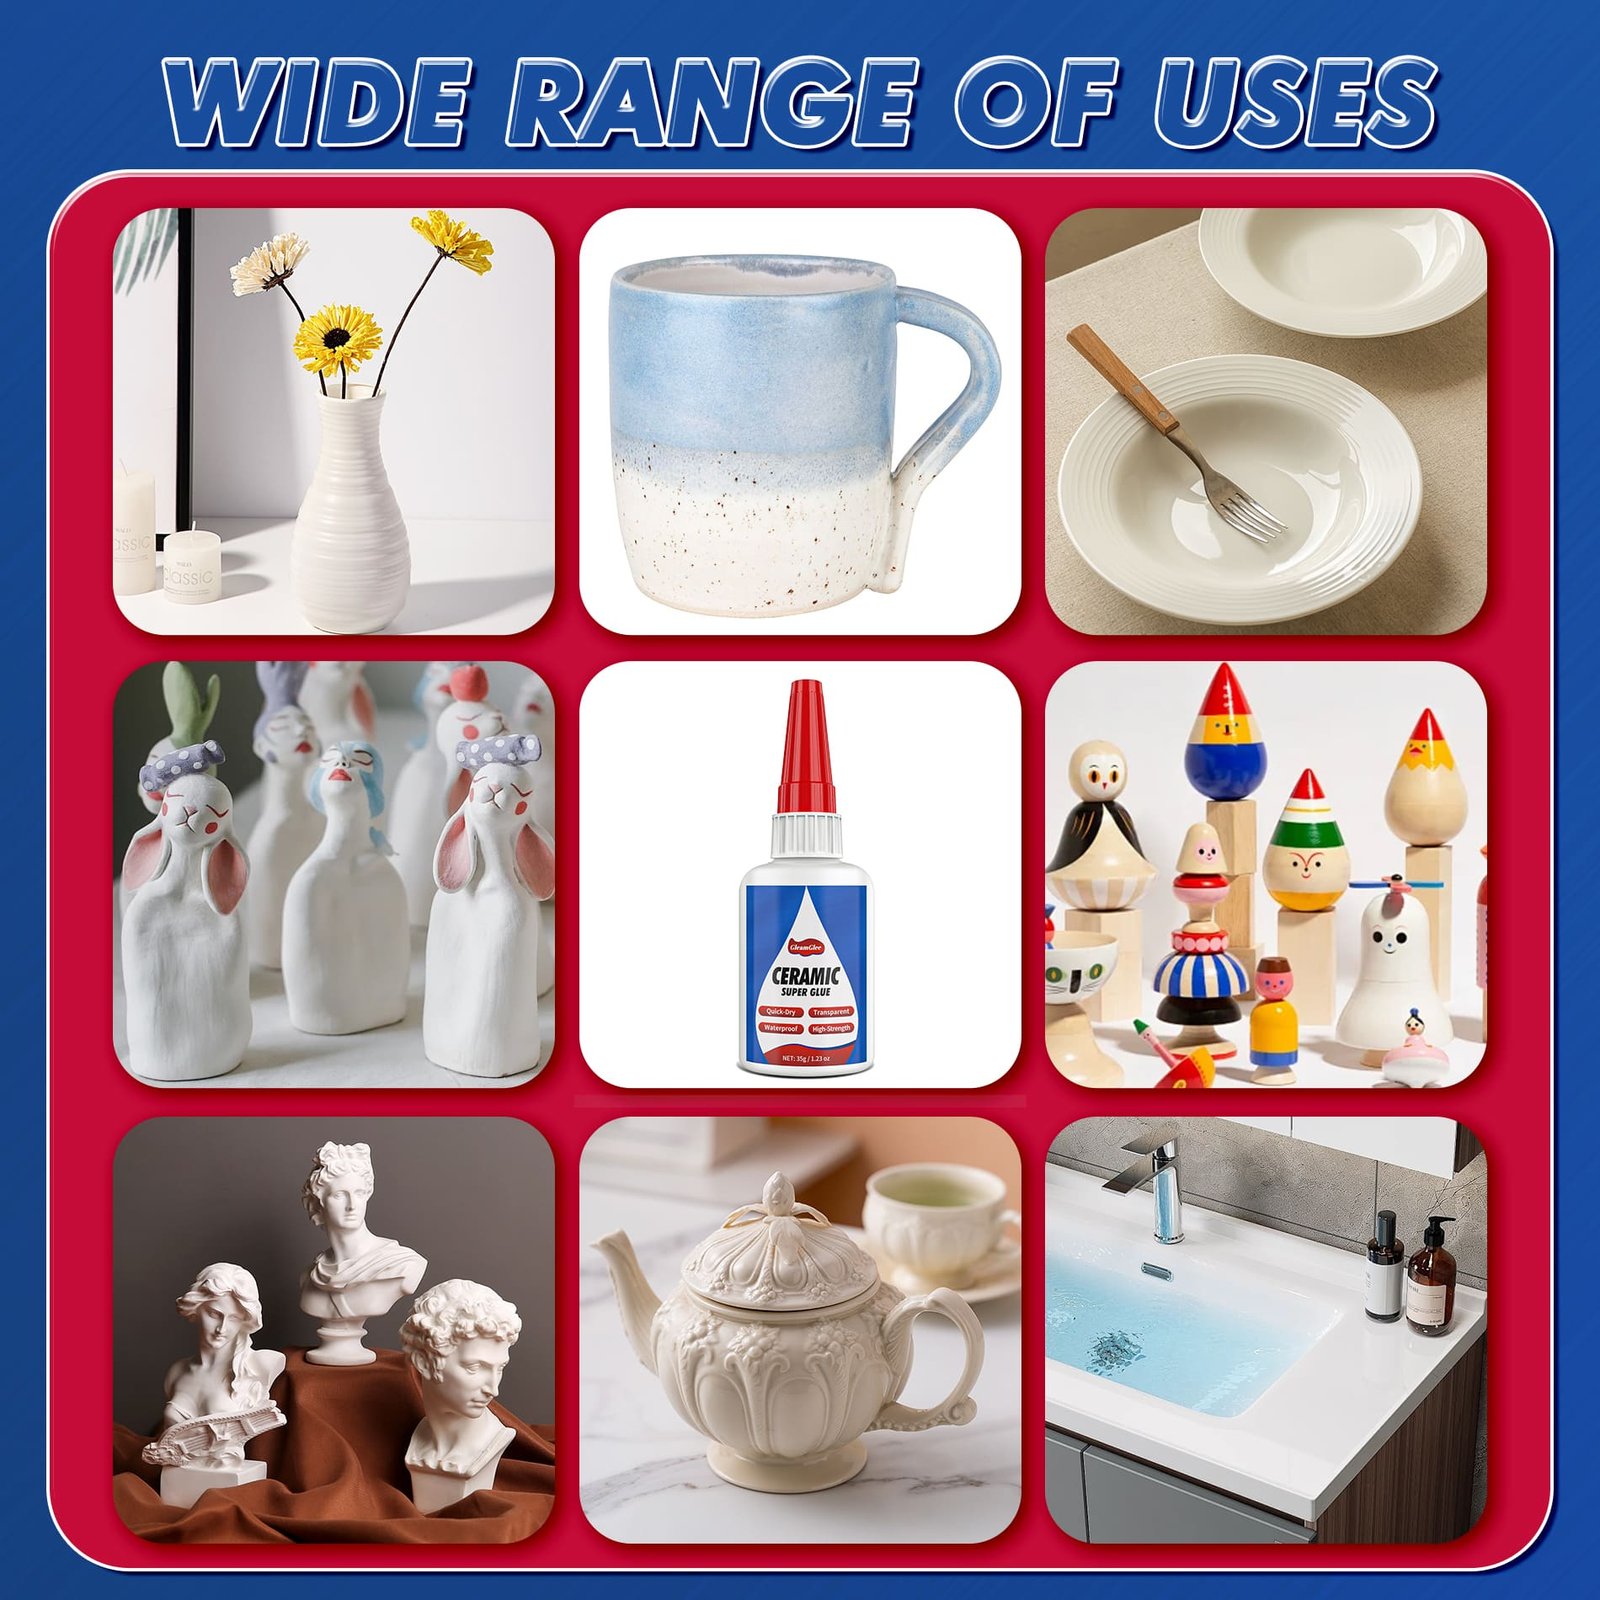
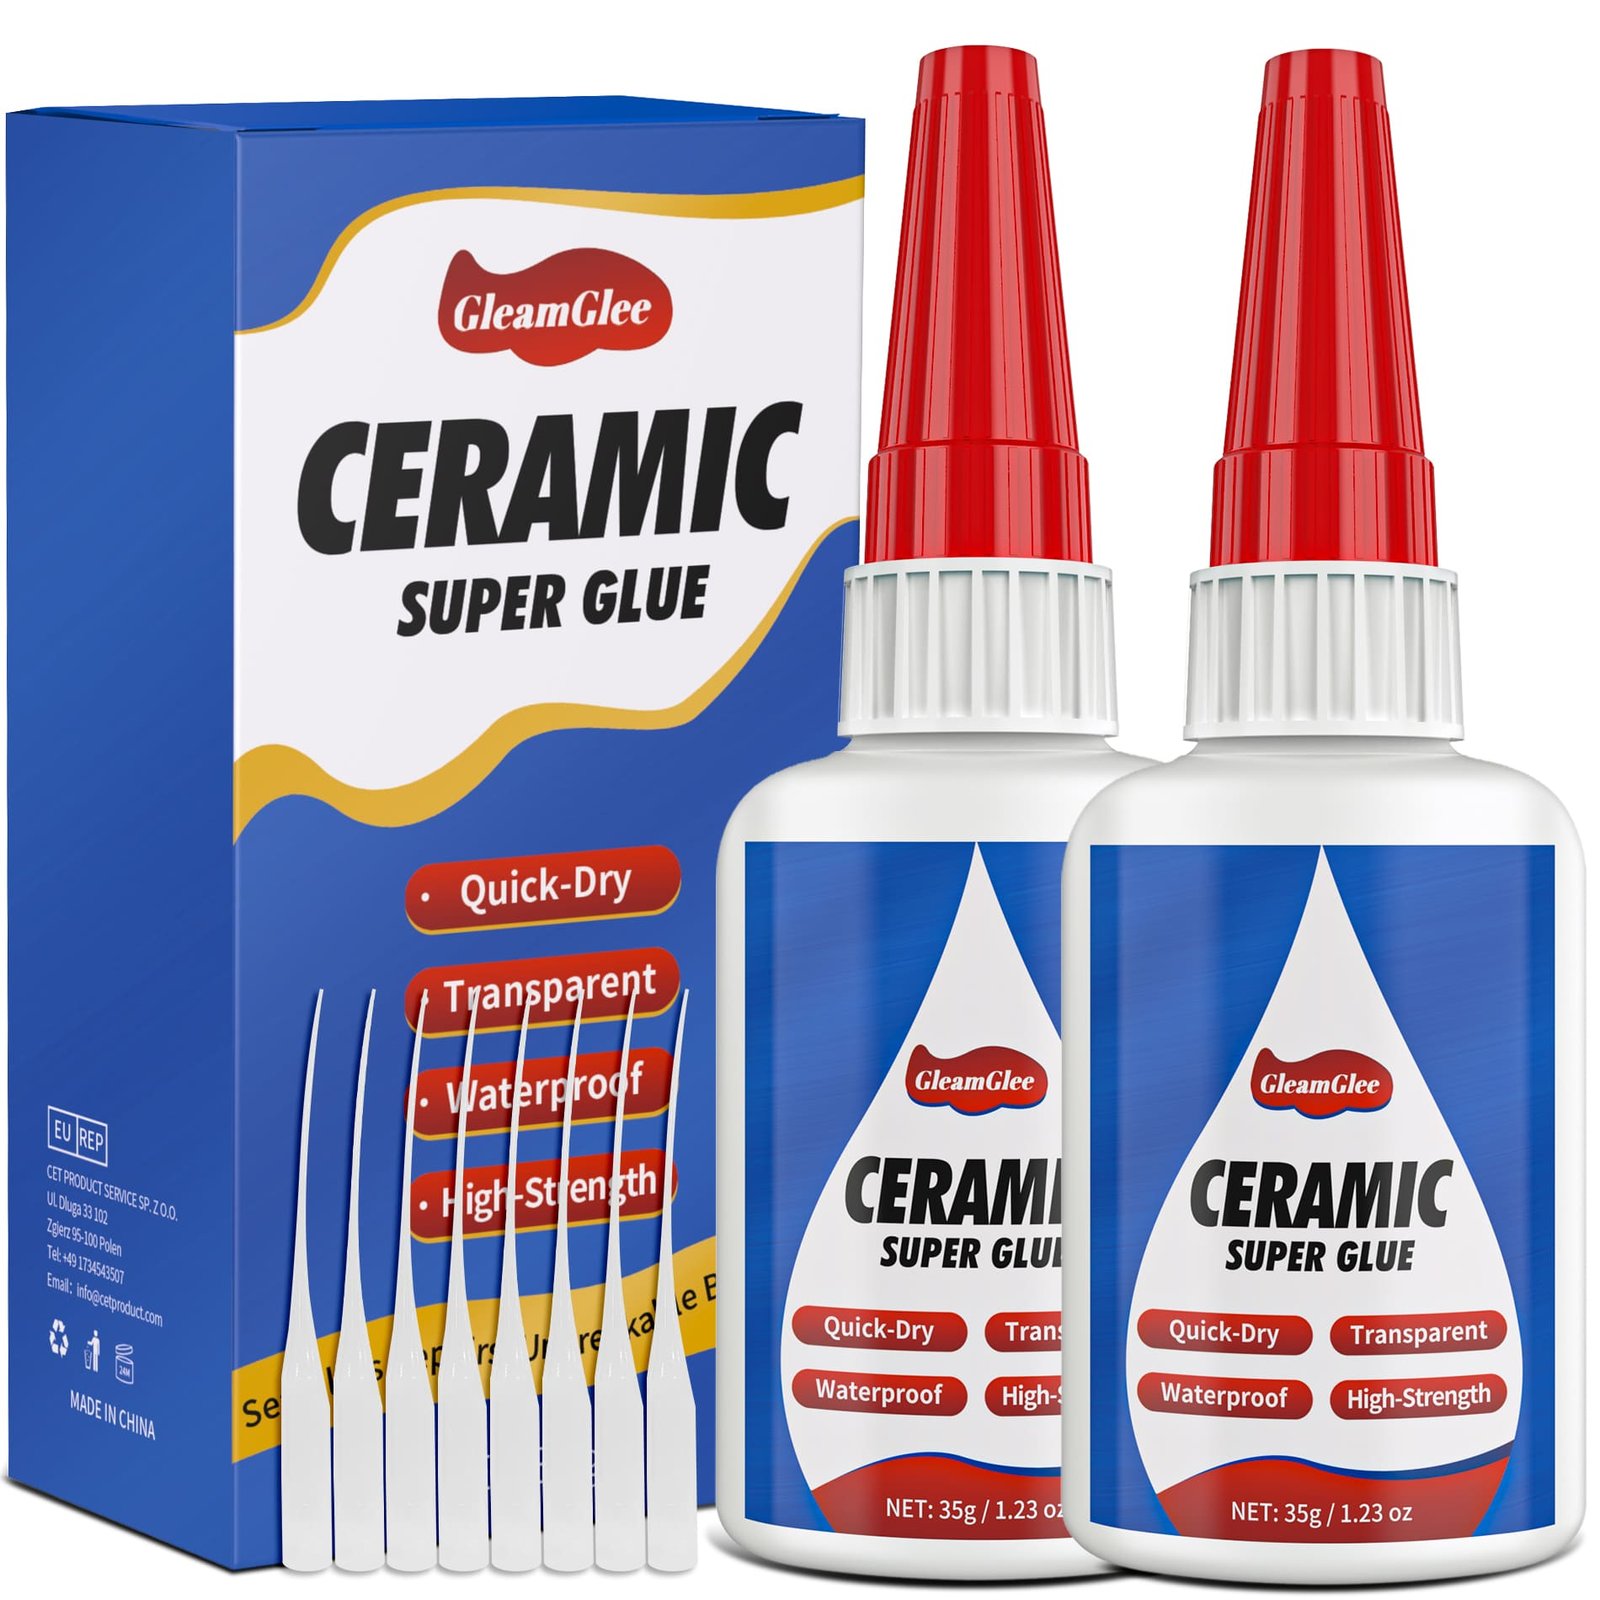
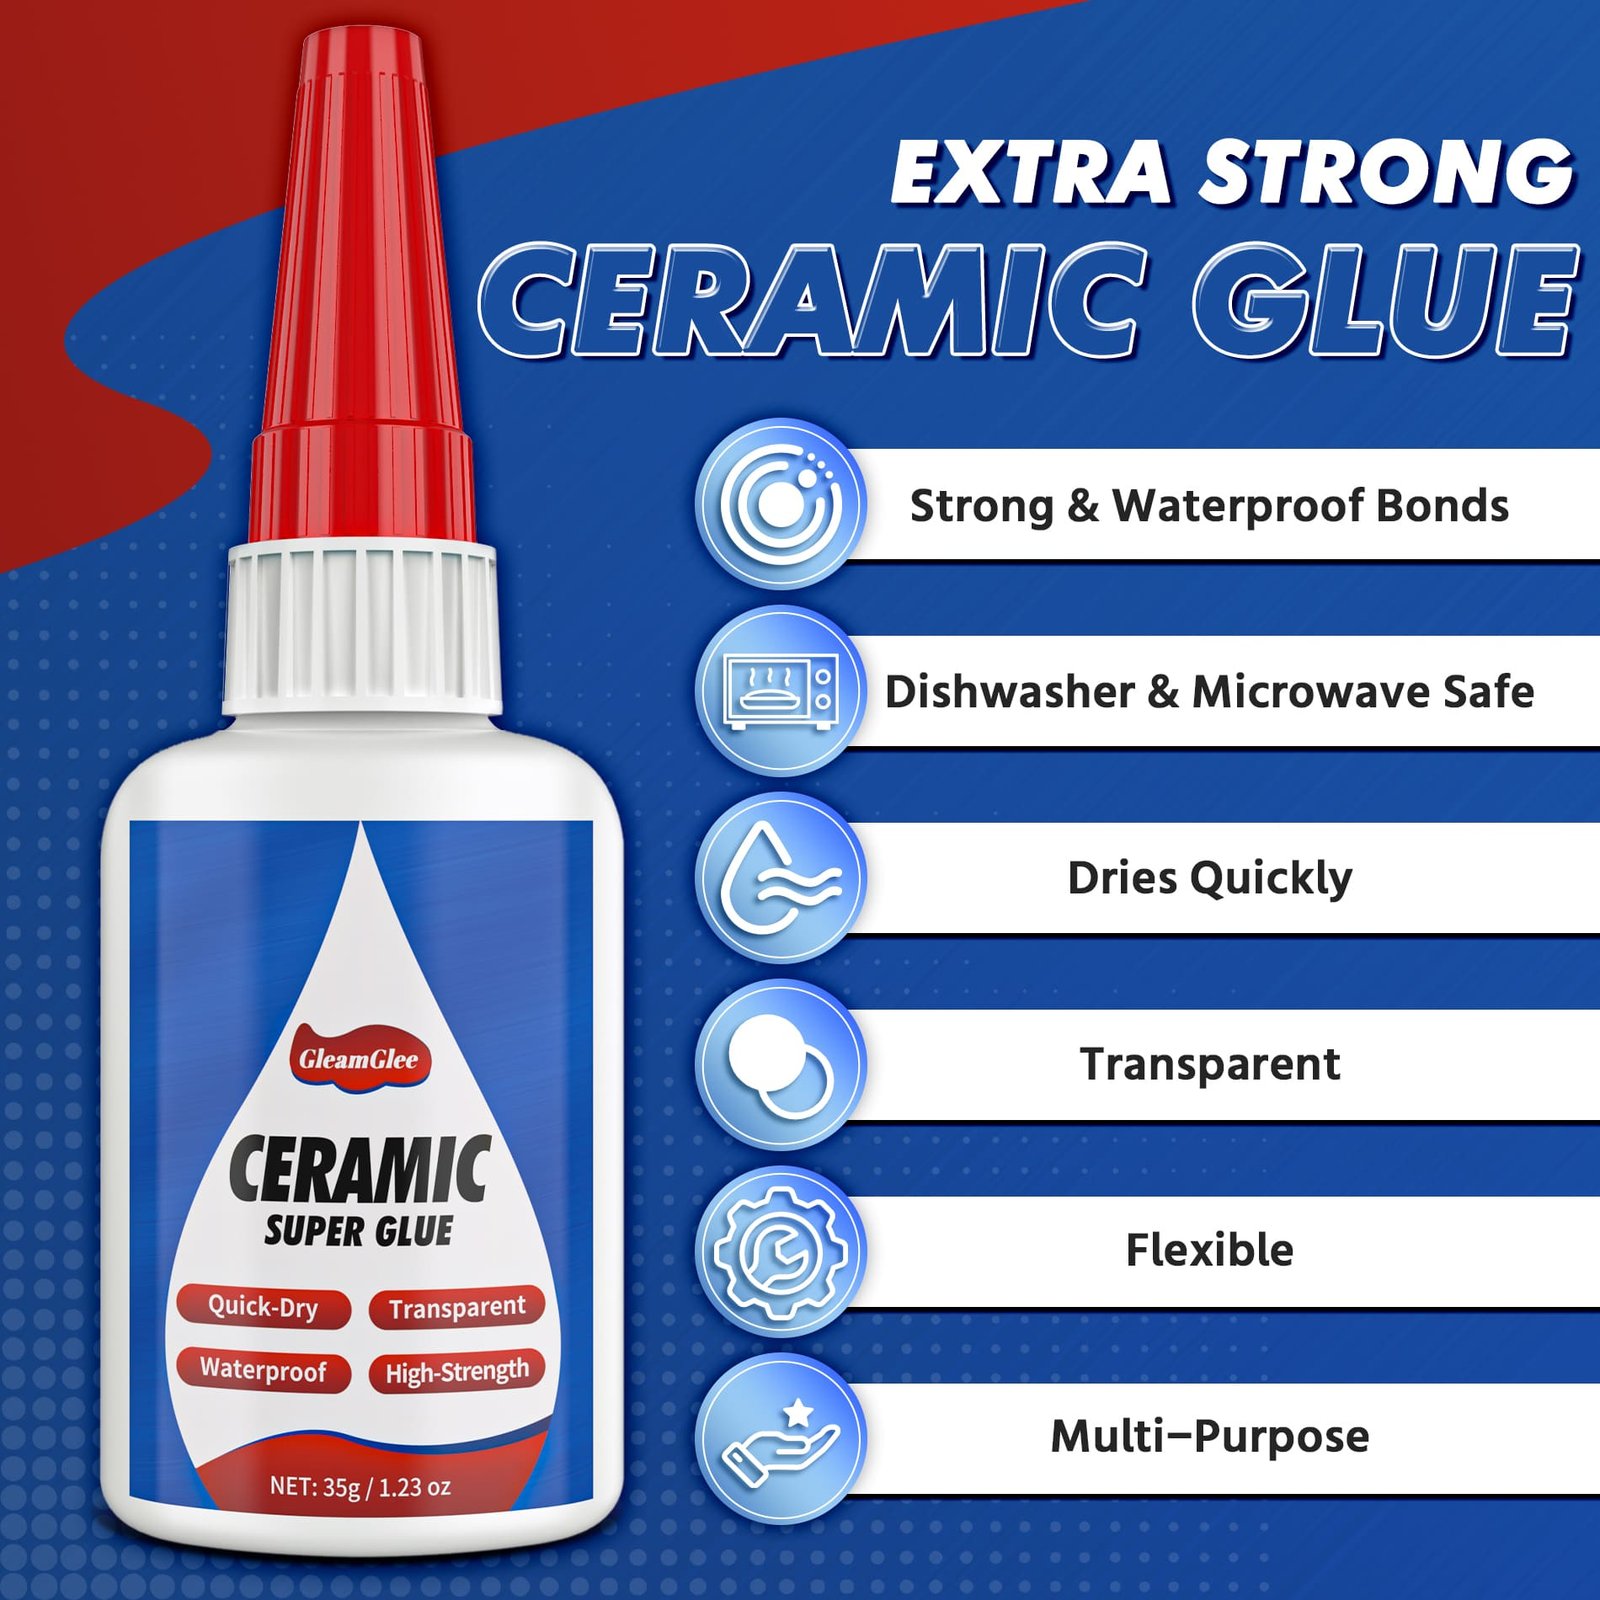
| Product Detail | GleamGlee Ceramic Glue |
|---|---|
| Adhesive Type | Single-Component Cyanoacrylate / CA |
| Product Form | Liquid |
| Viscosity | Medium |
| Cured Appearance | Clear / Transparent |
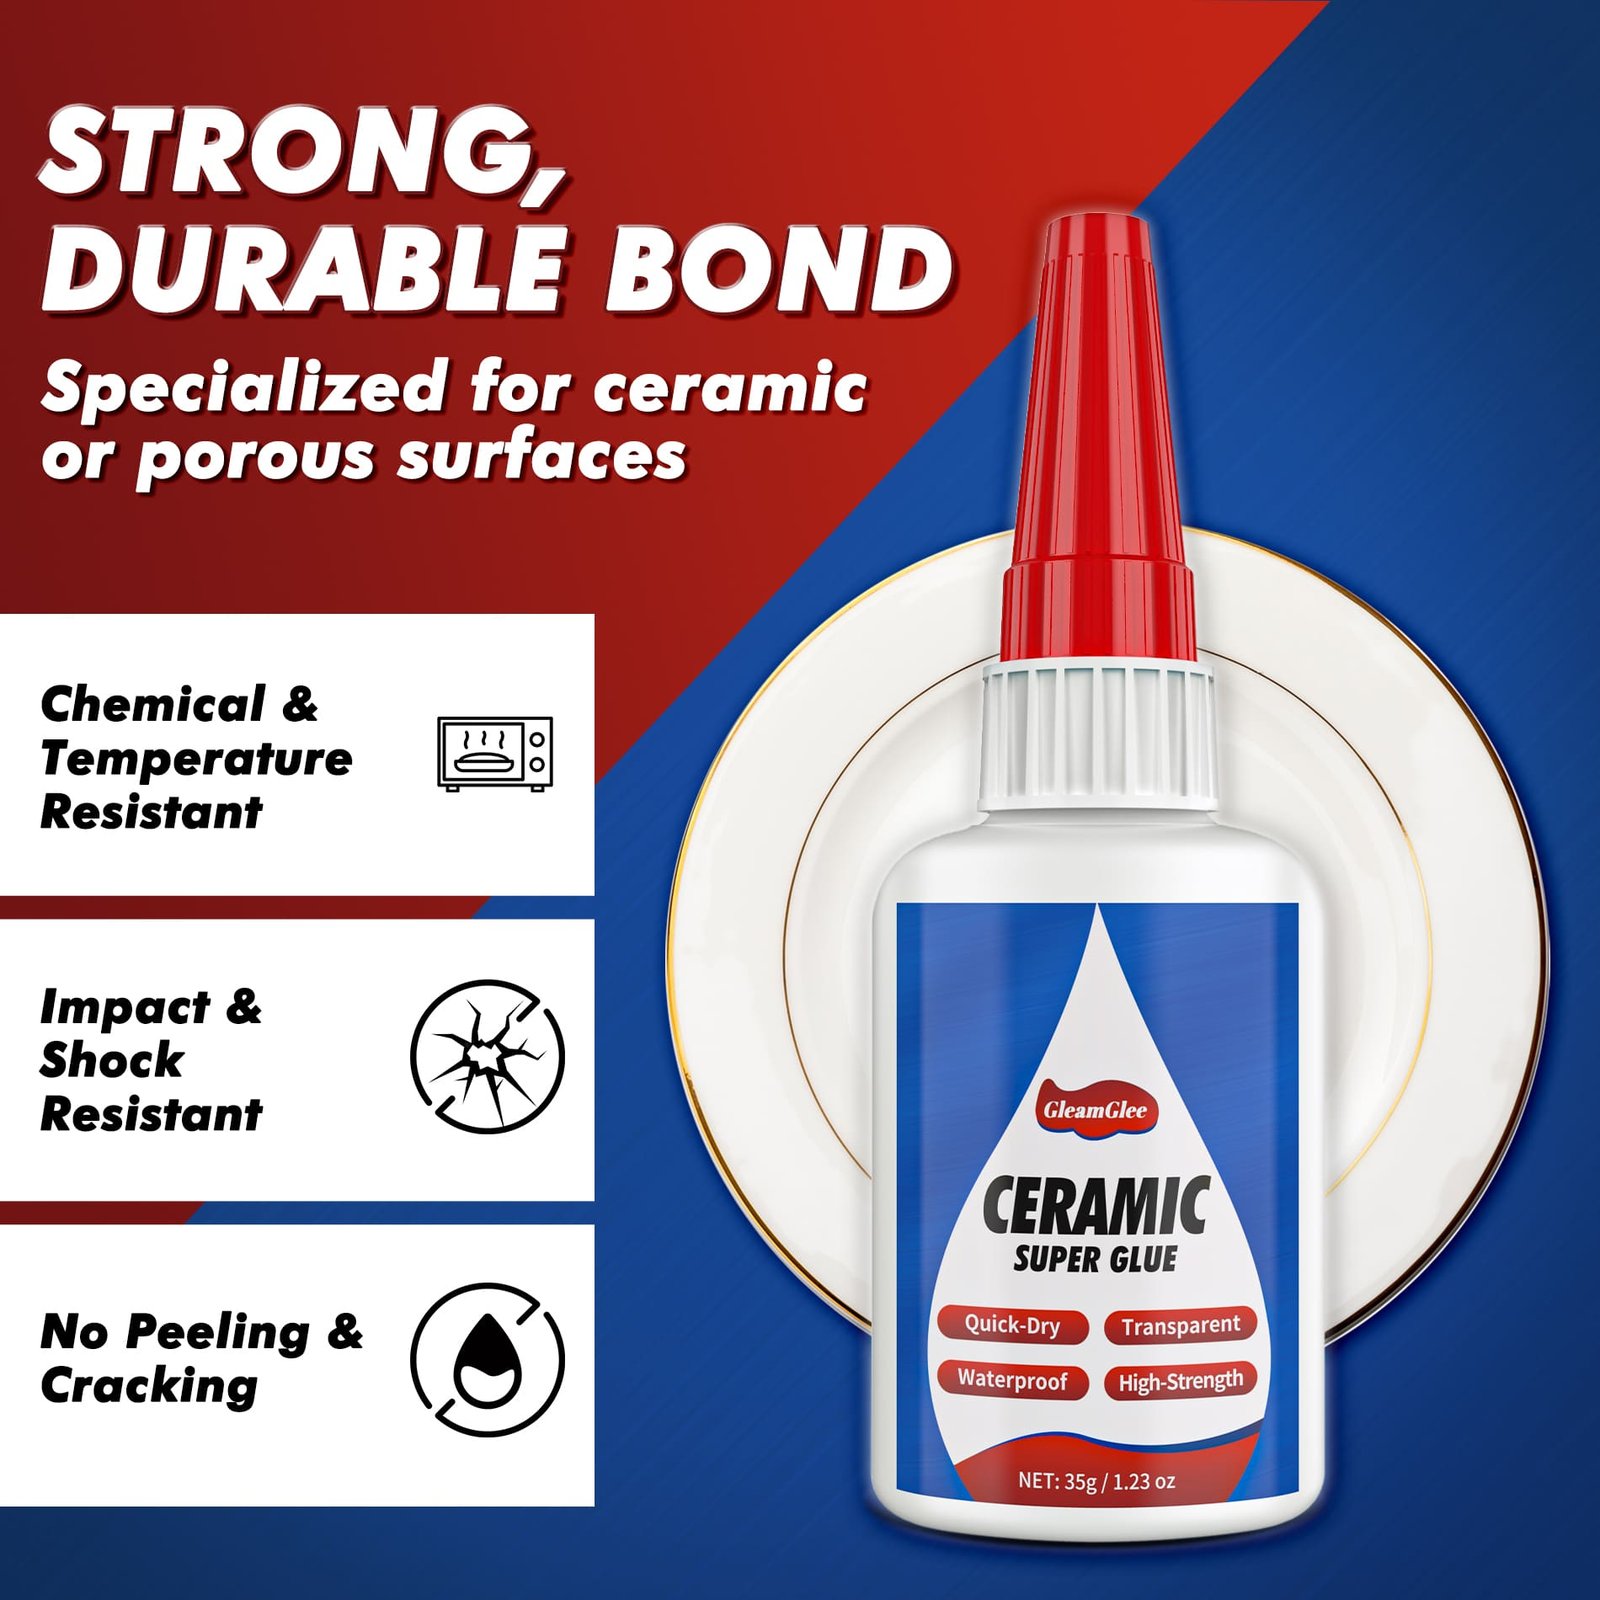
| Single Bottle Size | 35g / 1.23 oz |
| Single Pack Tips | 4 Precision Applicator Tips |
| Two-Pack Size | 2 × 35g |
| Two-Pack Tips | 8 Precision Applicator Tips |
| Recommended Press Time | 5–10 Seconds |
| Full Cure Time | 24 Hours |
| Mixing Required | No |
| Primary Materials | Ceramic, Porcelain, Pottery |
| Additional Listed Materials | Glass, Metal, Wood, Plastic, Concrete |
| Moisture Positioning | Water-Resistant After Full Cure |
| Household Heat Positioning | Heat-Resistant for Normal Household Use |
| Warranty | 1 Year Manufacturer |
Why Faster Initial Holding Helps at Home
Shorter hand-pressure time becomes especially useful when ceramic parts are curved, small or difficult to balance in their original position.

Two-Point Mug Handles
A handle must meet the mug body at two separate breaks at the same time. Holding both points accurately for a long period can be awkward. A 5–10 second recommended press period helps establish the initial position sooner. Dry-fit first, align both ends together and add gentle tape support afterward when the handle shape or weight can encourage movement.

Curved Vase Pieces
Curved ceramic fragments tend to slide sideways when pressure is applied at the wrong angle. Fast initial holding reduces prolonged manual support, but correct preparation matters more than rushing. Rehearse the movement before applying glue, press toward the joint rather than across the glaze, and place the vase in a padded support during the full 24-hour cure.

Small Figurine Details
A tiny ear, wing, finger, flower or tail may be difficult to hold without covering the repair with fingertips. Precision tips and a short pressing period can simplify positioning. Tweezers, foam blocks or low-tack tape may provide better control after initial pressure. Keep the repaired detail protected from accidental knocks until the complete curing period has finished.
Four Precision Tips Keep Glue Where Needed
Fine applicators help reduce unnecessary adhesive around narrow ceramic breaks, detailed ornaments and small contact points where ordinary bottle openings can feel oversized.
Controlled Glue Dots
Small figurine parts, ceramic charms and tiny decorative pieces rarely need a large pool of adhesive. A precision tip can place a small dot directly onto the contact face. Test the flow first, keep the nozzle close to the break and squeeze gently. Controlled volume helps reduce cleanup and prevents excessive glue from spreading over nearby glaze.
Thin Repair Lines
Continuous breaks such as mug-handle edges or small vase fragments often need a narrow adhesive line rather than separate large drops. Move the tip slowly along one clean bonding surface while maintaining light bottle pressure. A thin, even layer improves contact control and reduces the chance of visible adhesive gathering around the outside of the joint.
Tight Recessed Areas
Figurine details, ornament bases and small ceramic recesses can be difficult to reach with a standard bottle opening. A fine applicator allows the dispensing point to move closer to the actual bond area. Better access can reduce awkward bottle angles, but the fragment should still be dry-fitted before glue is introduced into a confined repair location.
Less Excess Cleanup
Visible ceramic repairs benefit from restrained adhesive volume. Precision placement helps minimize glue reaching polished glaze, painted decoration or surrounding table surfaces. It cannot automatically prevent overflow; squeeze pressure, joint fit and application amount remain under the user’s control. Apply sparingly, align once and address excess according to product instructions before it creates an unwanted raised layer.
Clear-Drying Bonds Help Keep Repairs Discreet
Transparent adhesive supports cleaner-looking ceramic repairs, while final visibility still depends on break quality, alignment accuracy, glue thickness and excess control.
Clear Cured Appearance
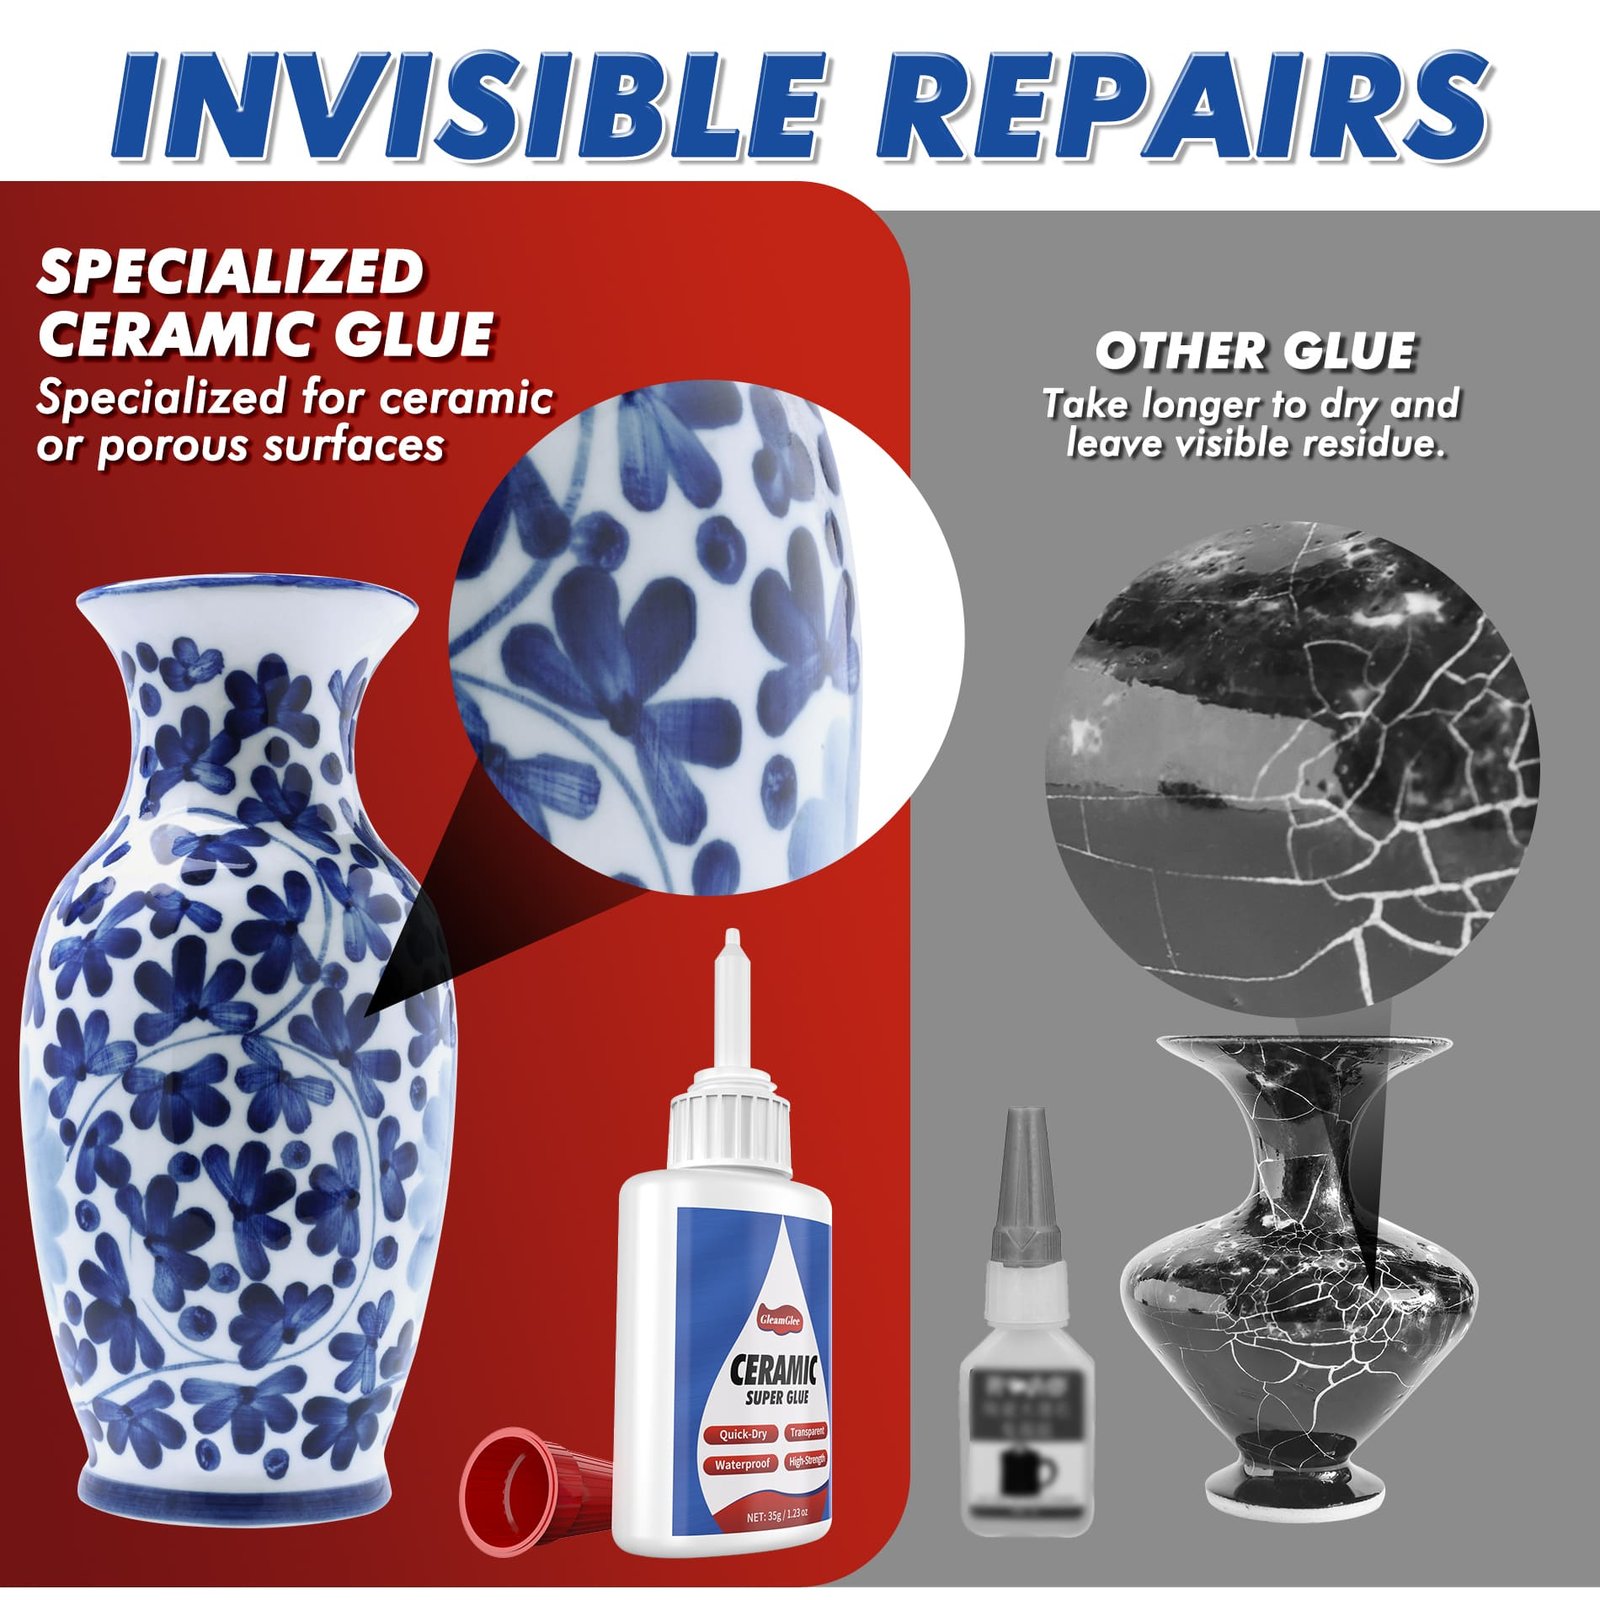
GleamGlee cures clear rather than leaving a deliberately colored adhesive line. Transparent bonding is valuable on white porcelain, patterned pottery, glazed vases and decorative pieces where an opaque repair material could compete visually with the original finish. Clear curing does not restore missing paint, ceramic chips or lost decoration, so preserve every fragment whenever possible.
Close Edge Alignment
Even transparent adhesive cannot hide a large physical gap. Broken edges should return as closely as possible to their original position before glue is applied. Dry-fitting reveals missing fragments, high spots and incorrect orientation. When edges meet accurately, the adhesive layer can remain thinner and the finished joint generally has a better chance of looking discreet.
Thin Adhesive Layer
More glue does not automatically produce a stronger ceramic bond. A thick pool can squeeze onto the glazed surface, create a raised ridge or make cleanup harder. Apply a thin, even film over the effective contact area. Precision tips help control placement, especially along narrow breaks and small decorative pieces where only a limited amount is required.
Accurate Final Position
Fast initial holding gives less reason to repeatedly slide two pieces after contact. Rehearse the alignment first, identify hand positions and bring the joint together once. Repeated movement can spread adhesive outside the intended area. A clear, low-visibility result is most achievable when intact edges align closely and excess adhesive remains minimal throughout the repair.
Six Factors Build a Strong Ceramic Bond
Bond performance comes from surface condition, joint geometry, controlled adhesive volume, accurate pressure, complete curing and realistic expectations about how the object is loaded.
Clean Bonding Faces
Dust, grease, water, cleaning residue and loose ceramic particles can prevent adhesive from contacting the actual material. Clean both break faces with a method suitable for the object and let them dry completely. Handle prepared surfaces carefully so skin oil and lint do not return before application.
Close Joint Fit
CA adhesive performs best when broken ceramic pieces fit closely together. Dry-fit every piece and inspect the entire seam from several angles. A joint that rocks, leaves a large cavity or contains missing ceramic should not be corrected simply by filling the space with more liquid glue.
Thin Even Application
A controlled adhesive layer should cover the useful contact area without creating a thick mass between the surfaces. Large glue volume can force pieces apart, increase visible overflow and complicate alignment. Small parts may need only a dot, while longer breaks usually need a fine continuous line.
Stable Pressing
Bring the pieces together in the rehearsed position and apply even pressure toward the joint. GleamGlee recommends holding firmly for 5–10 seconds. Avoid twisting or rocking the pieces during the initial holding stage. Complex shapes can remain supported with tape, foam or another gentle fixture.
Complete Curing
Initial holding and final curing are different stages. Keep the repaired object stable for 24 hours before normal use. Premature washing, twisting, carrying or moisture exposure can challenge a joint before the complete curing period has finished, even when the piece appears stationary shortly after pressing.
Realistic Load Direction
A decorative figurine ear, planter ornament and mug handle do not experience the same force. Contact area, peeling force, leverage and repeated handling influence repair demands. Do not assign unverified load numbers to a household repair. Evaluate the object itself and choose another repair method when failure could create a structural or safety problem.
Materials Supported for Small Ceramic Repair Projects
Ceramic remains the primary focus, while several listed secondary materials allow selected household and craft projects involving mixed-material decorative connections.
| Material or Combination | Typical Small Repair Direction | Important Consideration |
|---|---|---|
| Ceramic to Ceramic | Mugs, vases, ornaments, planters | Best when broken edges fit closely |
| Porcelain to Porcelain | Figurines, decorative plates, china pieces | Protect patterns and glazed surfaces |
| Pottery to Pottery | Decorative vessels and craft pieces | Remove loose porous dust before bonding |
| Ceramic to Glass | Decorative accents and mixed-media projects | Both surfaces must be clean and dry |
| Ceramic to Metal | Charms, small ornaments, decorative bases | Remove oil from metal contact areas |
| Ceramic to Wood | Mosaic pieces and frame accents | Wood must be stable and free from dust |
| Ceramic to Plastic | Model details and decorative components | Plastic type and surface condition can affect results |
| Ceramic to Concrete | Small decorative attachments | Keep the task localized and non-structural |
| Ceramic Tile to Wood | Small craft or decorative tile accents | Not intended for full wall or floor tile installation |
| Ceramic Mosaic to Stone | Small art and decorative projects | Dry-layout pieces before applying glue |
Quick Ceramic Glue or Two-Part Epoxy?
Both adhesive types can serve ceramic work, but their preparation, working time and ideal joint geometry make them useful for different household repair problems.
Choose Quick CA Glue
A single-component CA ceramic adhesive makes sense when the broken pieces are present, the edges fit closely and the user values fast positioning. GleamGlee requires no mixing, uses a medium-viscosity liquid formula and supports precision application with four included tips. Apply a thin layer, align the pieces and press for 5–10 seconds before allowing the 24-hour full cure. The approach works especially well for small clean mug-handle breaks, figurine details, vase fragments, ornaments and decorative ceramic pieces where a thin bond line and controlled placement matter.
CA is not intended to rebuild a missing ceramic section. Pouring extra liquid adhesive into a wide cavity does not recreate lost material. Choose based on joint geometry rather than assuming the fastest product is automatically suitable for every repair.
Consider Two-Part Epoxy
A compatible two-part epoxy can be more appropriate when a rigid ceramic joint needs additional working time, when surfaces are somewhat uneven or when the repair material must fill a modest gap. Epoxy normally requires measuring or dispensing two components, mixing them thoroughly and applying the mixture within its working period. The slower positioning window can help on repairs where several larger fragments need careful adjustment.
The tradeoff is additional preparation and usually a thicker adhesive layer. For a clean break that already fits tightly, a fast CA formula may provide a simpler route. For a gap, missing shape or irregular cavity, the ability of an appropriate epoxy or repair compound to occupy space becomes more important than instant initial holding.
Four Steps for a Faster Home Repair
Good ceramic bonding starts before the bottle opens, then moves through controlled application, accurate pressing and protected curing without unnecessary extra steps.

Prepare and Dry Fit
Collect every available fragment and place the pieces together without adhesive. Confirm orientation, contact points and the order of assembly. Clean dust, grease, moisture, loose ceramic particles and unstable old adhesive from the bonding faces. Let both surfaces dry completely before continuing.
- Confirm pieces fit closely.
- Protect the work surface.
- Prepare tape or soft supports.
- Decide where your hands will hold the object.

Apply a Thin Layer
Install a precision applicator tip and test the flow on disposable material before touching the repair. Apply a thin, even layer to one bonding surface. Small parts may need a controlled dot; longer clean breaks may need a fine line.
- Keep the tip close to the joint.
- Squeeze the bottle gently.
- Avoid flooding glazed areas.
- Do not use extra glue to fill a wide gap.

Align and Press
Bring the pieces together in the exact position rehearsed during dry fitting. Avoid sliding back and forth after contact. Press firmly toward the joint for 5–10 seconds, keeping the pieces stable rather than twisting them.
- Check both ends of a mug handle.
- Keep curved fragments from sliding.
- Add tape or a support if balance is poor.
- Protect fingers from adhesive contact.

Cure Before Regular Use
Transfer the repaired item to a clean, stable location where nobody needs to move it. Leave the joint undisturbed for 24 hours for full curing. Early stability does not mean the object is ready for washing, twisting or demanding handling.
Keep the repair dry.
- Avoid unnecessary movement.
- Inspect alignment after curing.
- Resume use only after the full cure period.
Hold in Seconds and Cure in 24 Hours
A clear repair timeline prevents the most common timing mistake: treating an initially stable ceramic joint as if the adhesive has already completed curing.
Hold, Support, Cure and Inspect
Hold: After a thin adhesive layer is applied and the broken pieces are accurately aligned, press the joint firmly for 5–10 seconds. Apply pressure toward closing the break rather than twisting or sliding across it. The short period is the recommended pressing stage and supports fast initial holding. Actual behavior can vary with temperature, humidity, ceramic condition, glue thickness, contact area and joint fit.
Support: When finger pressure ends, evaluate whether the piece remains naturally stable. A light figurine detail may stay in position, while a curved vase fragment or mug handle may still benefit from low-tack tape, foam blocks or another gentle support. Supporting a joint does not mean clamping it aggressively. The goal is to prevent gravity, imbalance or accidental contact from moving the aligned pieces.
Cure: Leave the object in a clean and stable location for 24 hours. Do not use the initial holding stage as permission to wash, twist, load or repeatedly inspect the joint by pulling on it. For items expected to encounter occasional moisture, keep them dry until the complete curing period has finished.
Inspect: After full cure, examine the seam under good light. Confirm both edges remain aligned, no component moves under gentle handling and no surrounding ceramic has cracked or loosened. A repair showing rocking, edge separation, a large unfilled cavity or unstable surrounding material deserves reassessment rather than stronger pulling.
A simple timing rule keeps expectations realistic: 5–10 seconds supports positioning; 24 hours completes the listed curing period. Quick household repair comes from efficient preparation and short pressing time, not from skipping the final curing stage.
Six Mistakes That Undermine Fast Ceramic Repairs
Rushing the wrong step can create more trouble than a longer cure, especially when alignment, cleanliness or glue volume is compromised before bonding begins.
Skipping the Dry Fit
Applying glue before rehearsing the joint can lead to reversed fragments, blocked hand positions or poor final alignment. Assemble the pieces without adhesive first. Check whether edges meet closely and decide how the object will be held before fast initial bonding begins.
Applying Too Much Glue
A large adhesive pool does not automatically increase strength. Excess material can squeeze onto visible glaze, create a thicker bond line and complicate accurate seating of the pieces. Use a controlled dot or thin line that covers the effective contact area without flooding it.
Bonding Dirty Surfaces
Dust, moisture, grease, loose ceramic powder and cleaner residue reduce direct contact between adhesive and the actual bonding surfaces. Prepare both sides before application and let them dry completely. Outdoor planters and kitchen objects often need extra attention because contamination may not be immediately visible.
Repositioning After Contact
Repeatedly sliding two pieces after glue has been applied can spread adhesive beyond the intended break and disturb the developing joint. Rehearse alignment first, then close the pieces in one controlled movement. Use visual marks or a support fixture when orientation is difficult.
Handling Too Early
A piece that remains still after the pressing period has achieved an initial positioning milestone, not complete cure. Avoid washing, twisting, loading or repeatedly testing the repair. Keep the object protected for the full 24-hour curing period before returning it to normal household handling.
Filling a Large Gap
Liquid CA glue is not a ceramic filler or repair putty. A wide cavity, missing fragment or rocking joint needs more than extra adhesive. Choose an appropriate gap-filling epoxy, repair compound, reconstruction method or professional solution when close surface contact cannot be restored.
Three Realistic Home Ceramic Repair Examples
Three common repair situations show how joint fit, precise application and curing requirements change from frequently handled items to detailed décor and moisture-prone objects.

Mug Handle Repair
Problem: A ceramic mug handle has separated cleanly at its upper and lower contact points, while the handle and mug body remain intact.
Method: Dry-fit both connections, clean and dry the breaks, apply a thin layer with a precision tip, align both ends simultaneously and press firmly for 5–10 seconds. Add gentle tape support if the handle shifts.
Result: The handle can remain aligned while the adhesive completes its 24-hour cure.
Important: General ceramic bonding does not establish food-contact, dishwasher, microwave or direct drinking-surface certification.

Porcelain Figurine Repair
Problem: A small porcelain wing has detached from a decorative figurine, leaving a narrow close-fitting break near painted details.
Method: Protect the work area, rehearse positioning with tweezers, place a small controlled adhesive dot on the break and return the wing to its exact orientation. Press briefly without sliding and support the piece if its weight pulls sideways.
Result: Clear curing helps avoid a deliberately colored glue line around the decorative surface.
Important: Final visibility still depends on alignment, missing chips and glue amount.

Planter Ornament Repair
Problem: A small decorative ceramic flower has detached from the outside of a household planter but does not affect the planter’s structural body.
Method: Remove soil and mineral residue, dry the ceramic completely, confirm close contact and apply a minimal adhesive layer. Align the ornament, press for the initial hold and keep the planter indoors or under cover through the 24-hour cure.
Result: After full cure, the bond is positioned for occasional moisture around normal household or decorative use.
Important: Large cracks, missing wall sections or structural planter damage need another repair strategy.
Where Quick Ceramic Glue Fits Best
A responsible adhesive choice separates small close-fitting repairs from projects involving missing material, structural loading, major cavities or unsupported exposure requirements.
Strong Match for Small Repairs
GleamGlee is best aligned with clean breaks, close-fitting edges, narrow bond lines, small detached pieces and detailed ceramic parts. Good household examples include mug handles, porcelain figurine arms or ears, vase fragments, decorative planter pieces, ornaments, keepsakes, mosaic contact points and small craft assemblies. The medium-viscosity liquid can be applied as a thin layer, while precision tips help control placement in narrow or visible areas. Ceramic, porcelain and pottery remain the primary materials, with selected mixed-material projects also supported by the listed compatibility range. Fast initial holding is useful when pieces are difficult to hold manually, but every successful repair still requires clean surfaces, accurate alignment and the full 24-hour curing period.
Choose Another Repair Method
Do not treat liquid CA glue as gap-filling putty, ceramic filler, tile mortar or structural construction adhesive. Wide missing sections, large cavities, unstable cracked bodies and repairs requiring substantial material reconstruction need a more suitable filling or structural system. Large floor or wall tile installations belong to dedicated tile adhesives rather than precision ceramic repair glue. Likewise, food-safe, direct drinking-surface, dishwasher-safe, microwave-safe and oven-safe claims require supporting certification or testing and should not be assumed from ordinary ceramic compatibility. When repair failure could create a serious safety problem, or when a valuable object has complex damage, professional assessment or a different repair method can be the better decision.
Why GleamGlee Fits Quick Household Ceramic Repairs
Its value comes from combining fast initial positioning with a controlled liquid formula, clear finish, useful bottle size and precise application for appropriate small repairs.
A Focused System for Small Ceramic Breaks
GleamGlee Ceramic Glue brings several product characteristics together around one common household problem: restoring a broken ceramic piece that can still be accurately returned to its original position.
The single-component CA formula removes the measuring and mixing stage associated with two-part systems. Once the repair is inspected, cleaned and dry-fitted, adhesive can be applied directly from the bottle. Short preparation is particularly useful for small fragments where the final movement needs to be planned before bonding begins.
The medium-viscosity liquid supports thin application across close-fitting ceramic edges. It is not positioned as a paste or cavity filler. For the intended joint geometry, a controlled film allows the broken surfaces to meet closely while the adhesive occupies the interface between them.
Each 35g / 1.23 oz bottle includes four precision applicator tips. Their value becomes clear on mug handles, figurine details, mosaic pieces and decorated pottery where an oversized glue bead creates more cleanup than benefit. The tips help deliver small dots and fine lines closer to the target area.
A recommended 5–10 second press time supports fast initial holding without implying full strength in seconds. The repaired object should still remain stable for the listed 24-hour full cure. Clear curing helps maintain a discreet appearance on closely aligned visible breaks, while cured adhesive is positioned as water-resistant and heat-resistant for normal household conditions.
A 35g bottle also makes sense beyond one tiny emergency repair. It can remain part of a household or craft repair kit for multiple suitable small projects, provided the bottle is resealed and stored according to product directions.
The strongest reason to choose GleamGlee is therefore not a single exaggerated claim. It is the combination of no mixing, controlled flow, precision dispensing, clear curing, short pressing time and a clearly stated full-cure period for small household ceramic repairs where those characteristics matter.
Quick-Drying Ceramic Adhesive Frequently Asked Questions
Use the answers below to confirm repair speed, curing time, ceramic fit, glue amount, clear appearance, epoxy alternatives and normal household-use expectations.
1. How fast does GleamGlee Ceramic Glue begin holding?
After a thin layer is applied and the pieces are accurately aligned, GleamGlee recommends pressing firmly for 5–10 seconds. The period supports fast initial holding and can reduce prolonged hand pressure. Actual behavior may vary with temperature, humidity, ceramic condition, glue quantity, contact area and break fit. Initial holding is not the same as complete curing.
2. Is 5–10 seconds the full cure time?
No. The 5–10 second figure refers to recommended pressing and initial holding. GleamGlee lists a 24-hour full cure. Keep the repaired object stable and avoid washing, moisture, twisting, heavy handling or unnecessary load until the complete curing period has finished.
3. Does GleamGlee Ceramic Glue require mixing?
No. GleamGlee Ceramic Glue uses a single-component cyanoacrylate formula. No separate hardener, measuring ratio or mixing cup is required. Clean and dry the bonding surfaces, dry-fit the pieces, install a precision applicator tip, apply a thin layer and align the joint.
4. Can it repair a broken ceramic mug handle?
A mug handle can be a suitable repair when both broken ends are present, fit closely and can be aligned accurately. Apply a thin layer, position both attachment points together, press for 5–10 seconds and support the handle when needed. Allow 24 hours for full cure. Do not assume food-contact, dishwasher, microwave or direct drinking-surface certification without supporting documentation.
5. Does GleamGlee Ceramic Glue dry clear?
Yes. GleamGlee is described as drying clear / transparent. Clear curing can help keep closely aligned repair lines less noticeable on visible ceramic surfaces. Final appearance still depends on break quality, accurate positioning, missing chips, adhesive thickness and control of excess glue around the seam.
6. How much ceramic glue should I apply?
Use a thin, even layer over the effective contact area. Small details may need a controlled dot, while a longer clean break may need a fine line. More adhesive does not automatically make the repair stronger. Excess glue can spread onto glaze, increase cleanup and interfere with close alignment.
7. Can I use it on porcelain figurines?
Yes. Porcelain is one of the primary listed materials. Small figurine components such as arms, ears, tails, wings and decorative flowers can suit precision repair when the broken surfaces fit closely. Dry-fit the piece first, use a small adhesive amount, align once and protect the detail throughout the 24-hour curing period.
8. Does GleamGlee work on pottery?
Yes. Ceramic, porcelain and pottery are core materials for GleamGlee Ceramic Glue. Pottery break faces can carry loose porous dust, so clean the contact surfaces carefully before application. The product is best suited to localized breaks where the pieces remain intact and can return to a close-fitting position.
9. Should I choose ceramic glue or two-part epoxy?
Choose a fast CA ceramic adhesive when the pieces fit closely and you value no mixing, short pressing time and precision application. Consider a compatible two-part epoxy or repair compound when the joint has a meaningful gap, requires filling or needs a longer positioning window. Match the adhesive type to the break geometry rather than speed alone.
10. When can I use the repaired item again?
Plan around the listed 24-hour full cure. After curing, inspect the seam and confirm the part remains aligned before regular use. Water-resistant positioning also applies after full cure rather than immediately after pressing. Avoid unsupported assumptions about food contact, dishwashers, ovens, microwaves or other specialized conditions unless suitable documentation confirms them.





















