 Skip to content
Quick-Dry Plastic Adhesive for Plastic Repairs
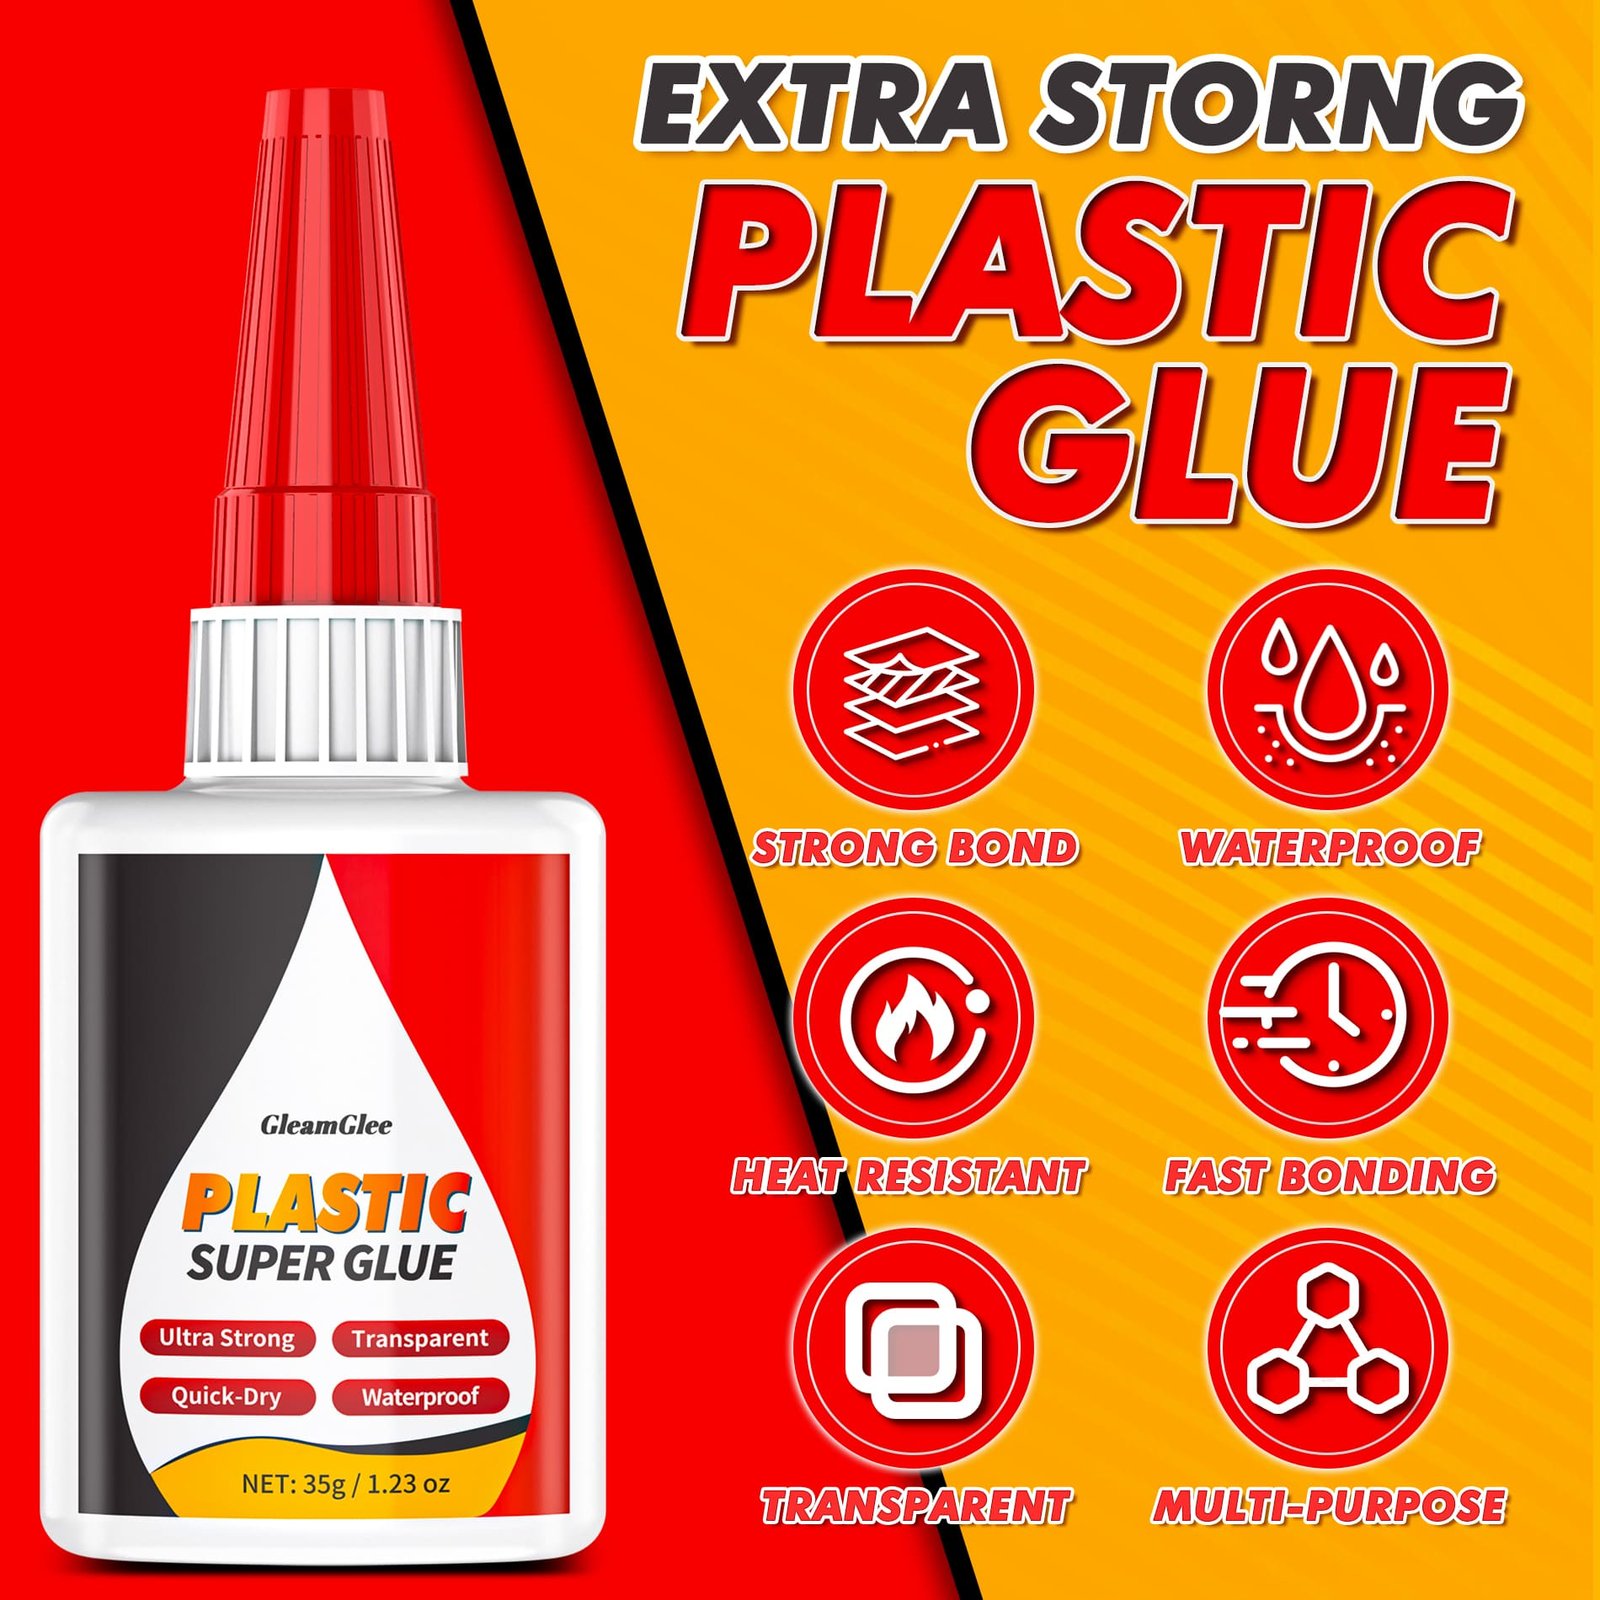
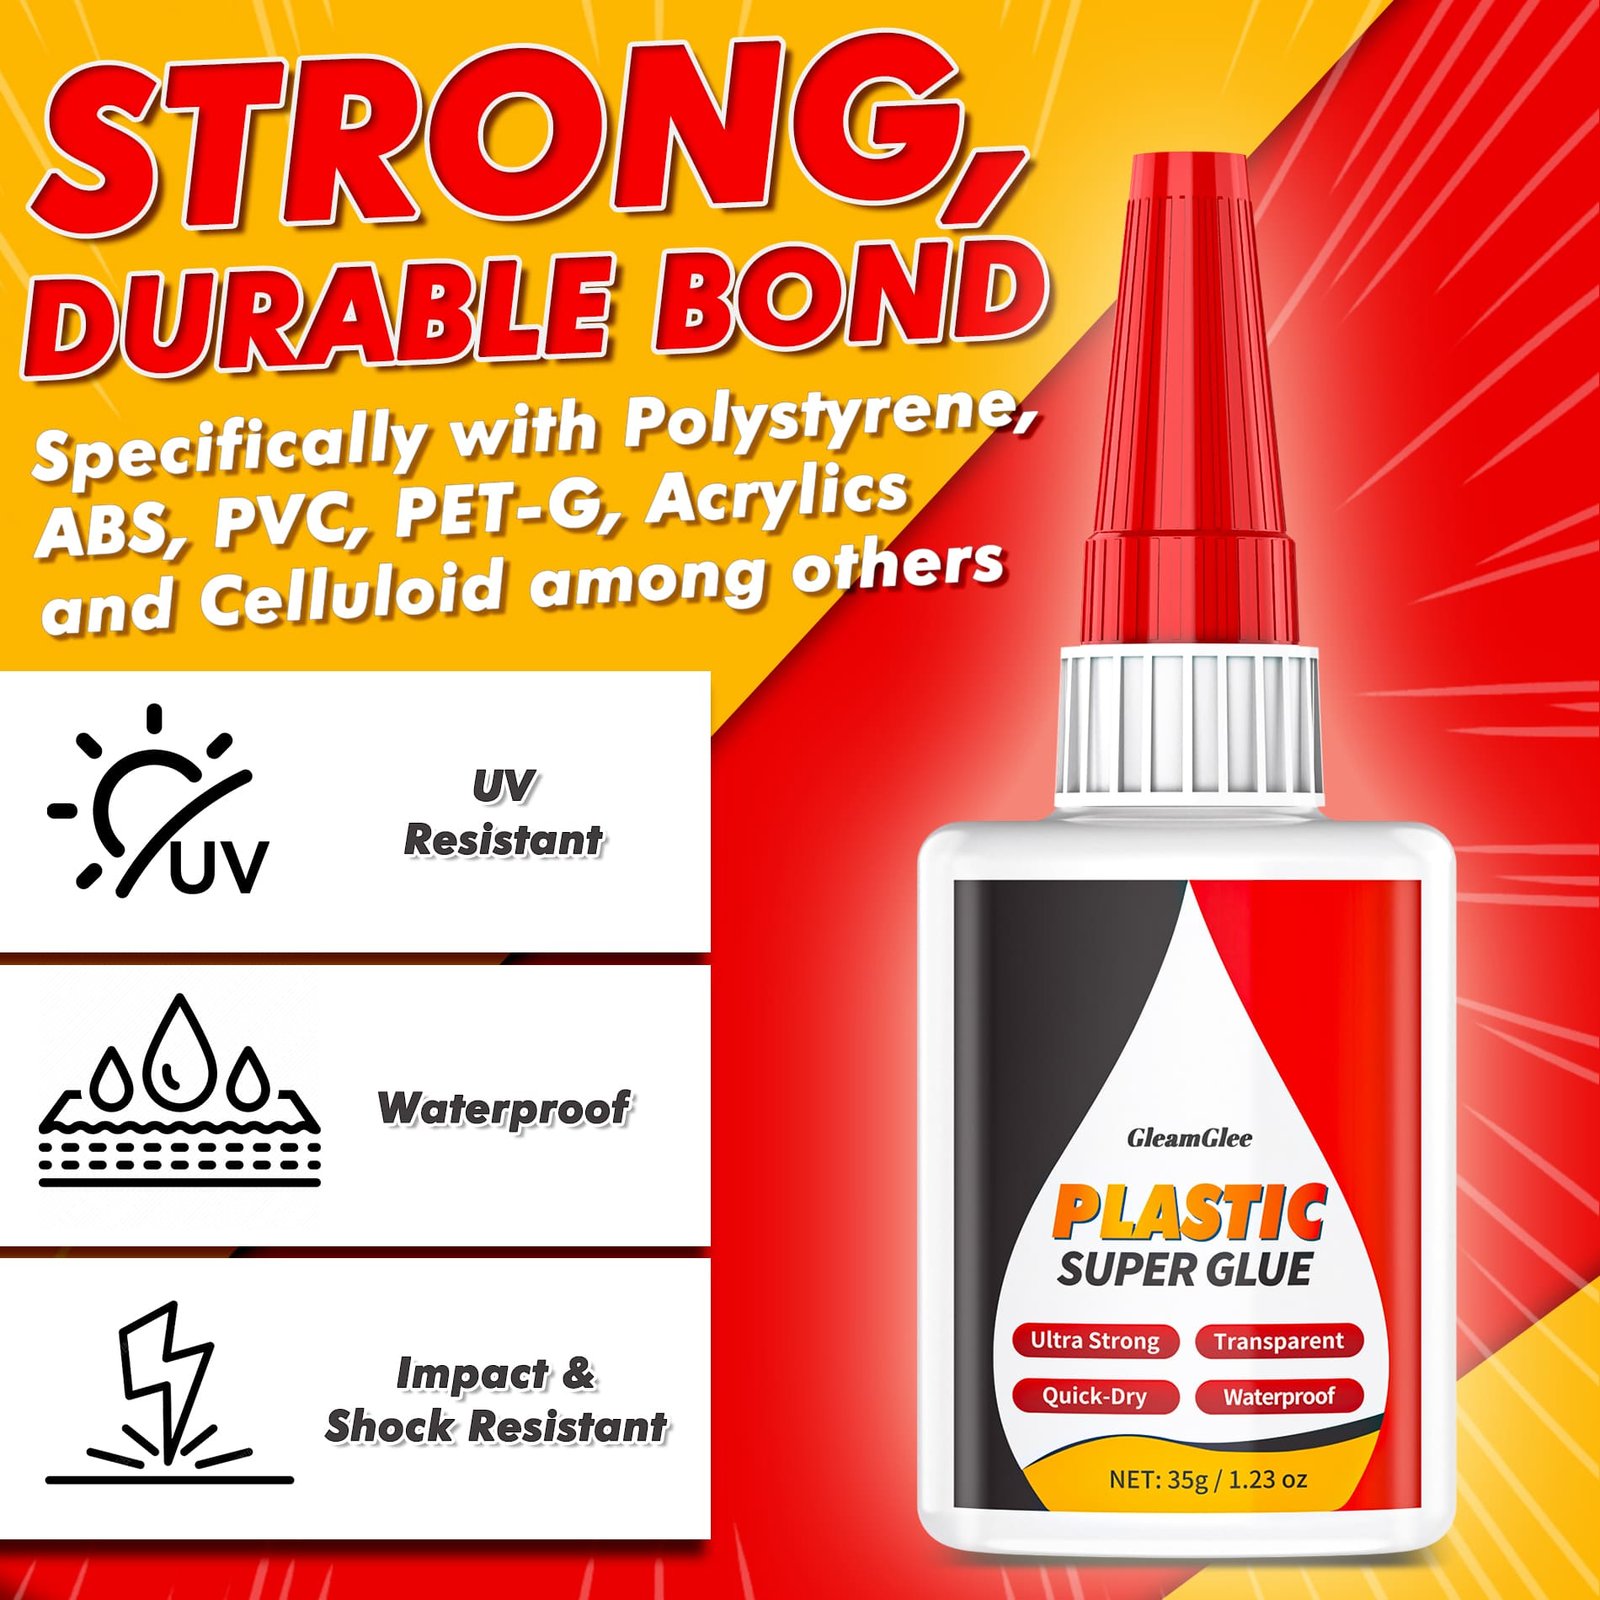
Fast initial bonding, clear drying and controlled application for close-fitting repairs on ABS, PVC, acrylic, PLA and suitable rigid plastics.
- Sets in seconds for faster hand-positioned repairs.
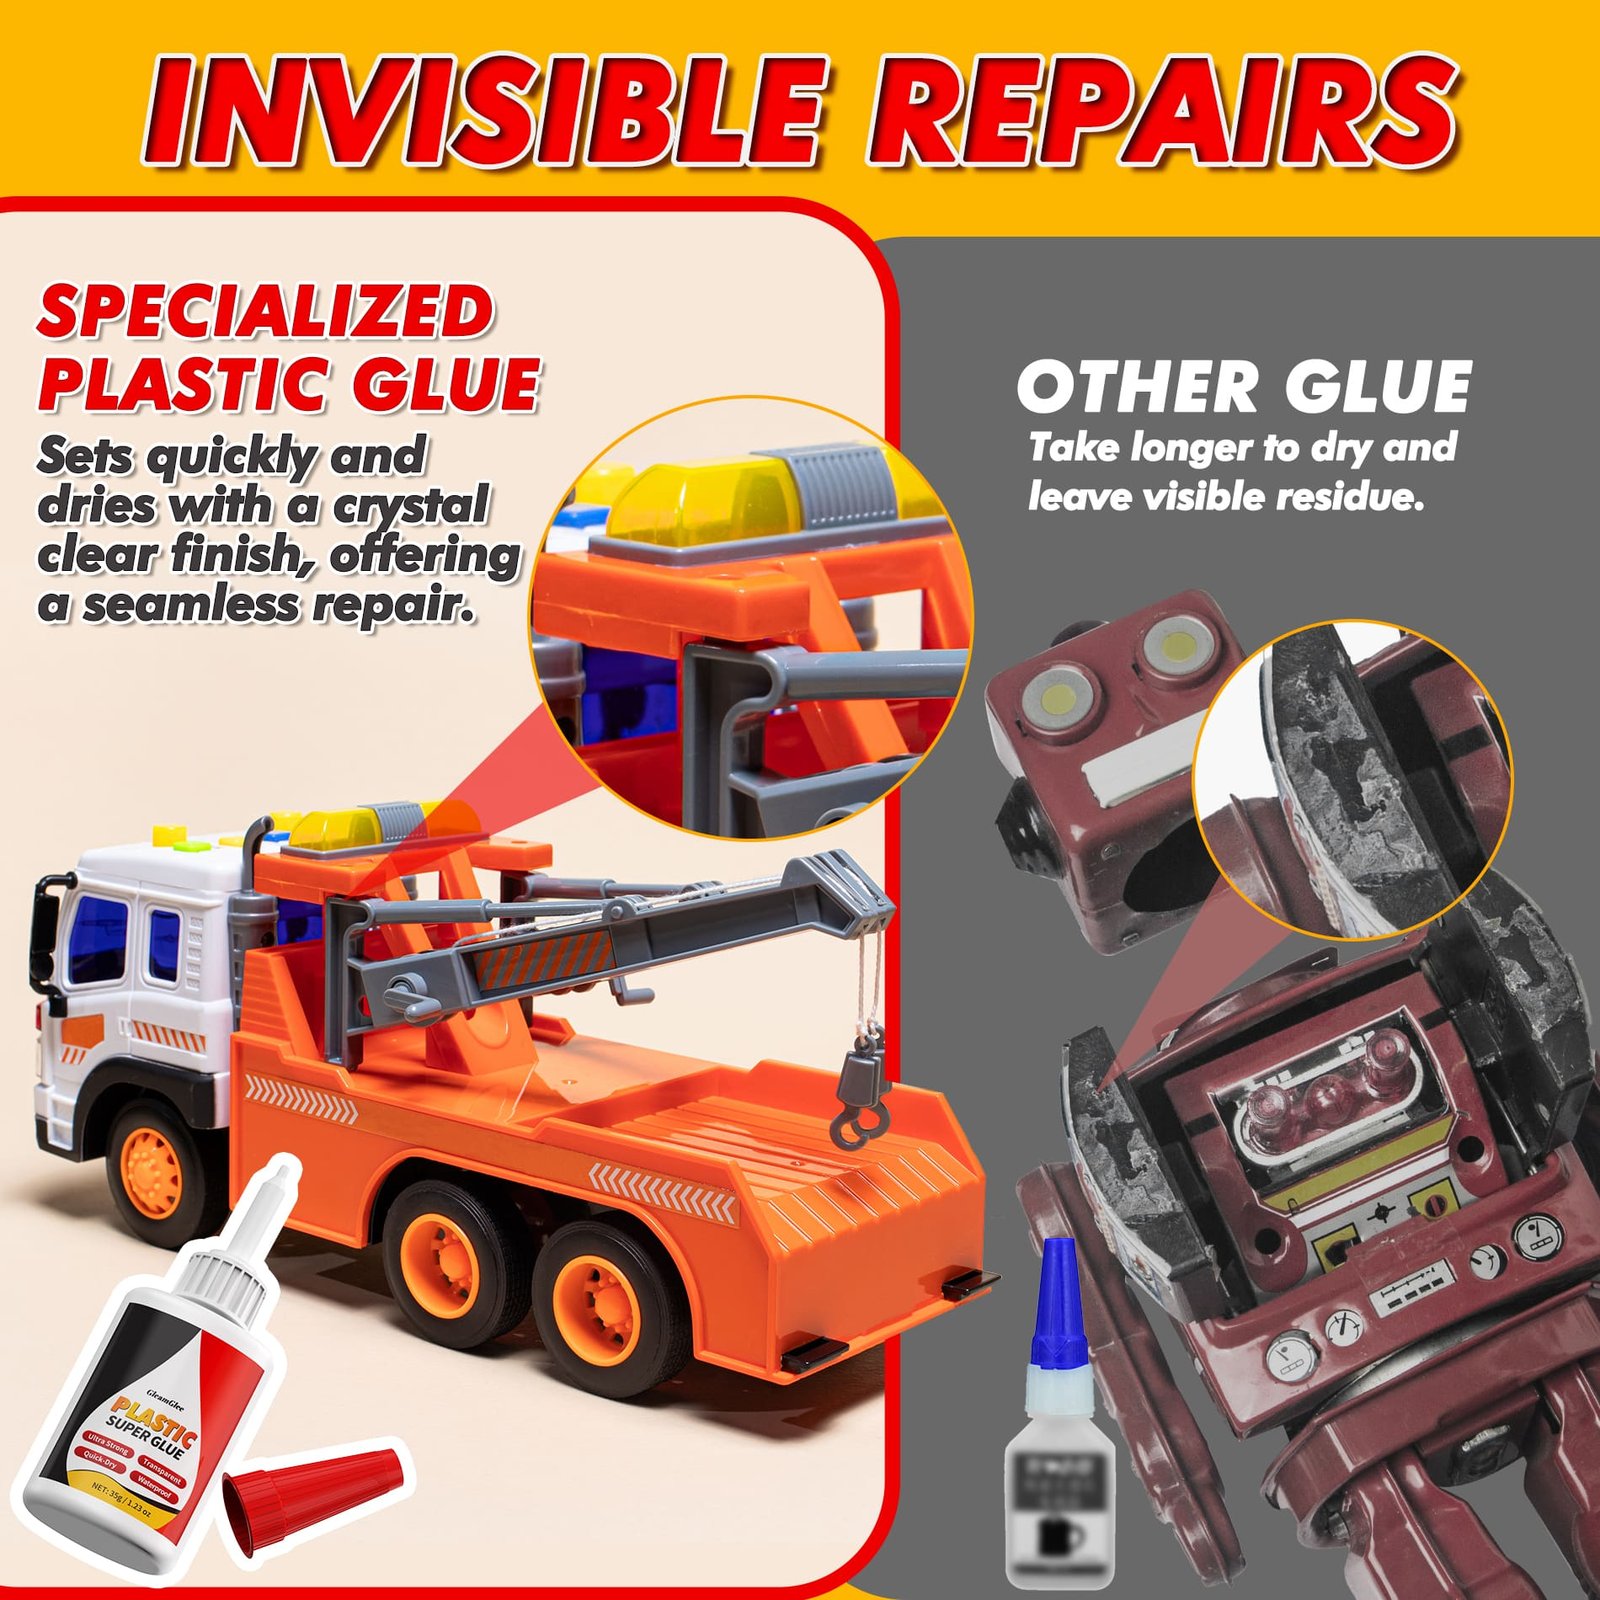
- Dries clear for cleaner-looking visible joints.
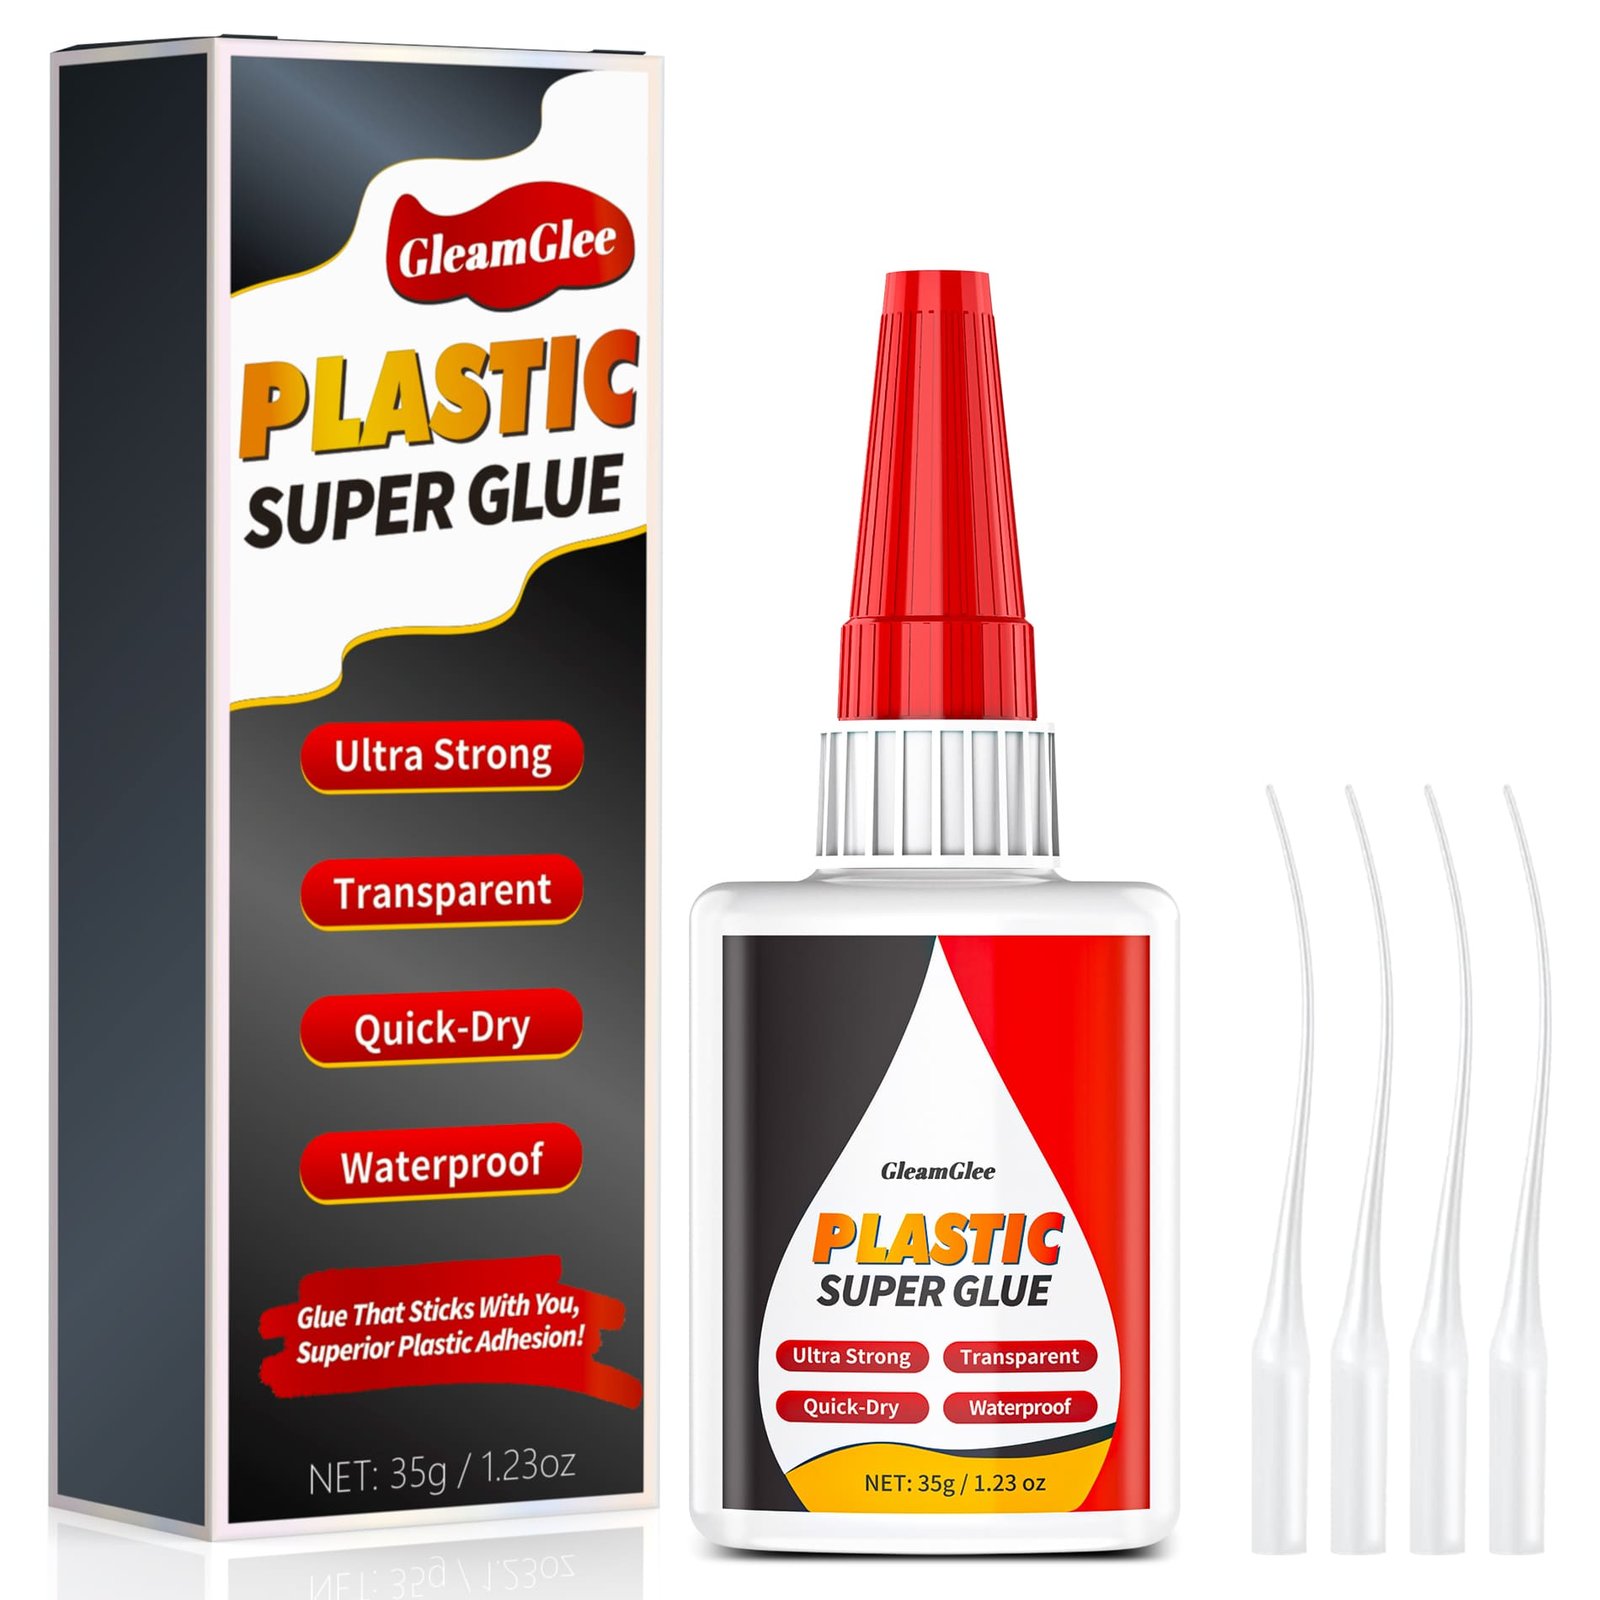
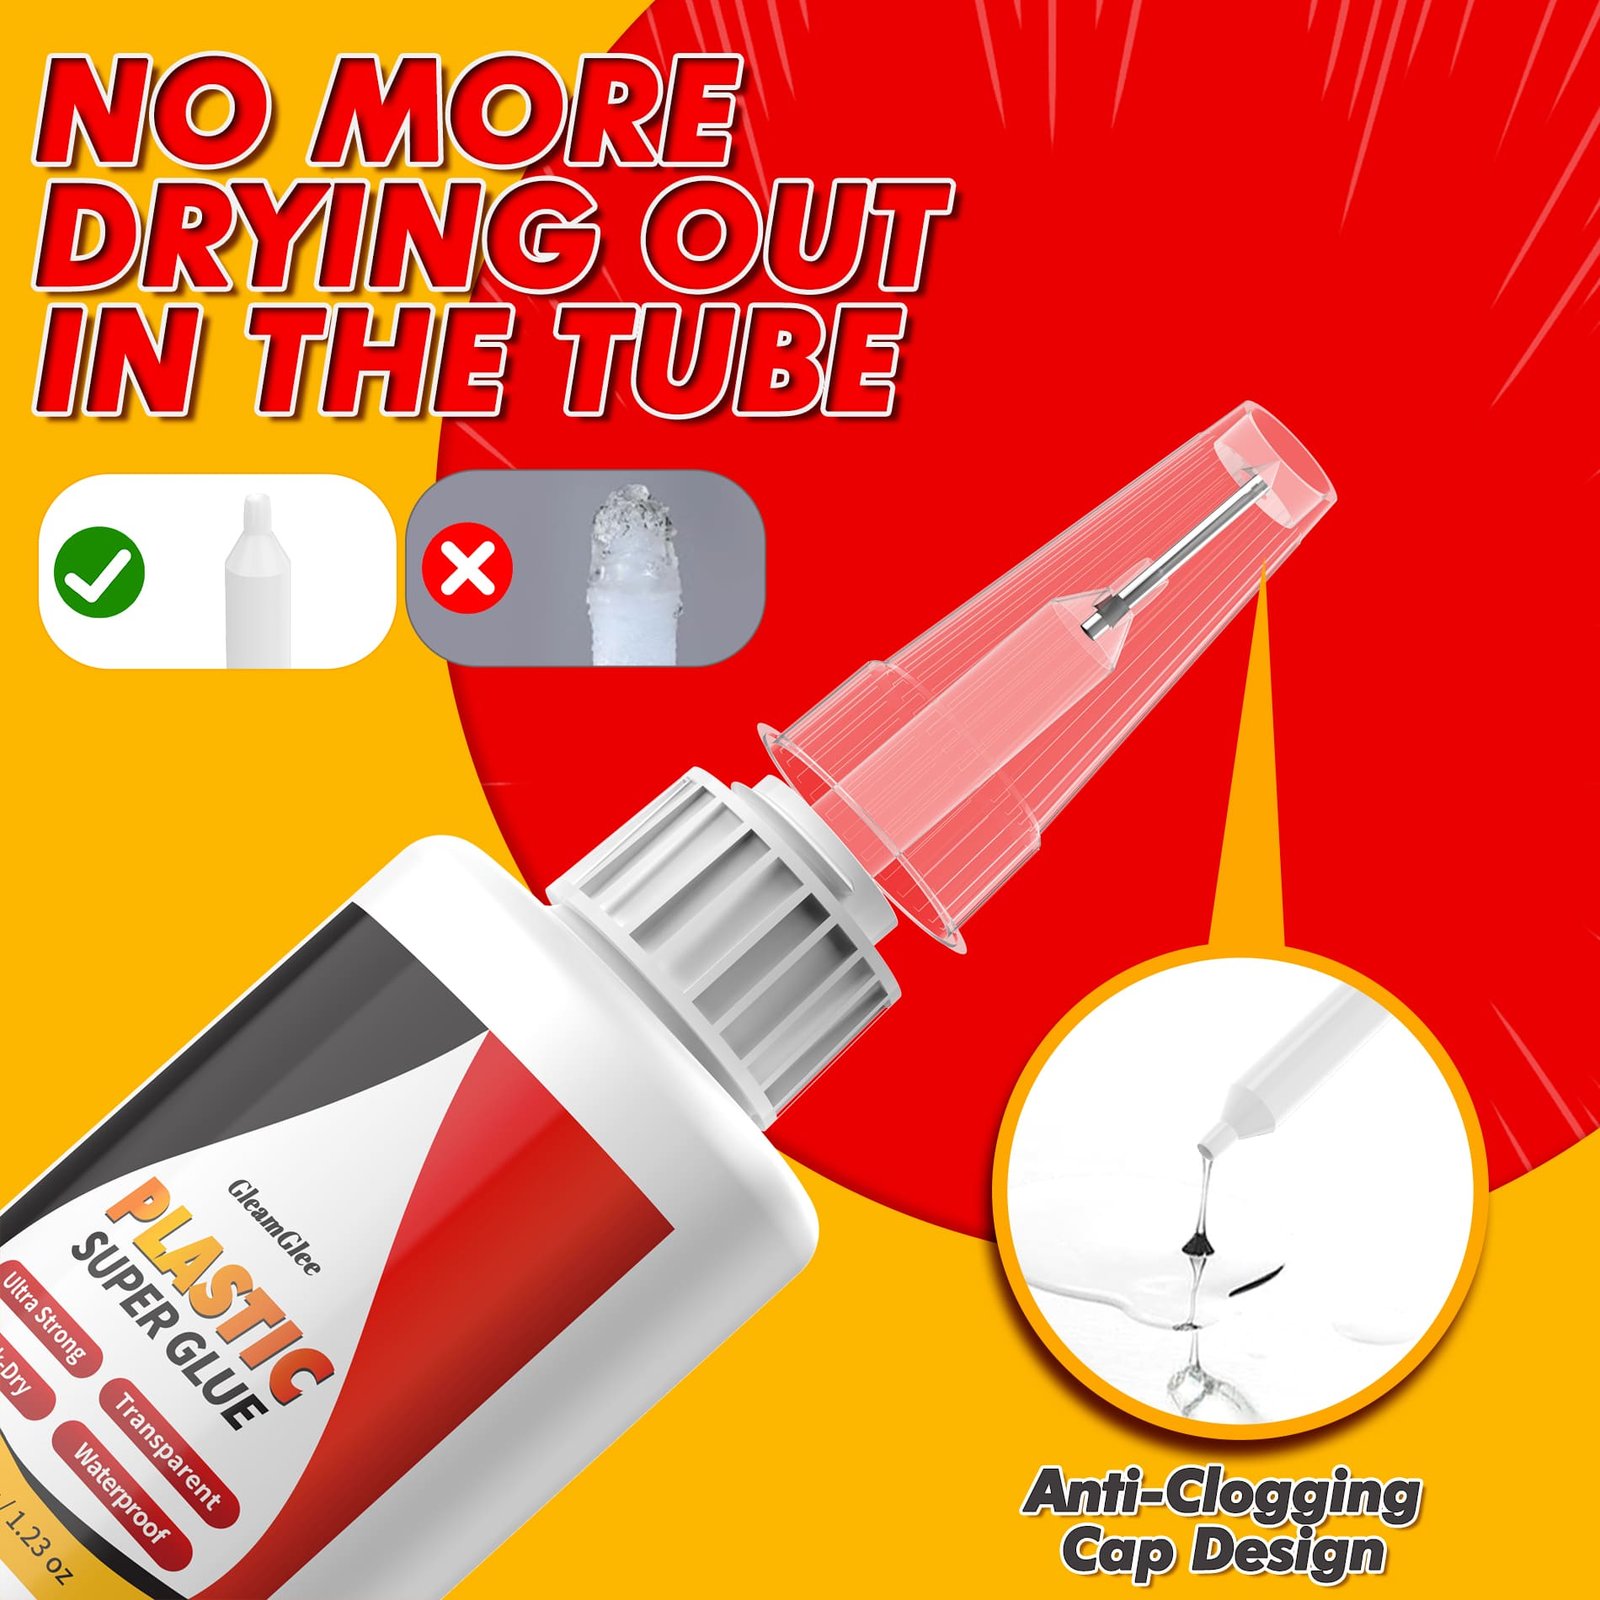
- Four precision nozzles reach narrow seams and tiny cracks.
- Medium-viscosity liquid supports controlled placement without complicated mixing.
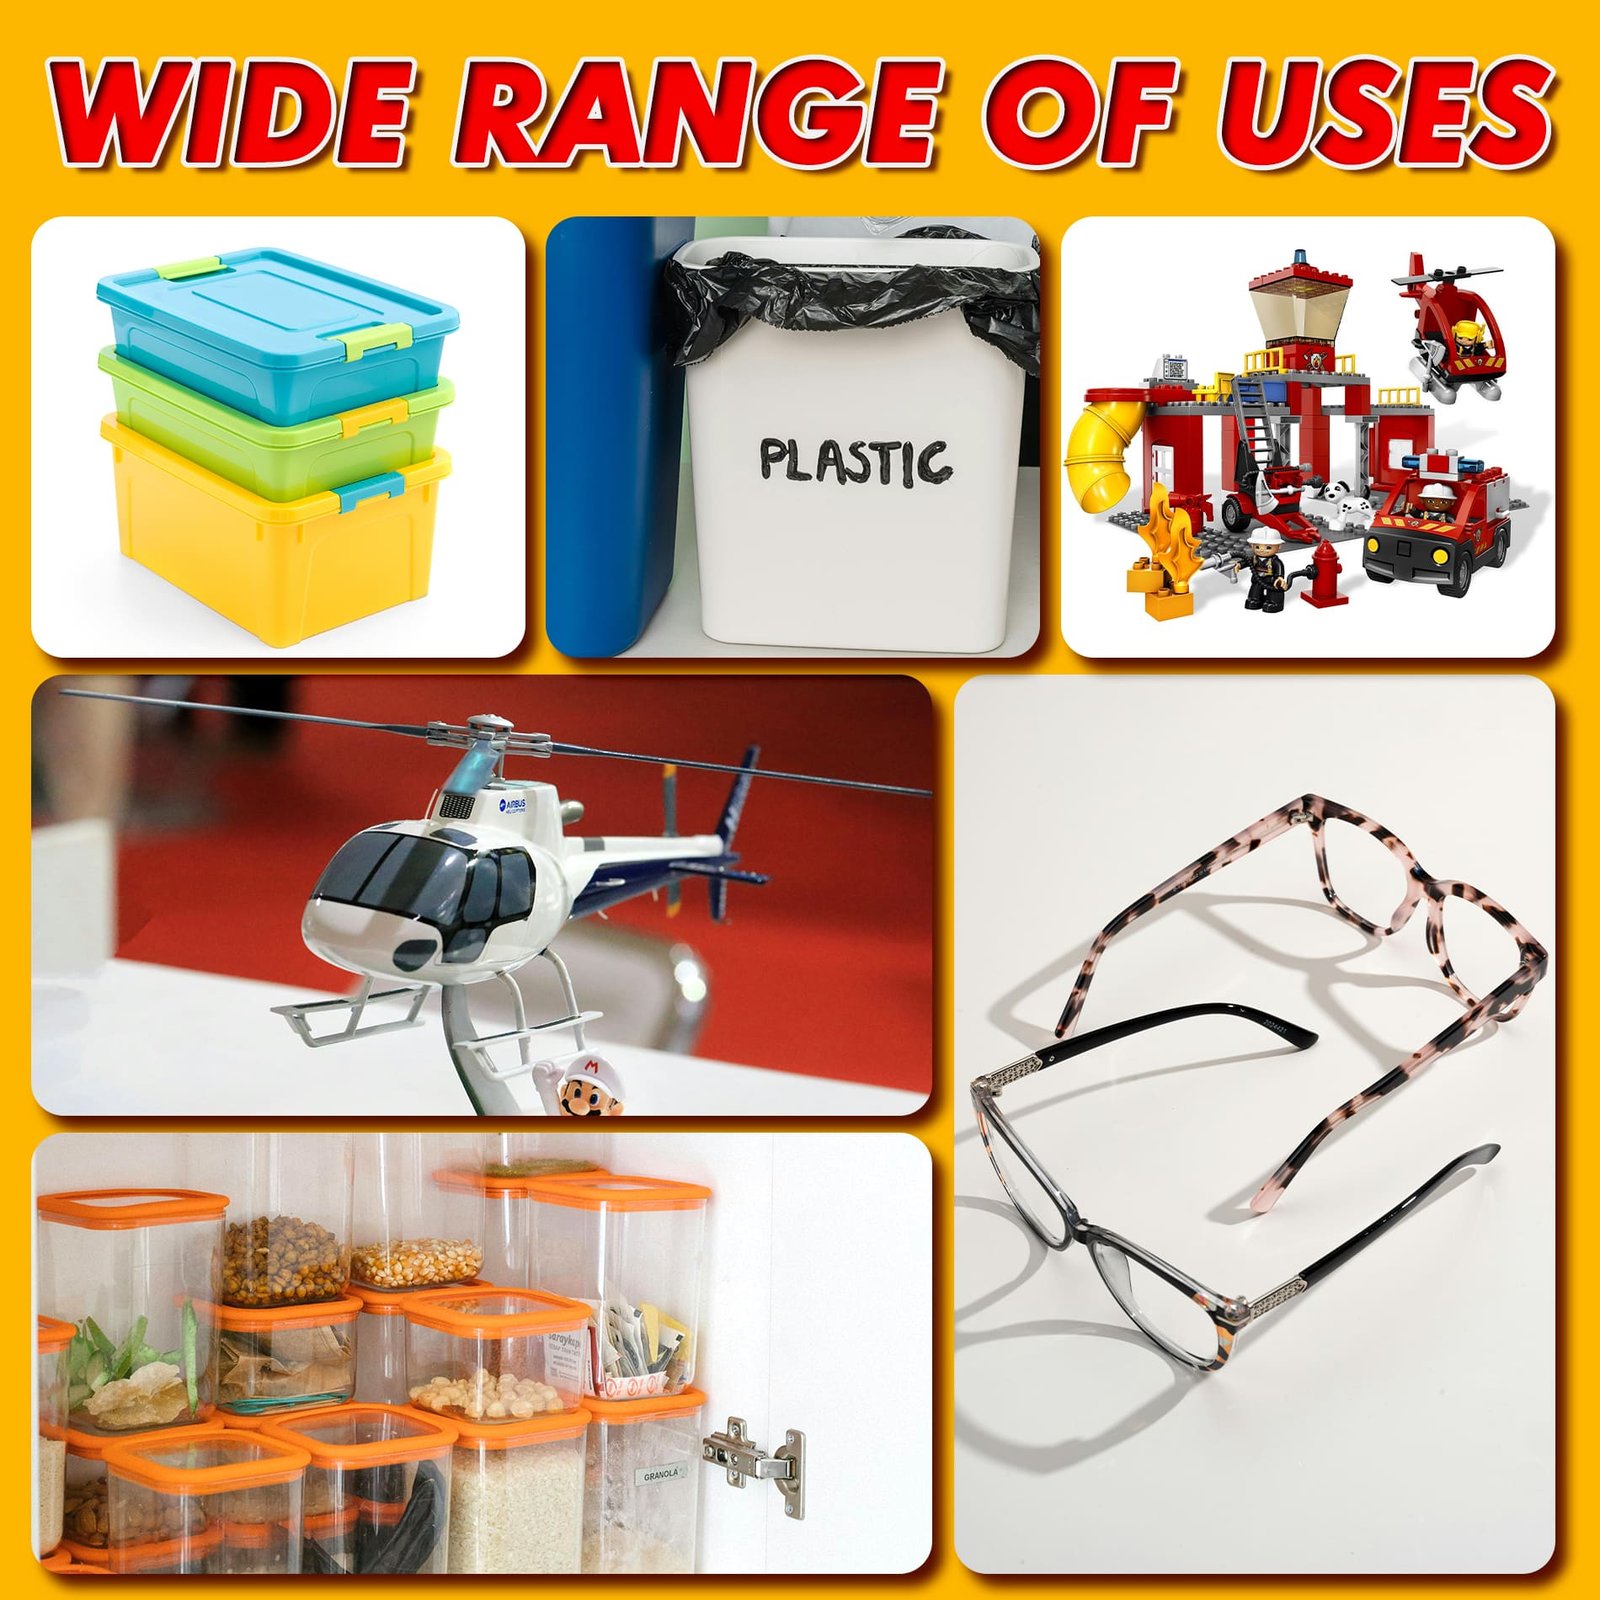
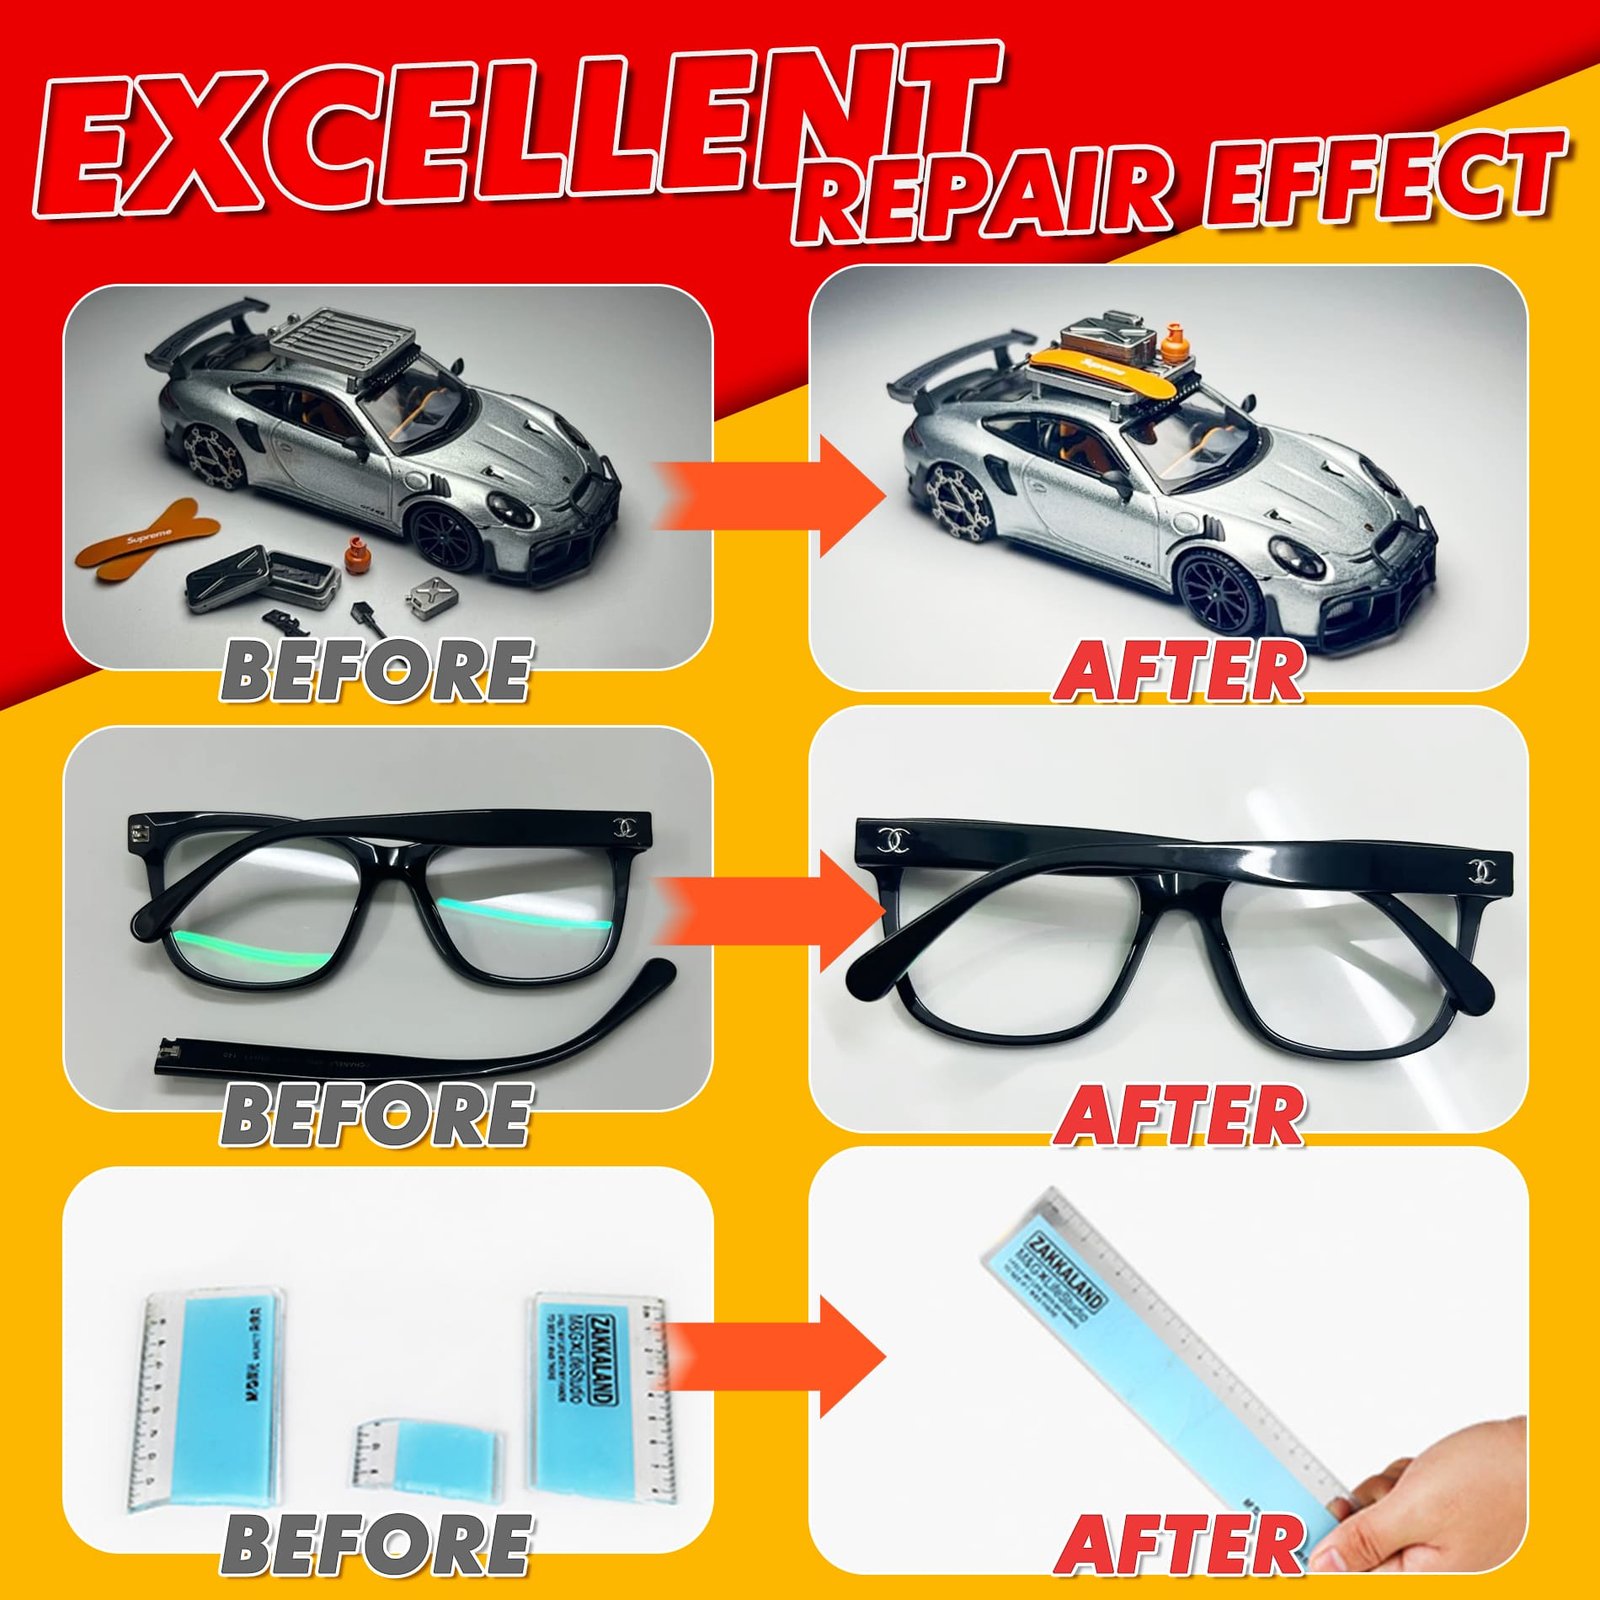
- Designed for models, PLA prints, toys, household items and small automotive interior components.
- Best suited to clean, dry, close-fitting surfaces; identify the plastic before applying.
- The 35 ml / 1.23 oz bottle serves multiple small projects at home, in the garage or at a hobby bench.

When a Plastic Repair Cannot Wait
Small plastic parts often need fast positioning because clamps are bulky, alignment is delicate, and movement during a long wait can spoil the joint.
Shorter Hand Holding
Tiny tabs, model parts and printed components can be awkward to clamp without hiding the joint or shifting the alignment. A formula that sets in seconds lets the user press the parts together briefly while the initial bond develops. The repaired item should still remain undisturbed afterward, but the first positioning stage becomes quicker and easier to control.
Faster Part Alignment
Clean breaks usually fit together in only one correct position. Fast initial bonding helps preserve that position after the edges have been test-fitted and accurately aligned. It is especially useful for PLA figures, miniature accessories, toy components and plastic housings where even a small offset would remain visible or interfere with reassembly.
Less Joint Movement
Slow movement during curing can open one side of a seam, create a step between surfaces or reduce the effective contact area. Quick initial set reduces the period in which a small component can slide out of place. Speed works best when preparation is complete before the adhesive is applied and both hands are ready to align the pieces.
Why Slow Positioning Complicates Small Repairs
Long holding times are not always harmful, but they become inconvenient when a repair is small, detailed or impossible to secure with ordinary clamps.

Delicate Model Joints
A small model arm, wheel mount or decorative panel may move when finger pressure is released. Bulky clamps can hide the seam or damage painted details. Fast initial bonding gives the builder a shorter positioning stage while preserving accurate alignment, provided the joint is clean, dry and closely fitted before application.
Broken Plastic Tabs
Tabs often have narrow contact areas and only one correct orientation. Holding them for a long period increases fatigue and makes accidental movement more likely. A quick-setting adhesive reduces the initial wait, but the tab must not be bent, snapped into place or loaded immediately after it can hold its own position.
Hard-to-Reach Areas
Plastic covers, housings and interior trim can break in locations where a clamp cannot sit squarely. A precision nozzle can place a controlled amount inside the joint, while brief hand pressure establishes the initial bond. The surrounding assembly should remain supported until the connection has had time to develop further.
A Faster Path from Break to Bond
Quick repair depends on preparation and control, not simply on choosing the fastest label. GleamGlee combines a single-part CA formula, medium viscosity and precision tips so each stage can be completed with fewer interruptions.
Prepare Before Opening the Bottle
Identify the plastic whenever possible, remove dust and oil, dry both surfaces and test-fit the pieces. A fast-setting adhesive provides little time to correct poor alignment after contact. Preparation therefore determines whether speed becomes an advantage or a source of error. Place the parts, gloves, paper protection and selected nozzle within reach before dispensing any adhesive.
Apply Only Where the Joint Needs It
Choose a precision nozzle that can reach the repair area. Place a controlled amount on one bonding surface rather than flooding both sides. Medium viscosity supports deliberate placement while remaining fluid enough for narrow joints. More adhesive does not automatically create a stronger repair; excess liquid can spread beyond the seam, interfere with close fit and make a clear repair line more noticeable.
Align, Press and Leave Undisturbed
Bring the pieces together immediately, align the edges and apply light, even pressure. GleamGlee sets in seconds, helping the parts establish an initial bond without a complicated mixing step. Once the joint can maintain its position, stop handling it. Do not immediately bend a tab, install a high-load component or pull a model seam apart to test strength. The adhesive continues developing after initial set.
GleamGlee Plastic Glue Product Facts
Verified specifications define where the adhesive fits and prevent performance claims from being stretched beyond the information available for the product.
| Specification | Verified Product Fact |
|---|---|
| Product category | Plastic Glue / Plastic Super Glue |
| Adhesive chemistry | CA / cyanoacrylate instant adhesive |
| Item form | Liquid |
| Viscosity | Medium |
| Initial bonding | Sets in seconds |
| Cured appearance | Clear |
| Bottle size | 35 ml / 1.23 oz |
| Included applicators | 4 precision nozzles |
| Core plastic group | ABS, PVC, acrylic and PLA |
| Listed performance | Strong, waterproof, heat resistant and cold resistant |
| Core applications | Plastic repairs, models, 3D prints, toys, household items and DIY projects |
Initial Set, Bond Development and Later Use
Drying language can be confusing. Separating the first hold from later bond development creates safer expectations and better repair decisions.
Initial Set
Initial set is the stage when aligned pieces begin holding their position. GleamGlee sets in seconds, so many small, close-fitting repairs require only brief hand pressure during this first stage. Initial set is useful for positioning, but it is not evidence that the joint is ready for bending, impact, peeling or maximum service load.
Treat it as the beginning of the process.
Bond Development
After the pieces can remain aligned, the adhesive continues developing through the bond line. Keep the repair still and supported. Temperature, humidity, plastic type, adhesive amount, joint fit and contact area can change the rate of development. Avoid giving every repair the same assumed timeline when the product facts do not provide a universal full-cure figure.
Stable support protects the fresh alignment.
Return to Use
Return the item to service only after considering how the repaired area will be loaded. A decorative model joint has different demands from a thin snap tab or frequently handled housing. Delay installation or stress when the part will bend, peel, vibrate or carry force. A patient return to use protects the alignment created during the fast initial set.
Inspect the seam before reassembly begins.
Do Not Stress a Fresh Plastic Joint
The repair may hold its position quickly, yet early bending or pulling can disturb a bond before it has developed enough for service.

Do Not Bend Yet
A repaired tab may look aligned within seconds, but flexing it immediately places peel and bending forces on a very small bond area. Leave the tab undisturbed and reinstall it only after allowing additional development time. If the tab must flex repeatedly in normal use, reconsider whether a rigid CA adhesive is the right repair method.
Do Not Pull Yet
Pulling two model pieces apart to check whether they are strong can damage the fresh joint and remove the advantage of accurate positioning. Inspect alignment visually instead. Keep the model on a stable surface and avoid attaching heavy accessories until the connection has progressed beyond the initial holding stage.
Do Not Load Yet
An appliance cover, plastic handle or automotive interior clip may encounter force during installation. Do not treat a self-supporting joint as ready for immediate service. Support the component, delay reassembly and consider the direction of the expected load before deciding when to use the repaired item again.

Plastic is a broad material family. Two parts that look similar can respond differently because surface energy, additives, flexibility and manufacturing method affect adhesion. Start by checking the back, underside or molded interior for a material abbreviation or recycling mark. ABS, PVC, PMMA or acrylic, and PLA are central materials in GleamGlee’s current product positioning.
Rigid parts with clean, close-fitting breaks usually provide the most suitable repair conditions. Examples include model components, 3D-printed PLA parts, hard plastic housings, decorative acrylic pieces and small PVC accessories. Clean away dust, mold-release residue, skin oil and loose fragments. Dry the surfaces completely and test-fit the break without adhesive.
Polyethylene, polypropylene and PTFE are low-surface-energy plastics that often require a dedicated primer or a different bonding system. GleamGlee’s verified facts do not establish compatibility with those materials, so they should not be presented as confirmed applications. Flexible plastic hinges, soft covers and parts designed to bend also require additional judgment because a rigid adhesive joint may be exposed to repeated peel forces.
When the material cannot be identified, test a hidden, non-critical area for compatibility and appearance before committing to the full repair. Do not use an uncertain adhesive choice on safety-critical, load-bearing, food-contact or medical applications. Correct identification is the fastest way to avoid a repair that appears successful at first but fails when the part returns to service.
Plastic Compatibility at a Glance
Use material identification, joint fit and a hidden-area test to decide whether a fast CA repair matches the plastic and the finished application.
| Plastic | Typical Repair Examples | GleamGlee Position | Application Guidance |
|---|---|---|---|
| ABS | Model parts, rigid housings, small automotive interior pieces | Core material | Clean, dry and align close-fitting surfaces |
| PVC | Accessories, hobby pieces, rigid DIY components | Core material | Apply a controlled amount to one surface |
| Acrylic / PMMA | Displays, stands and decorative plastic | Core material | Test appearance first and avoid excess adhesive |
| PLA | 3D prints, figures, prototypes and multi-part models | Core application | Dry-fit printed surfaces before bonding |
| PE | Containers and many flexible household products | Not confirmed | Consider a primer-based plastic bonding system |
| PP | Lids, living hinges and flexible molded items | Not confirmed | Use a system specifically rated for polypropylene |
| Unknown plastic | Unmarked household or hobby part | Test required | Identify or test a hidden non-critical area first |
Rigid and Flexible Plastics Need Different Bonds
The same adhesive can perform differently when one repair stays rigid and another bends every time the item is used.
Rigid Plastic Repairs
Rigid ABS, PVC, acrylic and PLA parts often provide suitable conditions for a fast CA adhesive when the break is clean and both sides fit closely. Model panels, printed figures, decorative stands and hard housings usually need accurate alignment rather than a flexible bond line. GleamGlee’s medium-viscosity liquid and precision nozzles support these small, detailed repairs. Clean and dry the surfaces, place a controlled amount and press the pieces together briefly. Even with a fast initial set, keep the joint undisturbed before normal handling.
Good lighting also makes small alignment errors easier to detect.
Flexible Plastic Repairs
Soft covers, living hinges, thin straps and parts designed to flex create a different challenge. Repeated bending concentrates peel force at the edge of a rigid adhesive line. A bond may form initially yet fail when the part resumes movement. The material may also be PE or PP, which is not confirmed in GleamGlee’s compatibility facts. For flexible components, identify the resin and consider a flexible adhesive or primer-based system rated for the movement involved. Do not rely on a rigid instant adhesive for a safety-critical hinge.
Evaluate how often the component moves during ordinary use.
Match the Adhesive to the Break
Break shape reveals whether a precise liquid adhesive can reconnect the surfaces or whether material replacement and structural rebuilding are needed.
Clean Snap
Both sides are present, the edges return to their original position and the joint closes without a visible gap. This is a strong candidate for controlled CA application. Test-fit first, place a small amount on one surface, align once and hold briefly without sliding the parts back and forth.
Hairline Crack
The component remains largely intact, but a narrow crack has opened. A precision nozzle can help place adhesive along an accessible seam. Do not force the crack wider simply to add more glue. Check whether the part will flex or carry load after the repair before proceeding.
Broken Tab
A complete tab can often be repositioned, but its small contact area makes load direction important. If installation bends the tab or pulls it sideways, the joint may be exposed to peel. Allow additional development time and avoid safety-critical clips or highly stressed latches.
Proceed cautiously.
Missing Material
When fragments are lost, a liquid CA adhesive cannot recreate the original shape or bridge a large empty space by itself. Excess glue is not a substitute for missing plastic. Use a suitable gap-filling or reconstruction system, fabricate a replacement piece, or replace the component.
Preserve any recovered fragments for accurate reconstruction.
Repair the Right Parts and Replace the Rest
A quick adhesive is valuable only when the damaged part, expected load and consequences of failure make adhesive repair a responsible choice.
Good Repair Candidates
Choose parts made from a confirmed compatible rigid plastic with a complete, close-fitting break. Good candidates include PLA display models, ABS housings, PVC hobby components, acrylic stands, decorative pieces and small household items exposed to normal handling. The surfaces should be accessible for cleaning and accurate alignment. The repair should not control braking, steering, electrical insulation, personal protection or another safety function. A visible joint can benefit from the clear-drying formula, while a narrow seam can benefit from the precision nozzle.
Replace or Reassess
Replace the component or choose another repair system when material is missing, the gap is large, the plastic is soft or repeatedly flexed, or the part carries significant structural load. Avoid unverified use on PE, PP and PTFE. Do not use the product for medical, food-contact or safety-critical repairs without appropriate documentation. A part may also need replacement when failure could damage equipment or cause injury. Fast bonding should never be used to justify an unsuitable application.
Fast, Clear, Strong and Precise by Design
GleamGlee combines four connected benefits for detailed plastic work rather than relying on a single speed claim.
Fast Initial Set
The adhesive sets in seconds, reducing the first hand-positioning stage for small, close-fitting parts. Fast set is most useful after the material has been identified, surfaces cleaned and alignment rehearsed. It does not eliminate the need to leave the fresh joint undisturbed before service.
Speed should support preparation, not replace it.
Clear-Drying Finish
The cured adhesive is clear, helping visible seams look cleaner on models, decorative plastic and acrylic projects. Clear color does not make excess glue disappear. A thin, controlled bond line and careful surface preparation remain essential when appearance matters.
Inspect transparent work under bright side lighting.
Strong Everyday Bond
GleamGlee is positioned for durable everyday plastic repairs involving models, toys, printed parts, household components and suitable automotive interior pieces. Final performance still depends on plastic type, bond area, joint geometry, surface preparation and the force applied in use.
Use-case fit remains more important than slogans.
Precision Application
Four included precision nozzles help place adhesive inside narrow joints, tiny cracks and detailed assemblies. Better placement supports a smaller, cleaner amount of glue. The nozzles improve access and control; they do not replace material identification or proper repair preparation.
Choose the tip before dispensing begins.
Why Medium Viscosity Supports Better Control
Viscosity describes resistance to flow. A very thin adhesive can wick rapidly into a tight seam, but it can also travel beyond the intended area when the user cannot control the path. A very thick gel stays in place more easily, yet may not enter a fine crack or allow two surfaces to close tightly. GleamGlee uses a medium-viscosity liquid formula intended to balance access and placement for detailed plastic repair work.
Controlled Placement, Not a No-Run Promise
Medium viscosity gives the user more control than a water-thin liquid, especially when paired with a precision nozzle. It remains a liquid and can still move under gravity, pressure or overapplication. Position the item so the joint is stable, protect the work surface and place only the amount needed. For a vertical repair, work from a position that prevents adhesive from flowing toward visible finishes or moving mechanisms.
Close Fit Still Matters
Viscosity does not turn an instant adhesive into a structural filler. The two plastic surfaces should meet closely so pressure can spread a thin bond line across the contact area. If the joint contains a large gap, lost fragments or an uneven void, use a product designed for gap filling or reconstruct the missing section before bonding.
Pair the Formula with the Right Tip
Select a nozzle based on access rather than trying to dispense from a distance. Bring the tip close to the target, apply a controlled amount to one surface and stop before liquid pools. Wipe the exterior of the applicator as directed by the product instructions and close the bottle promptly after use.
Four Precision Nozzles for Detailed Repairs
Fine applicators convert bottle capacity into usable control by helping the adhesive reach narrow, delicate and difficult repair areas.

Tiny Crack Access
A narrow tip can approach a fine crack without coating a large area around it. Keep the crack in its natural position and add only a controlled amount. Do not pry the plastic open simply to insert more adhesive, because widening the break can reduce alignment.

Narrow Joint Placement
Model seams and housing edges often provide very little working space. The nozzle directs adhesive closer to the joint so placement requires less guesswork. Dry-fit the parts first and decide exactly where the tip will approach before opening the flow.
Support the opposite side to prevent movement.

Small Part Control
Miniature accessories, PLA details and toy components can be overwhelmed by a large drop. A precision nozzle helps scale the application to the part. Use protective gloves and tools where appropriate; never hold fingers in the path of escaping CA adhesive.
Work over a protected, disposable surface.

Cleaner Glue Lines
Accurate placement and limited volume reduce the chance of a raised bead around the joint. The clear formula supports a cleaner appearance, but visible residue can still form when too much adhesive is applied or when the pieces slide during alignment.
Stop dispensing before the seam begins pooling.
Clear Drying for Cleaner Visible Repairs
A clear cured color is most valuable when the bond line remains visible, but application quality still determines the finished appearance.

Acrylic Displays
Clear acrylic stands and decorative parts reveal excess adhesive easily. Test a hidden area before the full repair, keep surfaces clean and apply a very small amount. Clear drying supports a less distracting bond line, but it is not the same as optical-grade invisible bonding.
Model Joints
Painted and unpainted models often contain seams that remain in view. Accurate dry fitting, controlled placement and no sliding after contact help limit visible residue. Protect finished paint and clear parts because uncured adhesive or cleanup solvents may affect surrounding surfaces.
Mask adjacent details when access is especially narrow.
Decorative Plastic
Ornaments, frames and craft pieces benefit when the adhesive does not introduce a strong opaque color. Keep the joint thin and remove loose fragments before bonding. A thick mound of clear adhesive can still catch light and remain visible from certain angles.
Examine the result from several viewing directions.
Performance Beyond the First Few Seconds
Speed supports positioning, while the listed water and temperature properties help define suitable everyday environments after the bond has developed.

Household Moisture
The product information lists the adhesive as waterproof. That property supports suitable repaired plastic items that may encounter ordinary household moisture. It does not establish a specific immersion duration, water pressure rating, dishwasher cycle or potable-water approval. Match the repair to the actual exposure.
Outdoor Accessories
Waterproof, heat-resistant and cold-resistant properties support consideration for small outdoor plastic accessories made from a compatible material. Exposure claims should remain within the verified facts because no exact temperature range or long-term weathering test is supplied. Avoid structural and safety-critical outdoor components.
Garage and Workshop
Rigid plastic housings, organizers and hobby components may experience normal temperature changes in a garage or workshop. Confirm material, clean oil and dust carefully, and protect the joint from force while it develops. Chemical exposure, fuel contact and high heat require separate compatibility evidence.
Plastic Repair Scenarios and Best-Fit Benefits
Different projects value speed, appearance and precision in different proportions. Match the product benefit to the actual material and break.

Household Plastic
Storage organizers, rigid covers and small accessories often need a clean, quick repair. Confirm ABS, PVC or another suitable rigid plastic, remove household oils and test-fit the break. Clear drying and controlled placement help keep visible household repairs tidy.
Support the item on a stable surface afterward.

PLA Prints
Printed figures, prototypes and multi-part models benefit from accurate alignment and brief hand positioning. Dry-fit layer-textured surfaces before applying adhesive. A precision nozzle helps target a narrow seam without coating surrounding printed detail.
Check that warped print edges can meet fully.
Support tall prints during positioning.

Plastic Models
Model cars, aircraft and miniatures contain small joints where clamps can be impractical. Fast initial set and clear drying support detailed assembly and repair. Check the model plastic and finished paint before using any CA adhesive.
Protect decals, windows and nearby painted surfaces.
Work slowly.

Toys and Hobbies
Action-figure accessories and game components can have small, complete breaks. Repair only non-safety-critical rigid pieces, keep adhesive away from skin and allow an adult to handle the application. Do not interpret toy repair as a child-safe product claim.
Keep repaired items away from children during development.

Acrylic Crafts
Displays, frames and decorative acrylic projects place high value on appearance. Use a hidden-area test, a thin bond line and careful alignment. Clear cured color helps, but excess adhesive can remain visible through the transparent material.
Avoid wiping uncured glue across the viewing surface.
Inspect first.

Automotive Interiors
Small ABS trim pieces, covers and decorative interior components may be suitable when they are non-structural. Clean dressing residue and oil thoroughly. Do not use adhesive repair for airbags, seat belts, steering, braking or another safety-related system.
Remove the part when possible for controlled access.
How to Use Quick-Dry Plastic Adhesive
Follow the same disciplined sequence for every repair. Fast set rewards preparation, accurate placement and a calm return to service.
Identify the Plastic
Look for ABS, PVC, PMMA, acrylic or PLA markings. Determine whether the part is rigid or designed to flex. If it is PE, PP, PTFE or unknown, do not assume compatibility. Test a hidden, non-critical area or choose a system rated for that material.
Record the molded code before cleaning.
Clean the Surfaces
Remove dust, loose fragments, grease and handling residue without rounding over the fracture edges. Use a cleaning method compatible with the plastic. Avoid leaving lint or solvent trapped in the joint. Wear suitable gloves and protect the surrounding work surface before continuing.
Handle prepared faces only by their edges.
Dry Completely
Moisture or cleaning residue can interfere with controlled application and may change cure behavior. Let both pieces dry fully. Inspect the edges under good light and remove only material that prevents the original surfaces from meeting correctly.
Do not accelerate drying with damaging heat.
Allow natural evaporation in a ventilated area.
Test Fit First
Bring the pieces together without adhesive. Confirm the correct orientation, check for missing fragments and rehearse how both hands will hold the part. A fast-setting formula leaves limited time to solve alignment problems after contact.
Mark orientation discreetly when the shape is symmetrical.
Prepare a stable support nearby.
Choose a Nozzle
Select one of the four precision nozzles according to access and joint size. Attach it securely as directed. Position the part so gravity will not carry liquid toward paint, clear surfaces, moving mechanisms or finished areas.
Test the approach without squeezing the bottle.
Keep the bottle upright initially.
Apply a Small Amount
Place a controlled quantity on one bonding surface. Cover the needed contact area without forming a pool. More glue can hold the surfaces apart, increase visible residue and make application less predictable. Keep skin away from the dispensing path.
Pause immediately when the surface is covered.
Align and Press
Join the pieces immediately, align the edges once and press with light, even force. GleamGlee sets in seconds, so avoid sliding the parts repeatedly. Maintain pressure long enough for the initial bond to hold the intended position.
Watch both sides of the seam for alignment.
Leave Undisturbed
Set the item on a stable support after initial positioning. Do not bend, peel, impact or install the repaired area immediately. Allow further bond development based on joint size, material, contact area and expected service load.
Protect the repair from accidental handling meanwhile.
Mark the resting area clearly.
Use Enough Glue Without Flooding the Joint
Bond quality depends on useful contact between the plastic surfaces, not on building the largest visible bead around the break.
Too Little
A tiny spot that reaches only part of the contact area may leave sections of the joint dry. Apply enough adhesive to cover the intended bonding surface when the pieces are pressed together. Do not confuse controlled application with an isolated pinprick on a larger joint.
Controlled Amount
A thin, even bond line allows close-fitting surfaces to meet while limiting squeeze-out. Place the adhesive near the center or along the required seam, then let alignment pressure spread it across the contact area. Stop dispensing before liquid pools at the edge.
Inspect both faces before joining them.
Too Much
Excess adhesive can escape onto finished plastic, create a raised clear ridge and prevent the two sides from closing fully. Thick accumulations do not automatically improve strength. If the break contains a large gap, select a true gap-filling repair system instead of adding more CA glue.
Joint Geometry Changes Repair Performance
An adhesive cannot compensate for every joint shape. Contact area and load direction determine how force travels through the repaired plastic.
Favor Broad, Close Contact
A complete break with broad mating surfaces offers more useful bond area than a thin point or chipped edge. Preserve the original fracture surfaces when they fit cleanly. Aggressive trimming can remove contact area. If the pieces rock, leave a visible void or meet only at one point, diagnose the missing material before applying adhesive.
Understand Shear and Peel
Loads that act across a broad bond area are different from forces that lift one edge away. A thin tab repeatedly peeled sideways can challenge a rigid CA joint even when the same adhesive performs well on a model seam. Reorient the repair, add a compatible mechanical support or select a more flexible system when repeated peel is unavoidable.
Keep Alignment True
Misalignment reduces usable contact and introduces leverage at the joint. Test-fit the part and mark its correct orientation if necessary. During pressing, use enough force to close the seam without deforming the component. Do not slide the surfaces repeatedly after they touch, because fast initial bonding may already be developing.
Stable hand support improves the final edge position.
Consider the Consequence of Failure
Decorative figures, prototypes and non-structural housings tolerate different risks from safety clips, load-bearing handles or protective equipment. Replace the component when a failed bond could cause injury or equipment damage. Strong everyday repair language should never be expanded into an unsupported structural certification.
Use conservative judgment.
Choose the Right Fast Plastic Adhesive
Speed matters, but resin type, gap size, appearance and service load decide which adhesive technology belongs in the repair.
| Adhesive Type | Initial Speed | Best-Fit Plastic Repair | Main Tradeoff |
|---|---|---|---|
| Single-part CA plastic glue | Seconds | Small, close-fitting rigid plastic joints | Limited large-gap capability; material fit must be confirmed |
| Primer plus CA system | Seconds after preparation | PE, PP and other difficult low-energy plastics | Two-step process and primer coverage required |
| Plastic model cement | Fast on compatible model plastic | Tight seams in selected plastic model kits | Not a universal household plastic adhesive |
| Two-part epoxy | Usually minutes or longer | Larger areas and repairs needing gap fill | Mixing, longer positioning and slower return to use |
| Methacrylate plastic adhesive | Usually minutes | Larger structural plastic joints and impact exposure | Strong odor, mixing and more complex application |
GleamGlee is best matched to small and medium, close-fitting repairs on ABS, PVC, acrylic, PLA and other suitable rigid plastics when fast positioning, clear drying and precision application matter.
Six Reasons a Plastic Bond Can Fail
Most failures begin before the bottle is opened or immediately after the joint is assembled. Diagnose the cause before repeating the repair.
Wrong Plastic
An adhesive may wet ABS or PLA well but struggle on PE, PP or PTFE. Identify the plastic rather than relying on appearance. If the resin is low surface energy, use a primer-based system specifically rated for it. Reapplying the same unverified glue rarely solves a material mismatch.
Check molded codes, recycling marks and manufacturer information before selecting a replacement adhesive.
Dirty Surface
Oil, dust, mold-release residue and skin contact can create a weak boundary between the adhesive and plastic. Clean with a method safe for the material, allow complete drying and avoid touching the prepared bonding faces. Do not use a cleaner merely because it dissolves grease; some solvents damage plastic.
Use a fresh lint-free cloth and inspect under bright light before applying glue.
Poor Joint Fit
CA adhesive performs best in a thin line between closely fitted surfaces. A large void, warped piece or missing fragment reduces contact area. Do not fill the space with a puddle of liquid glue. Restore the geometry, add an appropriate replacement piece or select a gap-filling adhesive.
Dry fitting reveals these conditions before the adhesive creates an irreversible alignment problem.
Excess Adhesive
More liquid can hold the plastic faces apart and create visible squeeze-out. It may also make positioning less predictable. Use a precision nozzle, apply to one surface and stop before pooling. The goal is coverage across the joint, not a thick exterior bead.
Protect surrounding finishes and keep the bottle upright whenever the repair angle permits.
Close the cap promptly after application.
Misalignment
Fast initial set leaves limited correction time. If the edges meet at an angle, the contact area becomes smaller and normal use can create leverage. Always test-fit, establish hand positions and align once. Repeated sliding after contact may disturb the developing bond.
Use a stable support when the component cannot rest flat on the work surface.
Check both edges simultaneously.
Stress Applied Early
A joint that holds its own position is not necessarily ready for bending, peeling, impact or installation force. Support the item and allow further bond development. Delay service longer when the contact area is small or the repaired part will experience demanding loads.
Visual alignment alone cannot confirm readiness for maximum stress or safety-critical service.
Document the waiting period used.
Eight Checks Before Returning a Repair to Use
Run through every item before bonding and again before service. A short inspection can prevent a repeat failure.
Material Confirmed
Verify ABS, PVC, acrylic, PLA or another suitable rigid plastic. Treat PE, PP, PTFE and unknown resins as separate selection problems. A hidden-area test supports judgment but does not convert an unverified material into a confirmed application.
Record the material when the repair will be repeated.
Surface Clean
Confirm that oil, dust, paint flakes and loose fragments have been removed. The bonding faces should remain untouched after cleaning. Select cleaners cautiously because acetone and other strong solvents can mark, craze or soften certain plastics.
Use clean tools rather than bare fingertips.
Inspect twice.
Surface Dry
No water or cleaning residue should remain in the joint. Allow adequate evaporation in a ventilated area and inspect under good lighting. Trapped liquid can interfere with placement and make the repair less predictable.
Cool surfaces may require additional drying time.
Avoid forced heating.
Joint Fits Closely
Dry-fit the pieces and check that the original edges meet without rocking or a large void. A liquid CA adhesive is not a substitute for missing material. Reconstruct or replace a part that cannot regain useful contact.
Confirm orientation before setting the pieces down.
Check alignment from two sides.
Bond Area Is Useful
Look beyond the visible crack and estimate the actual mating surface. A broad contact area is generally more favorable than a thin point. Small tabs deserve extra caution because little bonded area must carry the entire load.
Do not count exterior glue beads as contact area.
Glue Amount Controlled
Confirm that the planned amount will cover the joint without creating a pool. Prepare the nozzle and approach path before dispensing. Keep absorbent protection nearby, but do not wipe uncured adhesive across a visible plastic finish.
Practice the bottle angle before opening the flow.
Plan where excess could travel.
Load Direction Considered
Identify whether normal use will place the joint in shear, tension, peel, bending or impact. Repeated peel and flexing may require another adhesive or a mechanical reinforcement. Never test a fresh joint by applying the maximum expected force.
Replace the component when failure carries serious consequences.
Time Before Stress Allowed
After the seconds-level initial set, keep the repair supported and undisturbed. Return-to-use timing depends on the joint and environment. Wait longer for small contact areas, installation force, vibration or frequent handling.
Inspect the seam visually before reassembly or service.
Delay further when uncertain.
Quick-Dry Plastic Adhesive Frequently Asked Questions
These answers clarify material fit, initial set, application control and purchasing before a repair begins.
1. How fast does GleamGlee Plastic Glue set?
GleamGlee sets in seconds, helping small, close-fitting parts establish an initial bond after accurate alignment and brief pressure. Initial set describes positioning, not readiness for maximum load. Keep the repaired item undisturbed while the bond continues developing.
2. Is initial set the same as full cure?
No. Initial set is the point at which the pieces begin holding position. The adhesive continues developing afterward. Because the verified product facts do not provide one universal full-cure figure, return-to-use decisions should consider plastic type, contact area, joint shape, environment and expected load.
3. Does it work on ABS plastic?
Yes. ABS is one of the core plastics identified in the current product information. It is commonly found in models, housings and some automotive interior components. Clean the surface, verify close fit and avoid safety-critical automotive applications.
4. Can it bond PVC plastic?
PVC is included in GleamGlee’s core material group. Use the adhesive for suitable rigid PVC components with clean, dry, close-fitting surfaces. Flexible PVC formulations and pressurized pipe systems require separate material and application approval.
5. Is it suitable for clear acrylic?
Acrylic is included in the product positioning, and the adhesive dries clear. Test a hidden area first because transparent surfaces reveal residue easily. Use a controlled amount and avoid claiming an optically invisible finish.
6. Can it repair PLA 3D prints?
Yes. PLA and 3D printing are identified applications. Dry-fit the printed pieces, confirm useful contact across the layer-textured surfaces and use a precision nozzle along the seam. Support the print after initial positioning.
7. Does it work on PE or PP?
Compatibility with polyethylene and polypropylene is not confirmed in the verified GleamGlee facts. These low-surface-energy plastics often require a dedicated primer-based system. Identify the material and choose an adhesive specifically rated for it.
8. How much adhesive should I apply?
Use enough to cover the mating area as a thin bond line without creating a pool. Apply a controlled amount to one surface. Excess glue can squeeze out, hold parts apart and make the repair more visible.
9. Does the adhesive dry clear?
Yes, the cured color is clear. A clear formula supports cleaner-looking visible joints, but application marks may still appear if too much adhesive is used, surfaces are dirty or parts slide during alignment.
10. Where can I buy GleamGlee Plastic Glue?
GleamGlee Plastic Glue is available through the linked Amazon listing. Current price, stock, shipping options and delivery estimates should always be checked on Amazon because they can change by location and date.
Final Decision Card
A Strong Match for the Repair
Choose GleamGlee when the project involves ABS, PVC, acrylic, PLA or another suitable rigid plastic; the break is small or medium and fits closely; and fast initial positioning, clear drying or precision application is important.
Reassess Before Applying
Choose another system or seek technical guidance for PE, PP, PTFE, flexible hinges, large gaps, missing material, continuous immersion, high chemical exposure, structural loads, food-contact items or safety-critical components.





















