 Skip to content
Professional Tips for Using Metal Glue Safely at Home
Prepare a controlled workspace, protect your eyes and skin, apply less adhesive, and allow the bond to cure before normal use.
- Read the current label and Safety Data Sheet before opening a cyanoacrylate adhesive.
- Work in a bright, ventilated area away from children, pets, food, flames, and valuable finishes.
- Dry-fit parts first, then use one of four precision tips to place a thin, controlled layer.
- Treat the first 5-30 seconds as positioning time and reserve up to 24 hours for full curing.
- Keep U.S. Poison Control at 1-800-222-1222 available before handling any fast-setting household adhesive.

What Is the Safest Way to Use Metal Glue at Home?
Safe home use starts before the bottle opens: identify the materials, confirm the repair is small and non-structural, prepare ventilation and eye protection, dry-fit the joint, and plan where the item will cure.
Direct Answer for Home Metal Repairs
The safest way to use metal glue at home is to control the project, the workspace, the amount dispensed, and the curing period. Cyanoacrylate adhesive bonds quickly and can attach skin or eyelids in seconds, so preparation matters more than speed. Read the current product label and Safety Data Sheet, wear suitable eye protection, select hand protection recommended by those instructions, and keep the bottle and nozzle away from the face.
Choose a stable, well-lit work surface with moving air. Remove food, drinks, medications, cosmetics, electronics, children’s items, and valuable finished objects from the area. Keep children and pets outside the workspace until the adhesive is sealed and stored. Avoid using cotton or wool to wipe fresh cyanoacrylate because rapid polymerization can generate heat.
Inspect the repair before application. GleamGlee Metal Glue is a 35g clear, medium-viscosity cyanoacrylate adhesive designed for small, close-fitting, non-structural metal and mixed-material repairs. Each bottle includes four precision extension tips. Dry-fit the parts, prepare tweezers or a light clamp, test the flow on disposable scrap, and apply only a thin layer to one surface.
Bring the parts together once and press evenly for about 5-30 seconds, depending on surface condition. Initial grab begins within seconds, but final performance requires more time. Keep the item stable and reserve up to 24 hours before water exposure, twisting, impact, or demanding use. Clean the bottle exterior, close the anti-clog cap, and store the product upright according to the label.
Four Risks to Control Before Opening Metal Glue
Most avoidable incidents begin with an unplanned workspace, exposed skin or eyes, excessive adhesive, or a repair that should use another method.

Fast Skin Bonding
Cyanoacrylate can bond skin quickly, especially when fingers hold tiny parts close to the dispensing point. Use tweezers, a support block, or a light clamp whenever possible. Keep fingertips outside the joint path and never test tackiness by touch. If skin becomes bonded, do not pull forcefully. Stop work, set the bottle down safely, and follow the skin-release guidance provided later in the guide.

Eye and Face Exposure
A blocked nozzle, hard bottle squeeze, or tip aimed upward can release adhesive unexpectedly. Inspect the extension tip before use, point it away from the face, and test flow on scrap material using gentle pressure. Protective eyewear reduces the chance of a splash reaching the eyes. Never use teeth, pins held near the face, or compressed air to open or clear a bottle.

Vapor and Irritation
Cyanoacrylate vapor can irritate the eyes, nose, and respiratory system. Work where fresh air can move through the area, keep the repair below face level, and avoid leaning directly over the joint. Stop using the adhesive and move to fresh air if strong irritation develops. Anyone with breathing difficulty, collapse, seizure, or inability to wake requires emergency assistance.

Wrong Repair Method
A small break does not automatically mean glue is appropriate. Pressure lines, gas containers, structural furniture joints, vehicle safety systems, load-bearing hardware, electrical protection parts, and food-contact surfaces need specialized assessment. GleamGlee is intended for suitable small, close-fitting, non-structural repairs. Choosing another method early can prevent injury, property damage, and repeated failure.
GleamGlee Metal Glue Facts at a Glance
Use verified product facts to plan application, pressure time, curing, storage, material checks, and realistic limits before beginning a household repair.
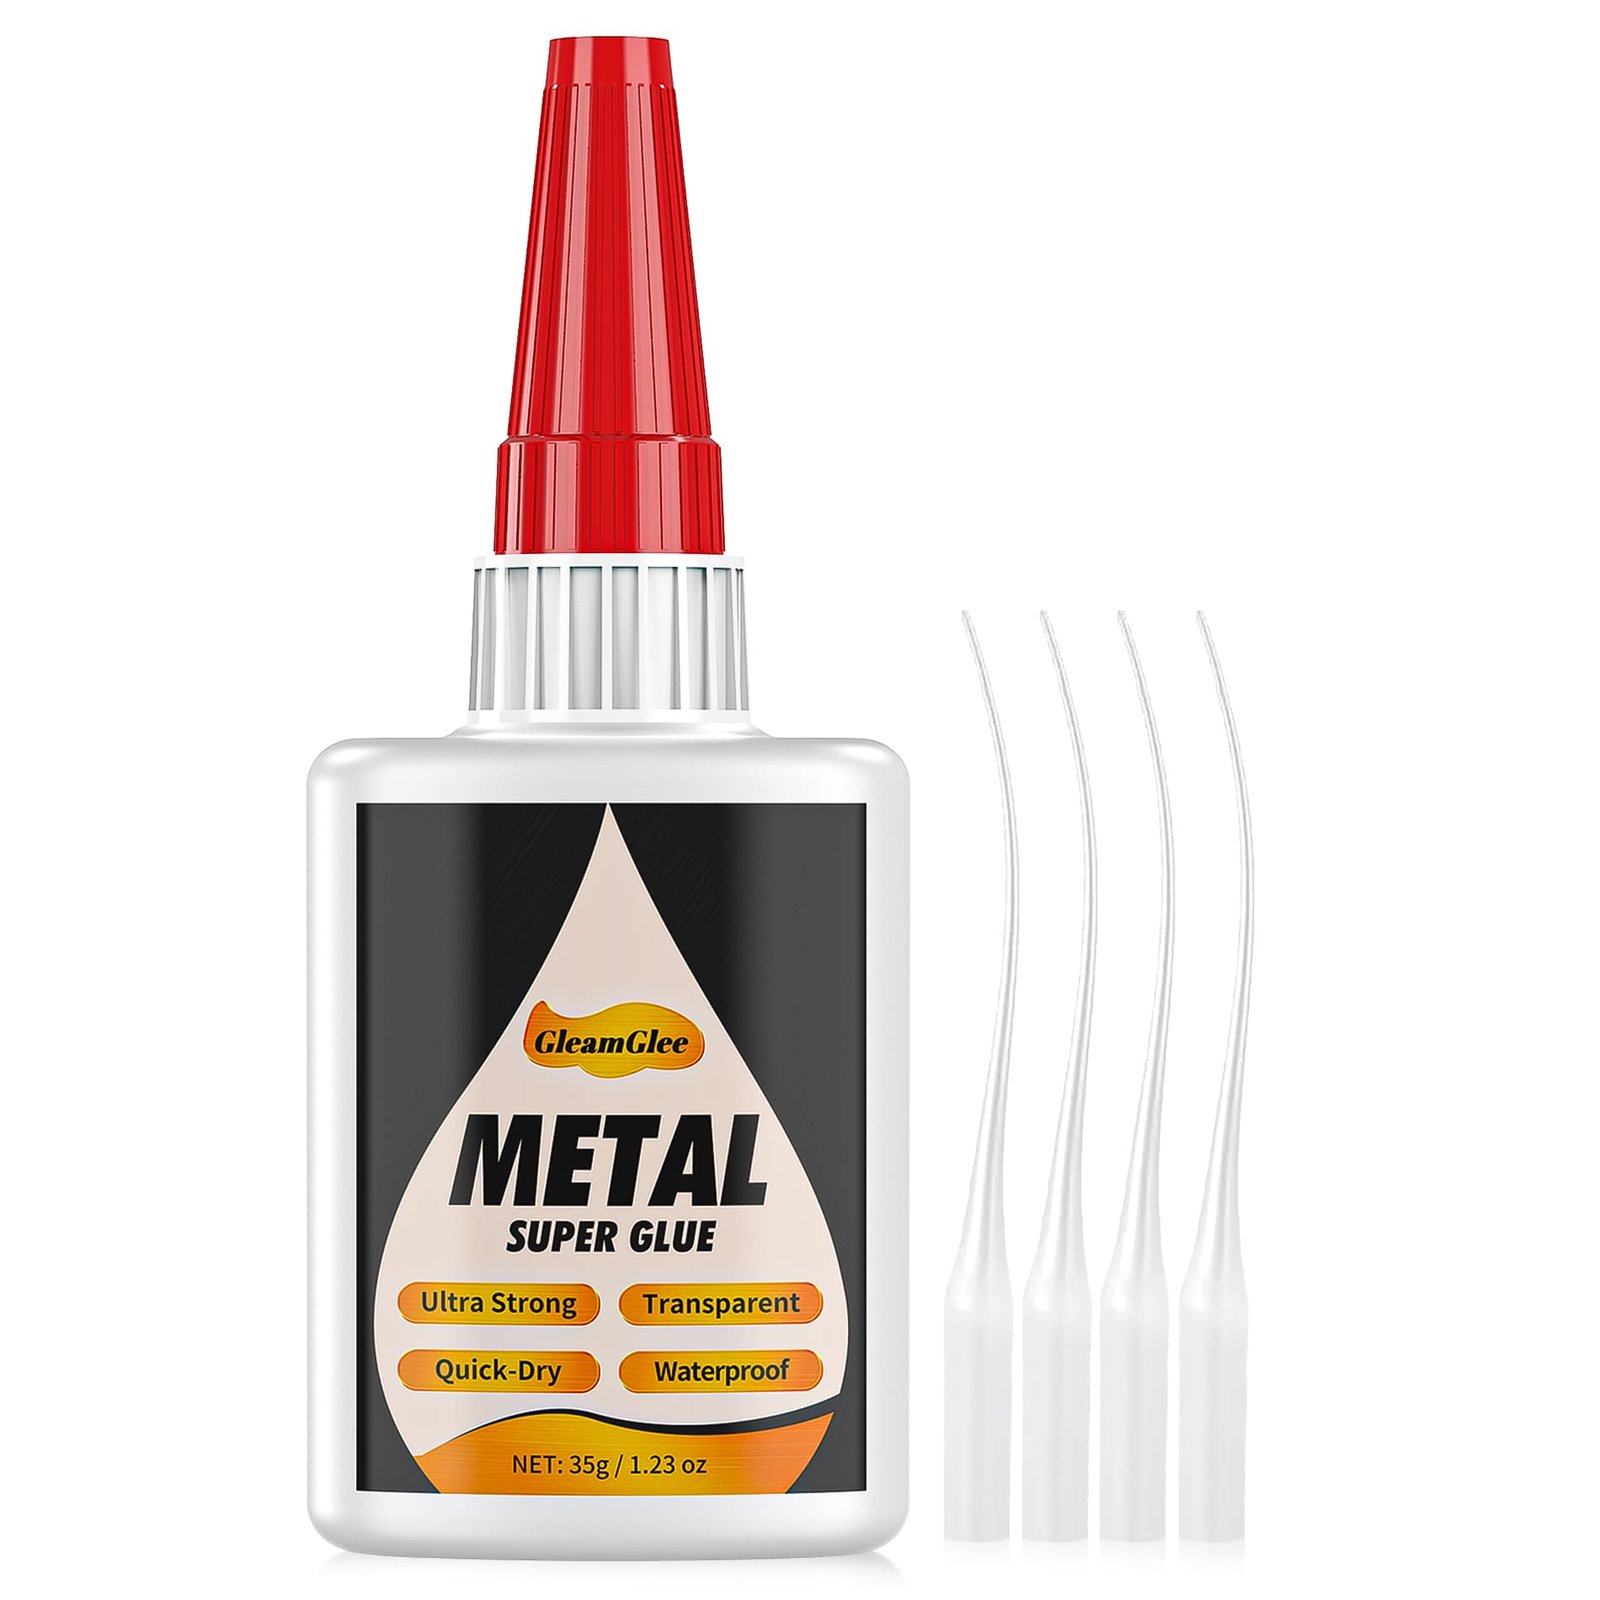
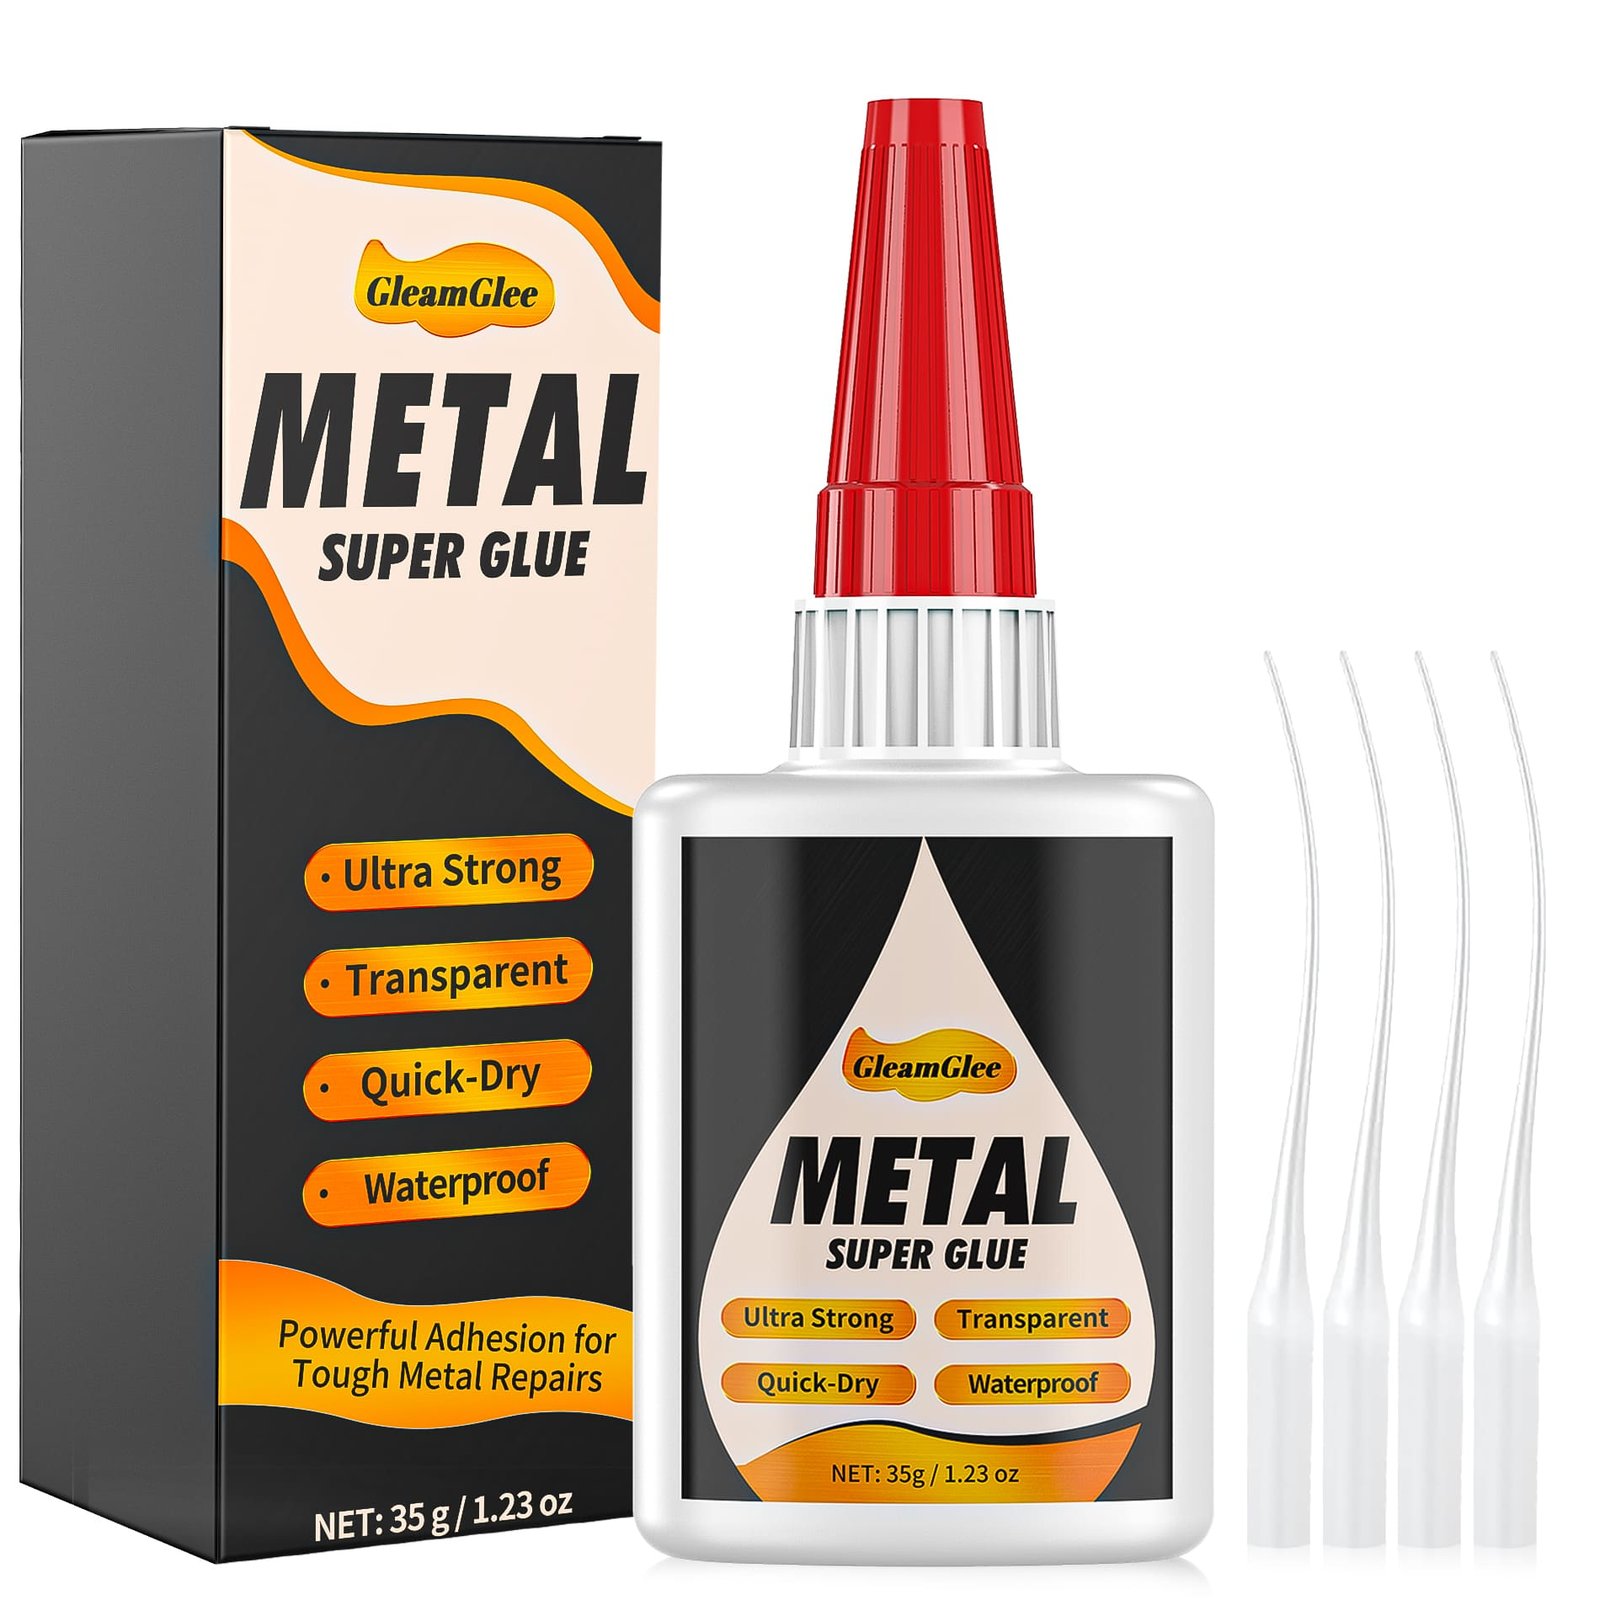

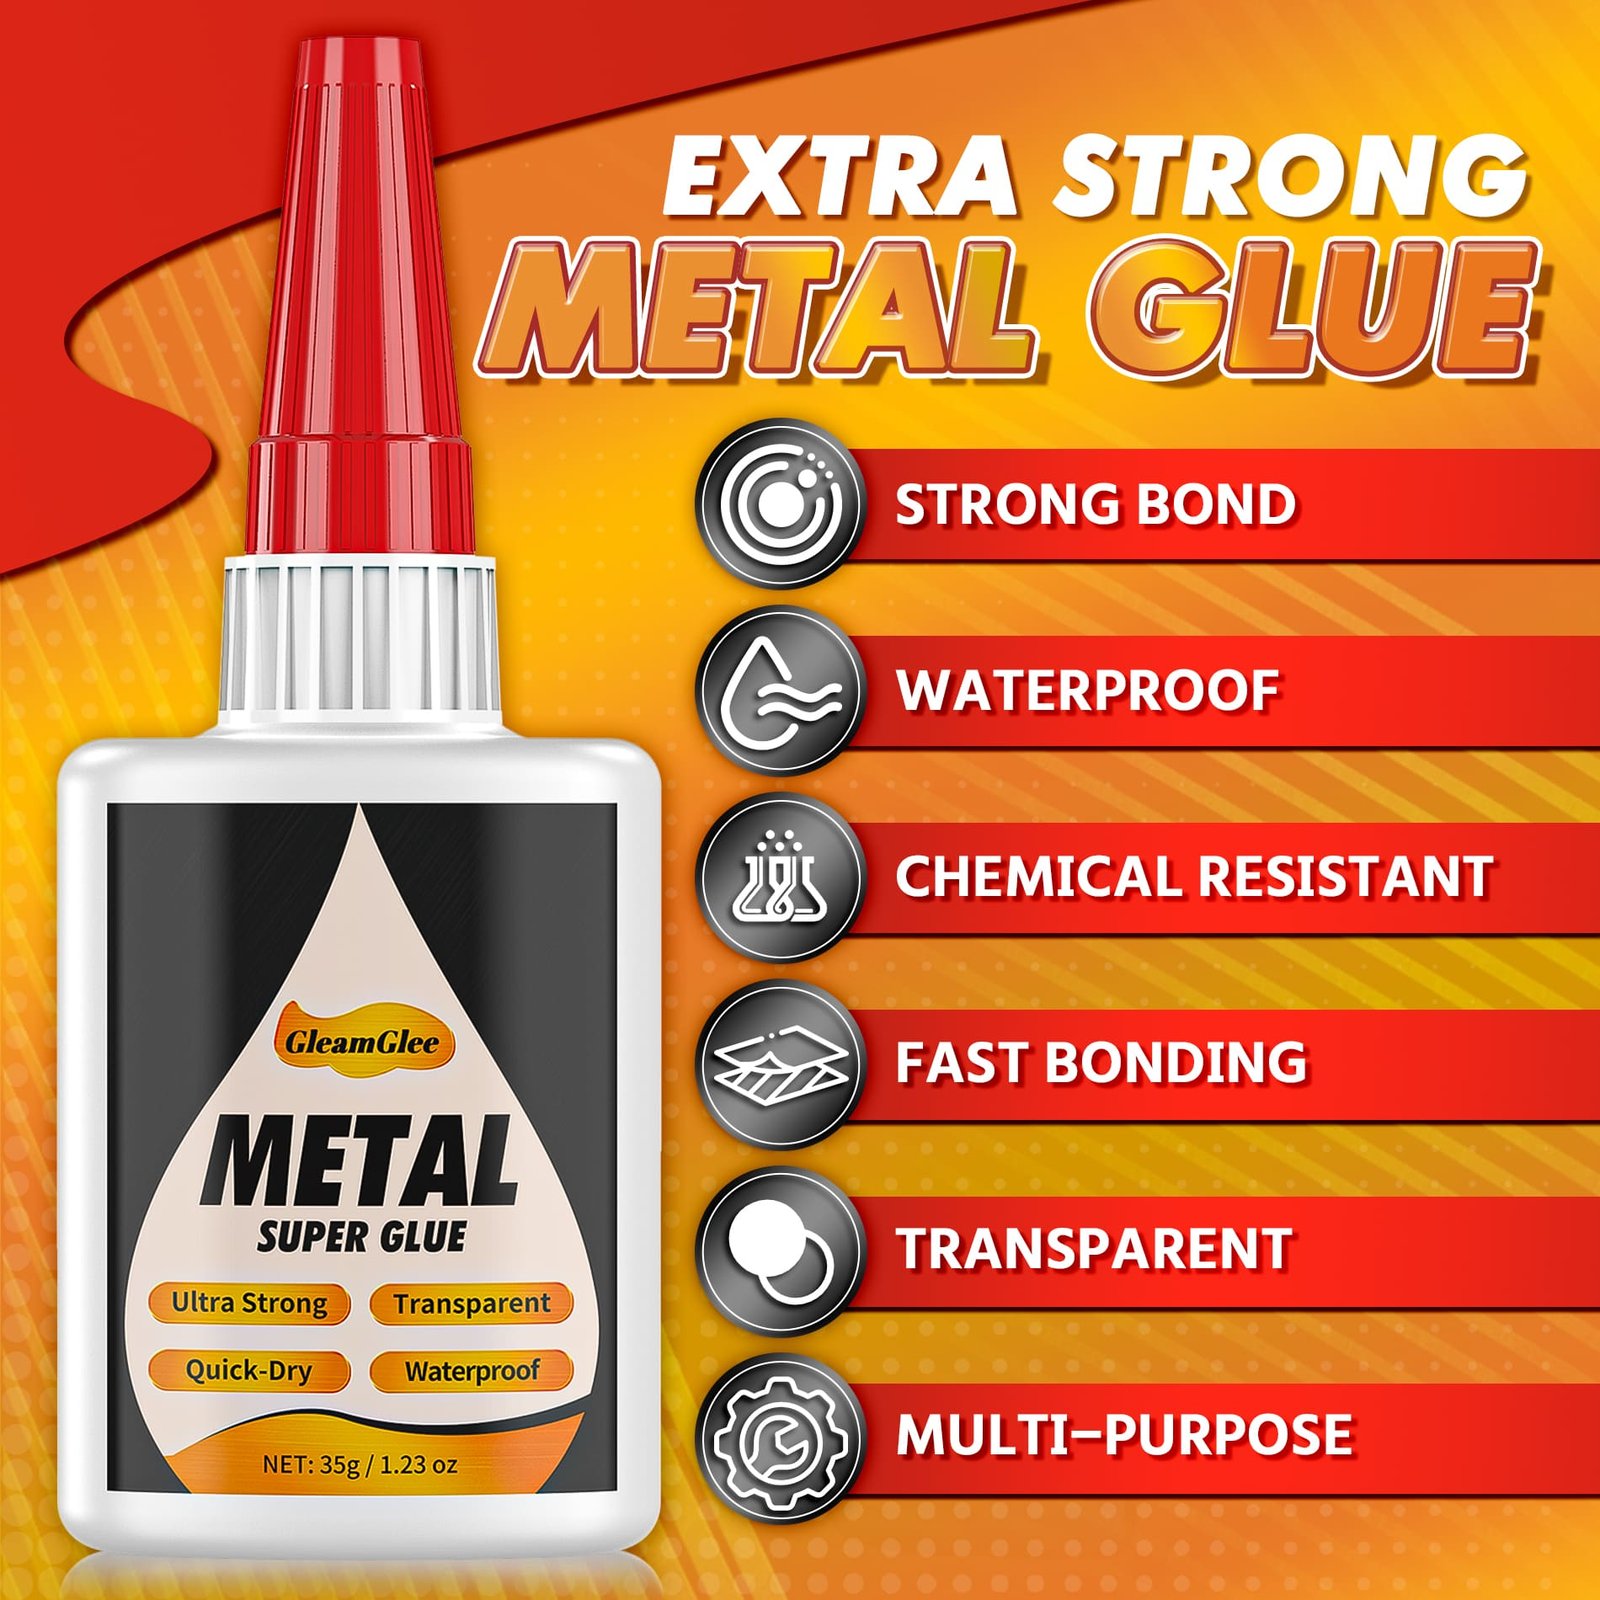
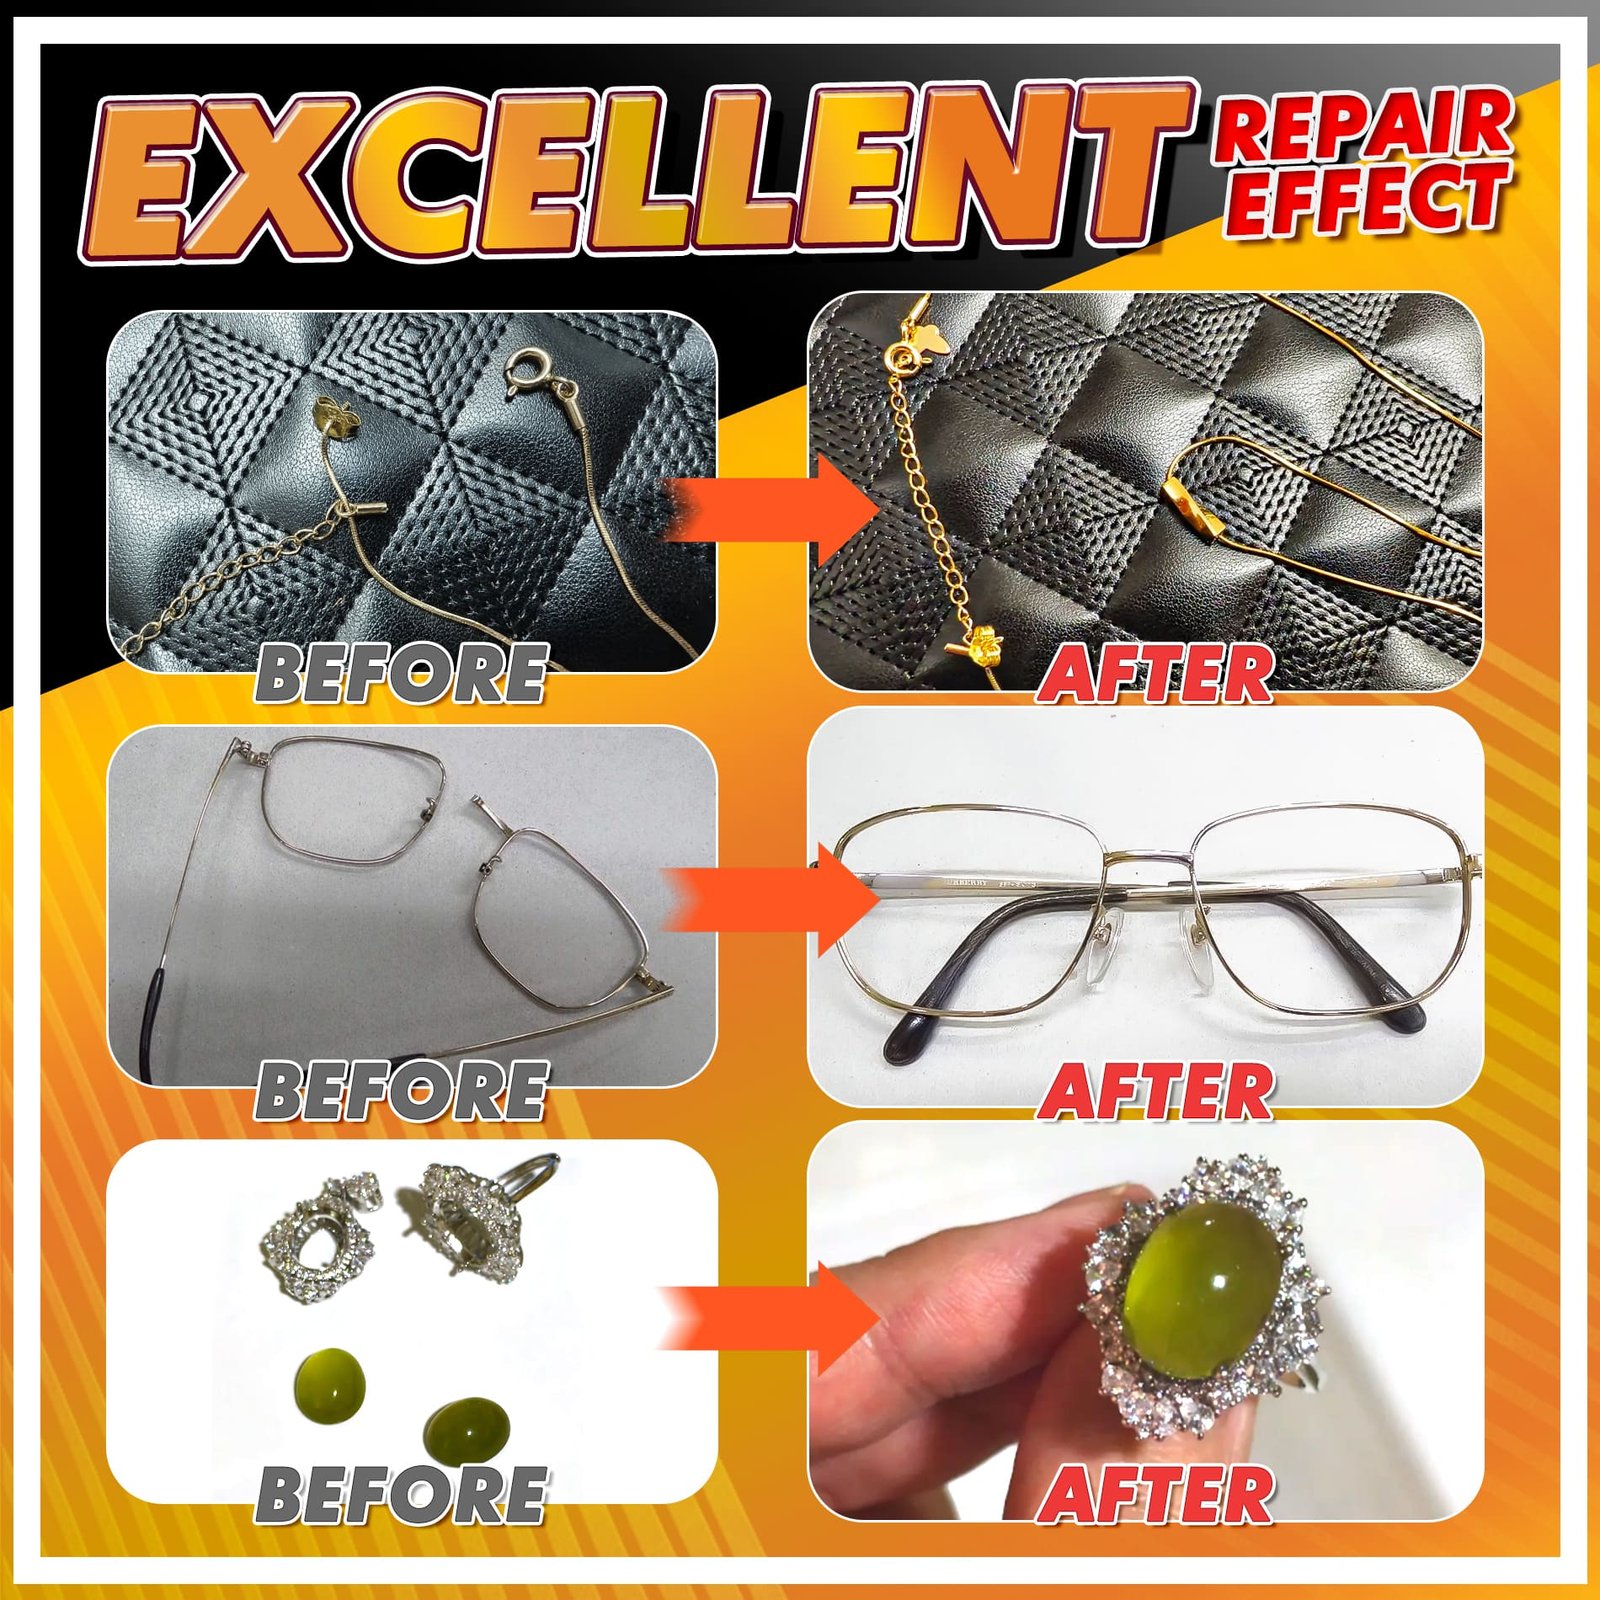
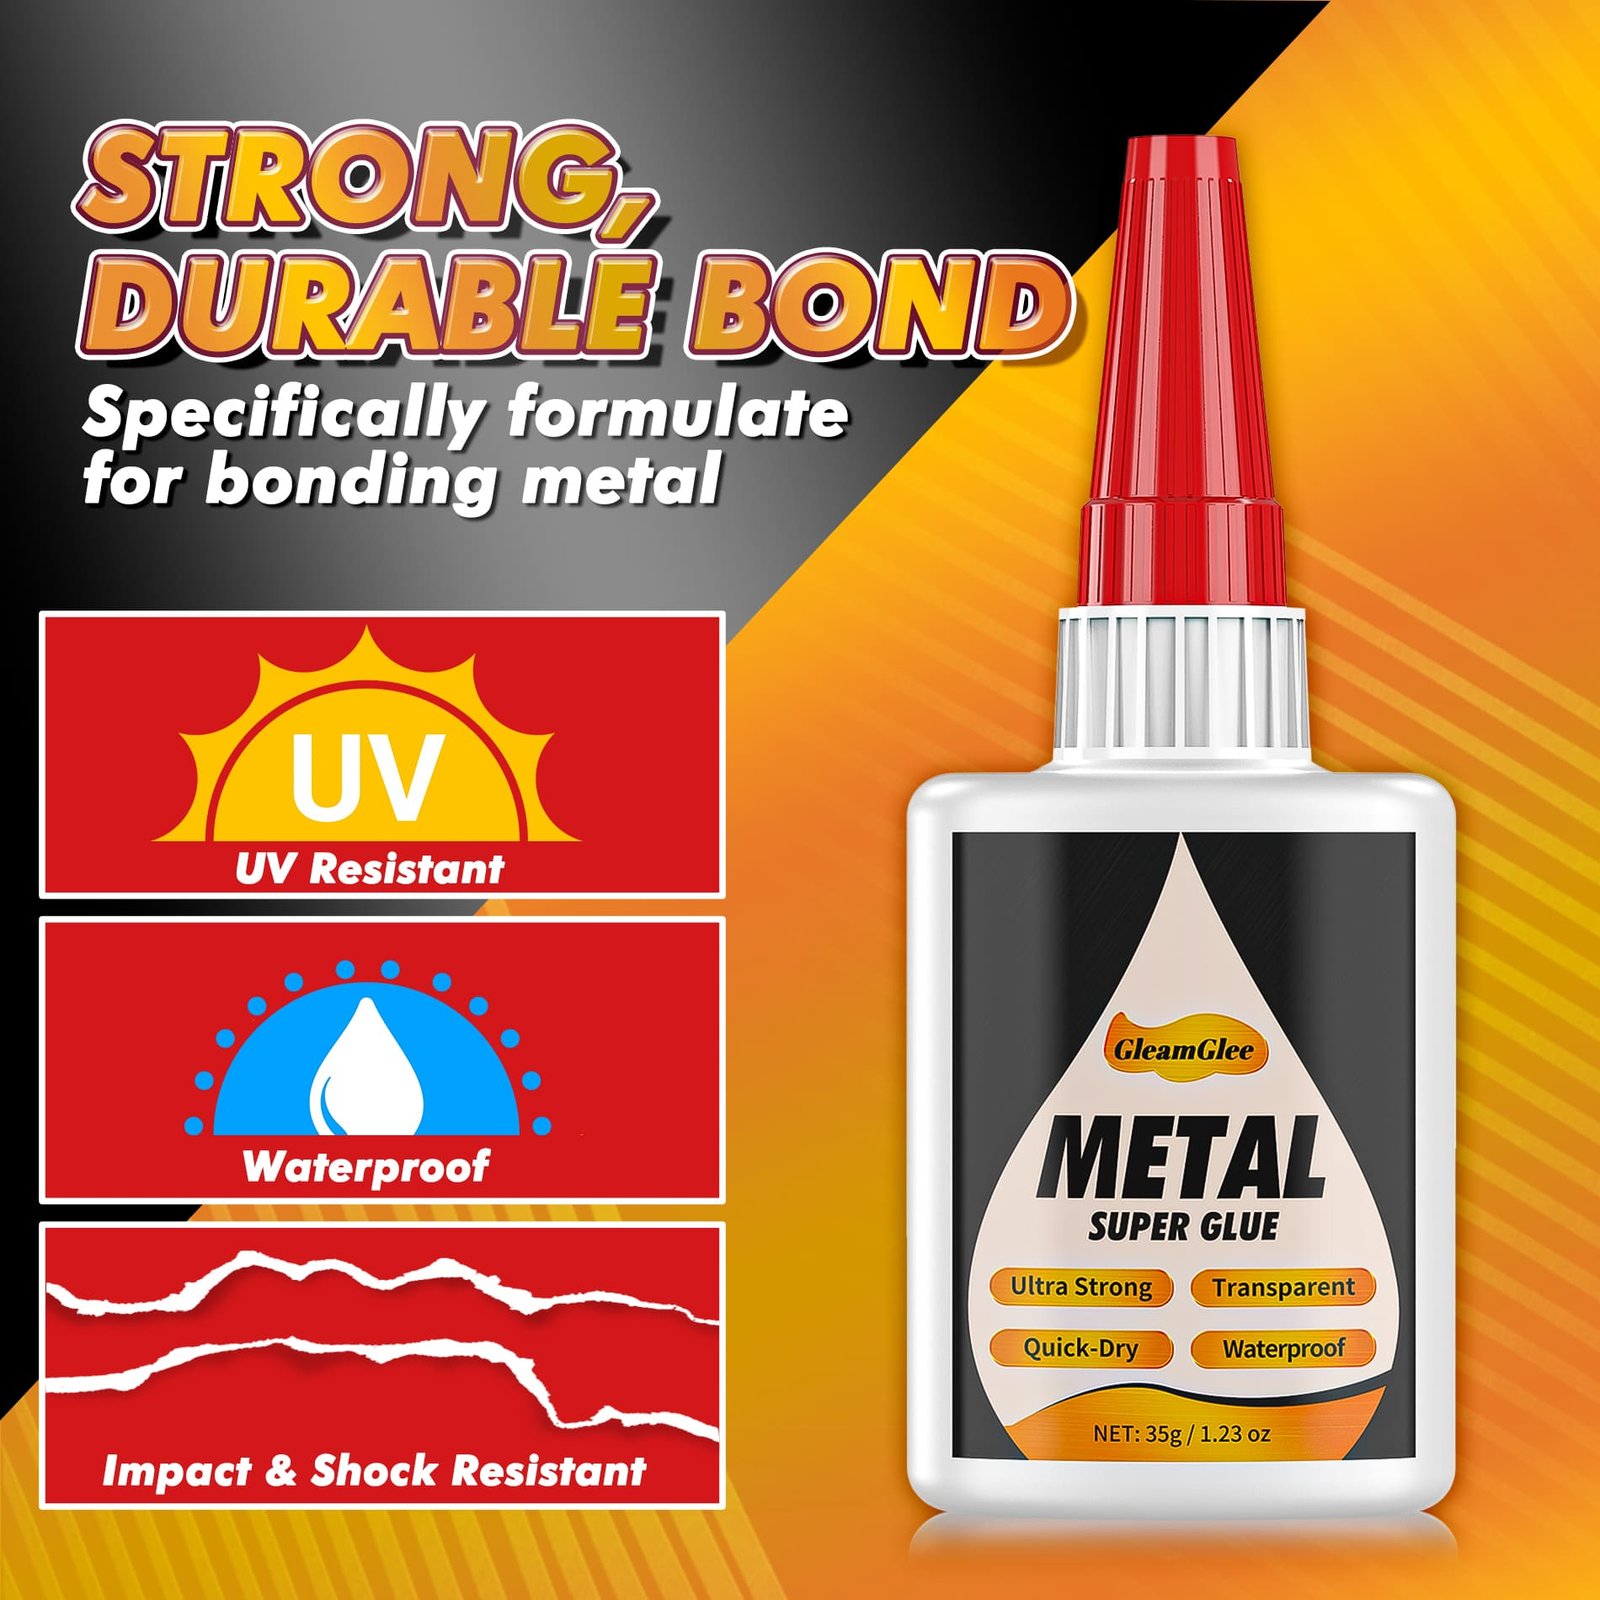
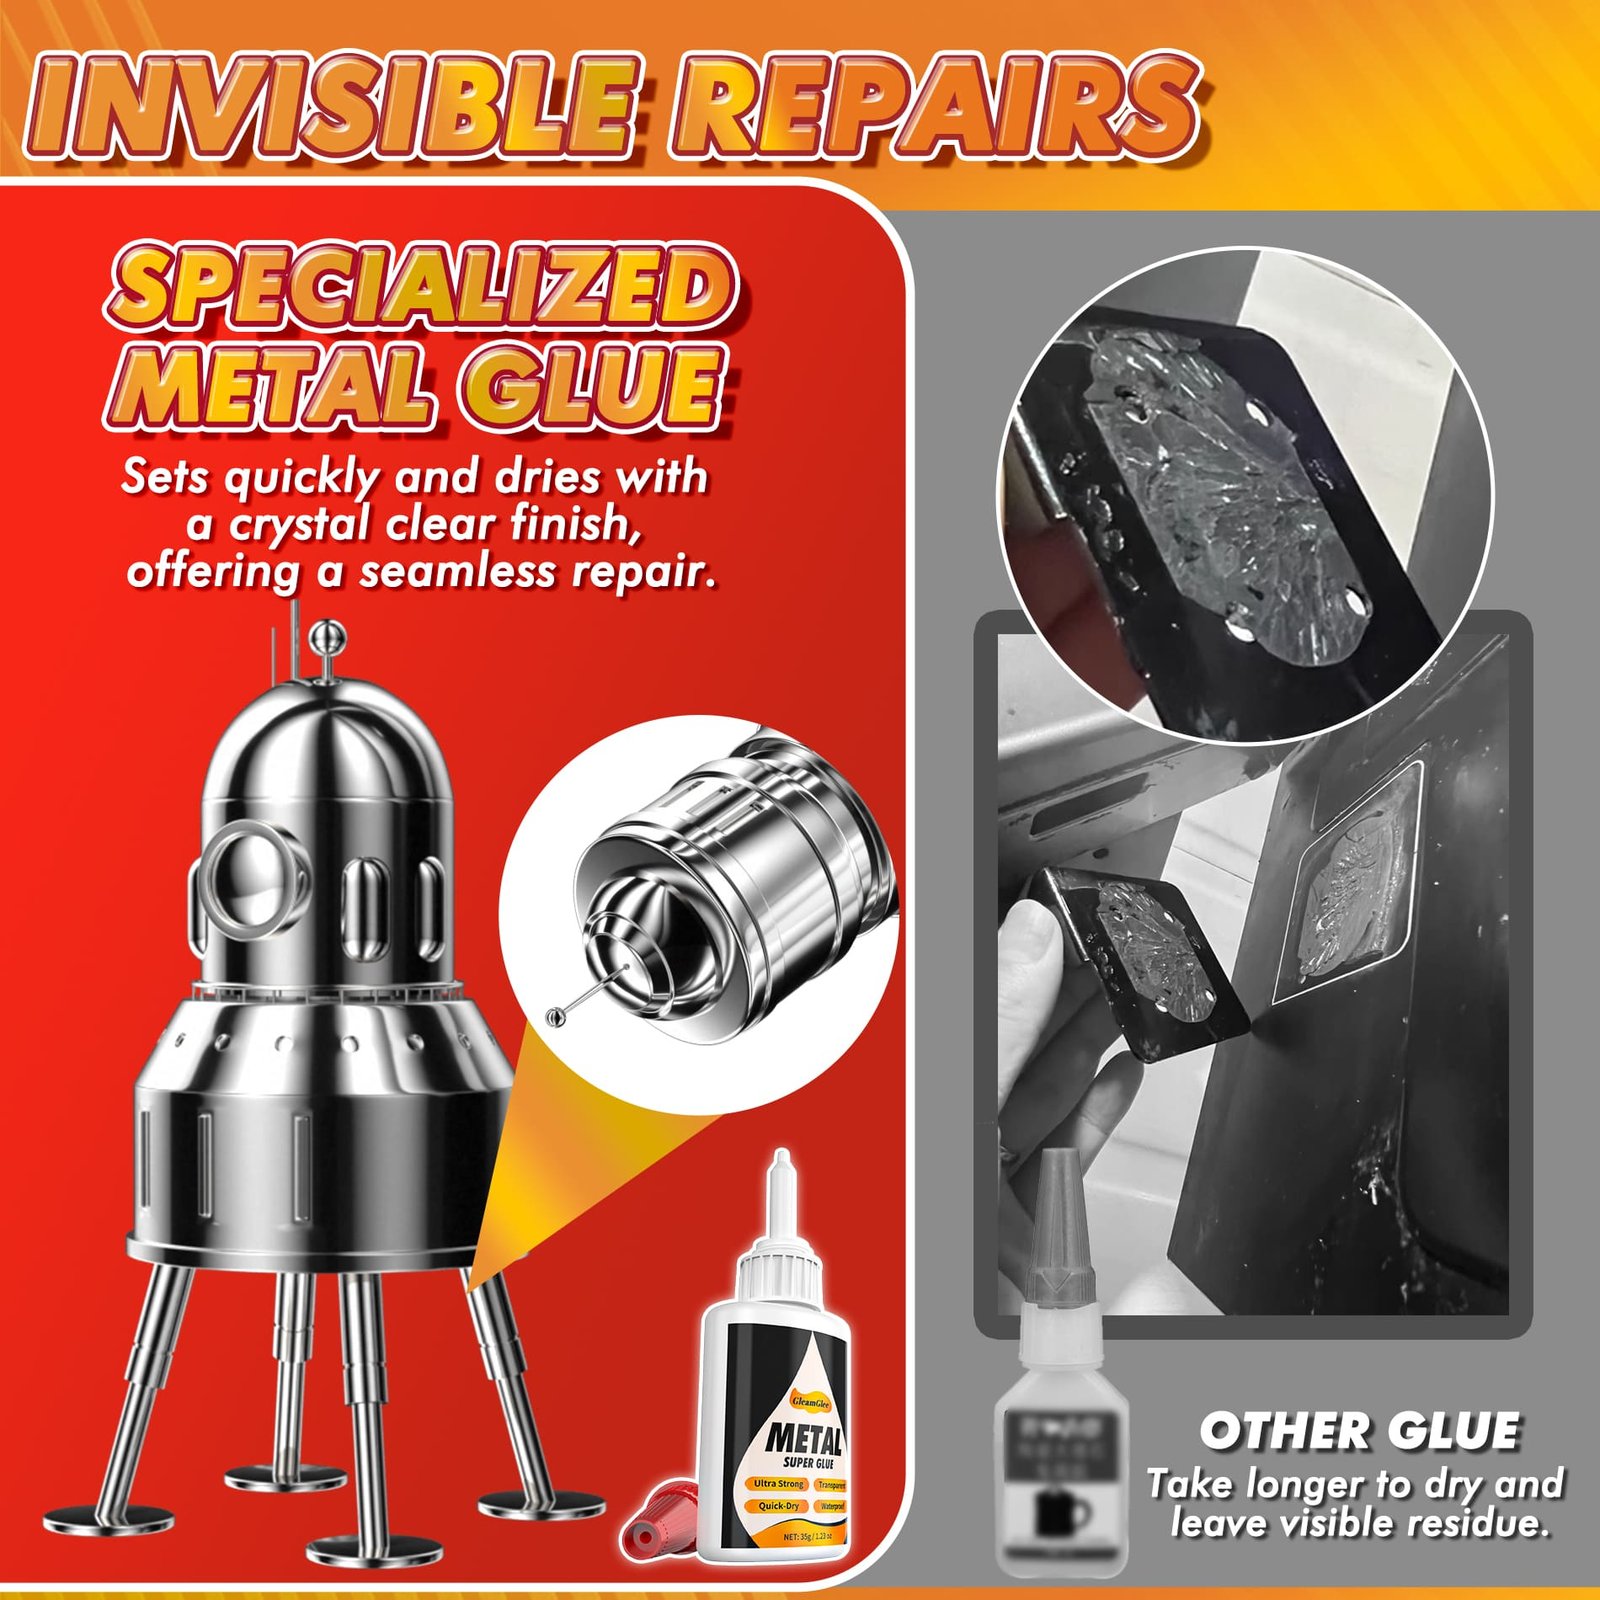
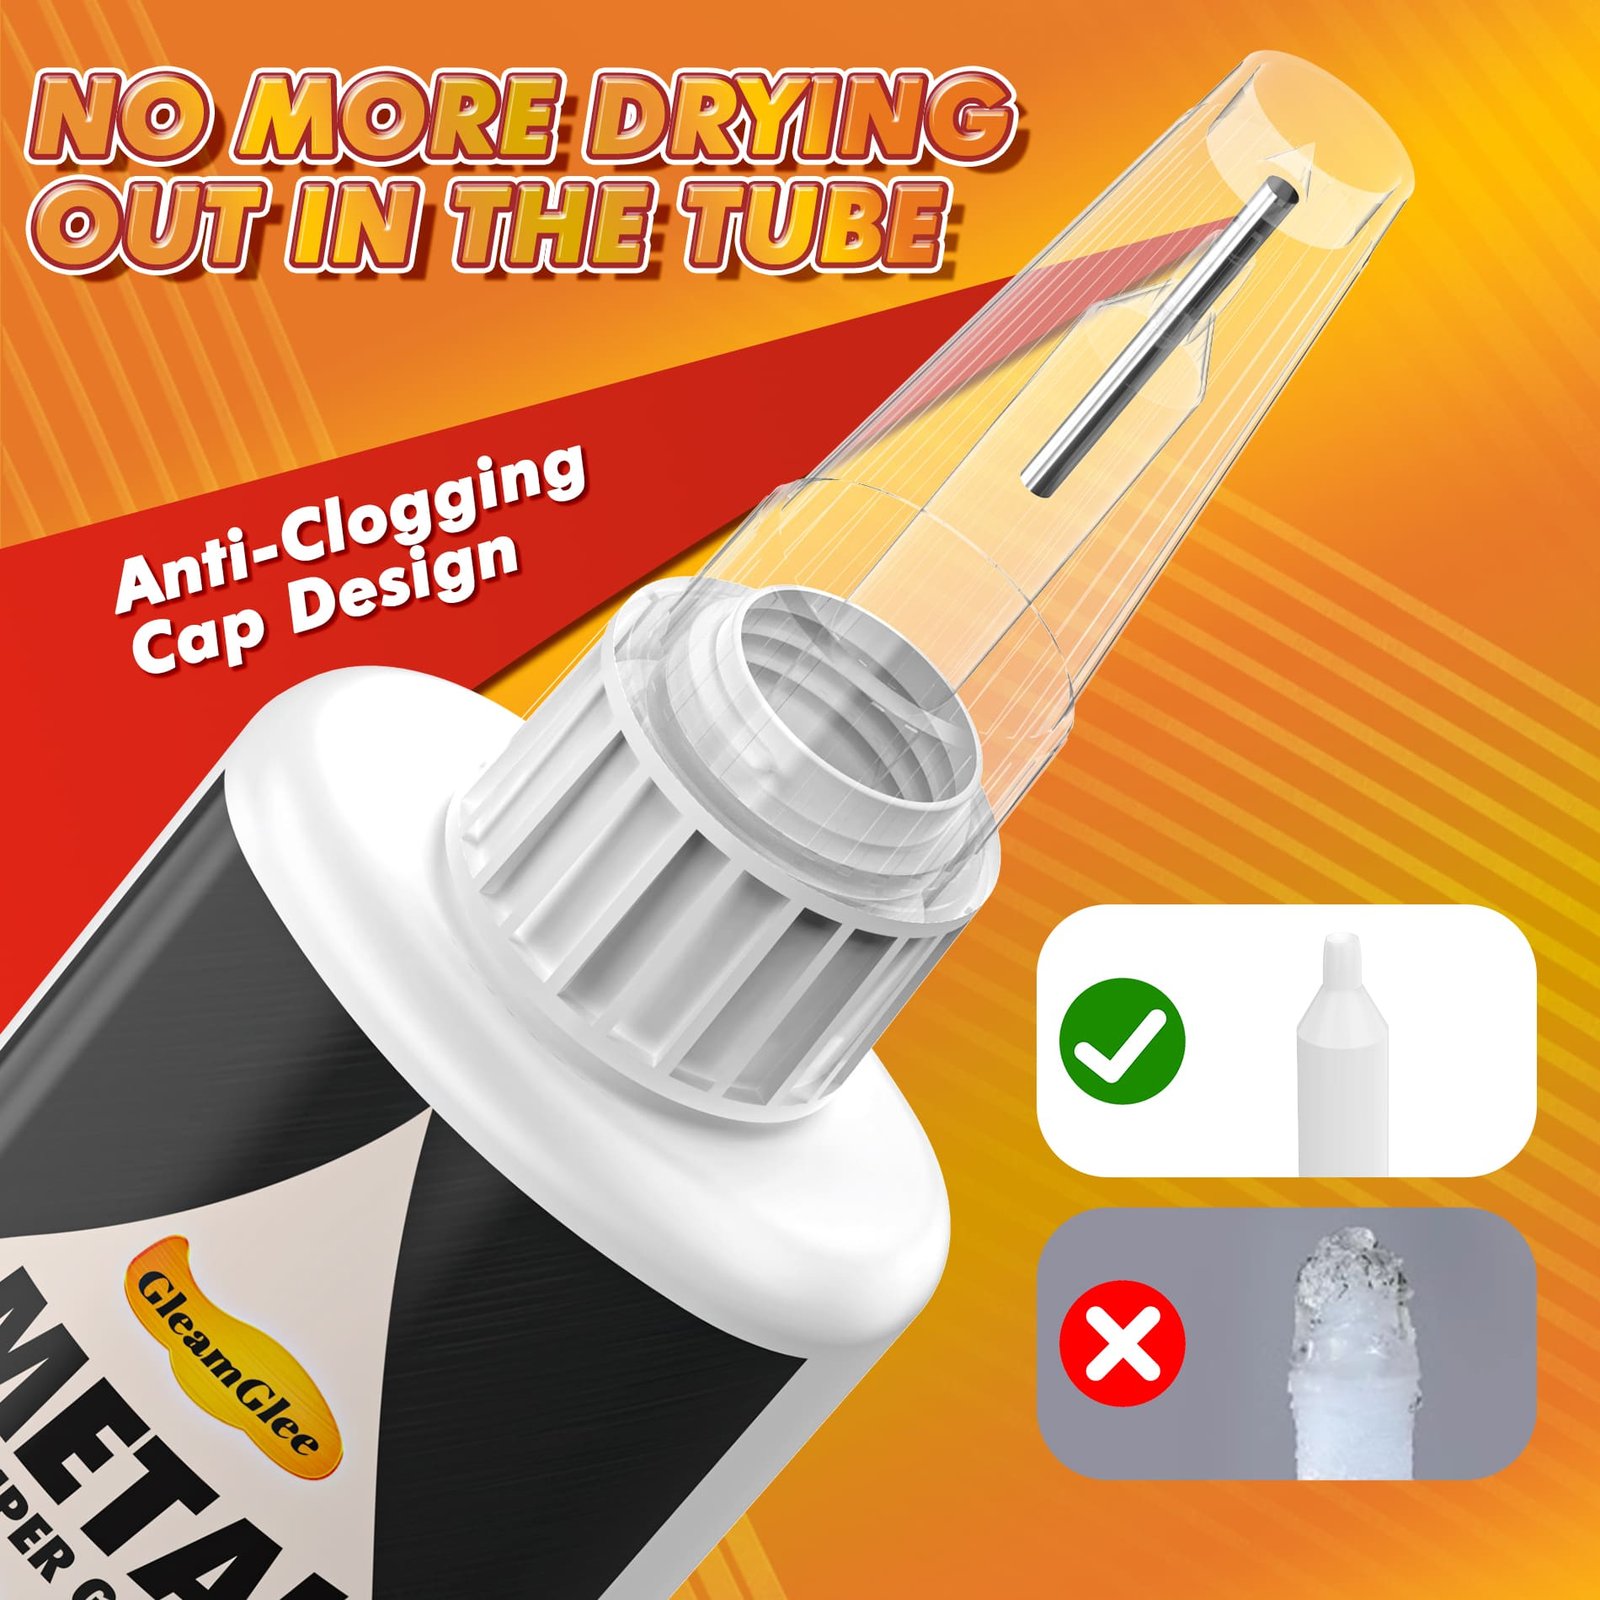
| Product Detail | Verified Information |
|---|---|
| Brand | GleamGlee |
| Product | Metal Glue / Metal Super Glue |
| Amazon ASIN | B0F1MLQP6C |
| Adhesive Type | Cyanoacrylate adhesive, also called CA or instant adhesive |
| Capacity | 35g per bottle |
| Form | Clear, medium-viscosity liquid in a squeeze bottle |
| Cured Appearance | Clear finish |
| Included Applicators | Four precision extension tips per bottle; eight with a two-bottle pack |
| Cap Design | Anti-clog sealing cap designed to support repeated use with correct cleanup and storage |
| Initial Grab | Begins within seconds |
| Suggested Pressure | About 5-30 seconds, depending on surface condition and fit |
| Full Cure Planning | Allow up to 24 hours before demanding use or moisture exposure |
| Core Use | Small, close-fitting, non-structural metal and metal-to-other-material repairs |
| Listed Material Range | Metal, stainless steel, aluminum, iron, steel, brass, selected plastics, rubber, wood, ceramic, concrete, PVC, stone, and glass |
| Important Limit | Unknown plastics, coatings, high-value finishes, and mixed materials should receive a hidden-area test |
| Purchase Channel | Amazon US listing |
Complete These Six Checks Before First Use
A short pre-use check prevents rushed decisions after fast-setting adhesive has already been dispensed onto a small or highly visible part.
Identify Both Materials
Name both bonding surfaces rather than calling the entire object “metal.” A metal ornament may attach to painted metal, glass, rubber, wood, ceramic, resin, or plastic. The outer coating is the surface the glue actually touches. Unknown plastics and glossy finishes should be tested in a hidden location and observed through the full curing period before visible application.
Inspect the Joint Fit
Bring the pieces together without adhesive. Close-fitting faces support the thin bond layer suited to liquid cyanoacrylate. Rocking contact, missing material, a deep cavity, or a wide uneven gap indicates a filling task rather than a precision bonding task. More liquid glue cannot rebuild lost metal or create a safe load path across a large opening.
Classify the Load
Ask what happens if the bond fails. Decorative trim, a model detail, a small frame ornament, or a lightweight craft fitting may be appropriate. Brakes, steering, wheels, seat mounts, climbing equipment, overhead attachments, pressure systems, and structural supports are not suitable household CA-glue tasks. Failure consequence matters more than part size.
Prepare the Workspace
Select a stable table with bright light and moving air. Cover the work surface with a disposable, non-absorbent barrier compatible with the adhesive. Remove food, drinks, phones, fabric, medicines, cosmetics, and unrelated valuables. Prepare tweezers, a support block, a light clamp, waste container, and the original product instructions before opening the cap.
Rehearse Alignment
Practice the complete movement from pickup to final placement. Mark orientation when needed and decide where each hand will remain. Fast initial grab helps small parts stay aligned, yet it also reduces correction time. A one-move dry run is especially important for paired jewelry, model details, narrow metal trim, recessed fittings, and parts installed at an angle.
Plan the Cure Area
Choose a protected location where the object can remain stable, dry, unloaded, and inaccessible for up to 24 hours. Do not begin when the item must be worn, washed, moved, packed, or returned to service soon. Prepare a tray or support that keeps the repair from rolling, tipping, touching other surfaces, or attracting dust during curing.
Build a Safer Home Workstation Before Applying Glue
Ventilation, lighting, surface protection, tool placement, and restricted access work together to make fast-setting metal adhesive easier to control.
Arrange Ventilation Lighting and Work Height
Choose a room where fresh air can enter and leave without blowing dust directly across the joint. An open window, appropriate local exhaust, or another ventilation arrangement recommended by the label or Safety Data Sheet can reduce vapor buildup near the user. Keep the work below eye level and avoid positioning the face directly above the nozzle or repair. Strong lighting should reveal the joint edge, adhesive flow, and any overflow before the parts meet.
Use a solid table rather than a lap, bed, sofa, carpet, or unstable outdoor surface. Sit or stand with both forearms supported so the bottle, tweezers, and part can move slowly. Clear at least one arm’s length around the repair. Phones, keys, jewelry, towels, clothing, papers, and other objects can become unintentionally bonded when they sit inside the working radius.
Place the adhesive on the dominant-hand side and the parts in final assembly order. Keep a dedicated curing tray behind the application zone. Prepare all tools before the cap opens: precision tip, tweezers, alignment block, light clamp, painter’s tape when compatible, disposable non-absorbent surface protection, and the product instructions. Avoid cotton or wool for fresh CA cleanup because the rapid reaction may produce heat.
Children, pets, and bystanders should remain outside the room during application and cleanup. Close doors or use a clear boundary so no one bumps the table. Once the adhesive is sealed, inspect the floor, chair, and surrounding surfaces for dropped tools or residue before reopening the area.
Protect Finished Surfaces and Nearby Property
Metal repairs often occur near paint, plating, glass, plastic, wood finish, upholstery, countertops, lenses, or electronics. Mask or remove nearby components when a suitable protective method is available. Keep the repair opening facing upward or sideways only when the bottle can remain controlled; avoid awkward positions that require squeezing above the face or reaching across valuable surfaces.
A disposable non-absorbent work barrier should extend beyond the object. Test the barrier material first because some plastics may bond, soften, or release residue. Do not use household towels, cotton pads, wool cloth, or clothing as the first response to a fresh CA spill. Keep cleanup methods aligned with the product label and Safety Data Sheet rather than improvising with aggressive solvents around sensitive finishes.
Separate application tools from household utensils. Tweezers, picks, scrapers, and clamps used with adhesive should not return to food preparation, grooming, or medical use. Label the tool container and store it with the adhesive. Keep food, beverages, medications, contact lenses, cosmetics, and pet supplies outside the room to avoid accidental contamination.
After use, move the bonded object to the curing tray before cleaning the bottle. Do not carry an open bottle across the room. Inspect the nozzle, exterior threads, work barrier, clamp, and tools under good light. Seal waste according to local requirements, wash hands after the work area is secure, and leave the room ventilated as directed by the product instructions.
Protect Eyes Skin Breathing and Household Surfaces
Simple barriers and controlled handling reduce exposure without turning a small household repair into a complicated workshop operation.
Eye Protection
Wear protective eyewear suitable for splash risk and compatible with the product instructions. Ordinary reading glasses leave open space around the eyes and may not provide equivalent coverage. Keep the nozzle below eye level, aim it away from the face, and test flow before approaching the object. Never look into a blocked tip or squeeze while the outlet points upward.
Hand Protection
Select gloves or other hand protection identified by the current label or Safety Data Sheet. Gloves do not replace careful positioning; adhesive can still reach skin at cuffs, tears, or contaminated outer surfaces. Use tweezers and fixtures to keep fingers outside the bond line. Remove contaminated protection without touching the face, phone, door handle, or clean tools.
Breathing Comfort
Use the adhesive in a ventilated location and keep the repair away from the nose and mouth. Avoid prolonged close-range inspection while the liquid remains exposed. If eye, nose, throat, or breathing irritation develops, stop work, close the bottle when safe, and move to fresh air. Breathing difficulty or severe symptoms require urgent medical assistance.
Surface Protection
Place the project on a stable, disposable, non-absorbent work barrier and keep a dedicated curing tray nearby. Protect finished wood, stone, painted surfaces, glass, flooring, fabric, and electronics from overflow. Test masking materials on delicate finishes first. Do not wipe fresh cyanoacrylate with cotton or wool because rapid curing can generate heat.
Apply Metal Glue Safely in Six Controlled Steps
A successful repair follows a repeatable sequence: inspect, clean, dry-fit, test flow, apply a thin layer, then press and protect the joint while curing.
Inspect the Damage
Confirm the part is small, accessible, and non-structural. Trace the full separation and inspect paint, plating, corrosion, old adhesive, cracks, and surrounding material. Stop when the break involves missing metal, a deep cavity, continuing corrosion, pressure, electrical protection, repeated heavy load, or a safety-critical function. A different adhesive, mechanical fastener, replacement part, or professional repair may be required.
Clean Stable Surfaces
Remove dust, oil, fingerprints, loose oxidation, old adhesive, polish, wax, and unstable coating using a method compatible with both materials. Clean both contact faces and allow them to dry completely. When appearance allows, lightly preparing a hidden smooth metal face may improve effective contact. Avoid aggressive cleaning that damages plating, paint, plastic, glass, stone, or valuable finishes.
Dry-Fit and Support
Assemble the parts without glue and confirm the final angle, orientation, and contact area. Prepare tweezers, a jig, tape, elastic support, or light clamp before dispensing. The support should maintain contact without crushing the object or forcing all adhesive from the joint. Practice the placement once so the parts can meet accurately when fast initial grab begins.
Install and Test a Tip
Select one of the four extension tips for narrow, recessed, or visible work. Inspect it for dried residue and attach it according to the product instructions. Keep the outlet away from the face. Test a tiny dot on disposable scrap using gentle bottle pressure. A blocked tip can release suddenly when squeezed hard, so replace or manage it according to the label rather than forcing flow.
Apply a Thin Layer
Place a small dot, short line, or thin film on one contact face. Medium-viscosity liquid is intended to form a low-profile layer between close-fitting surfaces, not a mound around the joint. Excess adhesive can squeeze onto visible finishes, reach skin, delay internal curing, and prevent the parts from seating fully. Stop dispensing as soon as the intended contact area is lightly covered.
Align Press and Cure
Bring the parts together once and apply even pressure for about 5-30 seconds, depending on surface condition and fit. Initial grab begins within seconds but does not equal final strength. Move the object to a protected tray and avoid twisting, peeling, impact, water, heat, or demanding use. Allow up to 24 hours for full curing before returning the item to service.
Understand Initial Grab Pressure Time and Full Cure
Three time stages prevent a fast-setting adhesive from being mistaken for a fully cured repair ready for water, impact, or regular household use.

Seconds to Initial Grab
GleamGlee begins gripping within seconds after close-fitting surfaces meet. The speed helps small fittings, ornaments, model parts, and decorative hardware remain aligned without long hand pressure. Fast grab also leaves little time for correction. Finish dry-fitting, mark orientation, prepare support, and decide the exact placement path before dispensing any adhesive.
Five to Thirty Seconds
Hold the parts evenly for about 5-30 seconds according to surface condition, geometry, and fit. Pressure should maintain full contact without crushing a delicate part or squeezing the entire adhesive layer outward. When the part remains in place, transfer it carefully to a curing support. Do not pull on the joint to “test” whether it has bonded.
Up to Twenty-Four Hours
Reserve up to 24 hours for full curing before moisture exposure, twisting, peeling, impact, temperature change, or demanding use. Keep the joint stable, dry, and unloaded. A part that no longer moves can still have uncured adhesive inside the bond line. Inspect the joint after curing and return the object to light use before any higher demand.
Avoid Six Common Metal Glue Safety Mistakes
Correcting ordinary handling errors improves personal safety, protects household surfaces, and often produces a cleaner bond with less adhesive and fewer retries.
Squeezing Too Hard
Strong bottle pressure can flood a small joint or cause a blocked tip to release suddenly. Inspect the tip, point it away from the face, and test flow on scrap. Use gentle pressure and stop as soon as the contact face receives a thin coating. A larger amount does not automatically increase bond performance.
Holding Parts by Hand
Fingers positioned beside the bond line can become attached before the user reacts. Use tweezers, a support block, tape, an elastic band, or a light clamp when the geometry allows. Rehearse the movement and keep skin outside the squeeze-out path. Never touch the wet joint to check whether it is sticky.
Skipping Ventilation
Working in a closed bathroom, closet, vehicle, or poorly ventilated basement can concentrate irritating vapor near the face. Choose a bright location with moving air and keep the repair below eye level. Stop if irritation develops. A hot parked vehicle is also an unsuitable workspace and storage location.
Wiping With Cotton
Fresh cyanoacrylate can react rapidly with cotton or wool and generate heat. Do not reach automatically for a cotton towel, tissue, clothing, or wool pad during a spill. Secure the bottle, keep people away, and follow cleanup instructions from the label or Safety Data Sheet using compatible materials.
Testing Too Early
Pulling, twisting, washing, or loading the part after initial grab can damage an incompletely cured joint. Treat 5-30 seconds as pressure time, not final strength. Move the object to a protected tray and reserve up to 24 hours before demanding household use or moisture exposure.
Using Glue Everywhere
CA glue is not a universal replacement for welding, bolts, rivets, epoxy filling, electrical repair, pressure-system service, or food-contact certification. Select another method for large gaps, missing material, structural loads, safety-critical functions, sustained high heat, pressurized systems, or direct food and drinking-water contact without supporting compliance evidence.
Decide Whether a Household Repair Is Suitable
Use repair size, joint fit, material certainty, load, exposure, and failure consequence to separate a focused glue task from work requiring another solution.
| Decision Level | Typical Conditions | Recommended Action |
|---|---|---|
| Good Fit | Small part; close-fitting faces; at least one metal surface; clean and dry; non-structural; limited peel, impact, or vibration | Prepare the workspace, use a precision tip, apply a thin layer, press 5-30 seconds, and cure up to 24 hours |
| Test First | Unknown plastic; painted or plated metal; glossy coating; transparent surface; rubber, wood, stone, ceramic, or glass combination; valuable appearance | Perform a tiny hidden-area test, observe through full cure, and confirm no whitening, staining, softening, cracking, or coating lift |
| Prepare First | Oil, corrosion, dust, old glue, loose coating, uncertain alignment, insufficient support, or no safe curing location | Clean, stabilize, rehearse, prepare a clamp or jig, and plan protected curing before opening the bottle |
| Choose Epoxy or Putty | Uneven faces, moderate gap, missing shape, cavity, rough casting, or need for longer adjustment time | Select a compatible two-part epoxy or repair compound and follow its mixing, ventilation, and curing instructions |
| Use Mechanical Repair | Load-bearing bracket, hinge, frame, chair structure, repeated peel, moving joint, or part where failure can injure someone | Use bolts, screws, rivets, replacement hardware, welding, brazing, or professional service |
| Do Not DIY With CA | Pressure vessel, gas line, boiler, brake, steering, wheel, safety belt, climbing equipment, overhead load, electrical protective enclosure, or food-contact repair lacking compliance evidence | Stop using the item and obtain qualified repair, replacement, or manufacturer guidance |
Six Home Repairs Worth Evaluating Carefully
Suitable household examples remain small, close-fitting, accessible, and non-structural, with enough time and space for controlled application and full curing.

Picture Frame Hardware
Small metal tabs, decorative corners, nameplates, or non-load-bearing frame ornaments may suit a thin bond when the surfaces are stable and accessible. Remove dust and polish, protect glass and finished wood, then apply a tiny amount with an extension tip. Wall-hanging hardware, heavy mirrors, and overhead frames need mechanical attachment rather than adhesive alone.

Cabinet Trim
Loose metal badges, decorative covers, or lightweight trim on a cabinet can be evaluated when the part does not support the door, hinge, handle load, or shelf. Remove grease and furniture polish, mark the position, and protect the surrounding finish. Hinges, drawer slides, pulls under repeated force, and structural cabinet joints require suitable hardware.

Metal Decor
Candleholder ornaments, figurine details, decorative plaques, small sculpture accents, and table decor may benefit from clear curing and precise placement. Confirm the object is not exposed to flame or high heat during use. Keep adhesive away from candle cups, heated surfaces, and food-serving areas. Missing metal or a rocking base may require epoxy or fabrication.

Model Parts
Metal railings, brackets, miniature fittings, and mixed-material model details often need a small controlled dot. Use tweezers, a jig, and a hidden-area test for unknown plastic or painted parts. Keep adhesive away from moving gears, electrical contacts, lenses, and finished transparent surfaces. Allow full cure before handling or operating the model.

Jewelry Findings
Earring pads, brooch backs, lightweight decorative findings, and metal charms may be suitable when the contact faces are broad enough and the joint is not a critical moving link. Protect skin, stones, plating, and front-facing detail. Valuable jewelry, load-bearing chain links, hinges, spring clasps, and stone settings should receive professional assessment.

Appliance Exterior Trim
A small nameplate, decorative cap, external badge, or non-functional trim piece may suit controlled bonding after unplugging and isolating the appliance. Keep adhesive away from vents, wiring, switches, seals, hot surfaces, water paths, and protective electrical enclosures. Internal repairs and any part related to safe operation require qualified service.
Know When Metal Super Glue Is Not Enough
Choosing another repair method protects people, property, and future service options when the damaged part carries pressure, heat, load, electricity, or direct food contact.

Structural and Load-Bearing Parts
Chair frames, shelving supports, overhead fixtures, ladders, handrails, load-bearing brackets, exercise equipment, and furniture joints can fail suddenly under repeated force. A small fracture does not become low risk because the visible gap is narrow. Use engineered hardware, welding, replacement components, or professional repair. Decorative covers attached to those systems must be distinguished from the structure carrying the load.

Vehicle and Mobility Safety
Brakes, steering, suspension, wheels, frames, seat mounts, safety belts, helmets, mobility-device controls, and other safety-critical components should never depend on a household CA repair. Heat, vibration, impact, weather, and severe failure consequences require verified parts and qualified service. GleamGlee may be evaluated only for suitable cosmetic trim or non-structural accessories after the function is clearly identified.

Pressure Heat and Electrical Systems
Gas lines, boilers, pressure vessels, compressed-air systems, pressurized plumbing, heating elements, engine compartments, electrical contacts, insulation barriers, and protective enclosures require material-specific, code-compliant solutions. Do not use quick initial grab as evidence of safe service. Shut down the system and obtain manufacturer guidance or a qualified technician when leakage, heat, voltage, or pressure is involved.

Food Water and Oral Contact
A kitchen location does not prove food-contact suitability. Pot interiors, cup rims, eating utensils, cutting surfaces, drinking-water paths, children’s mouth-contact products, and dental or medical items require relevant compliance evidence. “Clear,” “waterproof,” and “dry” do not mean food-grade, medically approved, dishwasher-safe, or microwave-safe. Select a certified repair method or replace the item.
What to Do When Super Glue Bonds Skin
Stay calm, stop pulling, use gentle separation methods, and contact Poison Control when the area is large, painful, burned, or difficult to manage.
Follow a Slow Low-Injury Separation Process
Set the adhesive down on a stable protected surface and secure the cap when doing so will not spread contamination. Do not jerk or force bonded skin apart. Pulling can tear the skin even when the glue itself causes limited toxicity. Soak the bonded area in warm, soapy water and allow time for the bond to soften. Gently roll or peel from the edge rather than pulling straight apart.
Oil-based lubricants such as mineral oil, vegetable oil, or petroleum jelly may help loosen bonded skin. Poison Control also describes alcohol or acetone in some situations, but solvents can irritate skin, damage finishes, and create additional exposure. Use them only when appropriate for the person, location, product instructions, and professional guidance. Never place acetone in the eyes, mouth, broken skin, or near a flame.
Remove rings, watches, or tight items early if swelling develops and removal can be done without force. Do not use knives, razor blades, abrasive tools, or high heat. Keep the person comfortable and observe for increasing pain, redness, blistering, numbness, or a burn. Large spills can release heat while curing and deserve prompt professional advice.
After separation, wash the area gently and check for skin damage. Contact the U.S. Poison Control Center at 1-800-222-1222 for free, confidential, case-specific guidance. Seek urgent medical care for significant pain, burns, large-area exposure, impaired circulation, involvement of sensitive areas, or any condition that is worsening.
Prevent a Second Exposure During Cleanup
Once the person is safe, isolate the open bottle, contaminated tools, and work barrier. Do not touch a contaminated surface with bare hands or carry residue to faucets, phones, doors, or other people. Follow the current label and Safety Data Sheet for spill management and disposal. Avoid cotton and wool contact with fresh cyanoacrylate because rapid polymerization may generate heat.
Inspect gloves, sleeves, clothing, and jewelry before removing them. Do not pull bonded fabric away from skin if heat, pain, or a large wet area is present; contact Poison Control for guidance. If only a small dry residue remains on intact skin, let professional advice and product instructions guide further removal rather than repeatedly applying solvents.
Keep children and pets away from the area until all residue is contained. Ventilate the room, inspect the floor and chair, and place the sealed bottle in secure storage. Clean reusable tools only with methods compatible with the adhesive and tool material. Do not return contaminated tools to food, grooming, or medical use.
Record what happened, including the product name, time, affected area, and first steps taken. Keep the package available when speaking with Poison Control or medical staff. The goal is calm, gradual separation and informed help, not an aggressive attempt to make the glue disappear immediately.
Respond Correctly to Eye Mouth or Breathing Exposure
Sensitive-area exposure needs immediate professional guidance; do not force bonded tissue apart or rely on household solvents near the eyes or mouth.
Eye or Eyelid Exposure
Do not force the eyelids open and do not use acetone or household solvents in or around the eye. Begin the response described by the product label while contacting Poison Control at 1-800-222-1222 for case-specific instructions. Keep the package nearby. Eye pain, vision change, a bonded eyelid, persistent irritation, or direct liquid exposure requires prompt medical evaluation.
Mouth or Swallowing Exposure
Do not force bonded lips, teeth, or oral tissue apart. Do not induce vomiting and do not place solvent in the mouth. Contact Poison Control immediately and follow their instructions based on the person’s age, amount, symptoms, and product. Call 911 when the person has trouble breathing, collapses, has a seizure, or cannot be awakened.
Breathing or Vapor Irritation
Stop application, close the bottle when safe, and move to fresh air. Keep the person away from the work area while the room ventilates. Persistent cough, wheezing, chest tightness, severe eye or throat irritation, or breathing difficulty needs medical assessment. Anyone with severe breathing trouble, collapse, seizure, or inability to wake requires an immediate 911 call.
Clean Seal and Store Metal Glue Safely
The 35g bottle supports multiple small projects only when the tip, cap, exterior, storage location, and household access remain controlled after every session.

Let Liquid Return
Hold the bottle upright after application and allow liquid to move away from the outlet before handling the tip. Keep the opening pointed away from the face. Do not squeeze a clogged or partially blocked bottle to force the remaining glue forward. Follow the product instructions for removing, retaining, or replacing an extension tip.

Clean and Seal
Inspect the bottle opening and exterior threads without touching wet residue. Use only cleanup materials and methods compatible with the label or Safety Data Sheet. Close the anti-clog sealing cap promptly and firmly. The cap helps reduce drying between projects, but repeated use still depends on correct cleanup and an airtight closure after every session.

Store Upright
Keep the sealed bottle upright in its original package or a dedicated secondary container in a cool, dry, well-ventilated, temperature-stable location. Avoid direct sunlight, heaters, grills, stoves, sparks, moisture, and hot vehicles. Do not recommend refrigeration unless the current label specifically requires it, because storage instructions and condensation risks vary by formulation.

Restrict Access
Store the adhesive where children and pets cannot see, reach, or open it. Keep it separate from food, beverages, medicines, cosmetics, contact-lens supplies, and household utensils. Inspect the bottle, cap, and tips before the next use. Manage damaged packaging, hardened product, and waste according to the label and local disposal requirements.
Why GleamGlee Supports More Controlled Home Repairs
Four product characteristics help users place less adhesive more accurately while keeping the repair focused on suitable small, close-fitting, non-structural tasks.
Four Precision Tips
Each 35g bottle includes four extension tips that bring the outlet closer to small contact zones, narrow gaps, recessed fittings, model details, jewelry findings, and visible trim. Closer placement can reduce unnecessary movement and overflow. Inspect every tip before use, test flow on scrap, and use gentle bottle pressure. Precision accessories improve control but do not guarantee zero spills.
Medium-Viscosity Liquid
The formula is a medium-viscosity clear liquid rather than a thick metal putty or two-part paste. It can spread as a thin layer across close-fitting faces while remaining easier to direct than an extremely watery adhesive. The formula is not intended to rebuild missing metal or fill a large cavity. Joint fit should be checked before application.
Fast Initial Grab
GleamGlee begins gripping in seconds and generally needs about 5-30 seconds of firm pressure for initial positioning. Short pressure time can reduce prolonged hand contact near the joint when alignment and support are prepared in advance. Speed also shortens the correction window, making dry fitting, marking, tweezers, and a curing tray essential parts of safe use.
Anti-Clog Cap
The sealing cap is designed to help reduce drying between projects when the bottle opening is cleaned and the cap is secured promptly. Controlled repeated use keeps a 35g bottle valuable for multiple small repairs. A blocked outlet should never be opened by aiming it toward the face, biting it, or applying excessive pressure. Follow the label for maintenance.
Choose CA Glue Epoxy Putty or Mechanical Repair
Match the method to joint fit, gap size, adjustment time, appearance, load, equipment, and failure consequence rather than choosing only by advertised strength.
| Repair Method | Best Match | Main Advantages | Important Safety and Use Limits |
|---|---|---|---|
| GleamGlee Metal Super Glue | Small, close-fitting, non-structural metal and mixed-material parts | Fast initial grab, clear finish, no mixing, four precision tips, 35g multi-project size | Limited gap filling; fast alignment window; eye, skin, ventilation, and storage controls required |
| Gel CA Glue | Vertical or porous-edge tasks needing less flow | Reduced running, controlled placement, clear options available | Still bonds skin rapidly; not a structural filler; may form a thicker visible line |
| Two-Part Epoxy | Uneven rigid faces, moderate gaps, longer positioning time | Better gap filling and adjustment; available in clear or filled versions | Requires accurate mixing, ventilation, surface protection, and longer curing |
| Metal Repair Putty | Missing shape, cavities, corroded edges, rebuildable rigid sections | Can fill, shape, sand, and sometimes drill after curing | Usually visible and rigid; not suitable for every moving, heated, pressured, or safety-critical joint |
| Bolts Screws or Rivets | Brackets, hinges, replaceable joints, structural reinforcement | Creates an inspectable mechanical load path and may allow disassembly | Requires correct design, access, drilling, compatible hardware, and corrosion control |
| Welding or Brazing | Structural metal construction, failed welds, high-load joints | Recreates a metal connection when correctly designed and performed | Requires trained work, heat control, protective equipment, fire prevention, and finish restoration |
| Professional Repair | Pressure, electrical, vehicle safety, valuable items, uncertain materials | Provides diagnosis, compliant parts, specialized tools, and documented methods | Additional cost and time, but often the safest route where failure consequences are high |
What a Trustworthy Metal Glue Demonstration Should Show
Useful evidence displays preparation, protection, controlled dispensing, timed pressure, full curing, realistic inspection, and clear boundaries instead of dramatic strength stunts.
Watch the Entire Safe Process
A credible demonstration begins with material identification and task screening. The presenter should confirm that the repair is small, close-fitting, non-structural, and away from food contact, pressure, high heat, electricity, and safety-critical function. Protective eyewear, ventilation, stable work height, a disposable barrier, tweezers, support tools, and a curing tray should be visible before the bottle opens.
The video should show both contact faces being cleaned and allowed to dry. Dry fitting should verify the angle, joint fit, and pressure method. One of the four extension tips should be inspected, attached, pointed away from the face, and tested on scrap with gentle pressure. The application should remain a small dot, short line, or thin film rather than an oversized bead.
After the parts meet, the demonstration should show about 5-30 seconds of even pressure without fingers entering the squeeze-out path. A clear time transition should separate initial grab from a curing period of up to 24 hours. The item should remain stable, dry, and unloaded rather than being pulled, submerged, heated, or used immediately for a dramatic claim.
Final inspection should focus on alignment, overflow, surface condition, and whether the joint remains appropriate for light service. A trustworthy test identifies the materials, preparation, adhesive amount, pressure time, curing time, and use limit. It does not invent PSI strength, maximum temperature, waterproof depth, or structural capacity without a documented test method.
Verify Product and Amazon Information
Product photography should show the exact 35g GleamGlee bottle, squeeze format, anti-clog cap, label, and four precision extension tips at realistic scale. Close-up images should demonstrate controlled flow into a narrow contact area. Safety imagery should keep the nozzle below eye level, the user in protective eyewear, and children, pets, food, cotton cloth, flame, and clutter outside the workspace.
The live Amazon listing should be used for current price, inventory, delivery estimate, pack availability, seller details, and recent reviews. Those commercial details can change and should not be frozen permanently in evergreen copy. Users planning a repair before travel, an event, or a household deadline need time for delivery, hidden-area testing, preparation, application, and up to 24 hours of curing.
Review evidence should be filtered by task. Give more weight to feedback involving Metal Glue, precision tips, narrow access, fast initial grab, and small mixed-material repairs. The recorded 4.4-star rating across thousands of global ratings belongs to the broader GleamGlee adhesive family rather than Metal Glue alone, so it should be described accurately.
The strongest purchase case combines transparent facts, correct method, realistic limits, and a direct Amazon route. A responsible recommendation explains when GleamGlee fits and when another adhesive, mechanical connection, replacement part, or professional repair offers a safer result.
Download the Home Metal Glue Safety Checklist
Use a one-page checklist to confirm repair fit, workspace preparation, personal protection, application control, curing, cleanup, storage, and emergency contacts.
Screen the Repair
Record both materials, surface coatings, joint fit, gap size, load direction, environmental exposure, and failure consequence. Mark the task as suitable, test first, prepare first, or choose another method. Stop when the repair involves pressure, structural load, vehicle safety, electrical protection, food contact, high heat, missing material, or a part whose failure could injure someone.
Prepare the Area
Confirm moving air, strong lighting, stable work height, a non-absorbent barrier, a curing tray, protective eyewear, label-directed hand protection, tweezers, alignment support, and restricted access. Remove food, drinks, medicines, cosmetics, phones, fabric, children, and pets. Keep Poison Control information available before opening a fast-setting adhesive.
Control Application
Check the extension tip, point it away from the face, and test a tiny dot on scrap. Dry-fit the parts and rehearse the movement. Apply a small dot, short line, or thin film to one face. Press evenly for about 5-30 seconds and avoid touching, pulling, twisting, or testing the joint during initial grab.
Cure Clean and Store
Place the repair on a protected tray for up to 24 hours. Keep it dry, stable, unloaded, and away from heat. Let liquid return into the upright bottle, clean and seal according to the label, inspect the workspace, manage waste locally, wash hands, and store the product upright where children and pets cannot access it.
Metal Glue Safety Frequently Asked Questions
Review ten concise answers covering ventilation, protective equipment, skin bonding, eye exposure, glue quantity, curing, storage, material testing, food contact, and repair limits.
1. Do I need ventilation when using metal super glue?
Yes. Use cyanoacrylate adhesive in a bright area with moving air and keep the repair below face level. Vapor can irritate the eyes, nose, and respiratory system. Avoid closed rooms, vehicles, and leaning directly over the joint. Stop work and move to fresh air if irritation develops. Severe breathing difficulty requires emergency assistance.
2. Should I wear gloves and eye protection?
Wear protective eyewear suitable for splash risk and select hand protection recommended by the current label or Safety Data Sheet. Gloves cannot replace careful handling. Keep fingers outside the bond line, use tweezers for small parts, point the nozzle away from the face, and remove contaminated protection without touching clean surfaces.
3. What should I do if my fingers become glued together?
Do not pull them apart forcefully. Soak the bonded area in warm, soapy water and work gently from an edge. Oils or petroleum jelly may help. Contact Poison Control at 1-800-222-1222 for case-specific guidance, especially with pain, burns, a large area, sensitive locations, or difficulty separating the skin.
4. What should I do if glue reaches an eye?
Do not force the eyelids open and do not use acetone or household solvents near the eye. Follow the product label while contacting Poison Control immediately at 1-800-222-1222. Direct eye exposure, pain, vision change, persistent irritation, or bonded eyelids requires prompt medical evaluation.
5. How much GleamGlee Metal Glue should I apply?
Use enough to form a thin, even layer across the close-fitting contact area. Small parts may need one controlled dot or a short line. Excess adhesive can reach skin, overflow onto visible finishes, prevent full seating, and delay internal curing. Large gaps or missing material require another repair method rather than more liquid glue.
6. How long should I hold the parts together?
GleamGlee begins grabbing within seconds. Hold the pieces evenly for about 5-30 seconds according to surface condition and joint fit. Do not use initial holding as proof of final strength. Move the object to a stable curing tray and avoid pulling or twisting the joint.
7. When can the repaired item return to use?
Allow up to 24 hours for full curing before moisture exposure, impact, twisting, peeling, temperature change, or demanding use. Keep the joint stable, dry, and unloaded. Inspect the repair after curing and return the item to light use first. Safety-critical or structural parts should not be repaired with household CA glue.
8. Can I use metal glue on plastic or coated metal?
Many mixed-material combinations are possible, but plastic type and surface coating matter. Test a tiny hidden area and observe through full cure for whitening, staining, softening, cracking, coating lift, or weak adhesion. PE, PP, PTFE, silicone, transparent plastics, and unknown high-gloss finishes need particular caution and may require specialized products.
9. Is clear cured glue automatically food-safe?
No. Clear, waterproof, dry, and “non-toxic” are not equivalent to food-grade certification. Do not use the product on pot interiors, cup rims, eating utensils, cutting surfaces, drinking-water paths, dental items, or children’s mouth-contact products without specific compliance evidence. Replace the item or use a certified repair system.
10. Where should I store GleamGlee Metal Glue?
Seal the anti-clog cap and store the bottle upright in its original package or a dedicated container in a cool, dry, temperature-stable location. Keep it away from sunlight, heat, flame, moisture, food, medicines, cosmetics, children, and pets. Follow the label for storage temperature, shelf life, and disposal; do not refrigerate unless instructed.
Decide Whether GleamGlee Matches Your Home Repair
Use the final decision to connect suitable small metal work with a controlled Amazon purchase while directing high-risk, structural, and uncertain tasks toward safer alternatives.
A Focused Fit for Small Controlled Repairs
GleamGlee Metal Glue is a focused option when at least one contact surface is metal, the second material is known or testable, the pieces fit closely, and the repair remains small, accessible, and non-structural. Suitable examples include decorative frame hardware, model details, lightweight jewelry findings, metal craft ornaments, cabinet trim, small appliance exterior badges, and other household parts that can cure undisturbed.
The 35g clear medium-viscosity cyanoacrylate formula requires no mixing. Four precision extension tips help bring a controlled outlet close to narrow joints, while the anti-clog sealing cap supports repeated use when cleanup and storage are correct. Initial grab begins within seconds, recommended pressure is about 5-30 seconds, and up to 24 hours should be reserved for full curing.
A successful user can prepare ventilation, eye and hand protection, a stable work barrier, tweezers or support, and a protected curing tray before application. Both surfaces can be cleaned, dried, dry-fitted, and aligned in one controlled movement. The repair can remain away from children, pets, water, heat, twisting, impact, and normal use throughout curing.
Open the live Amazon listing to confirm current price, inventory, pack availability, delivery estimate, product images, label information, and recent Metal Glue feedback. Plan delivery and curing time before a household deadline.
Choose Another Method When Risk Is Higher
Do not rely on GleamGlee for large gaps, missing metal, crumbling material, moving hinges, repeated peel, structural frames, load-bearing supports, pressure systems, gas or water lines, vehicle safety components, electrical protection, high-heat zones, climbing gear, overhead attachments, or direct food and drinking-water contact without supporting compliance evidence.
Two-part epoxy may suit uneven rigid faces or moderate gaps. Metal putty may rebuild limited missing shape. Bolts, screws, rivets, welding, brazing, replacement parts, or professional service may create a safer load path for functional and structural work. Manufacturer guidance should lead decisions involving appliances, vehicles, plumbing, valuable objects, or specialty coatings.
Stop when material identity, surface finish, failure consequence, or safe handling remains uncertain. A hidden-area test, a product question, or professional diagnosis is more responsible than applying adhesive and hoping the initial grab proves suitability. Safe home repair means choosing the right method, not forcing one glue into every task.





















