 Skip to content
How to Apply Leather Glue Without Mess
Apply leather glue cleanly with thin layers, controlled placement, steady pressure, and enough cure time.
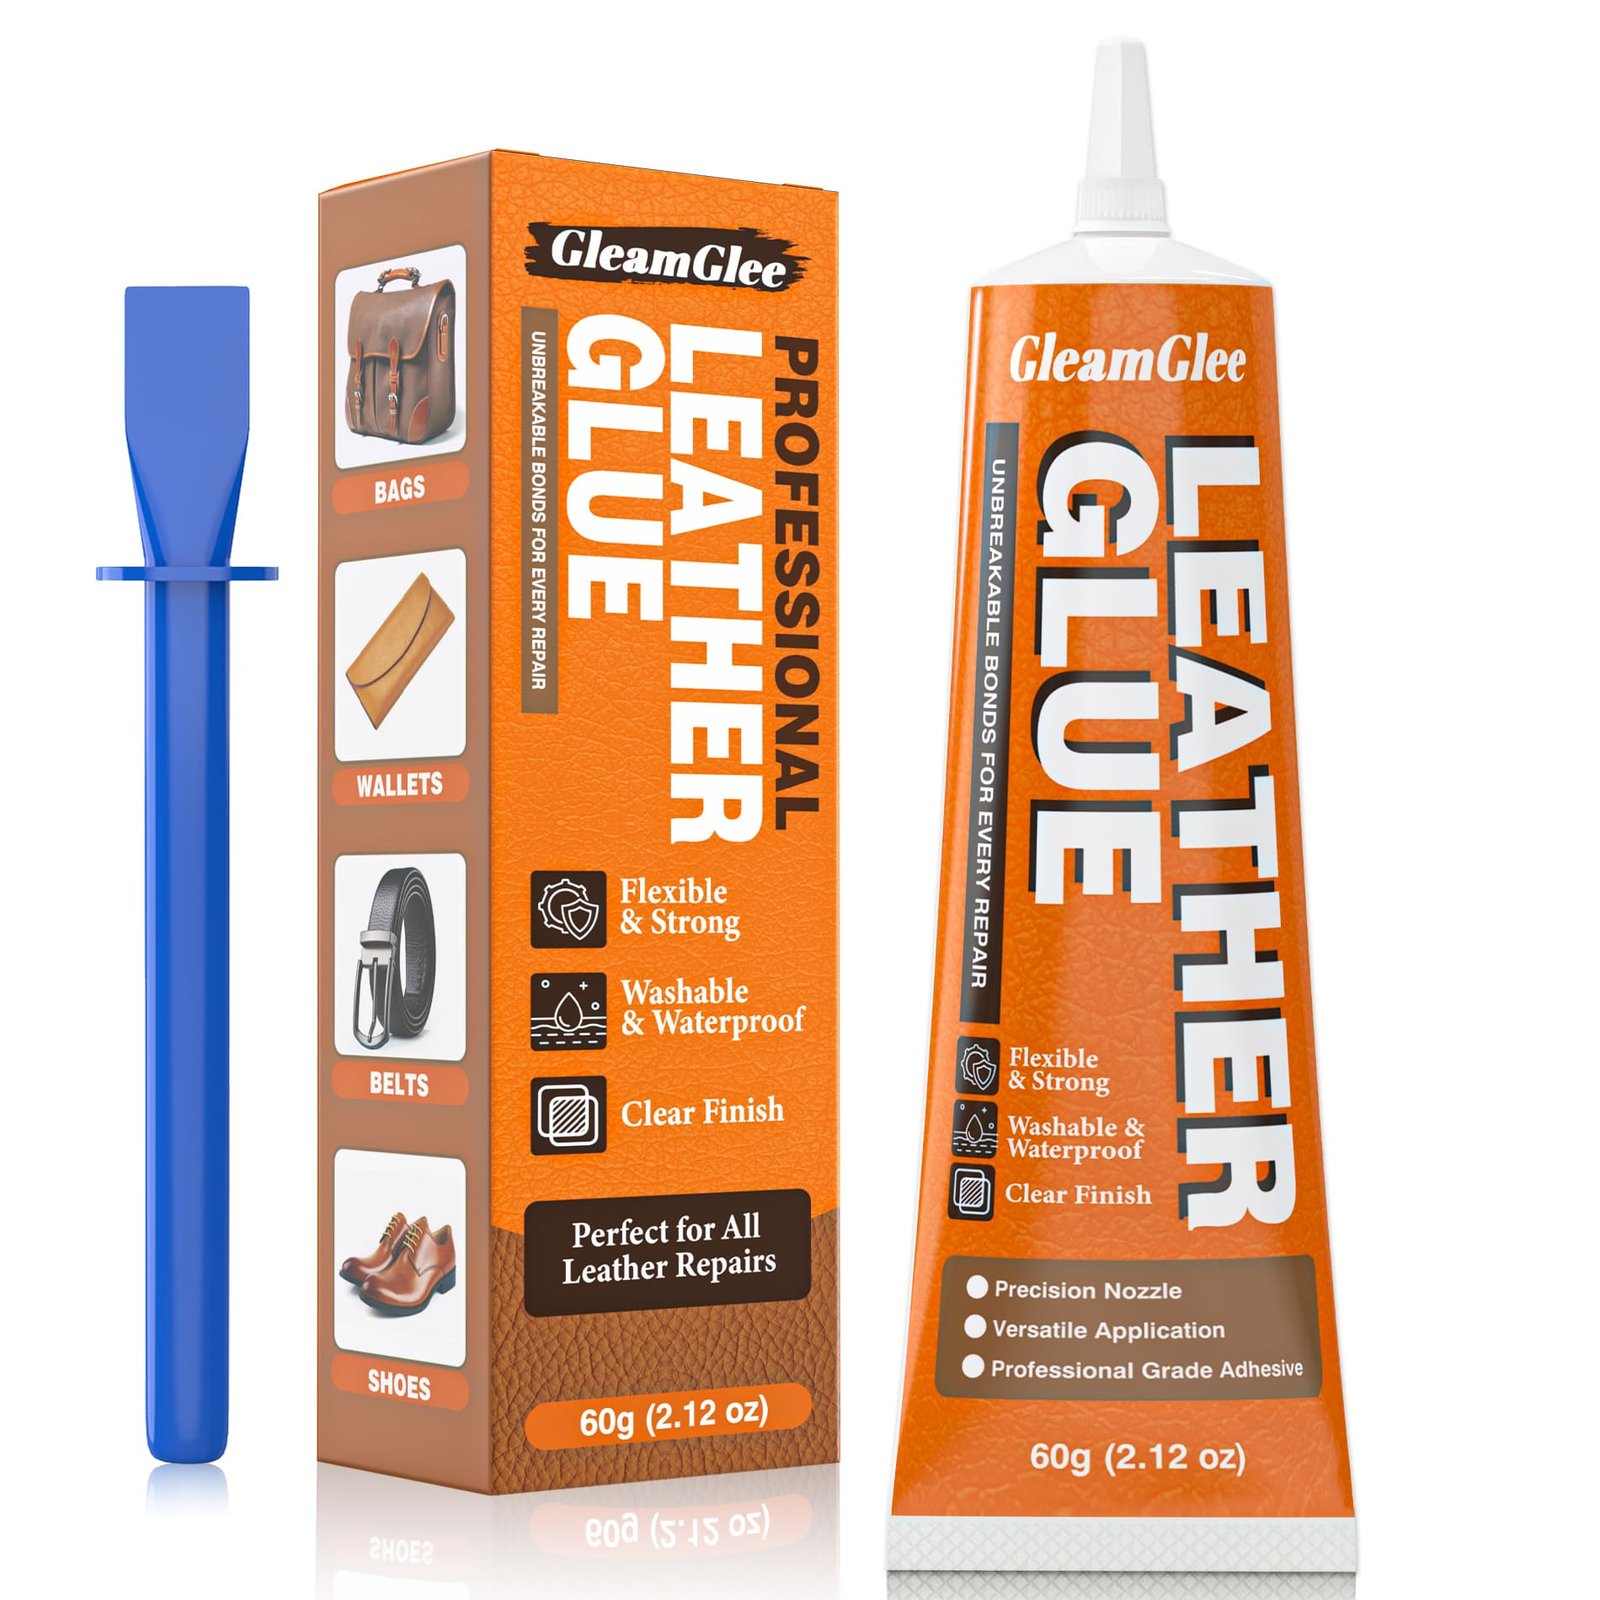
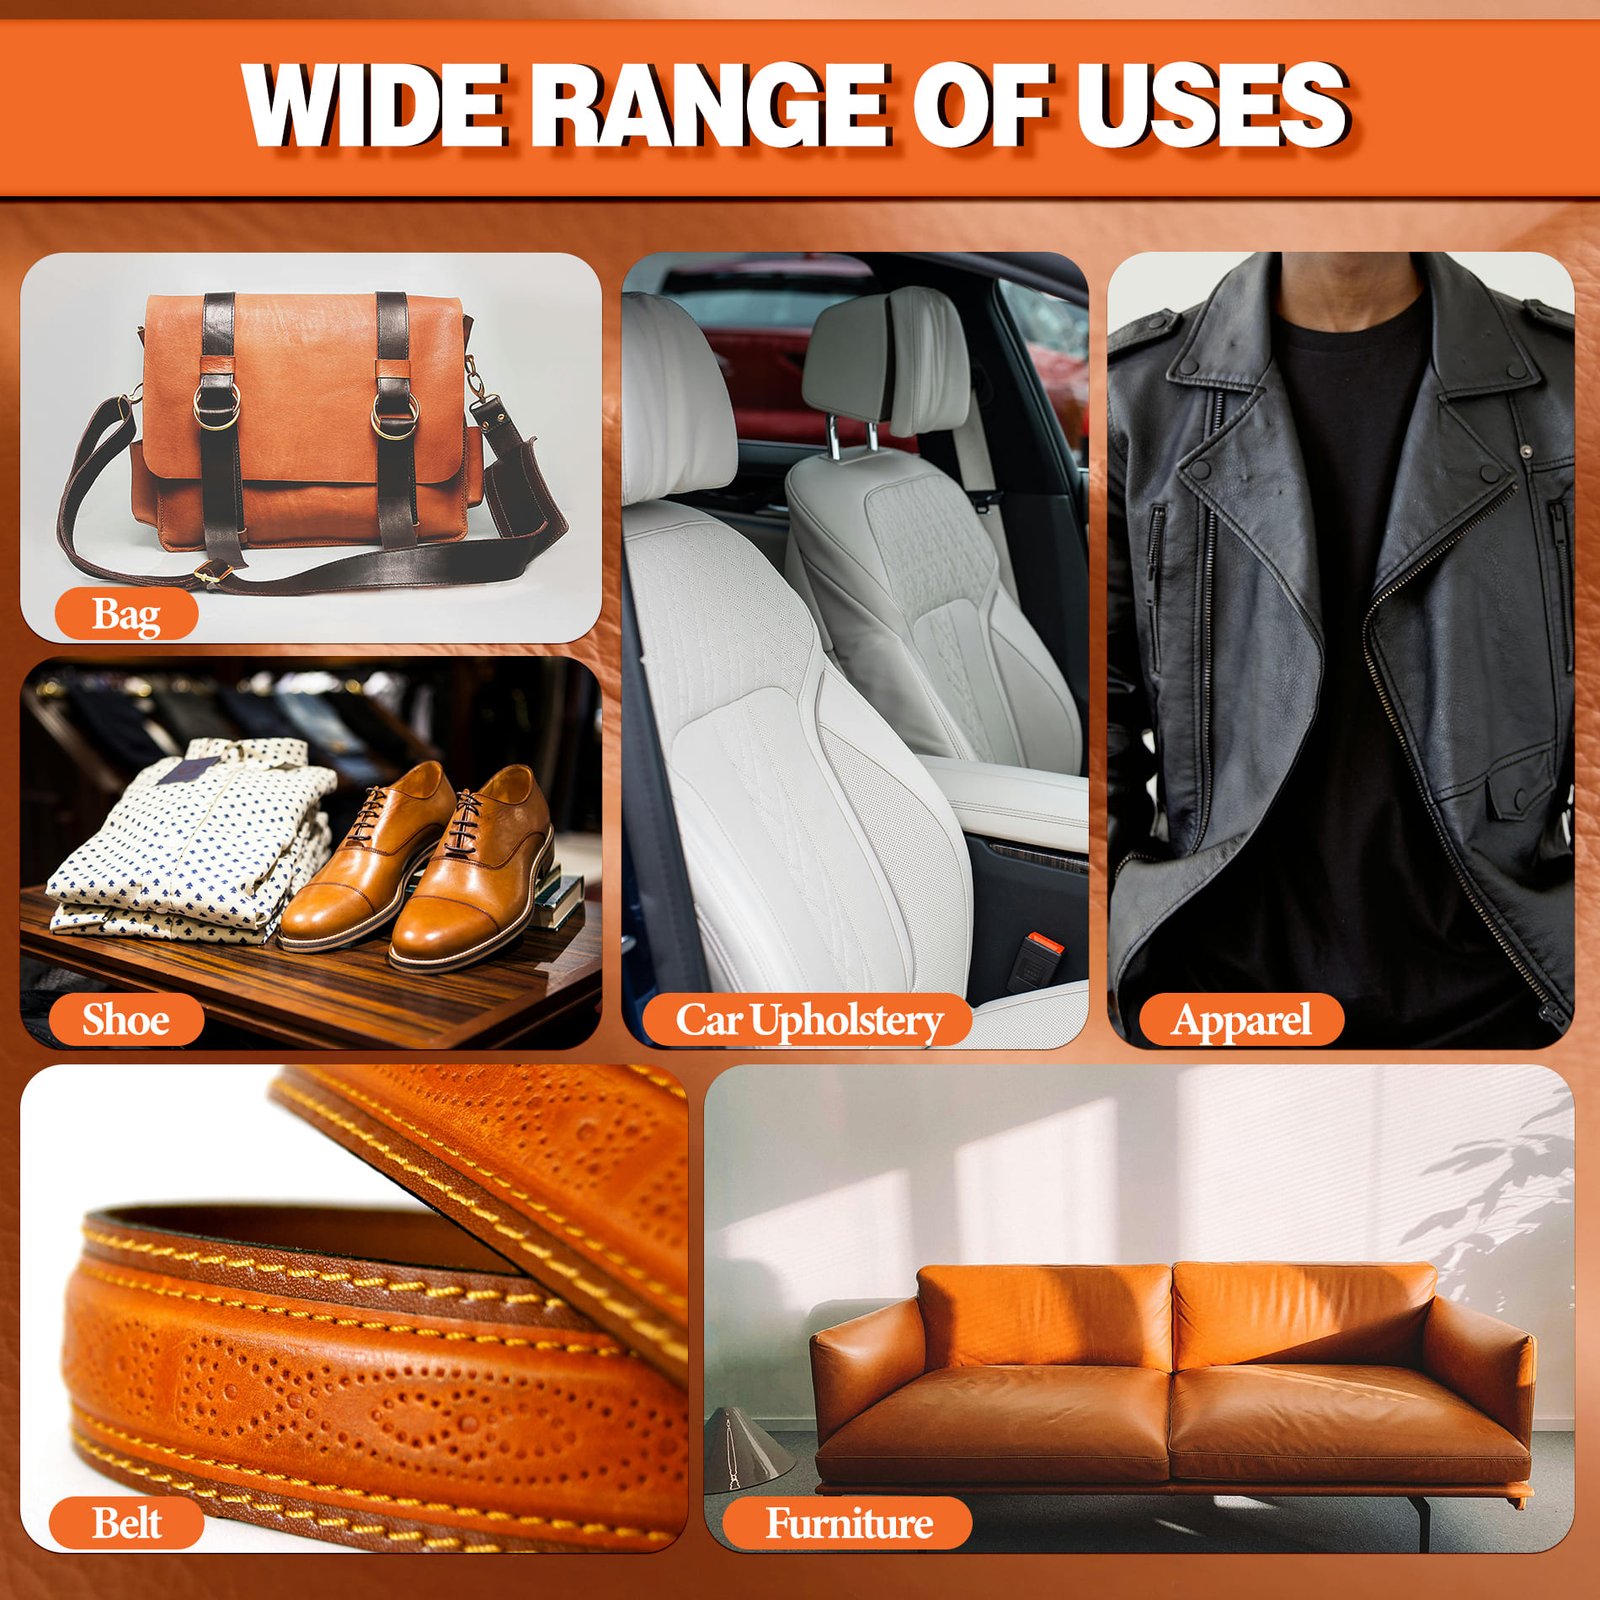
A clean leather repair starts before the first drop touches the surface. Dust, oils, old glue, loose faux leather flakes, and over-application cause most visible glue marks. GleamGlee Leather Glue is a 60ml clear leather repair adhesive made for leather and vinyl repairs on shoes, bags, sofas, jackets, car seats, wallets, belts, and everyday accessories.
- Use a small amount, then add more only when needed.
- Guide glue into cracks, seams, corners, and peeling edges.
- Press the repair area flat before the glue begins setting.
- Let the bond cure fully before moisture, bending, or heavy use.

Messy Glue Starts With Too Much Glue
Most leather glue messes come from excess adhesive, poor surface preparation, or pressure applied too late. Leather repairs often happen on highly visible surfaces, so even a small smear can make a shoe, handbag, sofa arm, jacket cuff, or car seat look worse. Clean work matters as much as bond strength.
Too Much Glue
A large bead may look stronger at first, but pressure pushes extra glue out of the edge. Once it dries, the raised line can feel stiff and look bulky. Start with a narrow line inside the loose area, then add a little more only if the surfaces do not meet evenly.
Visible Glue Marks
Leather glue belongs between the bonding surfaces, not across the top grain. Visible marks usually appear when glue spreads beyond the repair edge. Masking tape, cotton swabs, and a fine-tip nozzle help keep adhesive away from the outer finish.
Dirty Surfaces
Dust, leather conditioner, wax, hand oil, car interior dressing, and old adhesive can prevent clean contact. Glue then slides, beads, or cures unevenly. A dry, stable surface gives the repair area a cleaner edge and a better chance to hold.
Rushed Handling
Fast-drying glue can help with placement, but full cure still matters. Shoes bend, bags pull, sofas compress, and car seats flex. Moving the repaired item too soon can reopen the edge and smear glue before the bond has settled.
Is This Repair Guide for You?
Use this guide when a leather or vinyl item needs a small, controlled bonding repair rather than a full rebuild. The best repairs are narrow, local, and reachable with a fine tip. For severe tears, large missing areas, or safety-related load-bearing parts, a patch, filler, replacement part, or professional repair may be needed.
Your shoe upper is peeling near the edge.
Your handbag corner has lifted from daily use.
Your wallet edge or card slot has separated.
Your sofa has a small loose panel or peeling corner.
Your car seat trim is starting to open.
Your jacket patch, cuff, or decorative leather strip needs a clean no-sew bond.
GleamGlee Leather Glue fits repairs where clean placement matters: visible leather surfaces, flexible edges, narrow seams, and leather or vinyl layers needing a clear, waterproof bond after curing.
GleamGlee at a Glance
GleamGlee Leather Glue is built around the repair conditions most home users face: small visible damage, flexible materials, tight edges, and the need for simple controlled application. The 60ml / 2.1 fl oz tube size gives enough glue for multiple small repairs without turning the repair kit into a bulky workshop setup.
| Field | GleamGlee Leather Glue |
|---|---|
| Brand | GleamGlee |
| Product Type | Clear leather repair adhesive |
| Capacity | 60ml / 2.1 fl oz |
| Form | Liquid glue in tube packaging |
| Color After Drying | Clear finish |
| Main Materials | Leather and vinyl |
| Repair Areas | Shoes, bags, sofas, jackets, car seats, wallets, belts |
| Core Features | Extra strong, waterproof, flexible, fast-drying |
| Application Style | Fine-tip controlled placement |
| Amazon Details | Page shows Amazon’s Choice, 4.4 stars, 219 ratings, 300+ bought in past month, FBA, Free Returns |
Use the Amazon details as platform trust signals near the purchase button. Because rating, price, and sales count can change, update the numbers before publishing and during monthly site checks.
A Clear Leather Glue for Controlled Repairs
GleamGlee Leather Glue is a 60ml clear leather repair adhesive designed for leather and vinyl repairs on shoes, bags, sofas, jackets, car seats, wallets, belts, and small leather accessories. It is made for clean-looking everyday fixes where the repaired surface may stay visible.
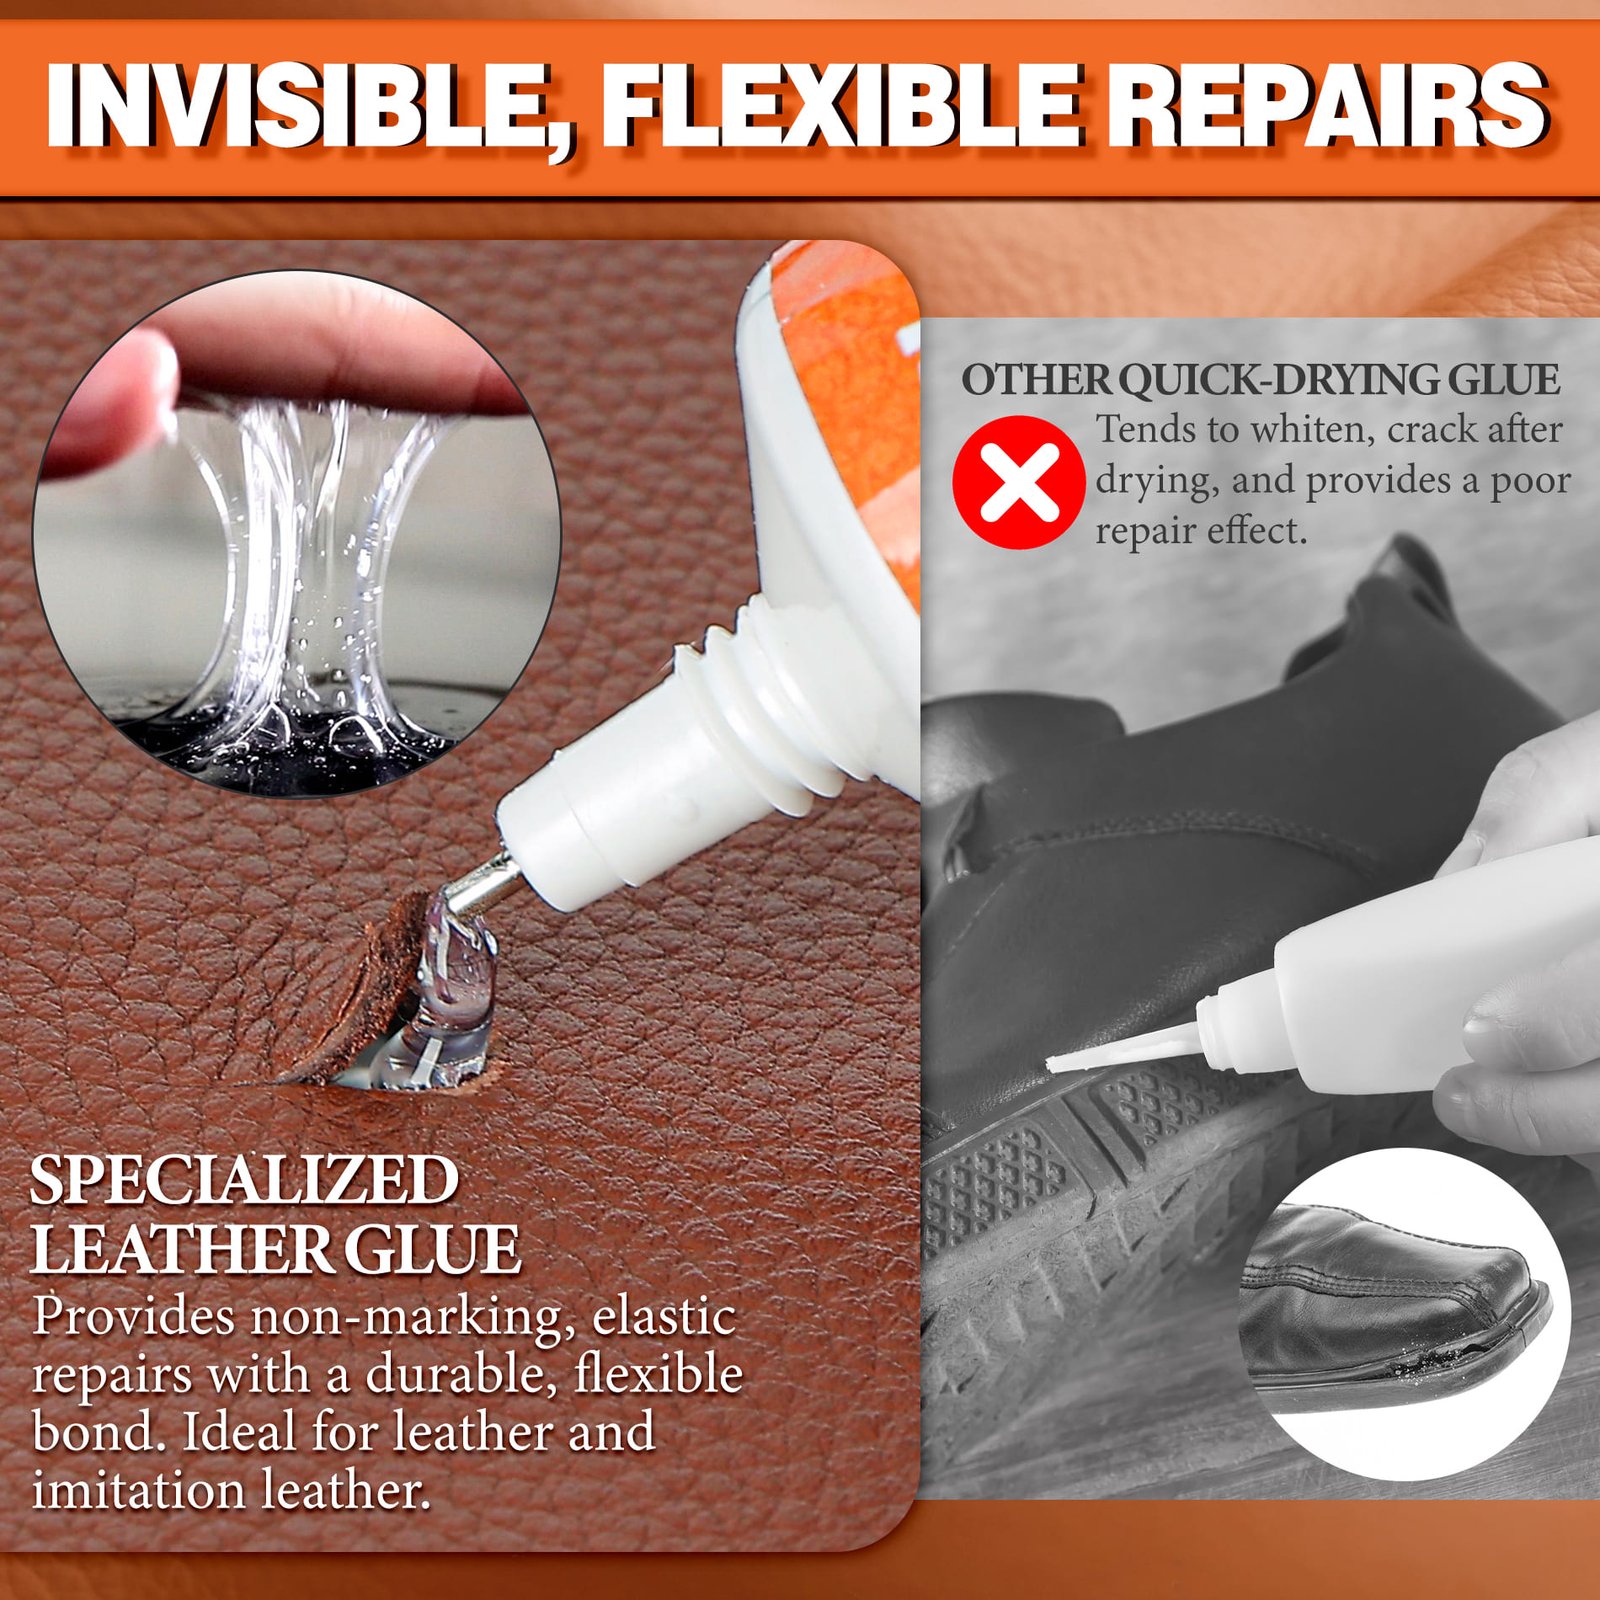
The main value is not only bond strength. Leather moves, folds, stretches, and faces friction. A repair on a shoe upper, purse strap, sofa edge, jacket cuff, or car seat trim needs a glue line that can stay flexible after drying. The clear finish helps reduce obvious glue marks when a thin layer is applied correctly. The waterproof bond after curing helps leather and vinyl items handle daily moisture, cleaning, sweat, and light rain exposure.
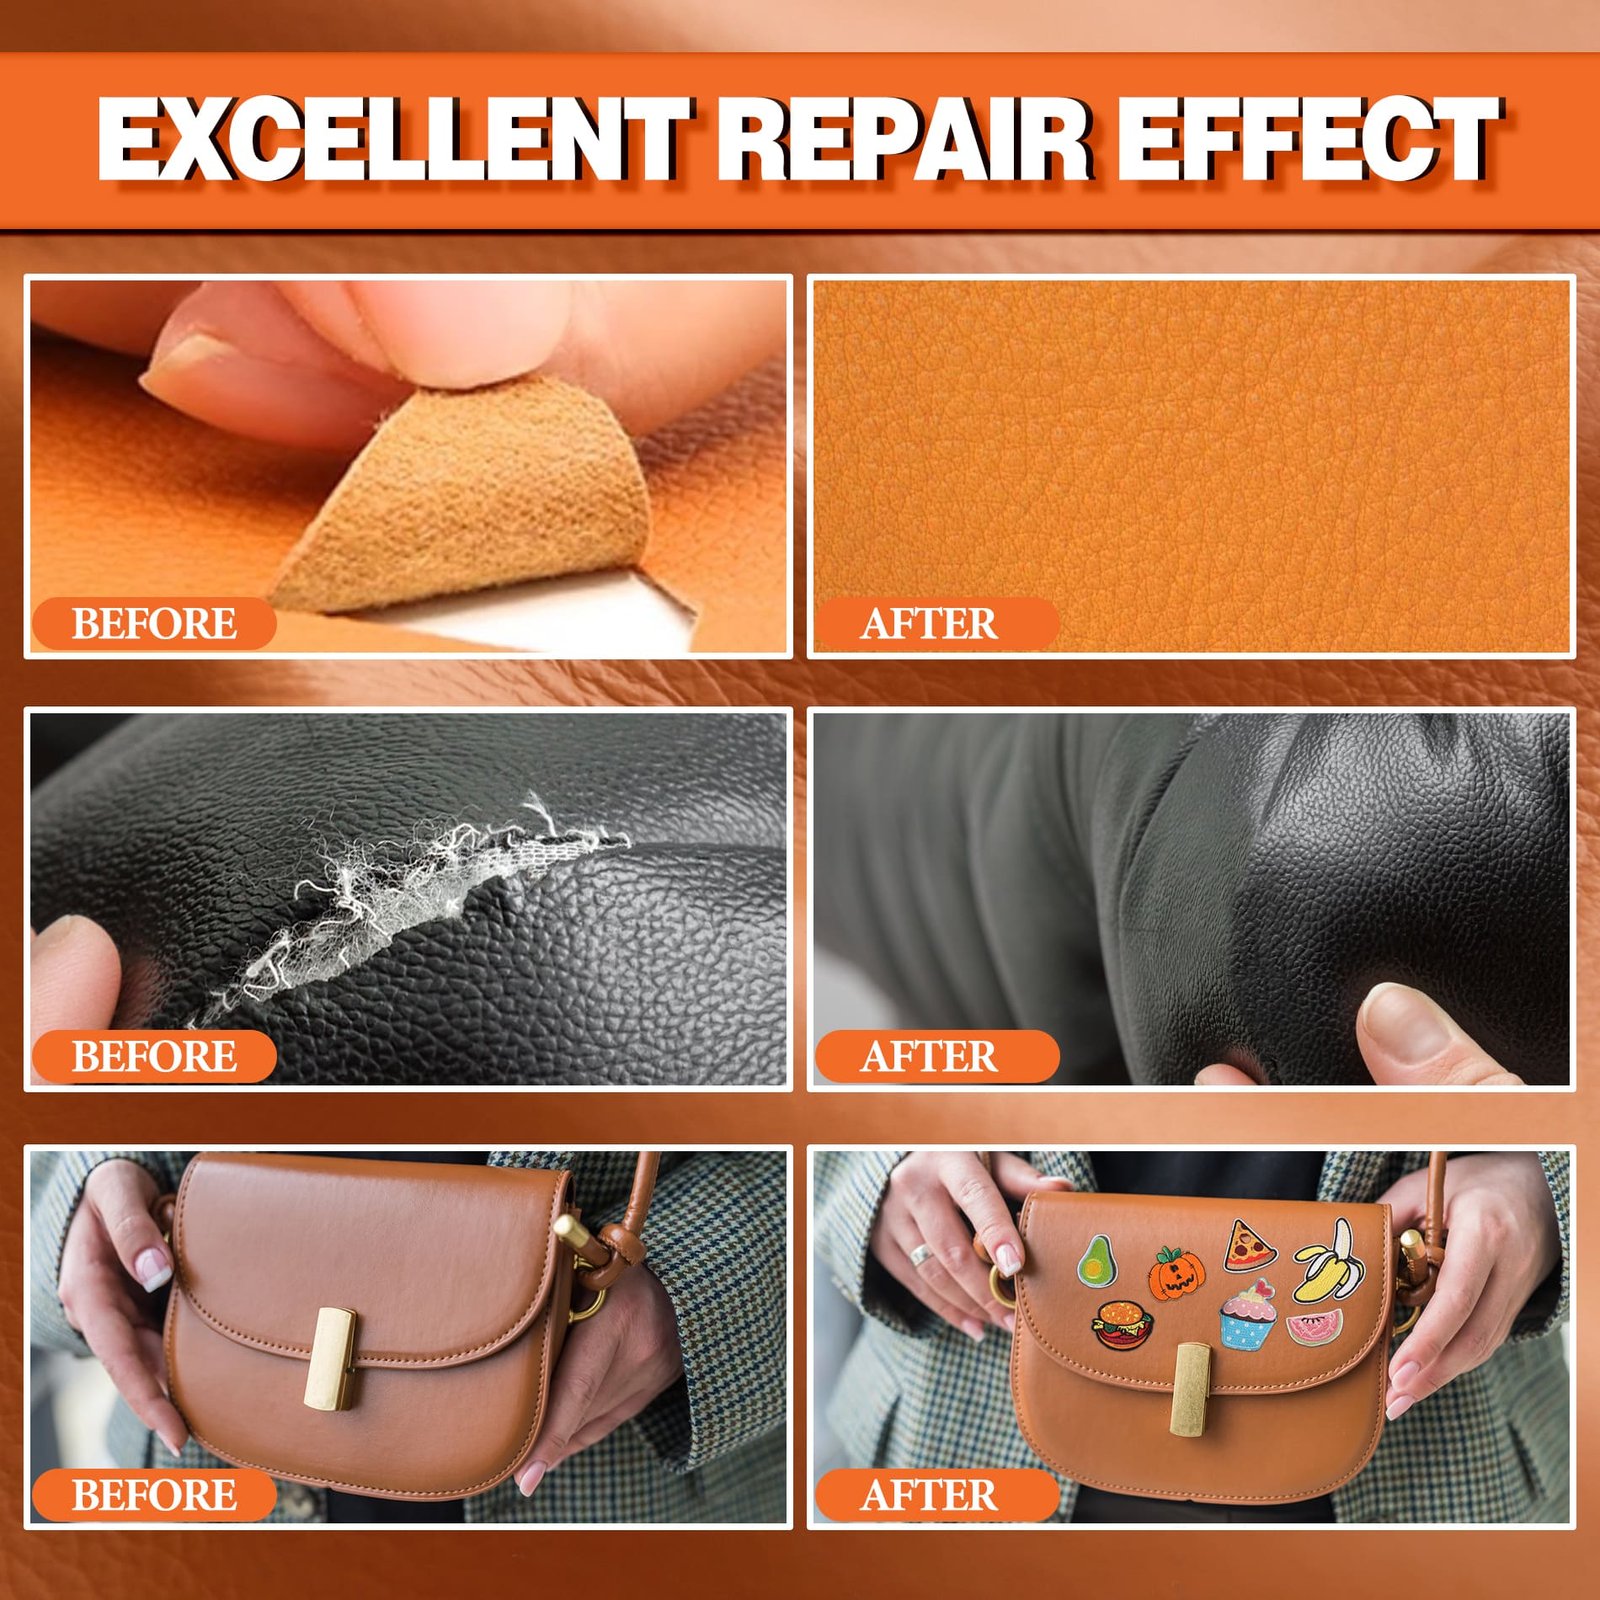
GleamGlee is best used for small tears, peeling edges, loose trims, minor cracks, leather patches, and narrow seams. It is not meant to replace missing leather, rebuild torn safety gear, or fix severe structural damage without extra support.
Tools for Clean Leather Glue Work
Mess-free leather repair does not need a professional bench. A small repair setup on a table can be enough when the right items are ready before the cap opens. Prepare tools first so wet glue is not left exposed while searching for tape, clips, or a cloth.
Essential Tools
Keep GleamGlee Leather Glue, a clean dry cloth, cotton swabs, toothpicks, paper towels, and masking tape near the repair area. The fine-tip nozzle handles narrow lines, while a toothpick can spread a tiny amount under a raised edge. Masking tape can protect nearby leather grain, especially around handbags, wallets, sofa arms, and car seat trims. A dry cloth removes surface dust before glue touches the material.
Holding Tools
Use small clips, rubber bands, painter’s tape, a flat weight, or a heavy book to keep the repair aligned while curing. Wallet edges may need a small clip. Shoe uppers may need rubber bands. Sofa panels and car interior trims may need low-tack tape. Pressure should be firm enough to bring both surfaces into contact, but not so aggressive that glue squeezes onto the visible surface.

Prepare the Surface Before Glue
A clean repair begins with the surface. Many failed leather glue jobs happen because the repair area contains dust, oils, wax, conditioner, old adhesive, or loose flaking material. Glue bonds better when both sides are dry, stable, and fitted together before application.
Genuine Leather
Wipe the leather with a clean dry cloth first. Remove dust from cracks, seams, and edges. If the area has conditioner, polish, or wax, clean it carefully and let it dry completely. Test a hidden area before working on delicate leather, light colors, vintage items, or expensive accessories. Do not soak leather. Excess moisture can change the feel of the material and slow bonding.
Faux Leather and Vinyl
Glue alone is not the best answer for large holes, missing leather, crumbling surfaces, severe upholstery damage, structural strap breaks, deep foam damage, or areas needing color restoration. For medium or large tears, use backing patches, filler, stitching, or professional service when needed. For suede, nubuck, dyed leather, coated leather, and aged leather, test in a hidden area before visible repair.
How to Apply Leather Glue Without Mess
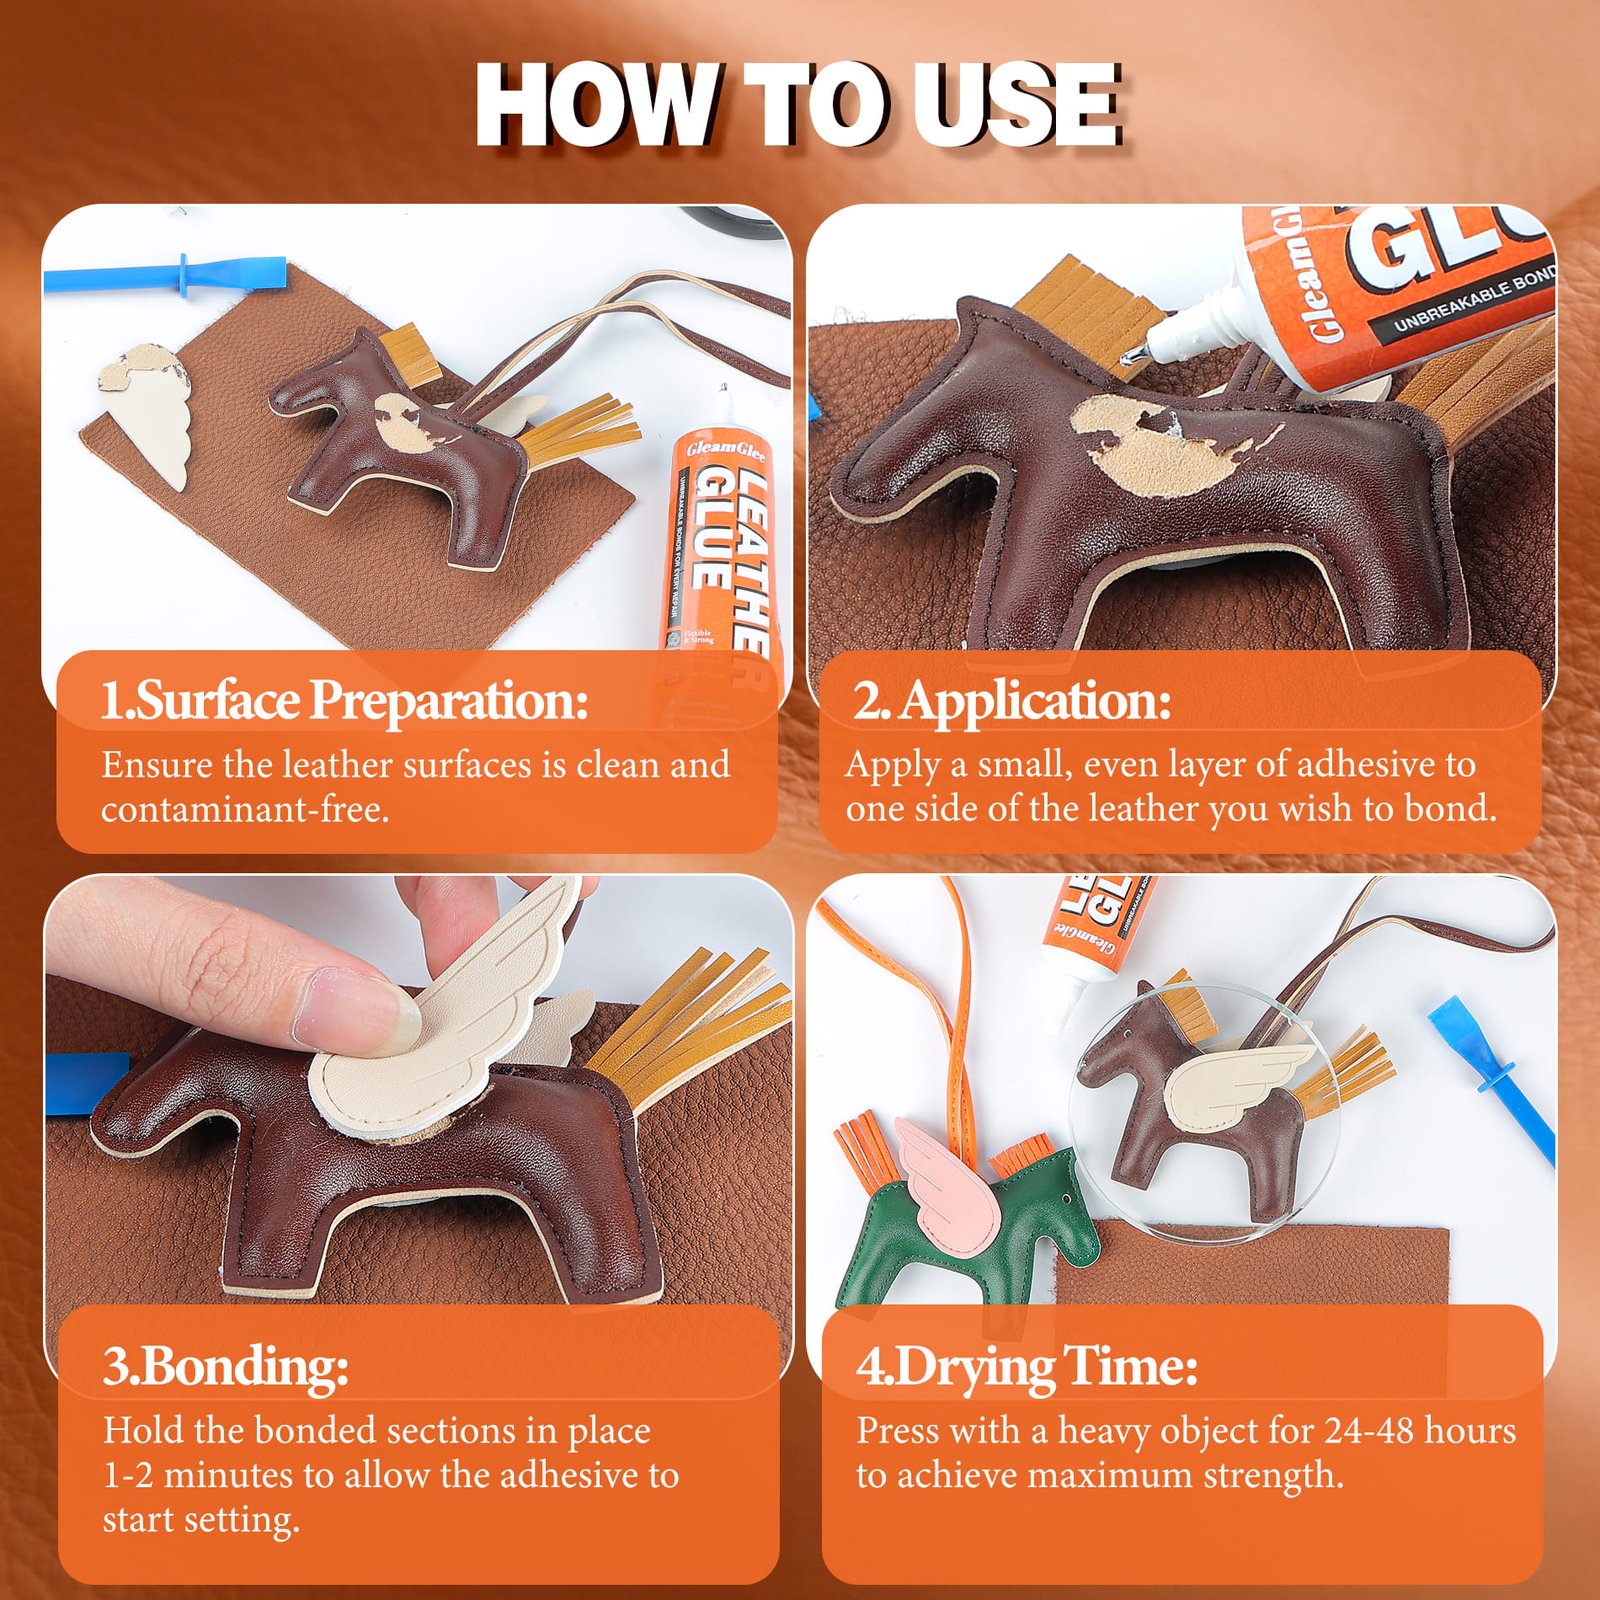
Follow a simple four-step process: clean, apply, press, cure. Each step controls a different source of mess. Cleaning prevents sliding. Thin application reduces overflow. Pressing aligns the repair. Curing protects the bond before daily use resumes.

Clean the Surface
Remove dust, lint, loose flakes, old glue, oils, and cleaner residue. Check whether both sides of the repair can touch naturally. If the lifted edge will not sit flat, lightly align it before adding glue. A clean dry surface reduces smears and helps the glue stay where placed.

Apply a Thin Layer
Use the fine-tip nozzle to place a narrow line inside the seam, crack, corner, or peeling edge. Keep glue between the surfaces instead of spreading it over the top. For very small repairs, use a toothpick to move a tiny amount into the gap. Less glue gives more control.

Press the Repair Area
Bring the surfaces together slowly and align the edges before pressing hard. If a little glue appears at the edge, remove it while fresh with a cotton swab or cloth. Avoid rubbing across the grain. Hold the repair flat with fingers, clips, tape, bands, or a light weight.

Let It Cure Fully
Fast-drying handling helps the repair settle, but full cure gives better everyday performance. Keep shoes, bags, sofas, jackets, and car seat repairs away from bending, pulling, cleaning, and moisture until the bond has cured. For high-flex areas, give the repair more rest time.
Use a Thin Layer, Not a Blob
Leather repair is not stronger because more glue is visible. A thick bead often creates three problems: it squeezes out when pressed, takes longer to dry, and leaves a raised mark after curing. For visible repairs, aim for a thin film between the two surfaces.
Start with a line no wider than the gap. On a wallet edge, purse corner, shoe upper, or car seat trim, the first application should look almost too small. Once pressure spreads the glue across the contact area, extra adhesive may not be needed. If the surfaces still do not meet, add a second small amount rather than flooding the repair.
GleamGlee’s fine-tip control is helpful here because the user can place glue under the lifted edge instead of pouring it over the top. A thin, even layer also keeps the repair more flexible on bending areas such as shoe uppers, bag straps, jacket cuffs, sofa edges, and vinyl seat trims.

Fine-Tip Control for Cracks and Edges
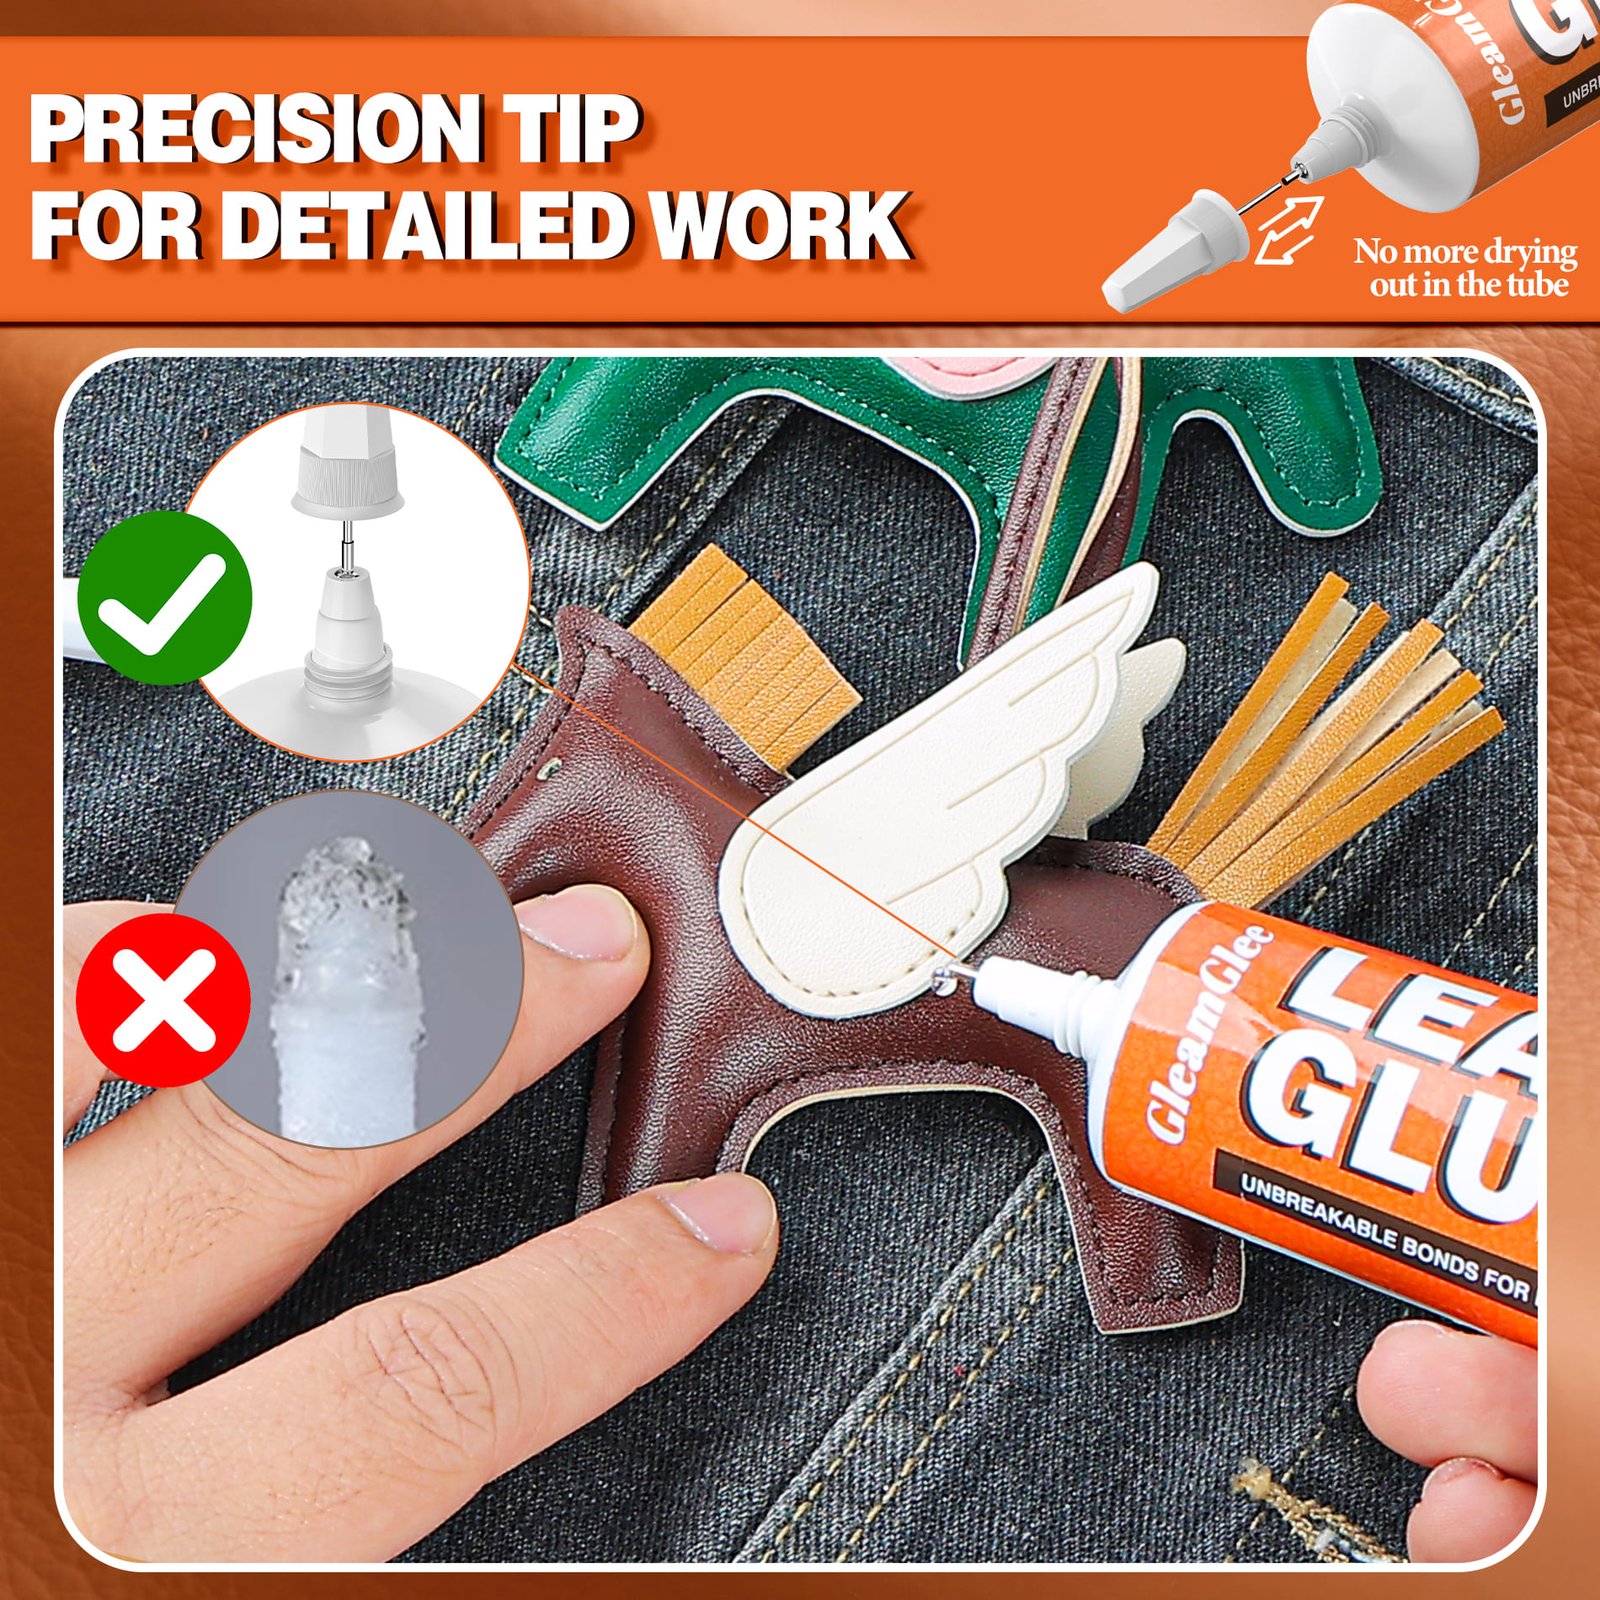
The most common leather glue repairs are small: a narrow crack, a lifted corner, a peeling edge, a loose seam, or a trim piece starting to open. A wide bottle mouth can release more glue than needed. A fine tip helps place adhesive only where bonding is required.
Use the nozzle to reach under purse corners, wallet layers, shoe upper edges, sofa peeling panels, jacket patch edges, and car seat trims. Angle the tip slightly into the gap, squeeze gently, and move slowly. Stop before the glue reaches the visible outer line. Press the layer down and check the edge from the side.
For very tight repairs, squeeze a tiny drop onto scrap paper, pick up a small amount with a toothpick, then place it inside the gap. Controlled placement keeps the surrounding leather cleaner and reduces wiping, which can sometimes spread glue farther than the original mistake.
Press, Hold, and Let It Cure
Glue needs contact. After application, the two surfaces must meet evenly long enough for the bond to form. Pressing too late or too loosely allows gaps, bubbles, and glue ridges to remain. Pressing too hard can force excess glue onto the visible surface, so the goal is steady contact rather than crushing pressure.
Use small clips for wallets, card slots, watch straps, and bag corners. Use rubber bands for shoe uppers and boot collars. Use low-tack tape for sofa edges, car seat trims, and jacket patches. Use a flat weight for larger panels that can lie safely on a table.
Fast-drying glue helps the repair stay positioned, but cure time should still be respected. Avoid wearing the shoe, pulling the bag strap, sitting on a repaired cushion, cleaning a car seat, or flexing a jacket cuff too soon. Moisture resistance also performs best after curing.
Clean Application by Repair Area
Different leather items create different mess risks. Shoes bend, bags show corner marks, sofas compress, and car seats collect oils from daily contact. Use the repair area’s shape to choose the cleanest application method.
| Repair Area | Common Mess Risk | Clean Application Tip | Best Holding Method |
|---|---|---|---|
| Shoe uppers | Glue squeezes out while the edge bends | Apply under the peeling edge, not on top | Rubber band or light clip |
| Boot collars | Curved leather shifts during pressing | Work in short sections | Clip plus rest time |
| Handbag corners | Visible smears around the corner | Use tiny dots and wipe fresh excess | Fingers, then small clip |
| Wallet edges | Edge becomes bulky | Draw a thin line inside the split | Small clamp or book |
| Sofa peeling panels | Thick glue mark on seating surface | Lift slightly, apply underneath, tape flat | Low-tack tape |
| Car seat trims | Oil residue causes sliding | Clean first, then apply controlled dots | Tape until set |
| Jacket patches | Patch edge feels stiff | Use a light, even layer | Flat weight or clips |
| Watch straps | Glue touches skin-facing edge | Use toothpick-level amounts | Small clip, no early wear |
The cleaner method is usually slower for the first few minutes, but the repair looks more controlled after drying. Short sections, small glue amounts, and steady pressure work better than one rushed heavy application.
Seven Mistakes That Create Glue Marks
Mess-free results come from avoiding predictable mistakes. Use the list below as a final check before opening the tube.
Applying Too Much
A heavy bead is the fastest path to overflow. Use a narrow line and add more only if the bond area looks dry after pressing.
Skipping Surface Cleaning
Dust, oil, conditioner, wax, car dressing, and old adhesive can make glue slide or cure unevenly. Clean and dry first.
Pressing Without Alignment
If the edge is crooked before pressure, glue will lock in the crooked shape. Align first, then press.
Rubbing Excess Glue
Rubbing across leather grain can spread glue into a wider mark. Dab fresh excess away gently instead.
Gluing Loose Flakes
Powdery faux leather and peeling PU coating may break away after gluing. Remove unstable material before repair.
Moving Too Soon
Fast-drying does not mean ready for stress. Let flexible items cure before bending, carrying, sitting, cleaning, or wearing.
Ignoring Hidden Tests
Light leather, suede, vintage bags, and delicate finishes deserve a hidden test area before visible repair begins.
Which Glue Feels Cleaner on Leather?
Clean application depends on both the glue type and the repair. Leather-specific glue is usually easier for visible, flexible leather and vinyl repairs than hard quick-setting adhesives or large-area professional cements.
| Glue Type | Best Use | Clean Application Risk | Better Choice When |
|---|---|---|---|
| Leather Glue | Flexible leather and vinyl bonding | Lower when applied thinly with a fine tip | Shoes, bags, sofas, jackets, car seats need clean visible repair |
| Super Glue | Tiny rigid-material fixes | May dry hard, white, or brittle on bending leather | The repair is on a hard, non-flexing object |
| Contact Cement | Larger professional leather bonding | Can be harder for beginners, requires careful alignment | A wide leathercraft or shoe repair area needs two-sided bonding |
| Thick Shoe Sealant | Heavy footwear edge repair | Can look bulky on visible leather surfaces | Sole edges or outdoor shoe areas need sealing more than cosmetic finish |
For small everyday leather and vinyl repairs, choose a clear, flexible, waterproof glue with controlled placement. GleamGlee fits repairs where the surface remains visible and a thick glue line would look out of place.
Why GleamGlee Fits Mess-Free Repairs
GleamGlee Leather Glue is not positioned as a glue for every material or every damage level. It is strongest when used as a controlled bonding step for leather and vinyl layers that can be cleaned, aligned, pressed, and cured.
Clear Finish
The clear finish helps visible repairs look cleaner on shoes, bags, sofas, jackets, wallets, belts, and car seats. It works best with thin application and early removal of excess glue.
Flexible Bond
Leather bends during use. GleamGlee is designed for flexible repairs where ordinary hard glue may feel stiff or cause the repaired edge to reopen.
Waterproof After Cure
After curing, the waterproof bond helps repairs face everyday moisture such as light rain, hand sweat, cleaning residue, and humidity.
Fast-Drying Handling
Fast-drying behavior helps position a repair more conveniently. Full cure still matters before heavy use, sitting, pulling, cleaning, or moisture exposure.
Fine-Tip Placement
The fine tip helps apply glue into cracks, seams, corners, peeling edges, and tight spaces where wide applicators often create mess.
60ml Repair Size
The 60ml / 2.1 fl oz tube is suitable for multiple small repairs around the home, car, wardrobe, and leather accessory drawer.
Larger Tears May Need a Backing Patch
Small cracks and peeling edges often need bonding only. Larger tears may need support from behind. A backing patch spreads stress across a wider area and helps the torn edges sit flatter during curing.
Use a patch when a sofa tear, car seat split, jacket tear, or bag panel opening has a gap that cannot close neatly with edge bonding alone. Place the patch behind the tear when possible, apply a thin layer of GleamGlee Leather Glue to secure the patch, then bring the leather edges together and press flat. Hold the area in place until cured.
A backing patch is not a cosmetic filler. It supports the repair from underneath. If the surface has missing material, deep cracking, or color loss, leather filler or finishing products may be needed after bonding. Serious structural damage, safety gear, load-bearing straps, and large crumbling faux leather areas should be handled with caution or replaced.

Amazon Confidence for a Simple Repair Choice
A user learning how to apply leather glue cleanly often wants a product that is easy to order, easy to understand, and suitable for common household repairs. GleamGlee Leather Glue is available through Amazon, where the product listing shows Amazon’s Choice status, a 4.4-star rating, 219 ratings, 300+ bought in the past month, fulfillment by Amazon, and Free Returns.
These signals support a low-friction purchase path for U.S. shoppers who want to repair a shoe edge, purse corner, sofa trim, jacket patch, or car seat seam without searching through hardware aisles. Since Amazon front-end data changes over time, refresh the rating, review count, price, and delivery notes before publishing. Keep wording factual: “Amazon page shows” is safer than treating platform details as permanent claims.
Frequently Asked Questions
1. How do you apply leather glue without mess?
Clean the surface, apply a thin line inside the repair area, press the pieces together, wipe fresh excess, and let the bond cure. Keep glue between the materials instead of spreading it across the top surface. A fine-tip nozzle makes narrow seams, corners, and peeling edges easier to control.
2. How much leather glue should I use?
Use the smallest amount that can coat the contact area after pressing. Start with a narrow line or small dots. Thick glue beads often squeeze out and create visible marks. Add a little more only if the two surfaces do not meet or the bond area looks dry.
3. Should leather glue be applied thinly?
Yes. A thin, even layer is usually cleaner for visible leather repairs. Thick glue takes longer to dry, may feel stiff, and can leave raised edges. Thin application is especially important on handbags, wallets, shoes, car seats, sofas, and jackets.
4. How do I stop glue from overflowing?
Apply glue under the lifted layer, not over the top. Use masking tape around delicate edges, press slowly, and remove fresh excess with a cotton swab. Avoid squeezing hard while the nozzle is still inside a small gap.
5. Can I wipe off excess leather glue?
Fresh excess can usually be removed more cleanly than dried glue. Dab gently with a cloth or cotton swab before curing. Do not rub across leather grain, because rubbing can spread glue into a wider visible mark. Test delicate finishes first.
6. How long should leather glue cure?
Fast-drying glue can start setting quickly, but full cure takes longer. Let the repaired item rest before bending, carrying weight, sitting on it, cleaning it, or exposing it to moisture. High-flex areas need more patience.
7. Can I use leather glue on car seats?
Leather glue can help with minor car seat repairs such as peeling edges, loose trims, and small vinyl or leather layers. Clean oils and interior dressing first. Large tears, airbag seams, heated-seat components, or structural damage may need professional repair.
8. Is clear leather glue better for bags?
Clear glue is useful for handbags, wallets, and purses because the repair area often stays visible. A clear finish helps the repair look cleaner when applied thinly. Test expensive, delicate, or designer items in a hidden spot before visible use.
9. Can leather glue fix peeling faux leather?
Leather glue can help small lifting edges or loose faux leather layers when the base is stable. Remove loose flakes and powdery coating before gluing. Large peeling, crumbling surfaces may need patching, filler, recovering, or replacement.
10. Is GleamGlee good for visible repairs?
GleamGlee Leather Glue is designed for clear, flexible, waterproof, fast-drying leather and vinyl repairs. The fine-tip applicator helps place glue into cracks, seams, corners, and peeling edges, making it a strong fit for clean-looking visible repairs.
Ready for a Cleaner Leather Repair?
A clean repair comes from the right method and the right glue. Clean the surface, use a thin layer, apply with control, press the repair flat, and let it cure before daily use. For shoes, bags, sofas, jackets, car seats, wallets, belts, and vinyl trims, GleamGlee Leather Glue gives home users a clear, flexible, waterproof, fast-drying repair option in a 60ml tube.
Use it for small tears, peeling edges, loose trims, seams, corners, and backing patches where a clean glue line matters. Avoid heavy over-application and do not expect glue alone to replace missing leather or rebuild severe structural damage.





















