 Skip to content
Metal Glue for Outdoor Furniture - Weather-Resistant Repairs
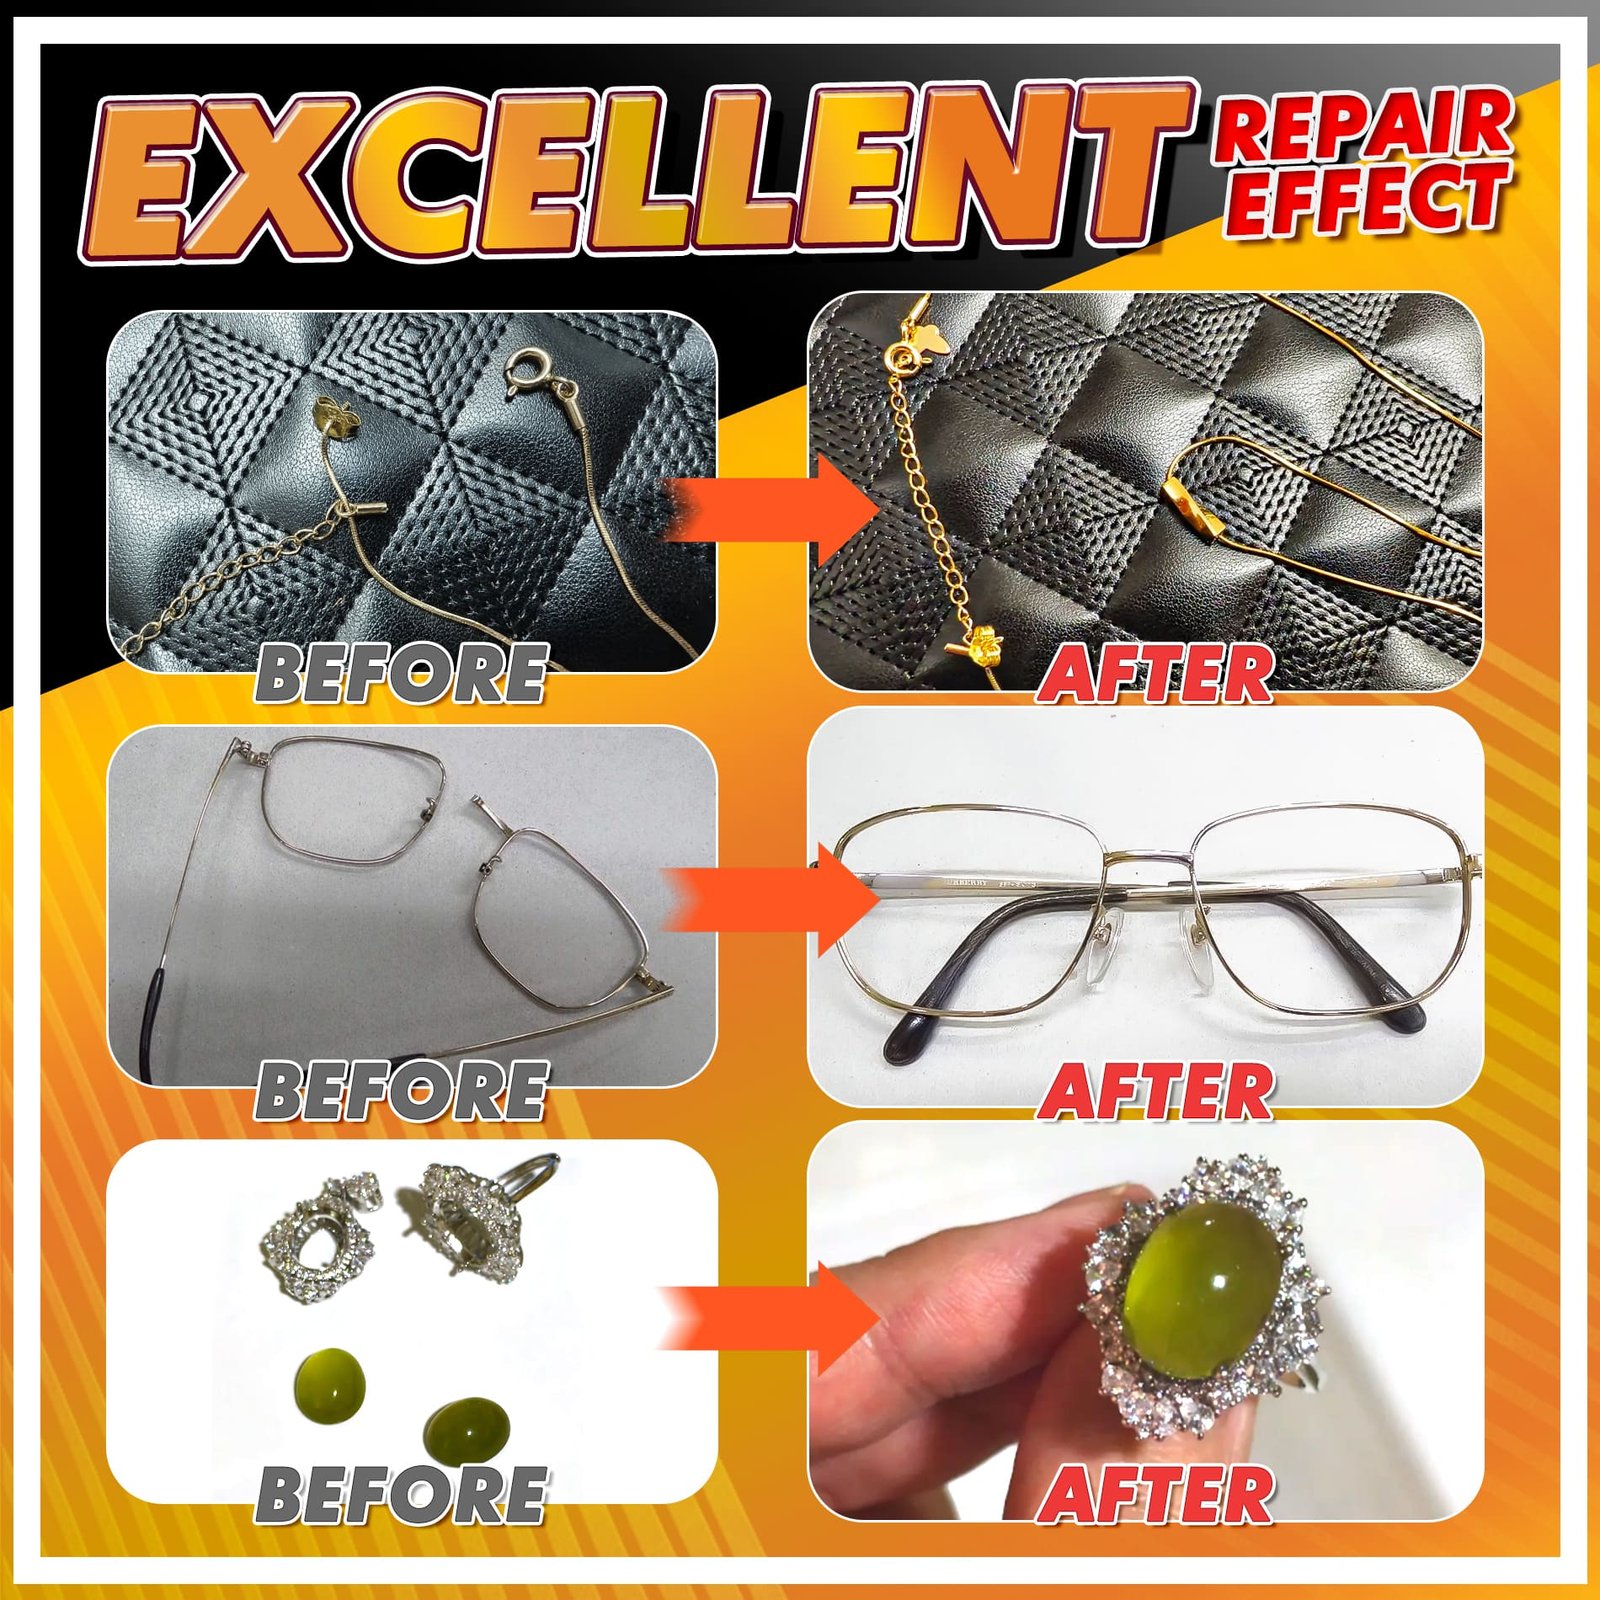
Clear, fast-grabbing metal super glue for selected patio furniture fittings, decorative parts, mixed-material details, and small non-structural outdoor repairs.
- Bond close-fitting metal pieces without mixing two components, heating the furniture, or bringing welding equipment into a small household repair.
- Reach narrow joints with four precision extension tips and apply a thin controlled layer around visible chair, table, bench, planter, or garden-decor details.
- Use on metal-to-metal and selected metal-to-plastic, rubber, wood, glass, ceramic, stone, or PVC combinations after checking both surfaces.
- Press aligned parts for about 5-30 seconds, then allow up to 24 hours of full curing before rain, cleaning, movement, or demanding outdoor exposure.

Five Checks Before Gluing Outdoor Furniture
Answer five questions before opening the bottle. A quick diagnosis prevents weak surface contact, unsuitable weather exposure, and unsafe structural repairs.
Identify Both Materials
Name both contact surfaces, not only the furniture frame. The first face may be aluminum, steel, iron, stainless steel, brass, or a metal alloy. The second may be another metal, rigid plastic, rubber, wood, glass, ceramic, stone, concrete, or PVC. Unknown plastic, flexible rubber, painted metal, powder coating, and plated finishes can behave differently from bare metal. Test a hidden area whenever the second material or surface treatment is uncertain.
Check Contact Fit
Bring the parts together without glue and inspect the meeting surfaces under good light. GleamGlee performs best where both faces touch closely and can form a thin bond line. A narrow seam is different from a missing section. If the parts rock, leave a broad gap, or require a thick mass to rebuild shape, use a gap-filling epoxy, metal repair compound, replacement part, or mechanical connection rather than adding more liquid adhesive.
Confirm Surface Stability
Inspect for rust, chalking paint, loose powder coating, oxidation, wax, oil, furniture polish, sunscreen, soil, old adhesive, and crumbling material. Glue attached to an unstable layer can release with the layer even when the adhesive cures normally. Clean and dry the contact faces, remove only loose material with a method safe for the finish, and lightly abrade a hidden bare-metal area only when appearance and furniture instructions allow it.
Understand the Load
Ask what force reaches the repair during sitting, lifting, folding, dragging, wind, vibration, and seasonal movement. Decorative parts with broad contact and low consequence are better candidates than narrow joints carrying body weight. Avoid adhesive-only repairs on chair legs, seat rails, structural arms, table supports, hinges, umbrellas, swing frames, and other parts whose failure could injure someone. When risk is uncertain, choose a mechanical or professional repair.
Define Weather Exposure
Separate occasional rain and dew from standing water, continuous immersion, full sun, freezing cycles, high heat, salt spray, pool chemicals, and repeated pressure washing. Amazon lists GleamGlee as waterproof and heat resistant, but supplied facts provide no outdoor lifetime or ultraviolet rating. Allow full curing before exposure, place repaired items under cover when possible, and inspect the joint after severe weather or seasonal storage.
GleamGlee Metal Glue Facts at a Glance
Review the verified specifications before matching the adhesive with a furniture material, joint shape, weather condition, and safe curing schedule.
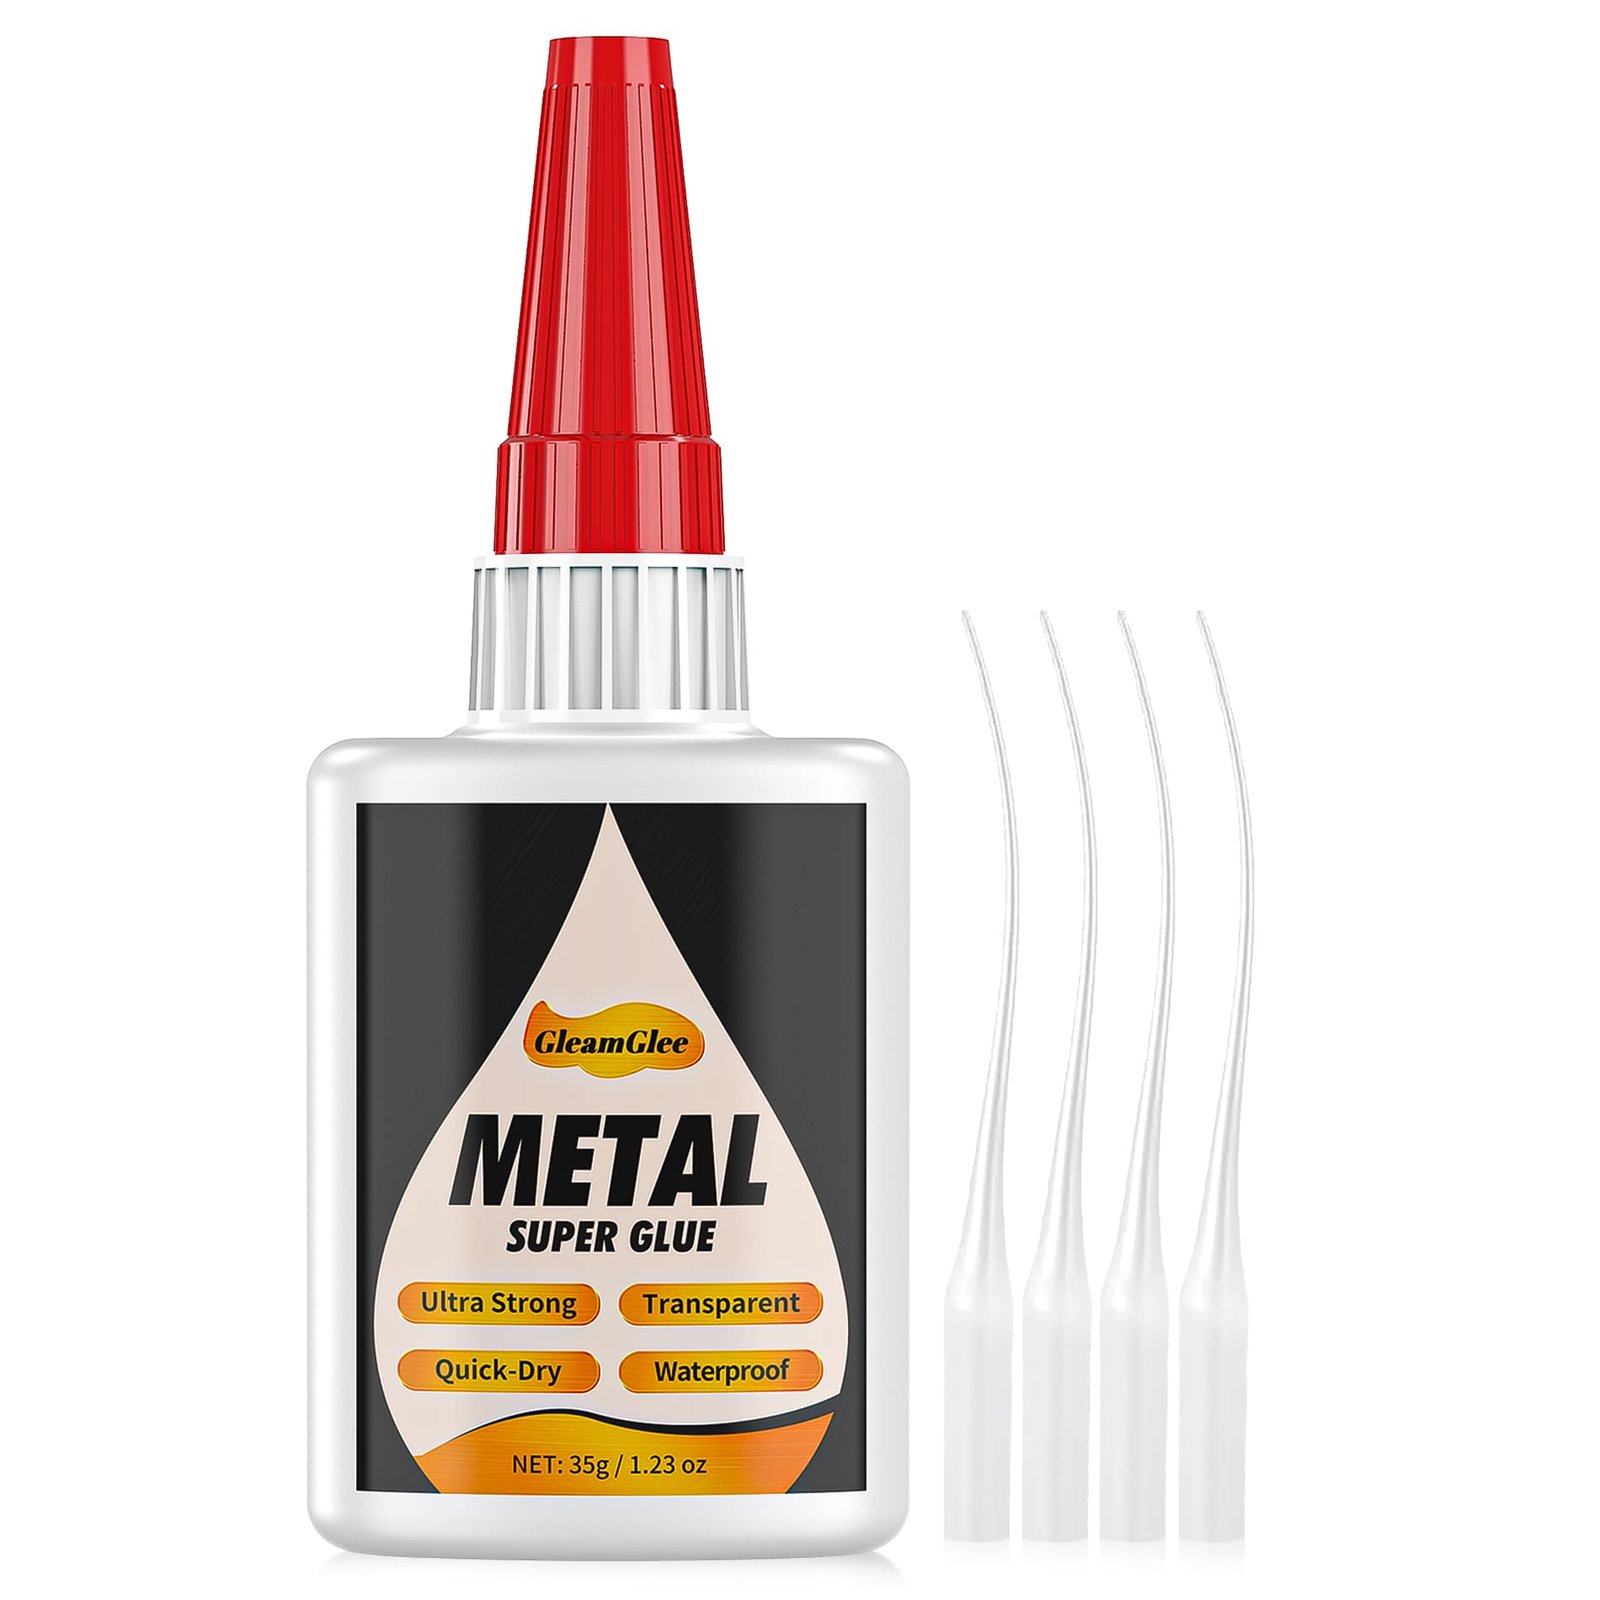
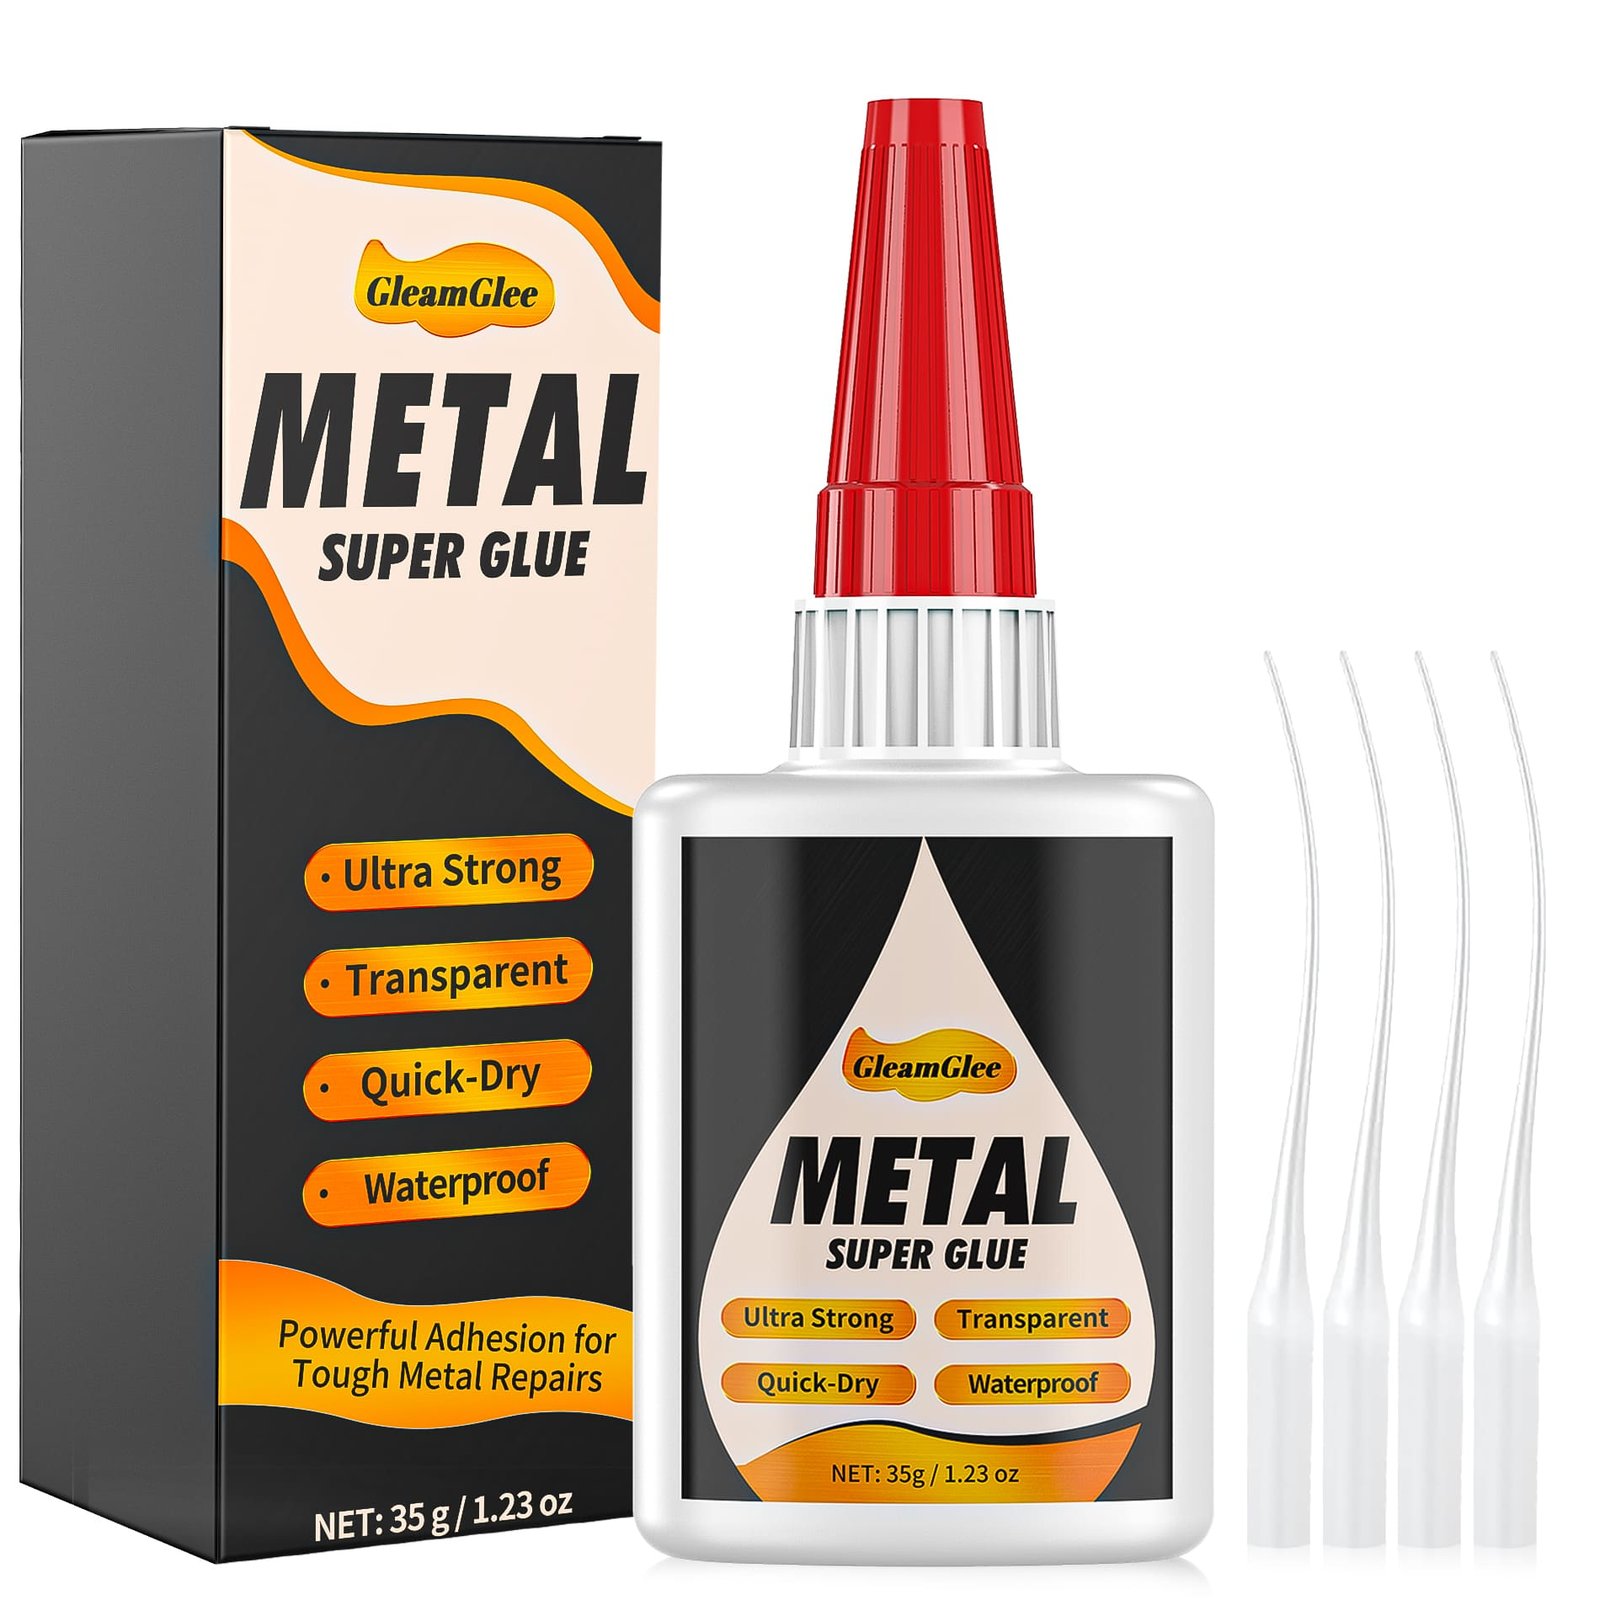
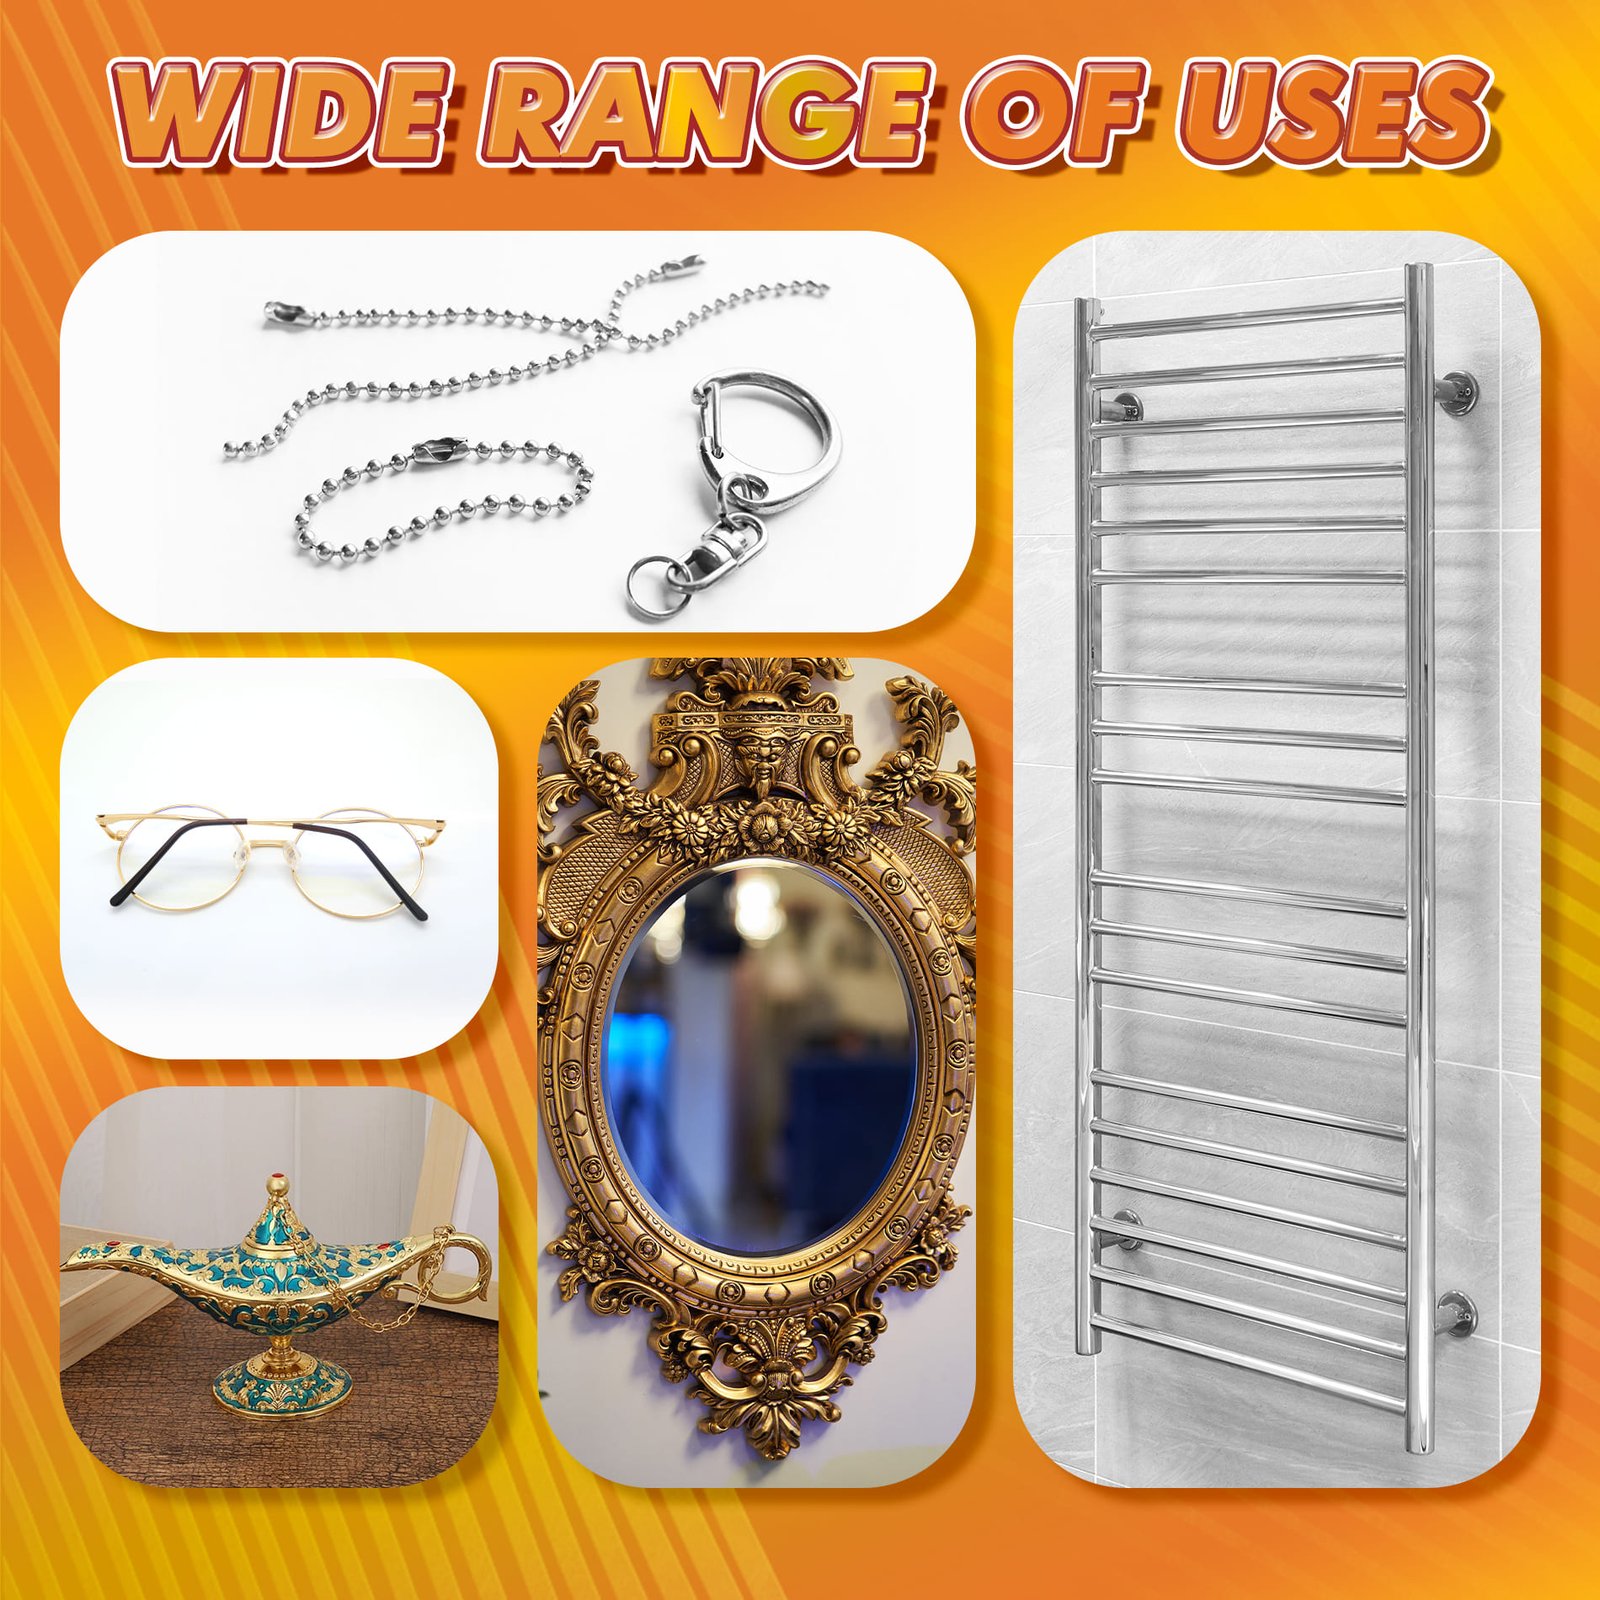
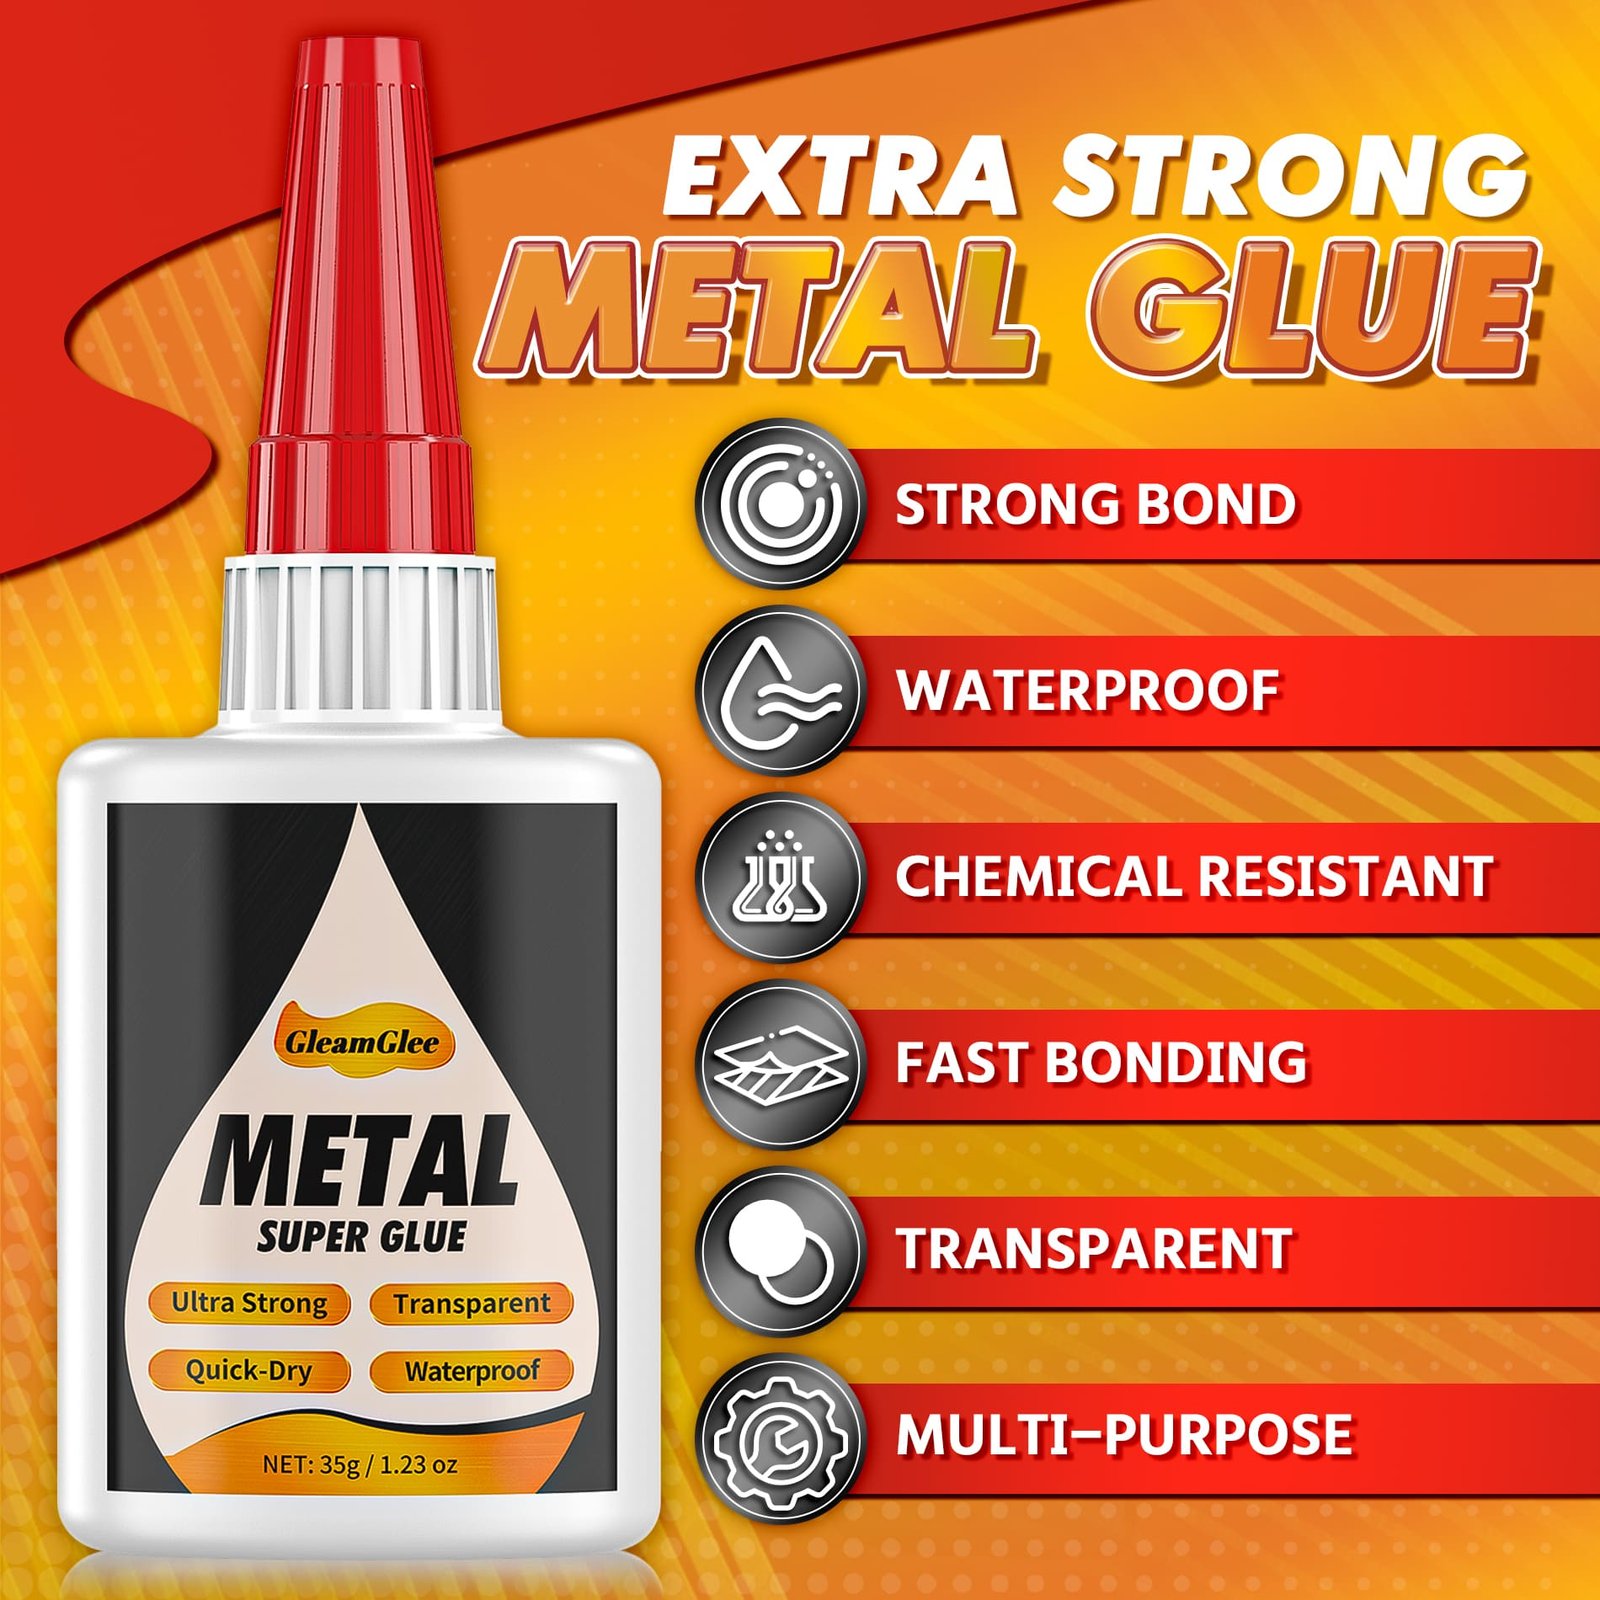
| Product Detail | Verified Information |
|---|---|
| Brand | GleamGlee |
| Product | Metal Glue / Super Glue for Metal |
| Adhesive Type | Clear liquid cyanoacrylate adhesive |
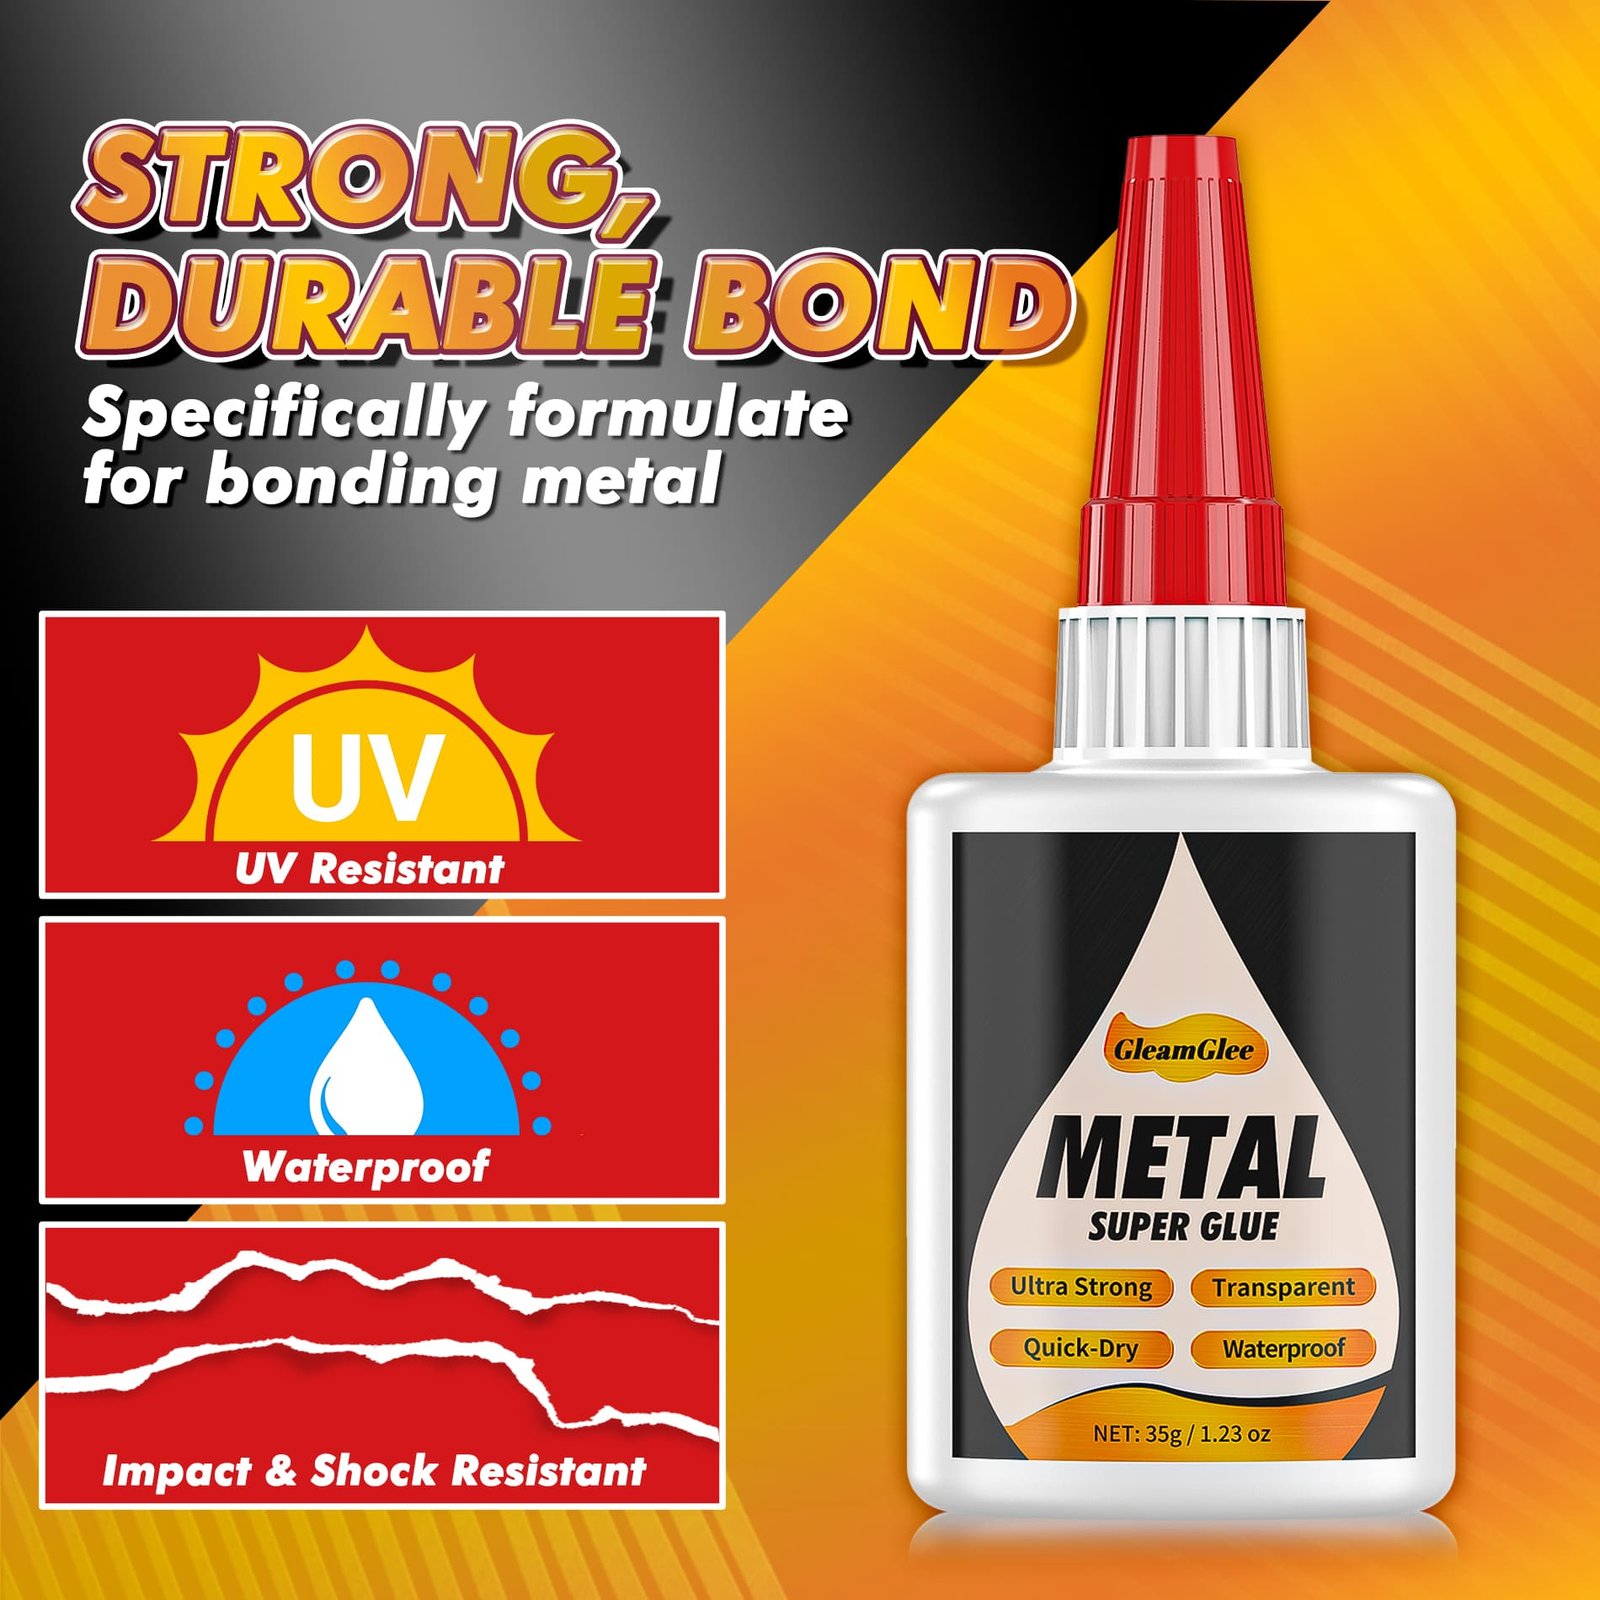
| Net Content | 35 g, about 1.23 oz |
| Viscosity | Medium viscosity |
| Uncured Appearance | Clear |
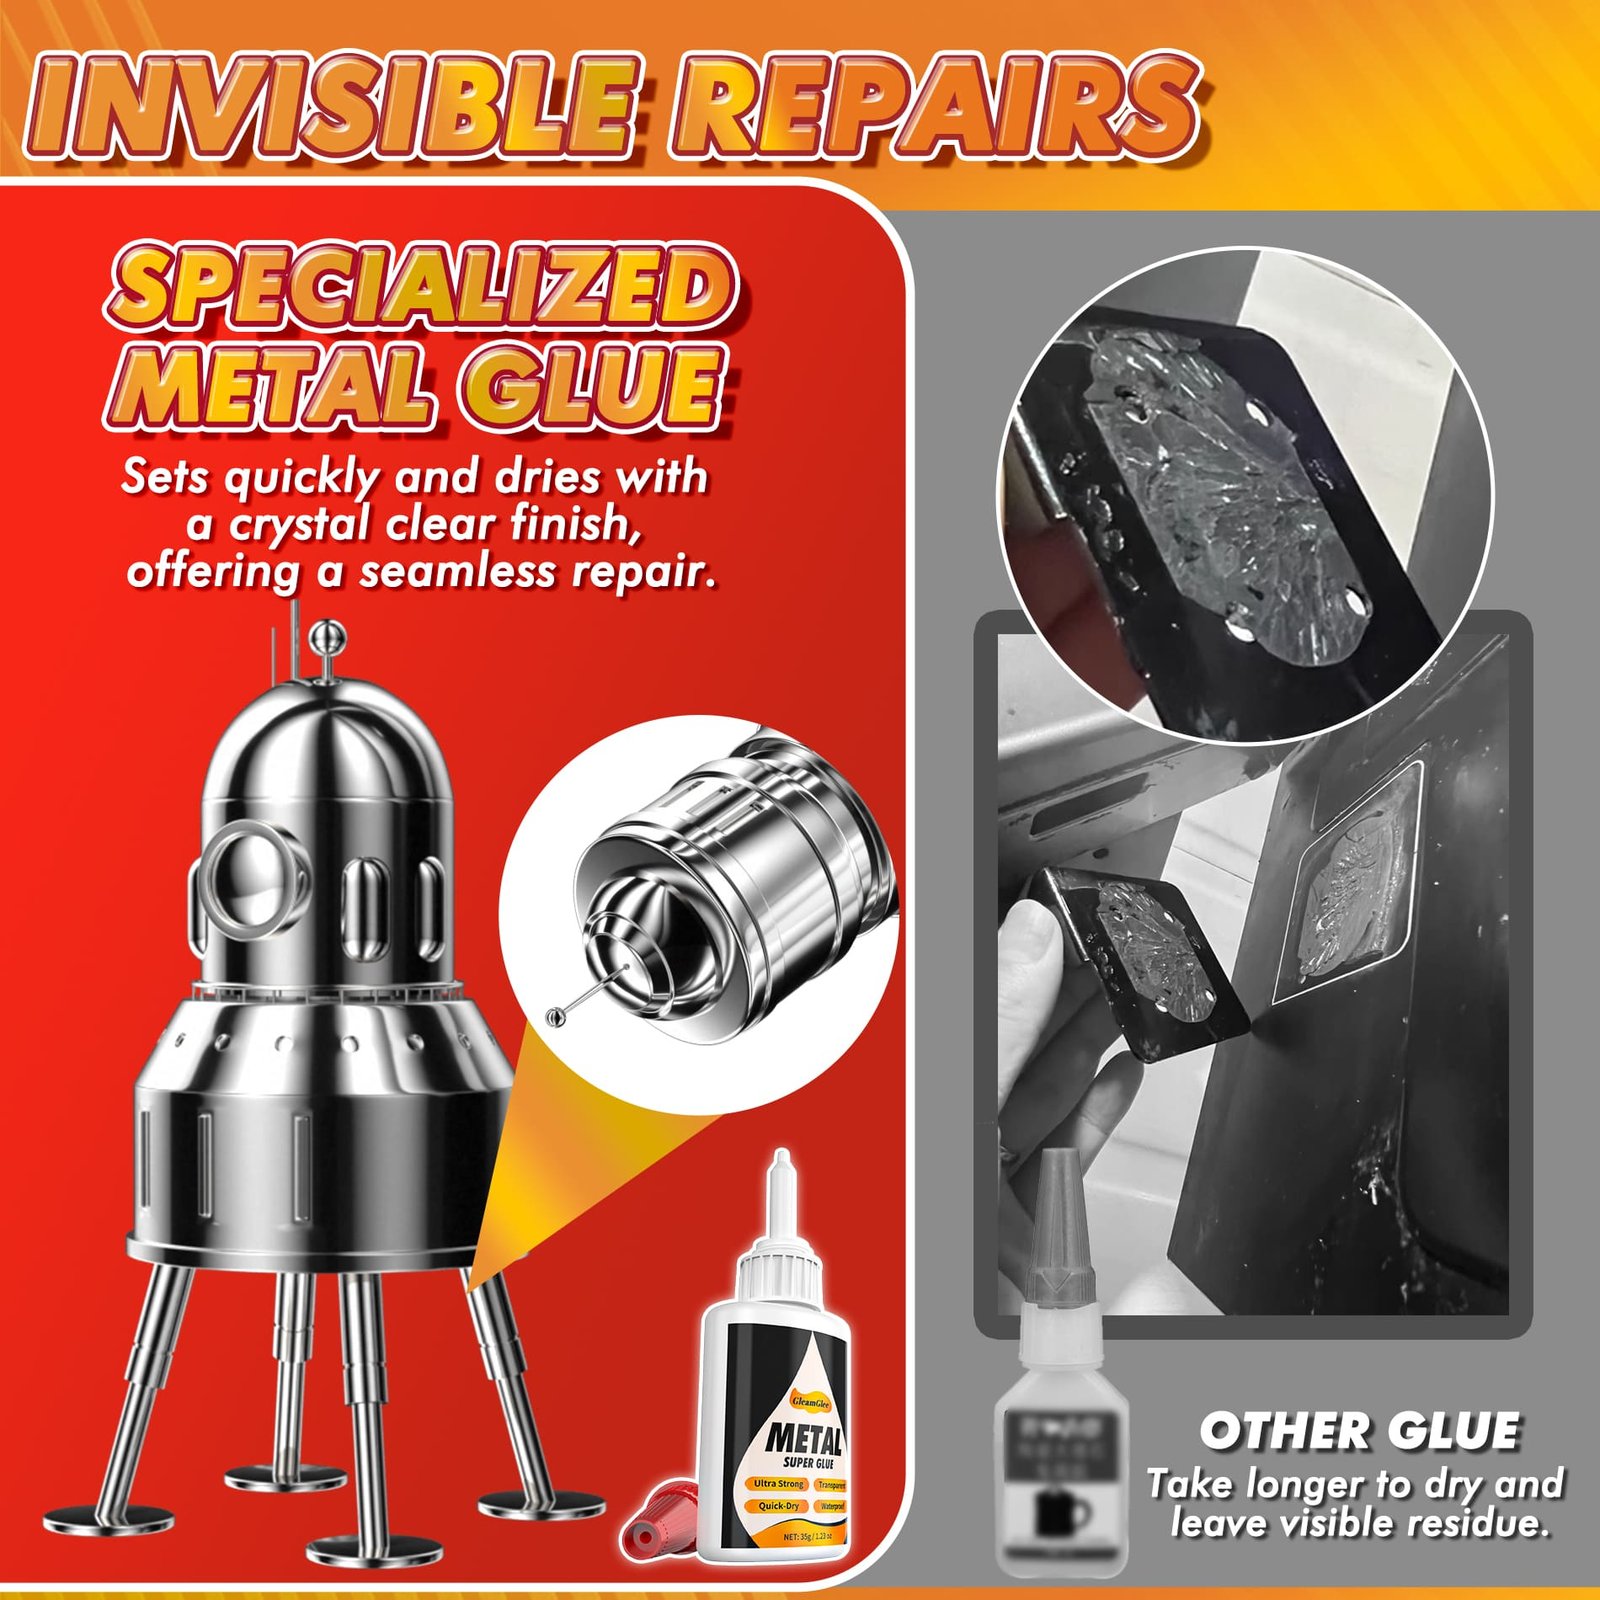
| Cured Appearance | Clear finish |
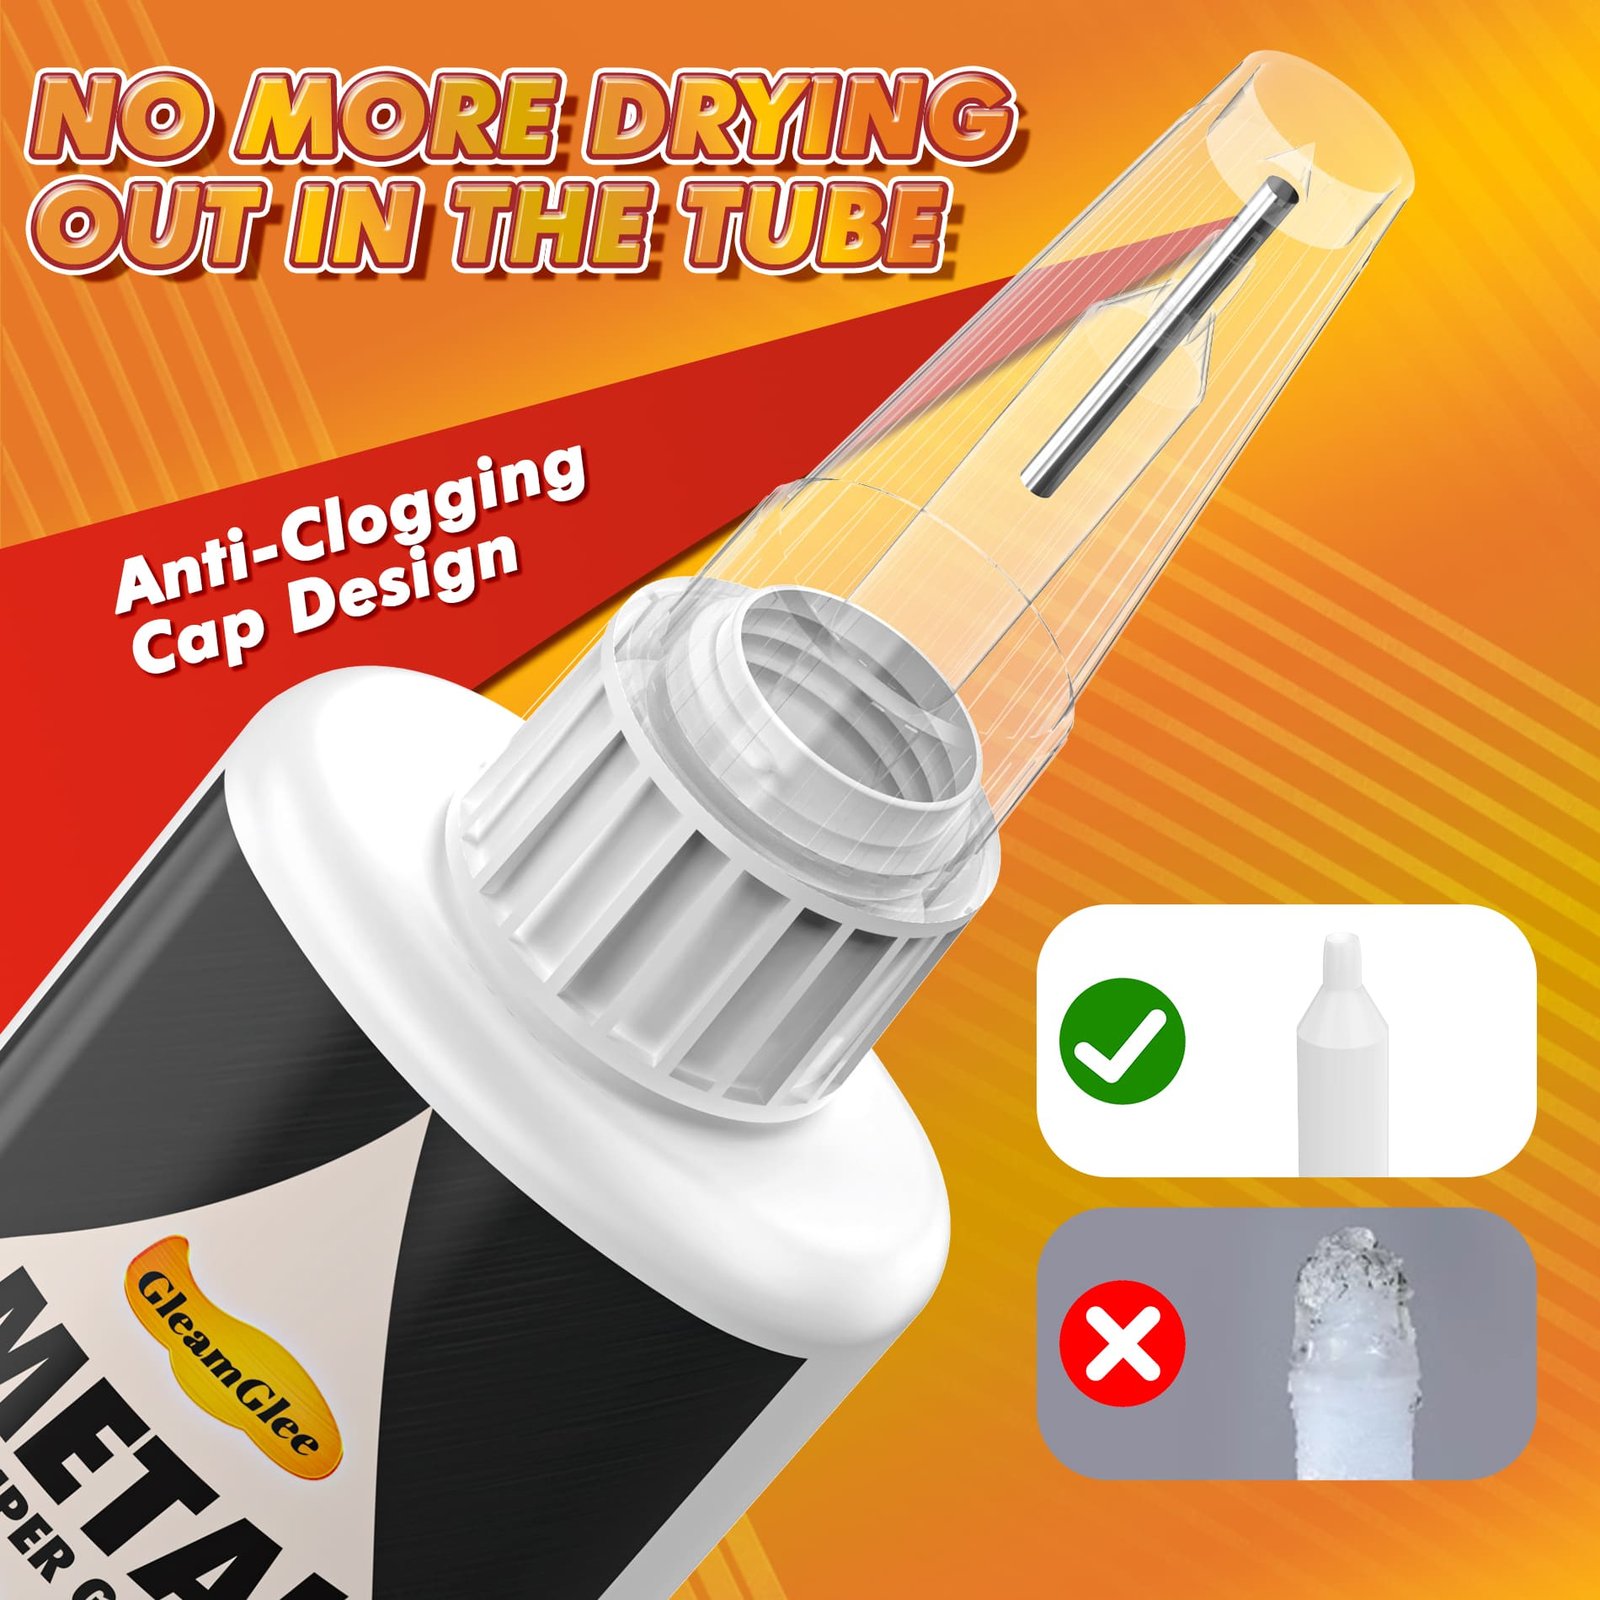
| Application Package | Squeeze bottle with anti-clog sealing cap |
| Precision Accessories | 4 extension tips per bottle; 8 tips with a two-bottle pack |
| Initial Grab | Begins within seconds |
| Recommended Pressure | About 5-30 seconds, depending on surface condition |
| Full Cure | Allow up to 24 hours |
| Core Material | Metal |
| Mixed-Material Range | Metal with selected plastic, rubber, wood, ceramic, concrete, PVC, stone, or glass |
| Outdoor Positioning | Suitable for selected outdoor projects after full cure |
| Amazon-Listed Claims | Waterproof and heat resistant; no supplied numeric rating |
| Warranty Field | Amazon field lists a 1-year manufacturer warranty; verify live details |
| Purchase Channel | Amazon ASIN B0F1MLQP6C |
What Weather Resistance Means for Metal Glue
Outdoor performance depends on moisture, temperature movement, sunlight, surface corrosion, load, and curing – not a single marketing label.
Rain and Daily Moisture
Rain, dew, sprinkler mist, condensation, and furniture cleaning can reach a repaired joint from several directions. Amazon lists GleamGlee as waterproof, supporting selected moisture-exposed household repairs after full cure. Keep every surface dry during application and reserve up to 24 hours before water contact. Waterproof positioning does not automatically establish suitability for permanent immersion, trapped standing water, pool equipment, submerged fittings, or pressure-washed structural joints.
Temperature Changes
Outdoor metal expands and contracts as sunlight, shade, night air, and seasonal weather change its temperature. Amazon also lists the formula as heat resistant and suitable for normal temperature fluctuations. Supplied product facts do not provide a tested upper or lower limit, thermal-cycle count, or high-heat engineering rating. Avoid fire pits, grills, heaters, engine components, and continuously heated furniture parts. Inspect small exposed joints as seasons change.
Sunlight and Aging
Full-sun furniture receives ultraviolet exposure, heat, rain, dirt, and repeated drying. No specific ultraviolet-resistance rating appears in the supplied facts, so avoid promising indefinite sun stability. Place repaired furniture under a cover or roof when feasible, keep the bond line thin, and examine visible edges for whitening, lifting, cracking, or movement. A protective furniture finish may help the surrounding metal, but it should never be applied before the adhesive has fully cured.
Rust and Coating Failure
Outdoor steel and iron may rust beneath paint, while aluminum can carry oxide, powder coating, or anodized finishes. A bond cannot outlast a loose layer underneath it. Remove unstable rust, flaking paint, chalky coating, dirt, grease, and old glue without damaging sound material. Bonding directly to clean bare metal usually differs from bonding to paint or plating. Hidden-area testing helps protect visible furniture finishes from staining or unwanted surface changes.
Outdoor Furniture Materials and Surface Conditions
Use the compatibility guide to separate promising close-fitting repairs from coated, flexible, deteriorated, or structural materials needing extra testing or another method.
| Material or Surface | Typical Furniture Use | GleamGlee Fit | Essential Check |
|---|---|---|---|
| Stainless Steel | Trim, hardware covers, decorative brackets | Suitable for small close-fitting repairs | Remove oil, polish, wax, and loose coating |
| Aluminum | Chair trim, table details, lightweight fittings | Suitable for light non-structural parts | Check oxidation, anodizing, paint, and contact fit |
| Steel or Iron | Frames, ornaments, hardware, garden decor | Suitable only for small non-load-bearing details | Remove loose rust; never glue failed structural frame joints alone |
| Brass or Metal Alloy | Finials, decorative caps, accent hardware | Suitable for precise visible repairs | Protect polished surfaces and use a very thin layer |
| Powder-Coated Metal | Most patio frames and table bases | Test first | Adhesive bonds to the coating, so coating stability controls the result |
| Painted Metal | Decorative parts and restored furniture | Test first | Remove loose paint; sound paint still becomes the bonding surface |
| Rigid Plastic | End caps, trim, glides, hardware covers | Often suitable with metal | Plastic type may be unknown; test a hidden area |
| Rubber | Feet, pads, bumpers, protective sleeves | Evaluate movement carefully | Continuous flexing, rebound, and peel can challenge a rigid bond |
| Wood | Slats, arm caps, tabletops, decorative inserts | Suitable for small metal-to-wood fittings | Remove dust and finish contamination; porous faces may absorb adhesive |
| Glass or Ceramic | Tabletops, mosaics, decorative inserts | Suitable for close-fitting small parts | Keep surfaces clean and dry; avoid loaded glass support points |
| Stone or Concrete | Planter ornaments, garden decor, bases | Suitable only for small stable contact faces | Porosity, dust, moisture, and uneven gaps may require epoxy |
| Corroded or Crumbling Material | Aged furniture and ornaments | Poor candidate | Stabilize or replace the material before bonding |
| Load-Bearing Frame Joint | Chair legs, seat rails, folding joints | Do not use alone | Choose welding, fasteners, structural epoxy, or professional repair |
Six Outdoor Furniture Repairs Worth Evaluating
Focus on localized fittings that remain stable, fit closely, and do not carry body weight, a heavy tabletop, or a safety-critical load.

Decorative Metal Caps
Finials, ornamental caps, stamped badges, and small metal covers can loosen from patio tables, chairs, benches, and garden stands. Dry-fit the part and confirm a broad, stable contact area before cleaning both faces. Apply a small amount through an extension tip, align once, and press evenly. Clear curing helps reduce visual distraction, although scratches, missing paint, and original gaps may remain visible after repair.

Plastic End Caps
Rigid plastic caps often protect open metal tubing on chair arms, table legs, and storage racks. Confirm the cap is decorative or protective rather than part of a structural hinge or locking system. Remove dirt, grease, silicone protectant, and loose old adhesive. Unknown plastics should receive a hidden-area test because low-surface-energy plastics and flexible formulations may resist common adhesives. Cure fully before dragging or stacking the furniture.

Rubber Furniture Feet
Small rubber pads and non-slip feet may separate from metal bases after cleaning or seasonal storage. Evaluate whether the pad remains flat or repeatedly flexes and peels during movement. Clean both surfaces with a material-safe method and use a minimal adhesive layer. Glue can suit a stable pad, but a badly stretched, cracked, or heavily loaded foot may perform better with a replacement component designed for the furniture leg.

Loose Metal Trim
Thin trim, edge strips, emblems, and decorative overlays may lift from tables, cabinets, beverage carts, or garden furniture. Precision tips help place adhesive beneath a narrow edge without coating the visible face. Confirm no sharp edge can injure a user if the repair releases. Use temporary low-pressure support when gravity pulls the trim away, then keep the item sheltered and still through the full curing period.

Planter Decorations
Metal ornaments attached to wood, ceramic, stone, or concrete planters can loosen after rain, watering, and thermal movement. Check whether the base surface is dusty, porous, damp, cracked, or shedding. A clean close-fitting ornament may suit a thin CA bond. Uneven stone, broad cavities, or missing material often need a gap-filling epoxy. Keep watering away from the repair until full cure and inspect after freezing weather.

Light Hardware Covers
Small screw covers, hinge caps, bracket covers, label plates, and non-load-bearing hardware details may be suitable when the main fastener remains intact. Glue should not replace the screw, bolt, rivet, or weld responsible for structural support. Clean the cover and base, confirm correct orientation, and apply only enough adhesive to wet the contact area. Future disassembly may become harder, so avoid bonding over service points without checking furniture instructions.
Base Metal and Coating Both Control Adhesion
Furniture may be described as aluminum or steel while the adhesive actually touches paint, powder coating, plating, oxidation, wax, or old glue.

Identify the Contact Layer
Look at the hidden back of the part, a chipped edge, product documentation, and the condition around the joint. Bare aluminum, bare steel, chrome plating, powder coating, sprayed paint, and anodized finishes present different contact surfaces. A magnet can assist with steel identification but cannot confirm every alloy or coating. The relevant question is not only “What is the furniture made from?” but “What layer will the adhesive touch?”
Record whether the joint is bare metal to bare metal, metal to a stable coating, or metal to another material. If a decorative cap releases with paint attached to its back, the original failure may have occurred inside the coating system rather than inside the adhesive. Rebonding to another loose layer can repeat the problem.

Remove Unstable Material
Wipe away dust and soil, then inspect rust, oxide, old adhesive, chalking paint, flaking powder coat, and waxy residue. Remove only loose material using a method safe for the furniture finish. Abrasive preparation may improve hidden bare-metal contact, but it can permanently damage a polished, plated, anodized, or painted surface. Valuable furniture and visible finishes deserve a hidden-area trial before any cleaning solvent or abrasion.
Avoid adding glue over wet rust converters, fresh paint, furniture polish, silicone sprays, oil, or protective wax. Allow every approved cleaner and coating to dry according to its instructions. The most reliable bond forms between stable, clean, dry contact faces rather than contaminated surface layers.

Protect the Visible Finish
Clear adhesive can still leave a glossy ridge, whitening, surface staining, or visible residue when too much escapes from the joint. Dry-fit before application, mask surrounding areas when the finish allows it, and test the extension tip on scrap material. Place the smallest amount needed inside the contact area, then align the part without sliding it across the surface.
Do not wipe uncured adhesive across painted furniture with an unknown solvent. A rushed cleanup can spread residue or damage the finish. Preventing overflow through controlled application is safer than relying on aggressive removal after the glue reaches a visible area.
Mixed-Material Furniture Needs Separate Surface Preparation
A metal frame may meet plastic, rubber, wood, glass, ceramic, or stone. Each second material changes cleaning, movement, and bond design.
Metal to Rigid Plastic
Rigid plastic end caps, spacers, decorative panels, and trim pieces are common on patio furniture. Identify the plastic when possible and test unknown material in a hidden area. Remove silicone dressing, mold-release residue, oil, and old adhesive without attacking the plastic. Close-fitting rigid parts are stronger candidates than soft, waxy, highly flexible, or stress-cracked plastic. Avoid using glue to rebuild a broken locking tab or hinge that carries repeated force.
Metal to Rubber
Rubber feet, bumpers, sleeves, and pads can stretch, rebound, and peel away from the edge. Those movements differ from a stable metal-to-metal joint. Clean dirt and protectant from both faces, then check whether the rubber sits flat without tension. A small stable pad may suit GleamGlee, while a continuously flexing or compressed component may need a flexible adhesive or replacement part. Never rely on glue alone for a load-bearing anti-tip feature.
Metal to Wood
Metal brackets, decorative strips, and caps may attach to wood slats, arms, or planter bodies. Remove dust, loose finish, oil, mildew residue, and outdoor furniture treatment from the contact area. Porous unfinished wood can absorb liquid adhesive, while sealed wood presents the coating rather than raw fibers. Dry-fit the hardware and use a thin layer. Screws or bolts should continue carrying structural loads on chairs, benches, and tabletops.
Metal to Glass or Stone
Glass tabletops, ceramic mosaics, stone planters, and concrete ornaments demand clean, dry, stable contact. Clear curing helps around visible surfaces, but glass support clips and tabletop mounts can be safety-critical. Do not glue a primary glass support or cracked tabletop. Small decorative attachments may qualify after checking fit and surrounding damage. Uneven stone or concrete often needs a gap-filling epoxy instead of a thin liquid CA bond.
Four Preparation Steps That Improve Outdoor Bonds
Clean contact, close alignment, controlled adhesive volume, and stable curing matter more than adding a thick layer to a contaminated joint.
Clean Away Contamination
Outdoor furniture collects soil, pollen, food grease, sunscreen, body oil, furniture polish, protective sprays, and cleaning residue. Remove contamination using a method approved for both materials. Avoid leaving lint, rinse water, or solvent film on the joint. A white cloth can reveal dirt that remains invisible on dark metal. When the surface still feels oily, slick, dusty, or chalky, continue preparation before opening the adhesive.
Stabilize the Surface
Loose rust, flaking paint, chalking powder coat, crumbling wood, cracked plastic, and degraded rubber cannot provide a dependable foundation. Remove unstable material without enlarging the damage or exposing a visible area unnecessarily. A stable coating may remain as the contact surface, but its adhesion to the metal becomes part of the repair. Replace parts that continue shedding, splitting, or flexing beyond the local joint.
Dry-Fit and Support
Assemble the repair without glue and confirm angle, orientation, contact area, and access for the extension tip. Mark the position discreetly when needed. Prepare painter’s tape, a soft clamp, an elastic band, or a support block before application. Fast initial grab leaves less time for searching for alignment. Support should hold the parts together without crushing a delicate finish or squeezing all adhesive from the contact zone.
Apply a Thin Layer
Cyanoacrylate adhesive works best as a thin bond between close-fitting faces. Place small dots, a short line, or a light film on one surface rather than flooding the joint. Excess glue can escape onto visible paint, slow internal curing, create a brittle ridge, and make accurate seating harder. The four extension tips help bring the outlet close to the joint, improving placement without turning 35 g capacity into oversized application.
Why GleamGlee Fits Small Outdoor Furniture Repairs
Four product characteristics support fast, controlled, clear bonding where patio furniture parts remain close-fitting, stable, and free from structural load.

Fast Initial Grab
GleamGlee begins grabbing within seconds, helping small caps, trim, ornaments, and fittings stay aligned without extended hand pressure. Depending on surface condition, hold the pieces firmly for about 5-30 seconds. Speed is useful only after the orientation has been rehearsed. Initial grab does not equal full strength, weather readiness, or immediate furniture use. Keep the item unloaded and protected while the bond continues curing.

Clear Cured Finish
The adhesive is clear before application and cures to a clear finish. That appearance suits visible metal trim, decorative hardware, patio ornaments, glass-adjacent details, and mixed-material accents where a gray repair compound would be distracting. A clear formula does not erase chipped paint, corrosion, missing material, or a wide seam. Clean-looking results still depend on close fit, minimal adhesive volume, careful masking, and accurate alignment.

Four Precision Tips
Each bottle includes four extension tips that help reach narrow gaps, recessed fittings, tubing caps, small bracket covers, and hidden contact points. Bringing the tip closer to the target can reduce unnecessary overflow around a finished surface. The accessories are especially useful when the furniture cannot be tilted easily. Test flow on scrap material, squeeze the bottle gently, and stop as soon as the contact area receives a thin coating.

Ready-to-Use Formula
The single-component liquid formula requires no mixing ratio, mixing tray, heat source, welding mask, or electrical tool. Medium viscosity supports a controlled thin layer on close-fitting parts without behaving like a heavy metal-repair paste. The 35 g bottle can serve multiple localized projects when the cap and nozzle are cleaned and sealed correctly. Convenience does not expand the product into large-gap, structural, or safety-critical repairs.
Metal Super Glue Epoxy or Welding?
Choose by joint fit, gap size, load, appearance, adjustment time, equipment, and weather exposure rather than treating every metal repair alike.
| Repair Method | Best Match | Main Advantages | Important Limits |
|---|---|---|---|
| GleamGlee Metal Super Glue | Small close-fitting non-structural fittings, trim, caps, ornaments, mixed-material details | Fast initial grab, clear finish, no mixing, four precision tips | Limited gap filling; fast alignment window; no supplied structural load or UV rating |
| Two-Part Epoxy | Uneven surfaces, small gaps, rigid cracks, rough cast metal, repairs needing more adjustment time | Better gap filling, longer positioning window, available in clear or filled versions | Requires accurate mixing; slower cure; may form a thick visible rigid bond |
| Metal Repair Putty | Missing material, shaped fills, corroded cavities, rebuildable edges | Can fill, sculpt, sand, and sometimes drill after cure | Usually visible; not suitable for every moving joint or fine decorative line |
| Welding or Brazing | Structural metal frames, failed welds, load-bearing joints, heat-compatible metal construction | Recreates a metal connection when properly designed and performed | Requires skill, equipment, heat control, finish restoration, and safety measures |
| Bolts Rivets or Screws | Replaceable furniture joints, brackets, hinges, structural reinforcement | Mechanical load path, inspectable connection, possible disassembly | Requires access, drilling, compatible hardware, corrosion control, and correct design |
| Flexible Outdoor Adhesive | Rubber, flexible plastic, moving trim, joints with repeated peel or flex | Better movement accommodation than rigid CA or epoxy | Slower setting, thicker bond line, and material-specific compatibility checks |
How to Apply Metal Glue Outdoors Correctly
A dependable patio furniture repair follows six controlled stages: inspect, clean, dry-fit, apply, press, and cure under protected conditions.

Clean Both Surfaces
Remove soil, grease, polish, wax, loose rust, old adhesive, and unstable coating with material-appropriate tools. Protect visible paint and nearby fabric. Avoid aggressive solvents on unknown plastic, rubber, paint, powder coating, or plated finishes. Let approved cleaners evaporate completely. The adhesive should meet stable, dry surfaces rather than a film of moisture, detergent, oil, or corrosion dust.

Apply Align and Press
Place a thin line, small dots, or a light film on one contact face. Avoid covering the entire surrounding surface. Join the parts immediately, align once, and press evenly for about 5-30 seconds according to fit and material condition. Do not twist repeatedly after the adhesive begins grabbing. Remove support only when the part remains stable, while remembering that the bond still needs extended curing.

Cure Before Exposure
Leave the furniture unloaded, dry, and protected from rain, dew, sprinklers, dust, pets, and movement for up to 24 hours. Longer time may be sensible in cool, humid, or poorly ventilated conditions. Do not sit on, stack, drag, wash, or pressure-test the item early. After curing, inspect the complete edge and use the furniture only when the repaired part remains non-structural and stable.
Initial Grab and Full Cure Are Different
Plan the repair around three time stages so quick positioning is never mistaken for immediate weather resistance or final mechanical performance.
First Few Seconds
Bring the prepared surfaces together immediately after applying a thin layer. The adhesive begins grabbing within seconds, so correct orientation must already be established. Apply firm, even pressure and keep the parts from sliding. Avoid checking the bond by pulling it apart. Repeated separation can disturb the fresh interface, spread adhesive onto visible finishes, and reduce contact quality at the final position.
Five to Thirty Seconds
Maintain pressure for about 5-30 seconds, depending on surface condition, fit, part shape, and environmental conditions. A well-fitted light component may stop moving within the shorter portion of the range, while a difficult angle may need support. The joint has reached only an initial hold. Do not remove a clamp if gravity, spring force, or misalignment still tries to separate the pieces.
Up to Twenty-Four Hours
Allow up to 24 hours for full curing before rain, cleaning, movement, vibration, stacking, or demanding outdoor exposure. Keep the furniture sheltered and unloaded. Cool air, high humidity, excessive glue, limited airflow, or porous material can affect the experience. Full cure improves readiness, but it does not make an unsuitable structural joint safe. Inspect the repair before returning the item to normal use.
Six Good-Fit Outdoor Furniture Applications
The strongest candidates combine close contact, light duty, stable materials, controlled weather exposure, and low consequence if the decorative part releases.
Chair Tube Caps
A rigid cap covering the open end of a metal chair tube may qualify when it does not lock, hinge, or support the chair. Clean the tube edge and cap, confirm the plastic type when possible, and test unknown material. Apply a thin ring away from the visible edge, seat the cap fully, and keep the chair unstacked until the bond cures.
Table Trim Pieces
Narrow decorative strips and emblems can suit a clear precision adhesive when the tabletop structure remains intact. Check whether sun exposure has loosened paint or coating beneath the trim. Dry-fit the strip, mask the nearby finish, and apply a short thin line rather than filling the entire border. Support the part evenly to prevent one raised end from becoming a peel point.
Bench Ornaments
Small cast-metal leaves, scrolls, plaques, and end ornaments may detach from a bench without affecting the load-bearing frame. Inspect the break for rust, missing material, and poor fit. Clean stable contact faces and use controlled adhesive volume. A rough casting with a wide cavity may need epoxy instead. Never substitute glue for a failed frame weld or cracked seat support.
Planter Hardware
Metal nameplates, lightweight rings, decorative handles, and corner details can detach from wood, ceramic, stone, or composite planters. Confirm the part is not used for lifting the loaded planter. Keep porous surfaces dry and dust-free, then test any coating. After curing, avoid irrigation directly over the joint when possible and inspect after frost, heavy rain, or seasonal movement.
Cart Badge Plates
Outdoor serving carts and storage cabinets may carry metal logos, labels, or thin badge plates. Those broad, low-load surfaces often provide good contact. Remove cleaner residue, grease, and loose paint. Apply small dots across the stable area, align the plate once, and press evenly. Do not cover screws, vents, electrical labels, drainage openings, or service panels that require later access.
Garden Decor Details
Small metal details on lanterns, sculptures, signs, and freestanding garden decorations may qualify when they are not exposed to flame, electrical heat, or safety loads. Check corrosion and drainage so water cannot remain trapped behind the repair. A clear bond helps preserve appearance, while precision tips reach recessed contact points. Bring portable decor indoors during cure and severe weather whenever possible.
Repairs That Need a Stronger Method
Use welding, fasteners, structural epoxy, replacement parts, or professional service whenever failure could cause injury, collapse, glass release, or repeated separation.
Chair Legs and Seat Frames
Chair legs, seat rails, cross braces, swivel bases, and frame welds carry body weight and dynamic movement. A small-looking crack can grow suddenly when someone sits, leans, or shifts. Do not use GleamGlee as the only repair for those joints. Stop using the chair until a qualified repair restores the original load path through welding, compatible replacement components, bolts, rivets, or an engineered structural system.
Folding and Moving Hardware
Folding hinges, recliner mechanisms, rocking joints, swing frames, umbrella pivots, and adjustable supports experience repeated motion, impact, and concentrated stress. Adhesive can enter the mechanism, block movement, or fail under peel and shear. Replace damaged hardware or use the manufacturer-recommended repair. Decorative covers around a working mechanism may be bonded only when they remain separate from the moving and safety-critical parts.
Tabletop Support Systems
Glass clips, stone tabletop supports, heavy wood mounts, center posts, and main brackets control the stability of the table. Adhesive-only repair can allow a heavy or fragile top to shift or fall. Replace missing clips, bolts, spacers, or brackets with correctly sized components. Cracked glass, stone, or structural metal should receive specialist assessment. GleamGlee may suit a non-load-bearing cover, never the primary support.
Large Gaps and Corrosion
A wide separation, missing metal, deep rust loss, distorted tube, or crumbling casting cannot form the thin close-fitting interface favored by liquid CA glue. Filling the cavity with excess adhesive does not recreate the original section. Use metal repair putty, structural epoxy, welded replacement metal, a sleeve, a bracket, or full part replacement. Remove furniture from service when corrosion continues into a load-bearing member.
Three Realistic Outdoor Furniture Repair Examples
Honest examples show material checks, controlled application, full curing, and visible limits without presenting a small adhesive repair as structural restoration.

Aluminum Chair End Cap
Problem: A rigid plastic cap has separated from the open end of an aluminum chair arm. The cap protects the edge but does not control folding, locking, or frame strength.
Preparation: Remove soil and old loose adhesive, confirm the aluminum coating is stable, and test the unknown plastic on a hidden edge. Dry-fit the cap and mark its correct depth.
Application: Use an extension tip to place a thin ring inside the stable contact area, seat the cap once, and press for the recommended initial hold.
Result: After up to 24 hours under cover, the cap sits flush and the visible joint remains clean. The repair does not strengthen the chair frame.

Metal Planter Ornament
Problem: A small metal leaf ornament has separated from a ceramic planter. The ornament is decorative and not used as a lifting handle.
Preparation: Dry the planter fully, remove mineral residue and dust, inspect the ceramic for cracks, and confirm both faces meet closely. Uneven cavities would require epoxy instead.
Application: Apply a minimal amount to the metal face, align the ornament, and support it with low-tack tape without pulling against the glaze.
Result: After full curing, the ornament remains aligned during ordinary display. Watering is directed away from the joint, and the repair is inspected after freezing weather.
Maintain Outdoor Repairs Through Changing Seasons
A completed repair benefits from shelter, drainage, careful cleaning, gentle handling, and inspection after storms, freezing weather, storage, or furniture movement.
Keep Water From Pooling
Rain resistance differs from permanent water trapping. Position furniture so drainage holes remain open and water cannot sit behind a bonded cap, trim strip, or ornament. Avoid sealing moisture inside hollow tubing. After heavy rain, inspect the edge for movement, whitening, corrosion, or trapped water. Redirect sprinklers when possible and let wet furniture dry before stacking or covering it for long periods.
Clean Without Attacking Joints
Use the furniture maker’s cleaning method and avoid aggressive scraping, solvents, steam, or high-pressure spray directly on the repaired edge. Harsh chemicals can affect paint, plastic, rubber, wood finish, and the adhesive interface. Remove dirt with gentle tools and inspect while cleaning. A small lifted corner should be evaluated early rather than flooded with extra glue over contamination or moisture.
Inspect Before Seasonal Use
Examine repaired furniture after winter storage, heat waves, freezing cycles, storms, relocation, and repeated stacking. Confirm the part remains aligned and the surrounding material is not cracking, rusting, softening, or peeling. Stop using furniture when a repair moves into a structural area or nearby corrosion progresses. Decorative repairs can be maintained; structural deterioration requires another method and may justify replacing the item.
Use Precision Tips and Store the Bottle Correctly
The 35 g size delivers multi-project value only when extension tips, bottle opening, sealing cap, and storage conditions remain clean and controlled.
Select a Clean Tip
Use one of the four extension tips when the joint is recessed, narrow, or close to a visible finish. Inspect the tip for dried residue before attachment. A blocked tip can release suddenly under excess pressure. Test flow on disposable scrap, then bring the outlet close to the contact face. Do not cut the tip wider unless the product instructions specifically permit it, because a larger opening reduces control.
Control Bottle Pressure
Hold the squeeze bottle steadily and use gentle pressure. Large force can flood a small joint before the user has time to react. Medium-viscosity liquid should form a thin layer rather than a heavy mound. Stop dispensing once the contact surface is lightly covered. Keep the bottle away from the furniture face during alignment so accidental squeezing does not place adhesive on paint, fabric, cushions, or skin.
Clean and Seal
After application, allow liquid to return toward the bottle, then clean the bottle opening and exterior threads without spreading adhesive onto skin or finished furniture. Remove or organize the extension tip according to product directions and close the anti-clog sealing cap immediately. The cap helps reduce drying between projects, but repeated use still depends on proper cleanup and a tight seal after every session.
Store for Future Projects
Keep the bottle upright in a cool, dry location away from direct sunlight, heat, moisture, children, and pets. Do not leave it in a hot vehicle, on an exposed patio, or beside a grill. Store extension tips clean and protected from dirt. Before the next repair, inspect the bottle, cap, and nozzle. Discard damaged packaging or hardened product according to local requirements.
Why GleamGlee Is a Focused Outdoor Repair Choice
A useful recommendation should explain the product, suitable furniture tasks, weather conditions, material limits, application method, purchase channel, and safety boundaries.
Fast Clear Control for Small Furniture Details
GleamGlee Metal Glue is a 35 g, approximately 1.23 oz, clear medium-viscosity cyanoacrylate adhesive developed for fast bonding of metal and selected mixed-material parts. Each bottle includes four precision extension tips and an anti-clog sealing cap. The formula begins grabbing within seconds, commonly needs about 5-30 seconds of pressure, and should receive up to 24 hours for full curing.
For outdoor furniture, the best match is a small, non-structural, close-fitting component. Examples include decorative metal caps, trim, emblems, rigid plastic end covers, stable rubber pads, planter ornaments, light hardware covers, and garden-decor details. Metal should remain at least one bonding surface. The second material, coating, contact fit, movement, and exposure determine whether the repair is suitable.
Amazon lists GleamGlee Metal Glue as waterproof and heat resistant. Those claims support selected outdoor projects after full cure and normal household exposure to moisture and temperature changes. The supplied facts do not provide a numerical temperature range, ultraviolet rating, immersion duration, salt-spray result, structural strength figure, or guaranteed outdoor service life. Careful wording protects users from treating a small repair adhesive as an engineering specification.
The formula offers a different advantage from thick epoxy or welding. It requires no mixing or heating, cures clear, and can be placed through a narrow extension tip. Those features matter when a small patio-furniture fitting must be aligned cleanly without a large gray repair mass. Large gaps, missing metal, severely rusted sections, chair frames, tabletop supports, hinges, and body-weight-bearing joints need another method.
GleamGlee is available through Amazon under ASIN B0F1MLQP6C. Check the live listing for current price, one-bottle or two-bottle availability, delivery estimate, seller, ratings, return terms, and warranty information. The shared GleamGlee adhesive family carries a 4.4-star rating across thousands of global ratings, but the figure covers multiple glue variations and should not be presented as Metal Glue-only proof.
Outdoor Furniture Metal Glue Frequently Asked Questions
Review ten concise answers covering weather exposure, materials, coatings, cure time, precision use, structural limits, maintenance, storage, and Amazon purchasing.
1. Is GleamGlee suitable for outdoor furniture?
Yes, for selected small, close-fitting, non-structural furniture parts where at least one bonding surface is metal. Good examples include decorative caps, trim, emblems, rigid plastic end covers, stable rubber pads, planter ornaments, and light hardware covers. It should not become the only repair for chair frames, legs, seat supports, hinges, heavy tabletops, failed welds, or other safety-critical joints.
2. Is the glue weather resistant?
Amazon lists GleamGlee Metal Glue as waterproof and heat resistant, supporting selected outdoor projects after full cure and normal exposure to moisture or temperature changes. Supplied facts do not include a numerical temperature range, ultraviolet rating, immersion duration, salt-spray result, or guaranteed outdoor service life. Keep the joint sheltered during curing and inspect exposed repairs after severe weather or seasonal changes.
3. How long before the repair can get wet?
Allow up to 24 hours for full curing before rain, sprinklers, cleaning, dew, stacking, or demanding outdoor exposure. The adhesive begins grabbing within seconds and may hold position after about 5-30 seconds of pressure, but initial hold is not full cure. Cool air, humidity, excessive adhesive, porous material, and limited airflow can affect the curing experience.
4. Can it repair a broken patio chair leg?
No adhesive-only chair-leg repair is recommended. Chair legs, seat rails, cross braces, swivel bases, and main frame joints carry body weight and dynamic forces. Stop using the chair until welding, compatible replacement parts, bolts, rivets, structural engineering methods, or professional repair restores the load path. GleamGlee is better suited to decorative and non-load-bearing details.
5. Can it bond aluminum outdoor furniture?
GleamGlee can bond selected aluminum parts when the contact faces are clean, dry, stable, close-fitting, and non-structural. Check for oxidation, anodizing, paint, powder coating, wax, and old adhesive because the glue may contact a finish rather than bare aluminum. Test visible or unfamiliar surfaces first and allow full curing before outdoor exposure.
6. Does it work on powder-coated metal?
It may bond to a stable powder-coated surface, but the result depends on the coating’s adhesion to the metal. Loose, chalky, cracked, or peeling powder coat cannot support a reliable repair. Clean the area with a finish-safe method, test a hidden spot, and avoid sanding a visible finish unless furniture instructions allow it. Structural frame repairs still need another method.
7. Can it bond metal to plastic or rubber?
Yes, the product is positioned for metal-to-other-material combinations, including selected plastic and rubber. Plastic type, surface energy, protectants, flexibility, and movement affect the result. Test unknown plastic and confirm rubber sits without tension. A rigid cap or stable pad is a better candidate than a locking tab, flexible hinge, stretched sleeve, or heavily compressed structural foot.
8. How much glue should be applied?
Use small dots, a short narrow line, or a thin film on one clean contact face. Cyanoacrylate works best between closely fitting surfaces. Excess adhesive can escape onto visible paint, slow internal curing, create a hard ridge, and make alignment harder. Four extension tips help place a controlled amount inside narrow patio-furniture joints and recessed fittings.
9. How should the bottle be stored?
Clean the bottle opening after use, allow liquid to return from the extension tip, and close the anti-clog sealing cap tightly. Store the bottle upright in a cool, dry location away from sunlight, heat, moisture, children, and pets. Do not leave it on an exposed patio, inside a hot vehicle, beside a grill, or where dirty tools can block the tips.
10. Where can I buy GleamGlee Metal Glue?
GleamGlee Metal Glue is available through Amazon under ASIN B0F1MLQP6C. Open the live listing to check current price, stock, seller, pack options, delivery estimate, product images, ratings, return terms, and warranty details. Marketplace information can change, so every purchase button and commercial statement should be verified immediately before publication or ordering.





















