 Skip to content
Tent Glue vs Repair Tape: Which Is More Effective?
Match the repair method to the damage shape, fabric coating, waterproofing need, and time available before your next camping trip.
- Use repair tape to bridge broad, flat tears when fast coverage and immediate field handling matter most during a camping trip.
- Use liquid tent glue on seams, pinholes, curved corners, lifted edges, and irregular cracks that need controlled waterproof sealing.
- Combine a patch or tape with liquid glue when reinforcement must carry the opening while sealed borders help block moisture.
- Choose GleamGlee for compatible localized repairs requiring a polyurethane-based adhesive, flexible cured layer, and reliable seam-sealing performance after full curing.

Choose Tent Glue Repair Tape or Both
Start with the shape and function of the damaged area, then match the method to the repair rather than choosing by brand familiarity alone outdoors.
Choose Tent Glue
Choose liquid tent glue for stitch lines, tiny punctures, curved corners, short irregular splits, lifted fabric edges, and patch borders. A controlled bead can follow narrow water paths that a wide strip may cover awkwardly. Allow proper set and full cure before folding, loading, packing, or exposing the repaired area to rain.
Choose Repair Tape
Choose repair tape for a broad, flat tear with sound material around the opening and enough clean surface for firm contact. Tape can bridge the gap quickly, limit further spreading, and return gear to limited service sooner. Material-specific outdoor repair tape performs more naturally than bulky household duct tape on lightweight fabric.
Combine Both Methods
Use a patch or repair tape to span a medium or larger opening, then use compatible liquid adhesive to seal the perimeter when water intrusion or edge lifting remains a concern. Reinforcement carries the opening; the liquid layer closes irregular borders. Structural damage may still require sewing, webbing, or professional repair.
Six Factors Define an Effective Tent Repair
Effectiveness depends on more than initial stick. Compare damage geometry, waterproofing, fabric movement, repair speed, reinforcement needs, and material compatibility before starting repair work outdoors.
Damage Shape
Flat tears give tape a broad contact zone, while seams, needle holes, curved corners, and ragged edges favor a liquid layer that follows the actual defect. Before selecting a product:
- Lay the fabric flat without stretching it.
- Mark the complete damaged path.
- Check whether the edges stay aligned when released.
- Note any nearby fold line, seam crossing, or tension point that changes the opening during normal setup.
Waterproof Sealing
A repair may hold fabric together yet still leak beside thread, under a lifted border, or through a missed pinhole. Waterproof repair requires continuous coverage over the route moisture follows. For better sealing:
- Extend slightly beyond visible damage.
- Avoid gaps and bubbles.
- Keep the area dry until curing is complete.
- Inspect the opposite side because moisture may travel along thread or beneath an overlapping fabric layer.
Fabric Movement
Tent walls, rainflies, tarps, and groundsheets bend during setup, flap in wind, and compress during storage. A rigid spot can concentrate stress beside the repair. Evaluate movement before choosing:
- Note folds crossing the area.
- Check tension during pitching.
- Prefer a flexible cured layer for moving fabric.
- Avoid a thick rigid mass that can concentrate stress beside otherwise soft, foldable material.
Repair Speed
Tape offers immediate handling after firm pressure, making it valuable during travel or when weather is approaching. Liquid glue needs controlled application and curing time. Plan around the schedule:
- Use tape for urgent broad coverage.
- Apply glue before the trip when possible.
- Reserve about 24 hours for full cure.
- Treat the first firm touch as an initial set, not permission to pack, load, or expose the repair to rain.
Reinforcement Need
A wide opening may need material spanning the gap, not only adhesive around the edge. Tape or fabric patches provide surface reinforcement; sewing or webbing may carry structural loads. Decide whether the repair must:
- Bridge an opening.
- Hold tension.
- Seal water.
- Perform more than one of those jobs.
- Separate structural reinforcement from waterproof sealing when a single product cannot safely provide both functions.
Material Compatibility
Base fabric alone does not determine adhesion. Nylon, polyester, canvas, vinyl, and coated materials may carry polyurethane, silicone, wax, oil, or specialty finishes. Before full application:
- Read the sewn label or manufacturer guide.
- Identify the coating.
- Test an inconspicuous area when the surface is uncertain.
- Follow manufacturer guidance for specialty laminates, silicone treatments, waxed canvas, and high-pressure inflatable structures safely.
Tent Glue Versus Repair Tape Comparison
Use the matrix below to compare common tent failures without treating either method as a universal replacement for reinforcement, sewing, or material-specific outdoor repair products.
| Repair Factor | Liquid Tent Glue | Repair Tape | Better Starting Choice |
|---|---|---|---|
| Broad flat tear | Limited without reinforcement | Bridges the opening quickly | Tape or fabric patch |
| Leaking stitched seam | Follows thread and needle holes | May cover too broadly | Glue or seam sealer |
| Single pinhole | Targets the exact leak path | Works but adds a larger patch | Glue |
| Curved corner | Conforms to irregular geometry | May wrinkle or lift | Glue |
| Immediate field handling | Requires set and cure time | Ready after firm application | Tape |
| Patch perimeter | Seals small gaps and edges | Cannot seal its own perimeter | Glue |
| Load-bearing tear | Not sufficient alone | Often not sufficient alone | Patch, sewing, or repair service |
| Repeated folding | Flexible formula may move naturally | Depends on tape thickness and backing | Material dependent |
| Unknown coating | Compatibility must be confirmed | Compatibility must be confirmed | Test or follow manufacturer guidance |
| Whole-panel water repellency loss | Not intended for broad recoating | Not intended for broad recoating | Appropriate fabric treatment |
A repair tape patch is strongest when it has a wide, clean, flat surface. Liquid glue becomes more useful as the defect narrows, curves, follows stitches, or needs waterproof edge sealing. Large or tensioned damage should be reinforced before any sealing step.
Match the Method to Six Damage Types
Identify where the damage sits and how it behaves under tension, moisture, folding, and ground contact before selecting glue, tape, a patch, or structural reinforcement.

Leaking Seams
Seams contain thread, needle holes, overlapping fabric, and corners where water may travel beyond the first damp spot. Liquid sealant is usually the better starting method because it can follow the stitch line in a thin continuous layer. Clean and dry both sides, extend coverage slightly beyond the leak, and allow full cure before water testing or tightly folding the repaired seam into storage.

Rainfly Pinholes
Tiny rainfly holes may come from branches, clips, storage abrasion, or folding against hardware. A small controlled glue application covers the irregular opening without adding a large visible square. Hold the rainfly toward daylight to locate every bright point, mark each spot, and confirm the surrounding fabric is still strong enough to support a local repair through repeated setup, normal wind movement, and later folding.

Irregular Small Tears
Short jagged tears often include loose fibers and uneven edges. Liquid glue can wet the border and seal narrow gaps after the fabric is aligned. If the opening spreads under light tension, add a compatible patch behind or over the area. Keep repaired edges flat during curing so the adhesive does not form a thick ridge or lock a natural fold line into an awkward shape.

Large Flat Tears
A broad tear needs material spanning the opening. Outdoor repair tape or a shaped fabric patch is normally more effective than glue alone because the reinforcement distributes force across a wider area. Round patch corners, press from the center outward, and use compatible liquid adhesive only when the border also needs waterproof sealing or protection against lifting around corners, stitch transitions, and uneven coating boundaries.

Lifted Patch Edges
A sound patch can still admit grit and moisture when one border begins lifting. Remove contamination, confirm the patch remains firmly anchored, and apply a narrow compatible liquid seal along the raised perimeter. Do not trap water under the patch. When adhesive failure affects most of the patch, replacement is safer than repeatedly adding glue around an unstable repair with contaminated or weakened adhesive beneath it.

Structural Damage
Failed guyline anchors, pole attachments, load-bearing webbing, and long tears through tension zones require reinforcement that carries force. Glue and tape may protect edges or seal needle holes after the structural work, but neither should replace sewing, reinforcement fabric, replacement hardware, or professional service. Inspect connected seams before returning the shelter to wind, repeated pitching, or any heavy loading during a trip.
Where Repair Tape Performs Best and Struggles
Repair tape earns its place in a camping kit, yet performance changes with surface geometry, coating, contamination, temperature, pressure, moisture, and repeated folding cycles outdoors.

Where Tape Works
Repair tape works best when the damaged fabric lies flat, the surrounding material is sound, and the adhesive can contact a broad clean area. It is especially useful for field repairs because no liquid cure schedule is required before careful handling. A rounded patch can bridge a flat rip, reduce further spreading, and distribute light stress beyond the cut.
- Clean and dry the surface first.
- Round every patch corner.
- Press firmly from center to edge.
- Select tape made for the fabric and coating.

Where Tape Struggles
Tape becomes less predictable around narrow seams, tight curves, wrinkles, heavily textured canvas, contaminated fabric, and silicone-treated surfaces without a matching product. Thick household tape may create a stiff spot on lightweight rainflies and can trap moisture or debris under lifting borders.
- Avoid spanning structural failures with tape alone.
- Do not cover damp fabric.
- Replace unstable patches rather than stacking layers.
- Use liquid sealant when the main job is following a stitch line or sealing an irregular perimeter.
- Inspect every border after the first fold because narrow corners and textured areas often reveal early lifting first.
Where Liquid Tent Glue Performs Best and Struggles
Liquid adhesive offers controlled waterproof coverage across narrow defects, but preparation, layer thickness, coating chemistry, surrounding fabric strength, and curing time remain essential for dependable results.

Where Glue Works
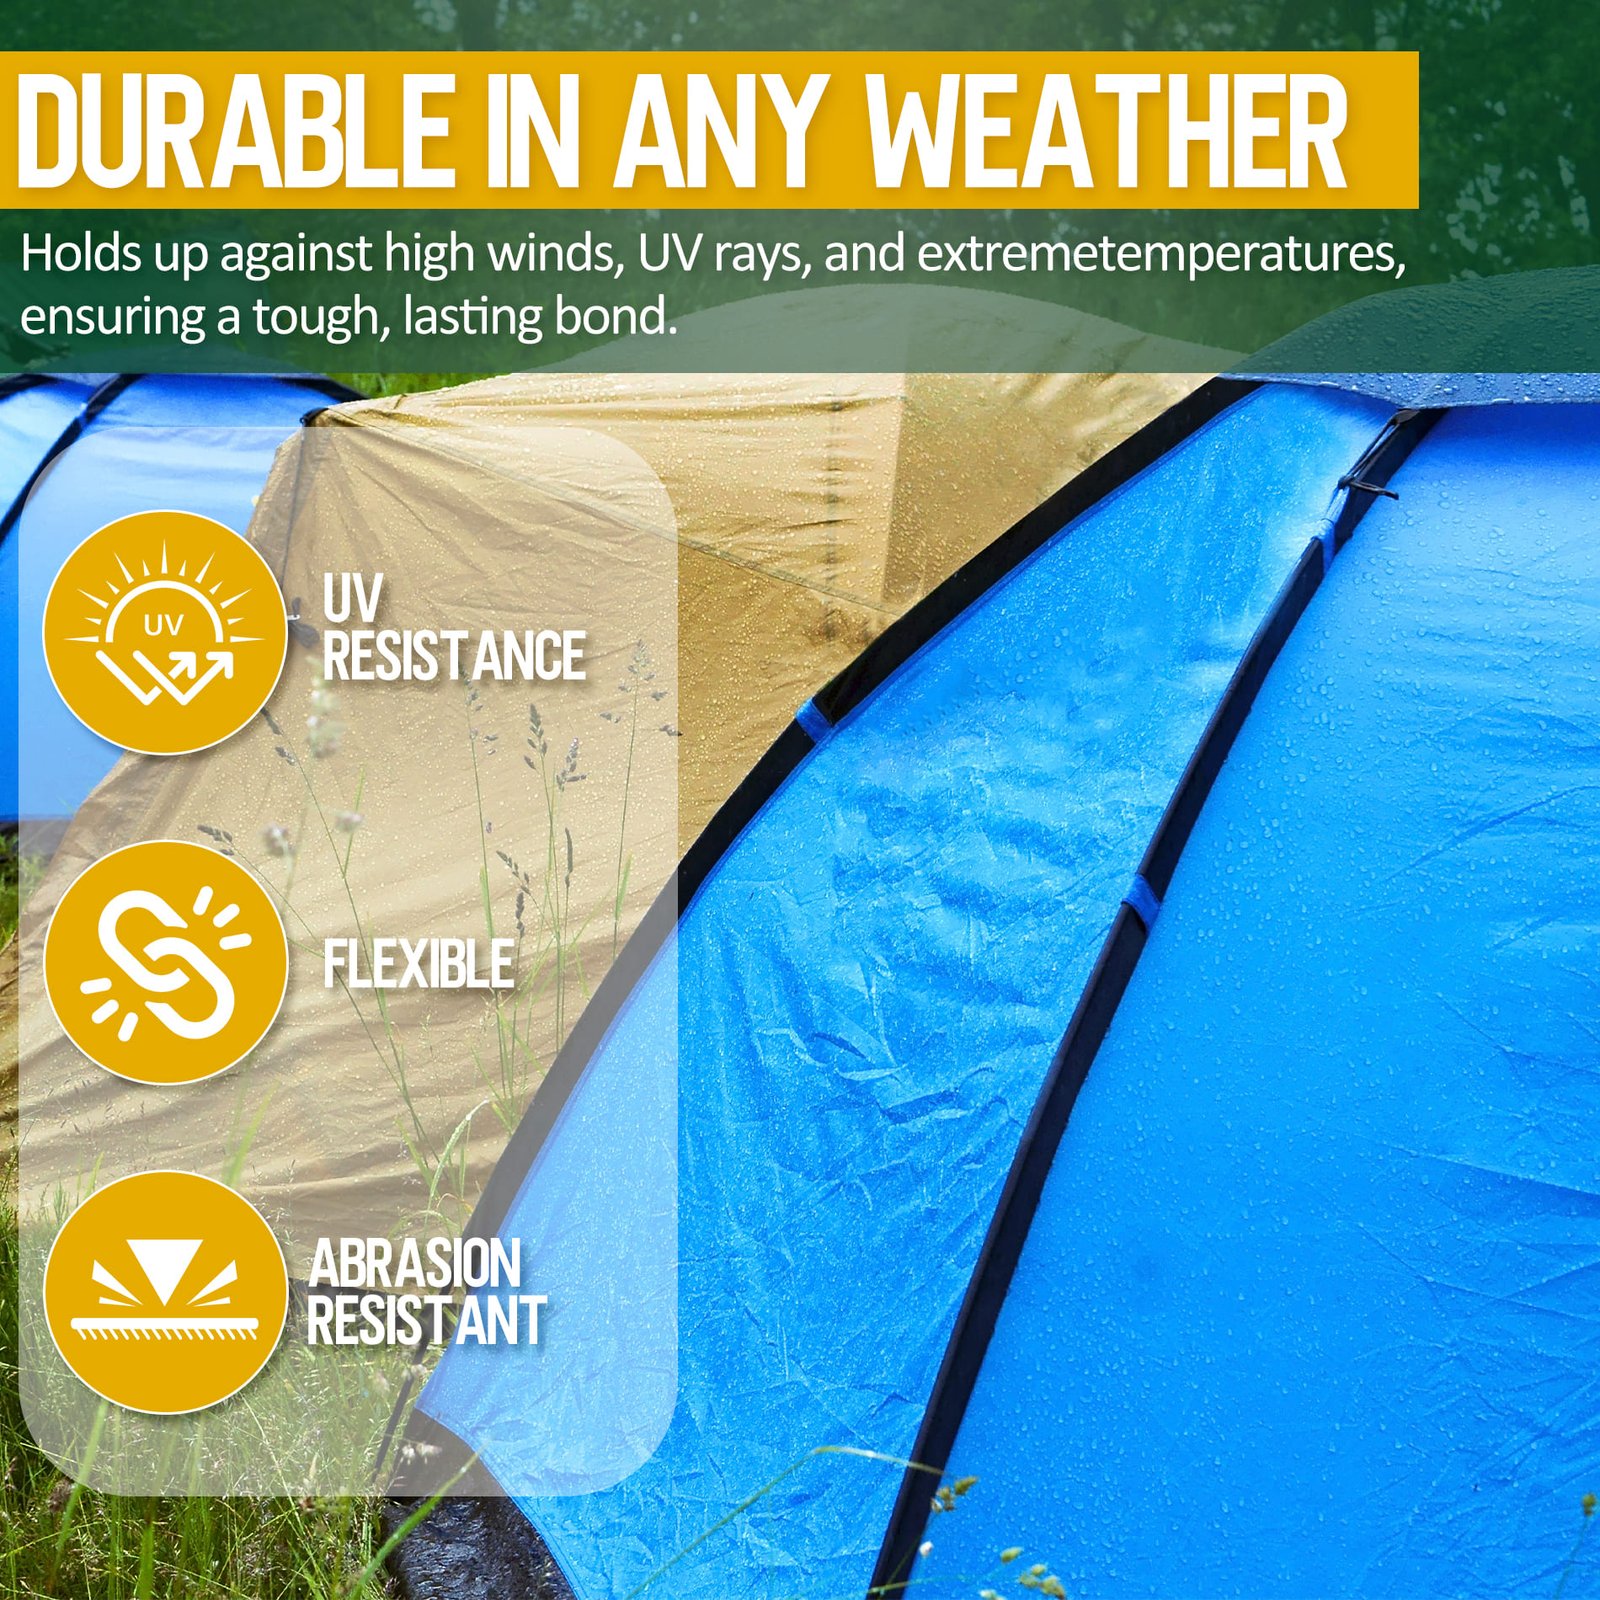
Liquid tent glue works well along stitch lines, needle holes, pinholes, short irregular tears, lifted borders, and patch perimeters. The applicator can trace a narrow leak path without covering a large area of sound fabric. GleamGlee combines repair adhesion with seam-sealing performance and cures into a flexible layer on compatible outdoor materials.
- Apply only to clean, dry fabric.
- Use a thin, even coat.
- Smooth beyond the defect.
- Keep the repair flat and dry until fully cured.
- Extend coverage slightly beyond visible damage so the sealed layer reaches sound material around the complete leak path.

Where Glue Falls Short
Glue should not be expected to bridge a wide opening, rebuild rotten fabric, or restore a failed load-bearing attachment. Excess adhesive can create a bulky bead, extend curing time, and reduce foldability. Unidentified coatings may reject an otherwise suitable formula, while silicone-treated shelters often require silicone-compatible sealers.
- Reinforce larger tears before sealing.
- Test uncertain materials.
- Do not pack after the initial set.
- Replace brittle fabric instead of sealing over degradation.
- Use tape, patch fabric, sewing, or professional reinforcement whenever the opening must carry meaningful tension or bridge a wide gap.
When Tape and Tent Glue Work Better Together
Combined repairs separate reinforcement from waterproof sealing, giving each material a clear job instead of asking one product to solve every failure mode during outdoor use.

Patch Carries Load Glue Seals Edges
A larger tear first needs a bridge across the opening. Repair tape or a compatible fabric patch spreads light stress over sound material beyond the cut and keeps the edges aligned. Once the patch is stable, liquid adhesive can address gaps around curves, stitch transitions, and uneven borders that remain vulnerable to moisture or lifting. The combination works because reinforcement and sealing solve different parts of the damage.
Begin by laying the fabric flat without stretching it. Trim loose threads only when they prevent alignment. Select a patch that extends beyond every side of the tear, round the corners, and press from the center outward. Inspect the perimeter under good light. Apply a narrow line of compatible liquid glue only where sealing is needed, then smooth the edge without flooding the fabric.
- Patch or tape spans the opening.
- Liquid adhesive seals irregular borders.
- Sound surrounding fabric carries the repair.
- Structural zones still need sewing or stronger reinforcement.
Avoid trapping dirt, moisture, or old loose adhesive under a new layer. If the original patch releases across a large area, remove or replace it rather than adding repeated beads around a failing base. After full curing, flex the repaired panel gently and examine the border under light before packing it for a trip.

Reinforce First Then Complete Waterproof Sealing
Repair order matters. Waterproof glue should finish a stable repair, not hide an opening that continues spreading under tension. Start by asking whether the damaged area carries wind load, body weight, pole pressure, guyline force, or repeated zipper pull. Any meaningful structural load requires reinforcement before sealing.
After the fabric is supported, inspect the repair from both sides. Look for open needle holes, lifted patch corners, and irregular transitions where rain can travel. Clean the perimeter, let it dry completely, and apply a thin controlled seal. GleamGlee begins setting in about 10-15 minutes, but initial set is not full cure. Reserve about 24 hours before folding, packing, water testing, or returning the area to normal outdoor use.
- Inspect and classify the load.
- Patch, sew, or reinforce as required.
- Seal the completed perimeter.
- Cure flat and dry.
- Test gently before the trip.
A combined repair is not automatically stronger. Material compatibility, clean contact, adequate overlap, proper pressure, and full curing determine whether the finished work remains dependable through repeated setup, folding, storage, and normal weather exposure. Record the repair date, recheck the area after the first rainy outing, and stop using the shelter if structural movement continues around the reinforced zone.
Identify the Fabric and Coating Before Repair
Base fiber names help, but coatings and surface treatments often decide whether a polyurethane adhesive, silicone sealer, repair tape, or another method will bond correctly.
| Material | GleamGlee Fit | Common Location | Important Check |
|---|---|---|---|
| Nylon | Confirmed base material | Rainflies, tent walls, lightweight gear | Determine whether the surface is polyurethane or silicone treated |
| Polyester | Confirmed | Family tents, canopies, rainflies | Identify the coating and test when unknown |
| Canvas | Confirmed | Wall tents, awnings, heavy covers | Waxed or oiled finishes may reduce adhesion |
| Vinyl | Confirmed | Outdoor covers, awning components | Clean the smooth surface thoroughly |
| PVC plastic | Confirmed for compatible outdoor repairs | Selected gear components and coated areas | Not a substitute for rigid PVC pipe cement |
| PVC-coated fabric | Confirmed | Tent floors, tarps, waterproof covers | Dry the coating completely before application |
| Mesh | Limited edge use | Door borders, window seams | Use a mesh patch for open mesh holes |
| Silnylon or silpoly | Verify before use | Ultralight shelters and tarps | A silicone-compatible sealer may be required |
Check the sewn label, original product instructions, or manufacturer specifications before repair. An inconspicuous compatibility test is sensible on unfamiliar coatings, specialty laminates, waxed canvas, rubberized surfaces, and aged materials.
Waterproof Flexibility and Abrasion Shape Repair Life
Outdoor fabric repairs face rain, wind, folding, pressure, mud, grit, abrasion, and storage friction, so initial adhesion alone cannot define useful long-term repair performance in the field.
Waterproof Barrier
A successful repair closes the complete path moisture follows, not only the most visible hole. Seam thread can carry water sideways, and a patch corner can admit moisture beneath a larger area. A continuous seal helps protect sleeping gear and tent floors after full curing.
- Cover needle holes and adjacent weak points.
- Extend slightly beyond damaged borders.
- Test only after full cure.
- Inspect both sides because water can migrate beyond the first visible damp mark along thread and folded seams.
Flexible Movement
Rainflies, tent walls, tarps, and groundsheets repeatedly fold, roll, compress, and move in wind. A flexible cured layer can follow those movements more naturally than a brittle household-glue spot. Flexibility does not replace reinforcement where fabric carries major tension.
- Avoid thick adhesive ridges.
- Cure the fabric flat.
- Inspect the first fold after repair.
- Keep the repaired section loosely rolled during the first storage cycle whenever space and gear design allow.
Outdoor Abrasion
Ground contact, branches, poles, buckles, dirt, and storage hardware can rub repaired areas over time. Groundsheets and tarp edges need a sealed layer placed on sound material, not over crumbling fibers. Protect the repair by choosing the correct site preparation and storage routine.
- Remove grit before bonding.
- Avoid dragging repaired fabric.
- Recheck high-contact areas seasonally.
- Add a footprint or adjust campsite preparation when repeated ground damage appears near the same tent-floor location.
GleamGlee Tent Repair Glue Facts at a Glance
Review verified product details before matching GleamGlee to the fabric, coating, damage size, repair location, weather exposure, and curing time available before normal outdoor use.
Amazon price, stock, delivery estimates, ratings, and review counts change over time. Open the current listing before a scheduled trip and confirm the expected delivery date rather than relying on an older screenshot.
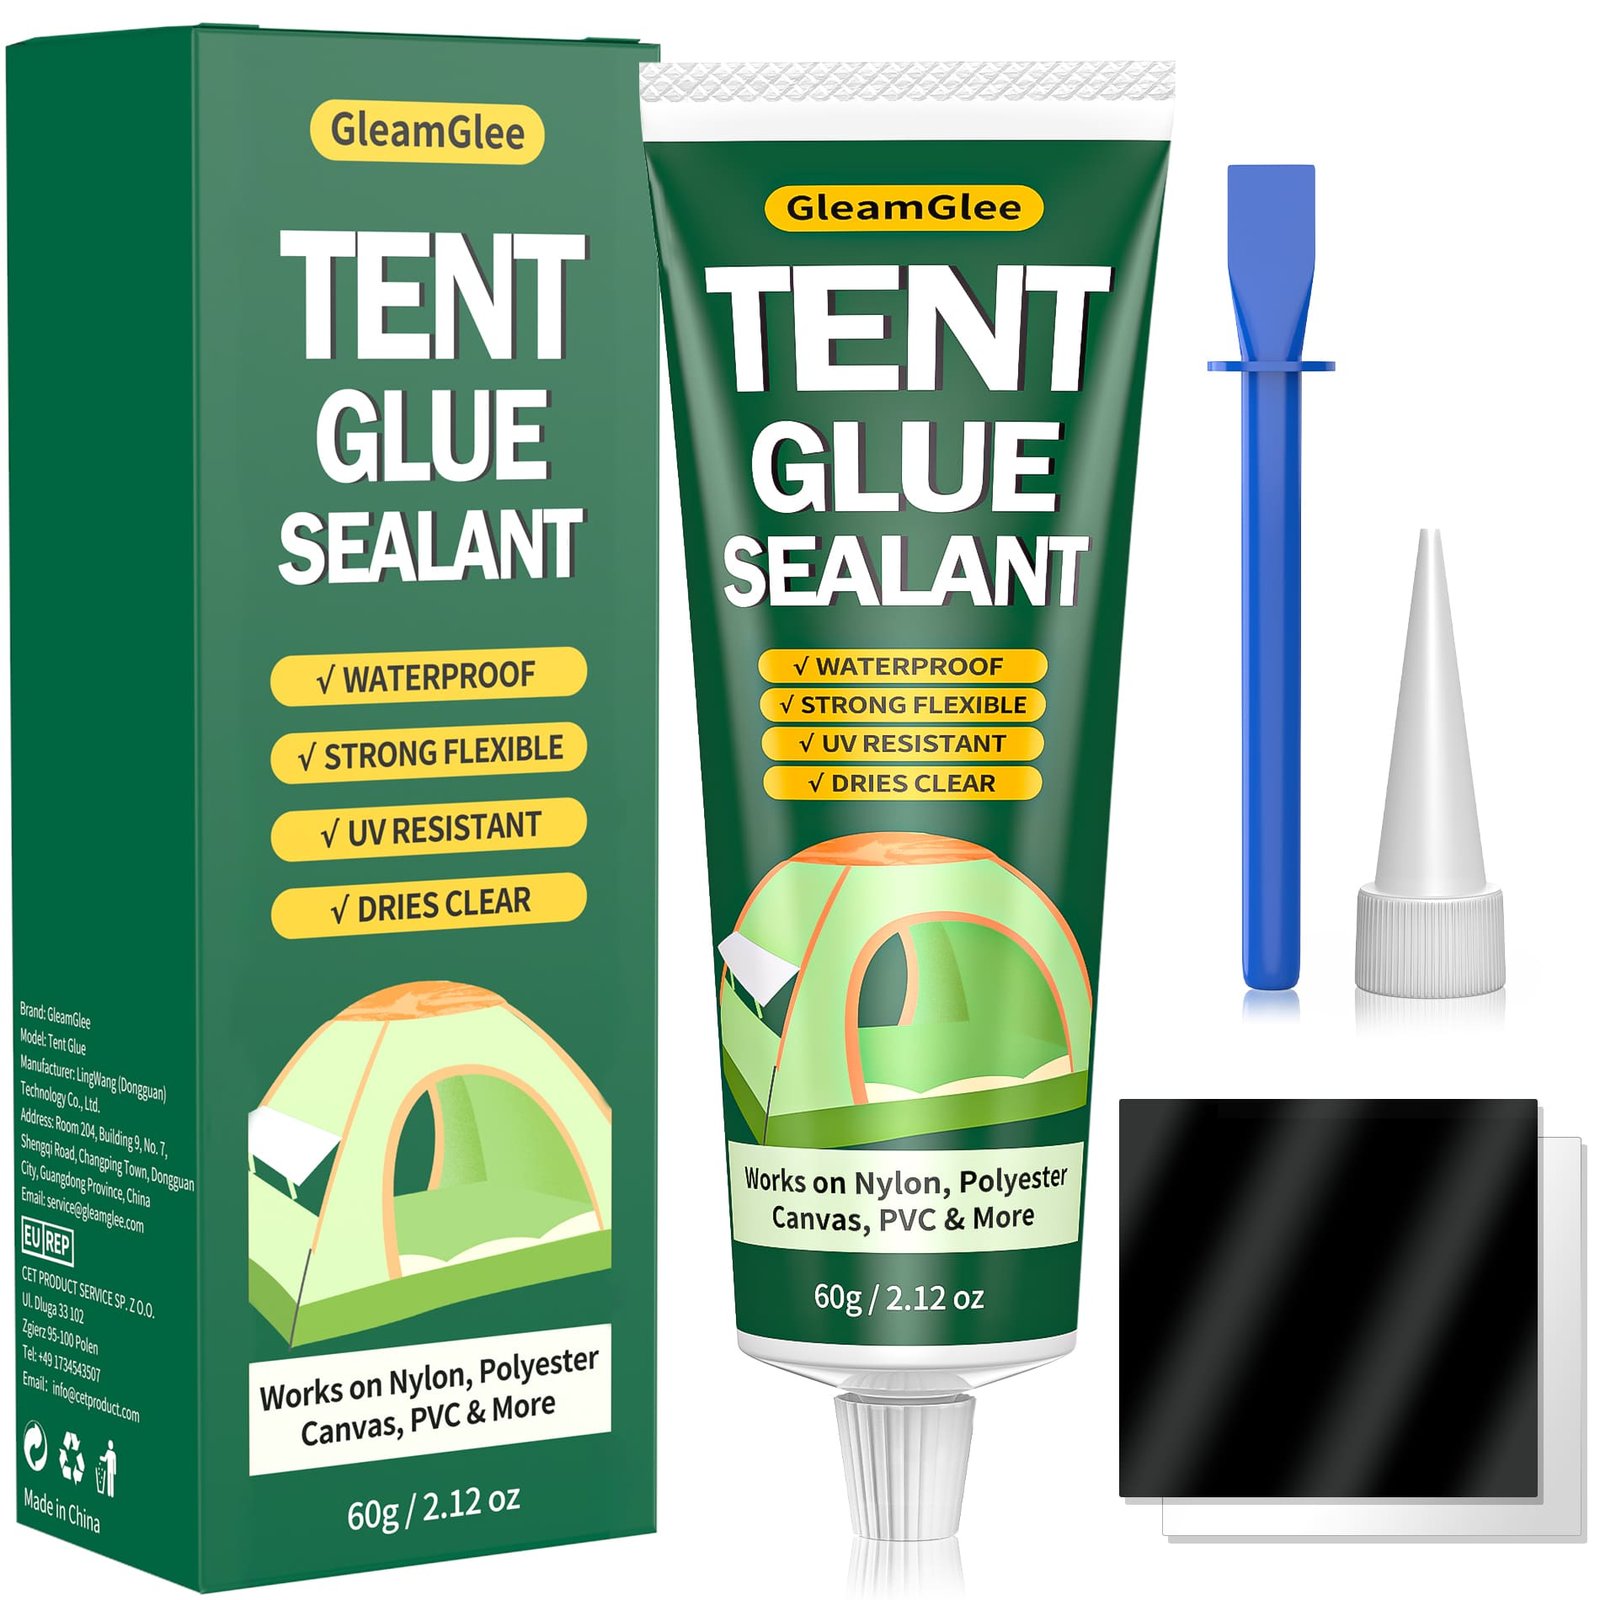
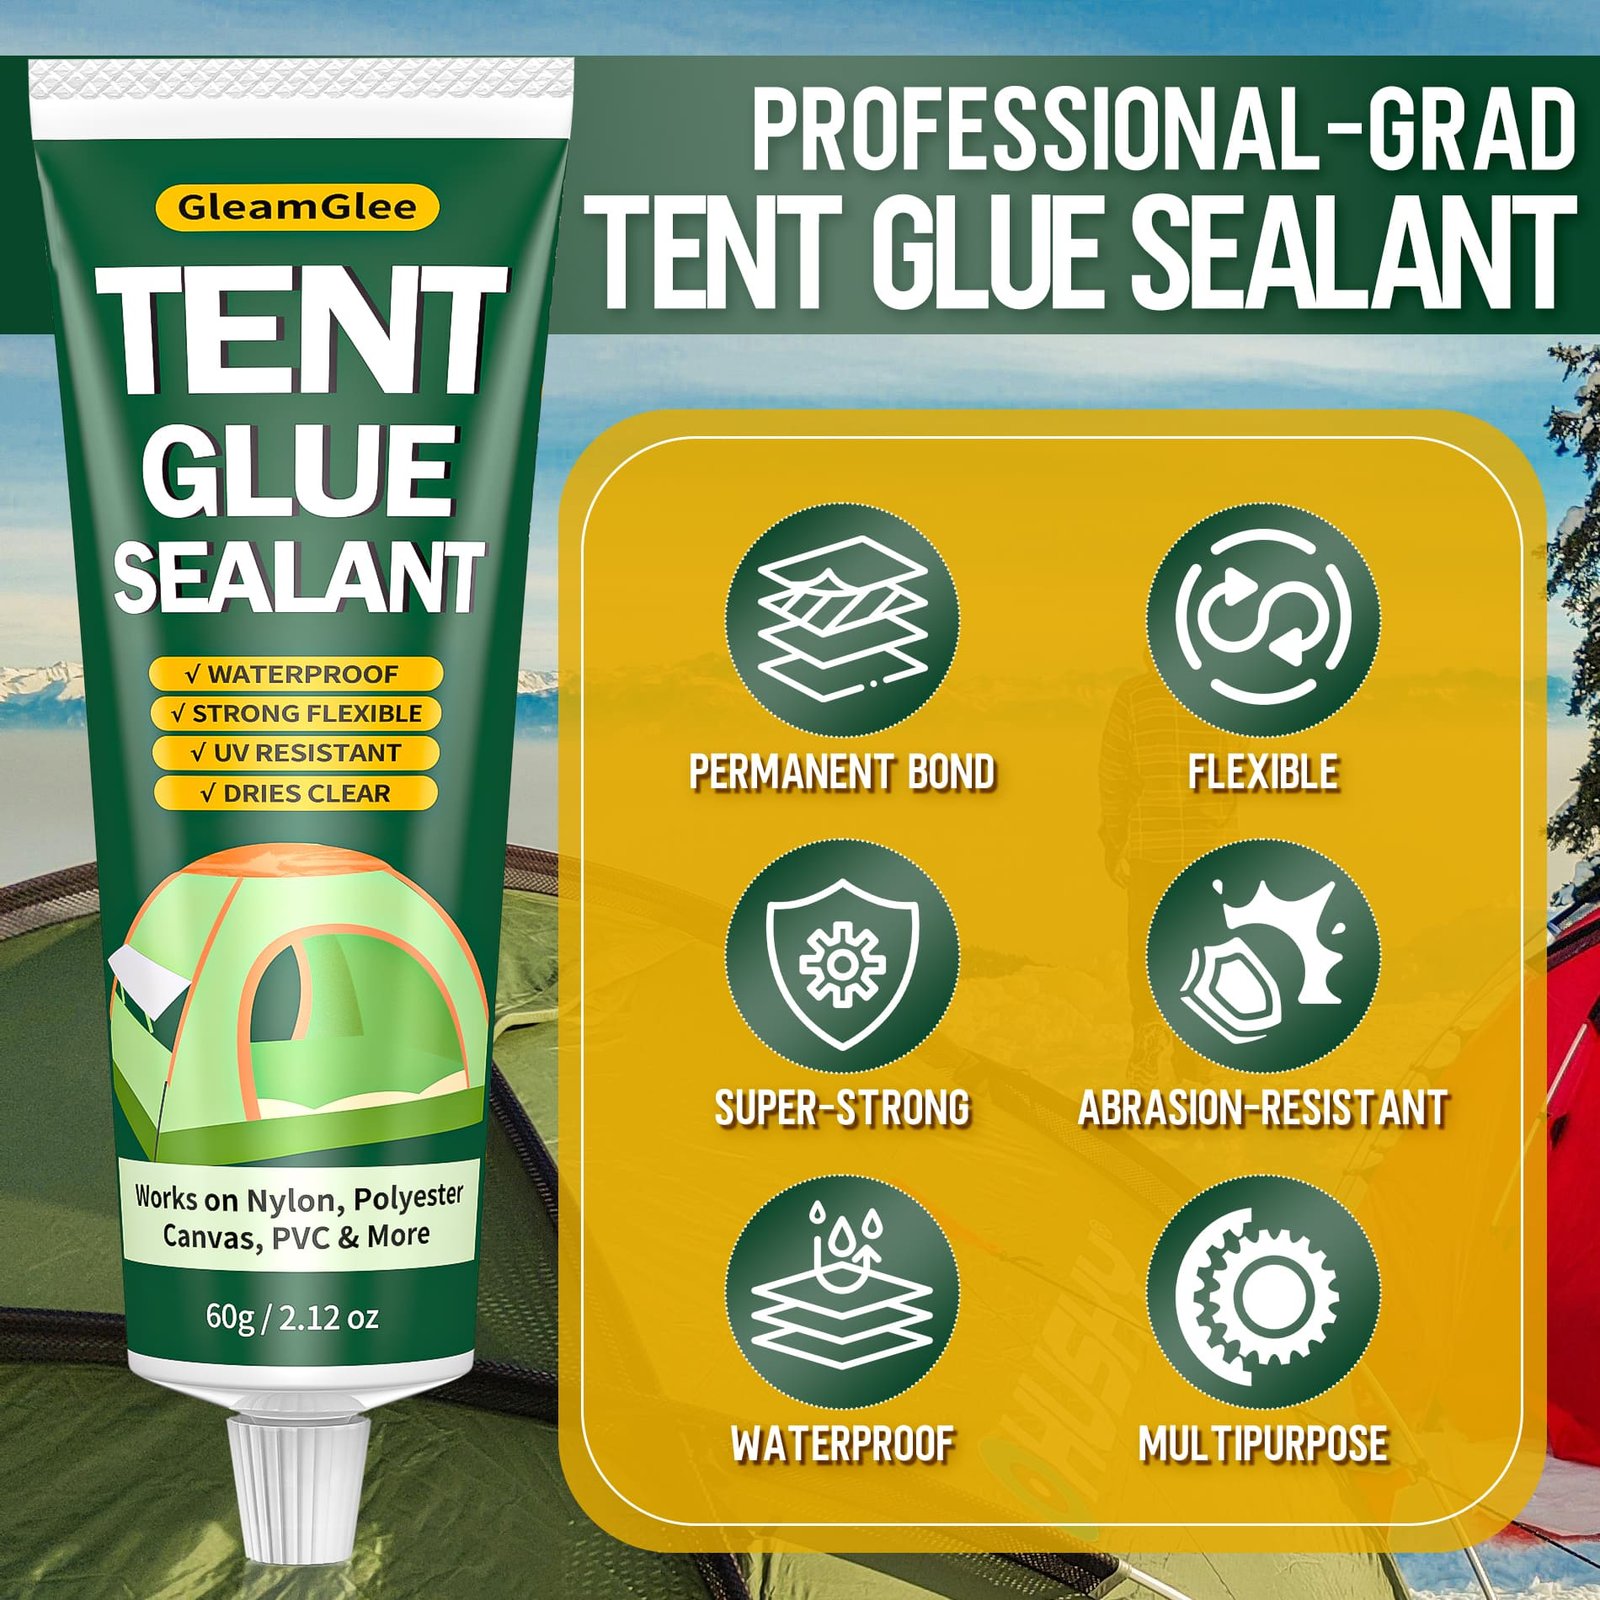
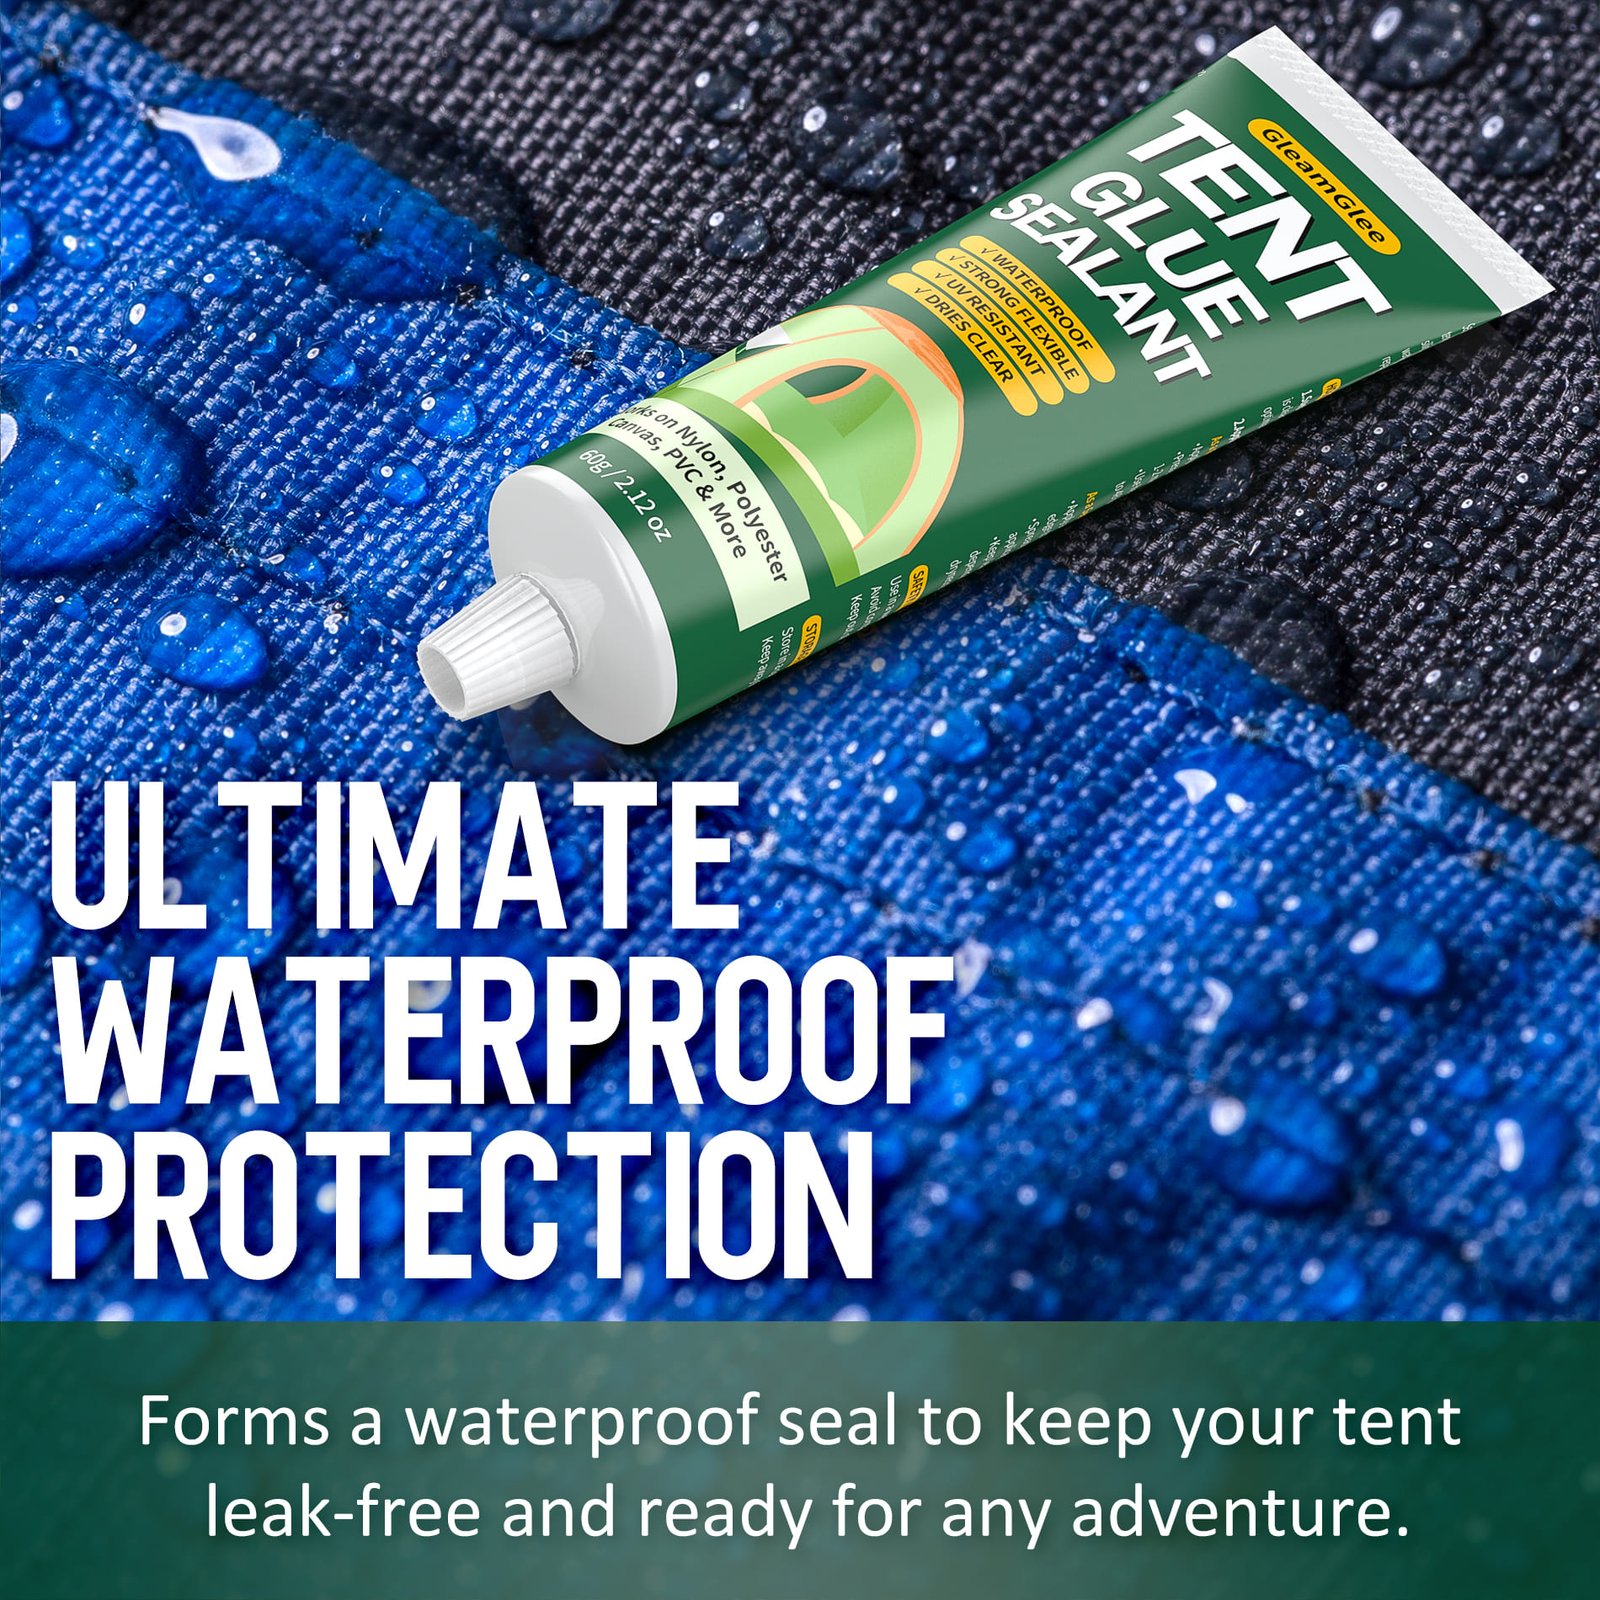
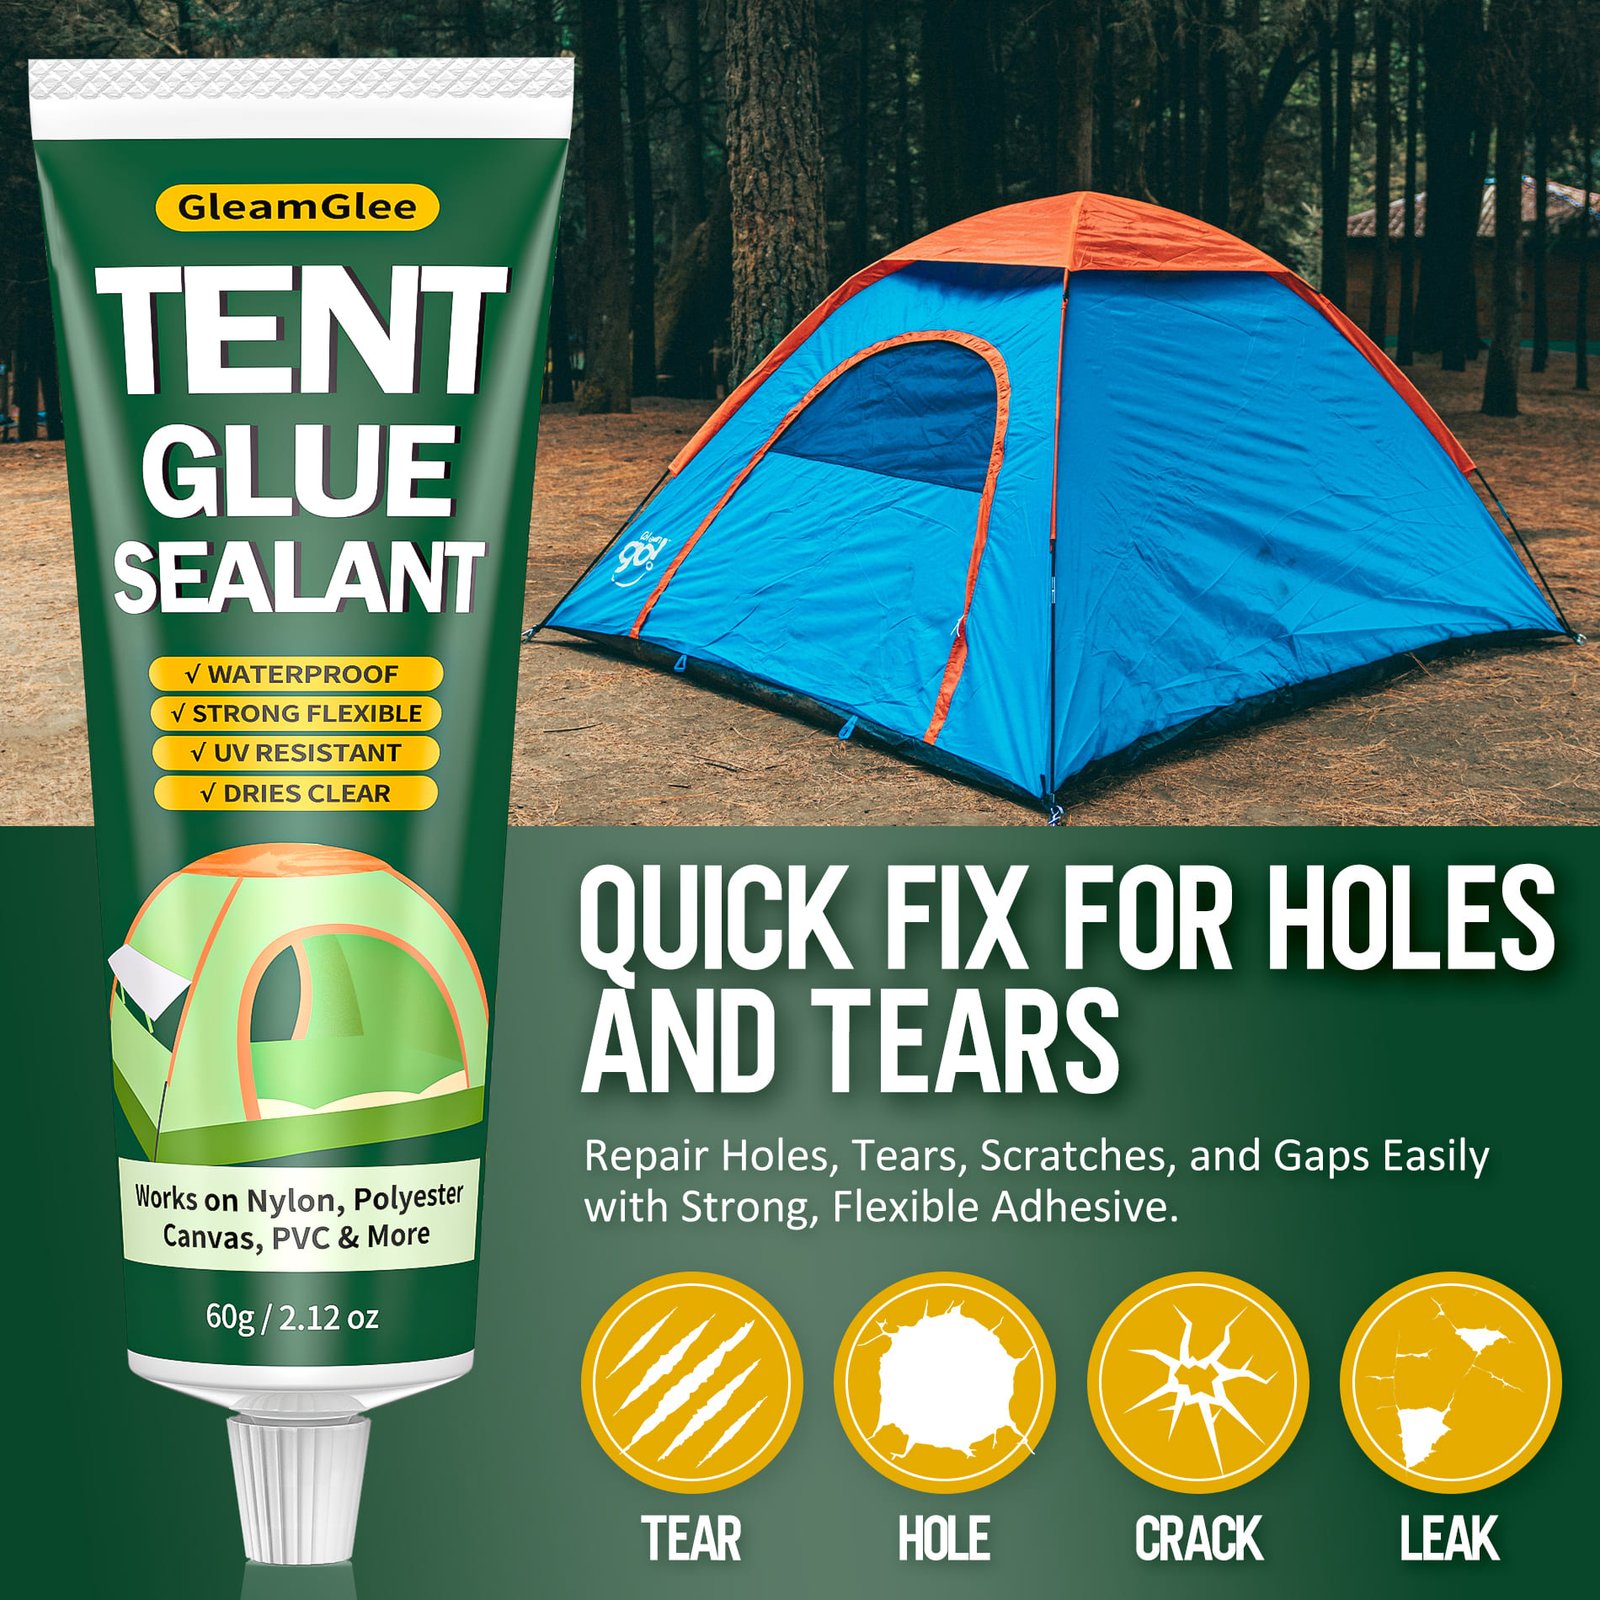
| Product Detail | Verified Information |
|---|---|
| Brand | GleamGlee |
| Product | Tent Repair Glue / Flexible Repair Glue |
| Amazon ASIN | B0F2SN6RB9 |
| Product Type | Tent repair adhesive + waterproof seam sealer |
| Capacity | 60ml / 2.12oz |
| Formula | Polyurethane-based liquid adhesive |
| Water Resistance | Waterproof after proper application and full curing |
| Cured Layer | Clear, flexible rubber seal |
| Confirmed Materials | Nylon, polyester, canvas, vinyl, PVC plastic, PVC-coated fabric |
| Best Repair Types | Seams, pinholes, small tears, lifted edges, patch borders |
| Coverage | Up to 60 feet of seams or fabric areas with thin, even application |
| Initial Set | About 10-15 minutes |
| Full Cure | About 24 hours, depending on temperature and humidity |
| Tools Required | No sewing or heat required for suitable localized repairs |
| Primary Purchase Channel | Amazon US |
Why GleamGlee Fits Liquid Repair Situations
Four verified characteristics support localized outdoor-fabric repairs without presenting one adhesive as the correct answer for every tear, coating, structural load, or emergency field condition.
Bonds and Seals
Tent damage often has two parts: loose fabric edges need bonding, and the water path needs sealing. GleamGlee works as both a repair adhesive and waterproof seam sealer on compatible materials.
- Use on localized seams, pinholes, short tears, and borders.
- Apply where sound material surrounds the defect.
- Reinforce larger or loaded openings first.
- Seal slightly beyond the visible water path so the finished layer reaches stable surrounding material rather than stopping at the weakest edge.
Flexible After Cure
Once cured, GleamGlee forms a flexible rubber seal suited to fabric that folds, rolls, packs, and moves in normal wind. The repair can follow the material more naturally than a brittle adhesive mass.
- Keep folds loose after the first cure.
- Avoid thick application.
- Inspect high-movement edges after the next setup.
- Store repaired fabric without sharply creasing the same location during the first packing cycle after full cure.
Controlled Liquid Coverage
The liquid form can trace stitch lines, surround pinholes, enter narrow edge gaps, and seal patch perimeters without covering a broad section of sound fabric. Controlled coverage helps the repair look cleaner and reduces unnecessary stiffness.
- Apply slowly.
- Use a thin, even layer.
- Smooth bubbles and missed spaces before setting.
- Keep the applicator close to the surface so the layer remains narrow, controlled, and easy to inspect under good lighting.
Multiple Repair Value
Each tube contains 60ml / 2.12oz and can seal up to 60 feet of seams or fabric areas when applied thinly and evenly. Coverage varies with texture, porosity, seam width, and damage size.
- Address several small repairs.
- Maintain rainfly and floor seams.
- Store the tube with other outdoor repair supplies.
- Actual coverage changes with seam width, fabric texture, porosity, absorption, and the amount needed around each damaged border.
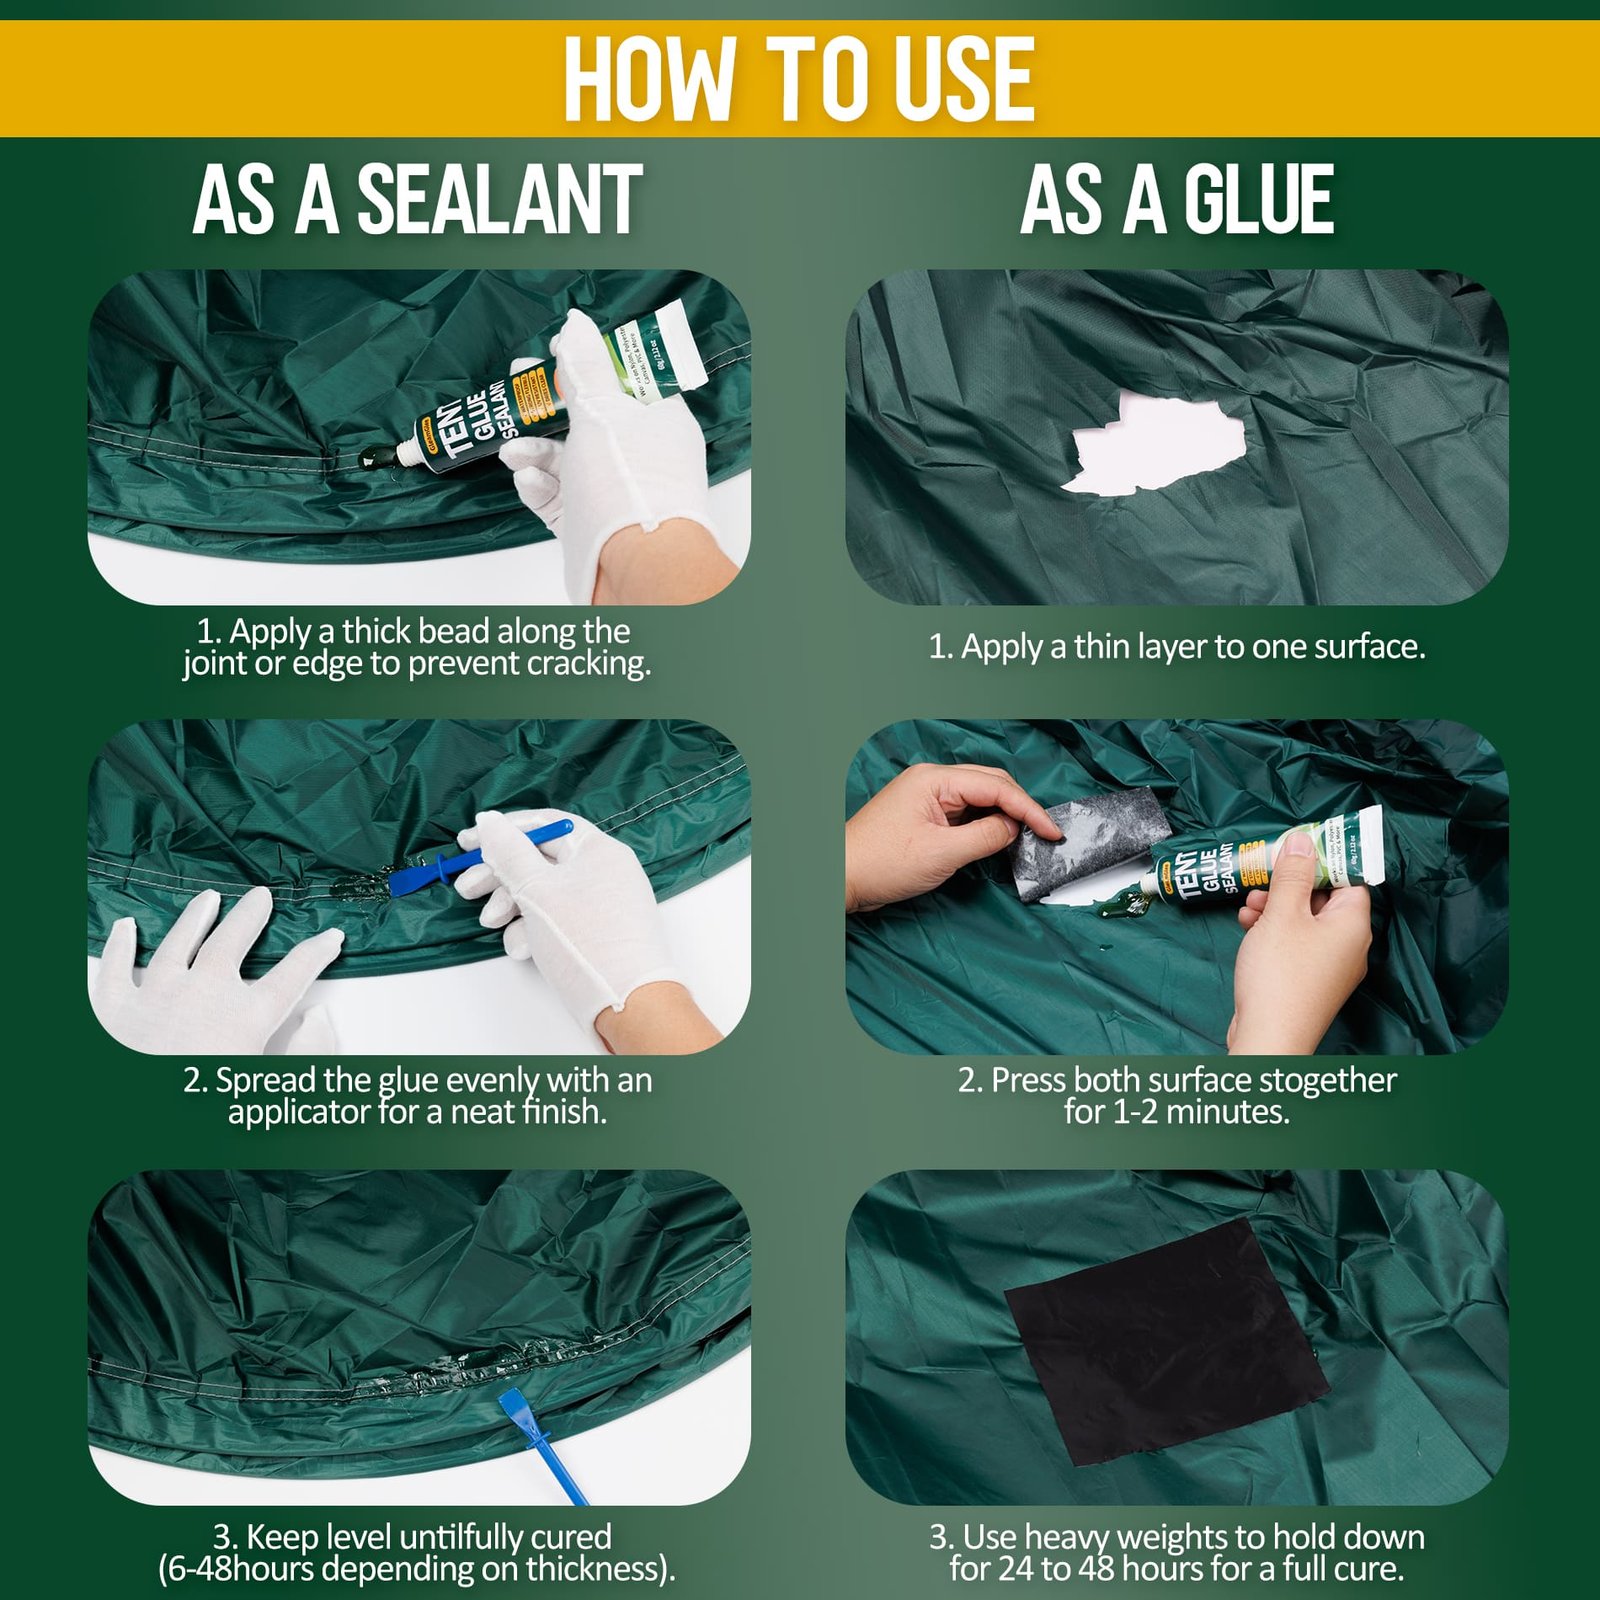
How to Apply Liquid Tent Glue Correctly
A dependable liquid repair follows six controlled steps: inspect, clean, dry, apply thinly, smooth and align, then allow complete curing before folding, packing, testing, or outdoor use.

Clean
Remove soil, grit, oil, loose fibers, flaking coating, and unstable old adhesive. Follow the tent manufacturer guidance for compatible cleaning methods. Residue left beside a seam or under a patch can create channels, reduce contact, and cause premature lifting even when the adhesive formula matches the fabric. Allow surface and seam layers to dry completely before applying adhesive.

Apply Thinly
Use the applicator to place a narrow, even layer over the defect and slightly beyond its border. Do not flood the fabric or build a thick bead. Thin application improves control, reduces stiffness, supports more consistent curing, and helps the 60ml tube cover multiple localized repairs.

Smooth and Align
Bring short tear edges together without stretching the fabric out of shape. Smooth the adhesive across the seam, pinhole, or patch border, removing bubbles and filling missed gaps. Hold or support the area only as needed, keeping the finished surface flat and free from pressure marks.

Cure Fully
GleamGlee begins setting in about 10-15 minutes, but full cure takes about 24 hours depending on temperature, humidity, layer thickness, and surface condition. Keep the repair dry, unfolded, unloaded, and undisturbed. Complete gentle inspection or water testing only after the full cure period, then dry the fabric fully before packing.
Why Tent Glue and Tape Repairs Fail
Most weak repairs trace back to method selection, surface condition, premature movement, coating mismatch, or structural overload rather than a simple lack of initial adhesive strength.
Wrong Repair Method
Glue cannot carry every wide opening, and tape cannot follow every stitch line or curved leak path. Failure starts when the product is asked to perform the wrong job.
- Use tape or patches to bridge flat tears.
- Use liquid glue for seams and irregular borders.
- Add sewing or structural reinforcement where tension is significant.
- Stop and reassess whenever the opening spreads during light handling or the surrounding fabric appears thin, brittle, or distorted.
Poor Surface Preparation
Dirt, body oils, condensation, old loose adhesive, flaking coatings, and ground grit reduce useful contact. Covering contamination only hides the problem until folding or moisture reaches the border.
- Clean according to the fabric guidance.
- Remove unstable residue.
- Let layered seams dry completely.
- Work on sound surrounding material.
- Reclean smooth vinyl and coated surfaces when fingerprints, cleaner residue, or airborne dust return before application.
Folding Too Early
An adhesive may feel firm during the initial set and still be far from full cure. Folding, packing, loading, or rain exposure too soon can distort the repair and create channels.
- Treat 10-15 minutes as initial setting only.
- Plan about 24 hours for full cure.
- Keep repaired fabric flat and dry during the wait.
- Schedule the repair at least one day before packing so temperature or humidity changes do not force an early fold.
Ignoring Surface Coatings
Two tents labeled nylon may carry very different treatments. Polyurethane coatings, silicone treatments, wax, oil, specialty laminates, and aging finishes change adhesion.
- Read the sewn label.
- Check manufacturer instructions.
- Test an inconspicuous area.
- Use silicone-compatible products for silicone-treated shelters when required.
- Avoid assuming that two fabrics with the same fiber name share the same coating, finish, age, or repair chemistry.
Best Uses and Important Repair Limits
Clear suitability guidance helps prevent failed applications, protects valuable gear, and directs structural or incompatible damage toward a safer and more appropriate repair method before outdoor use.
Best For
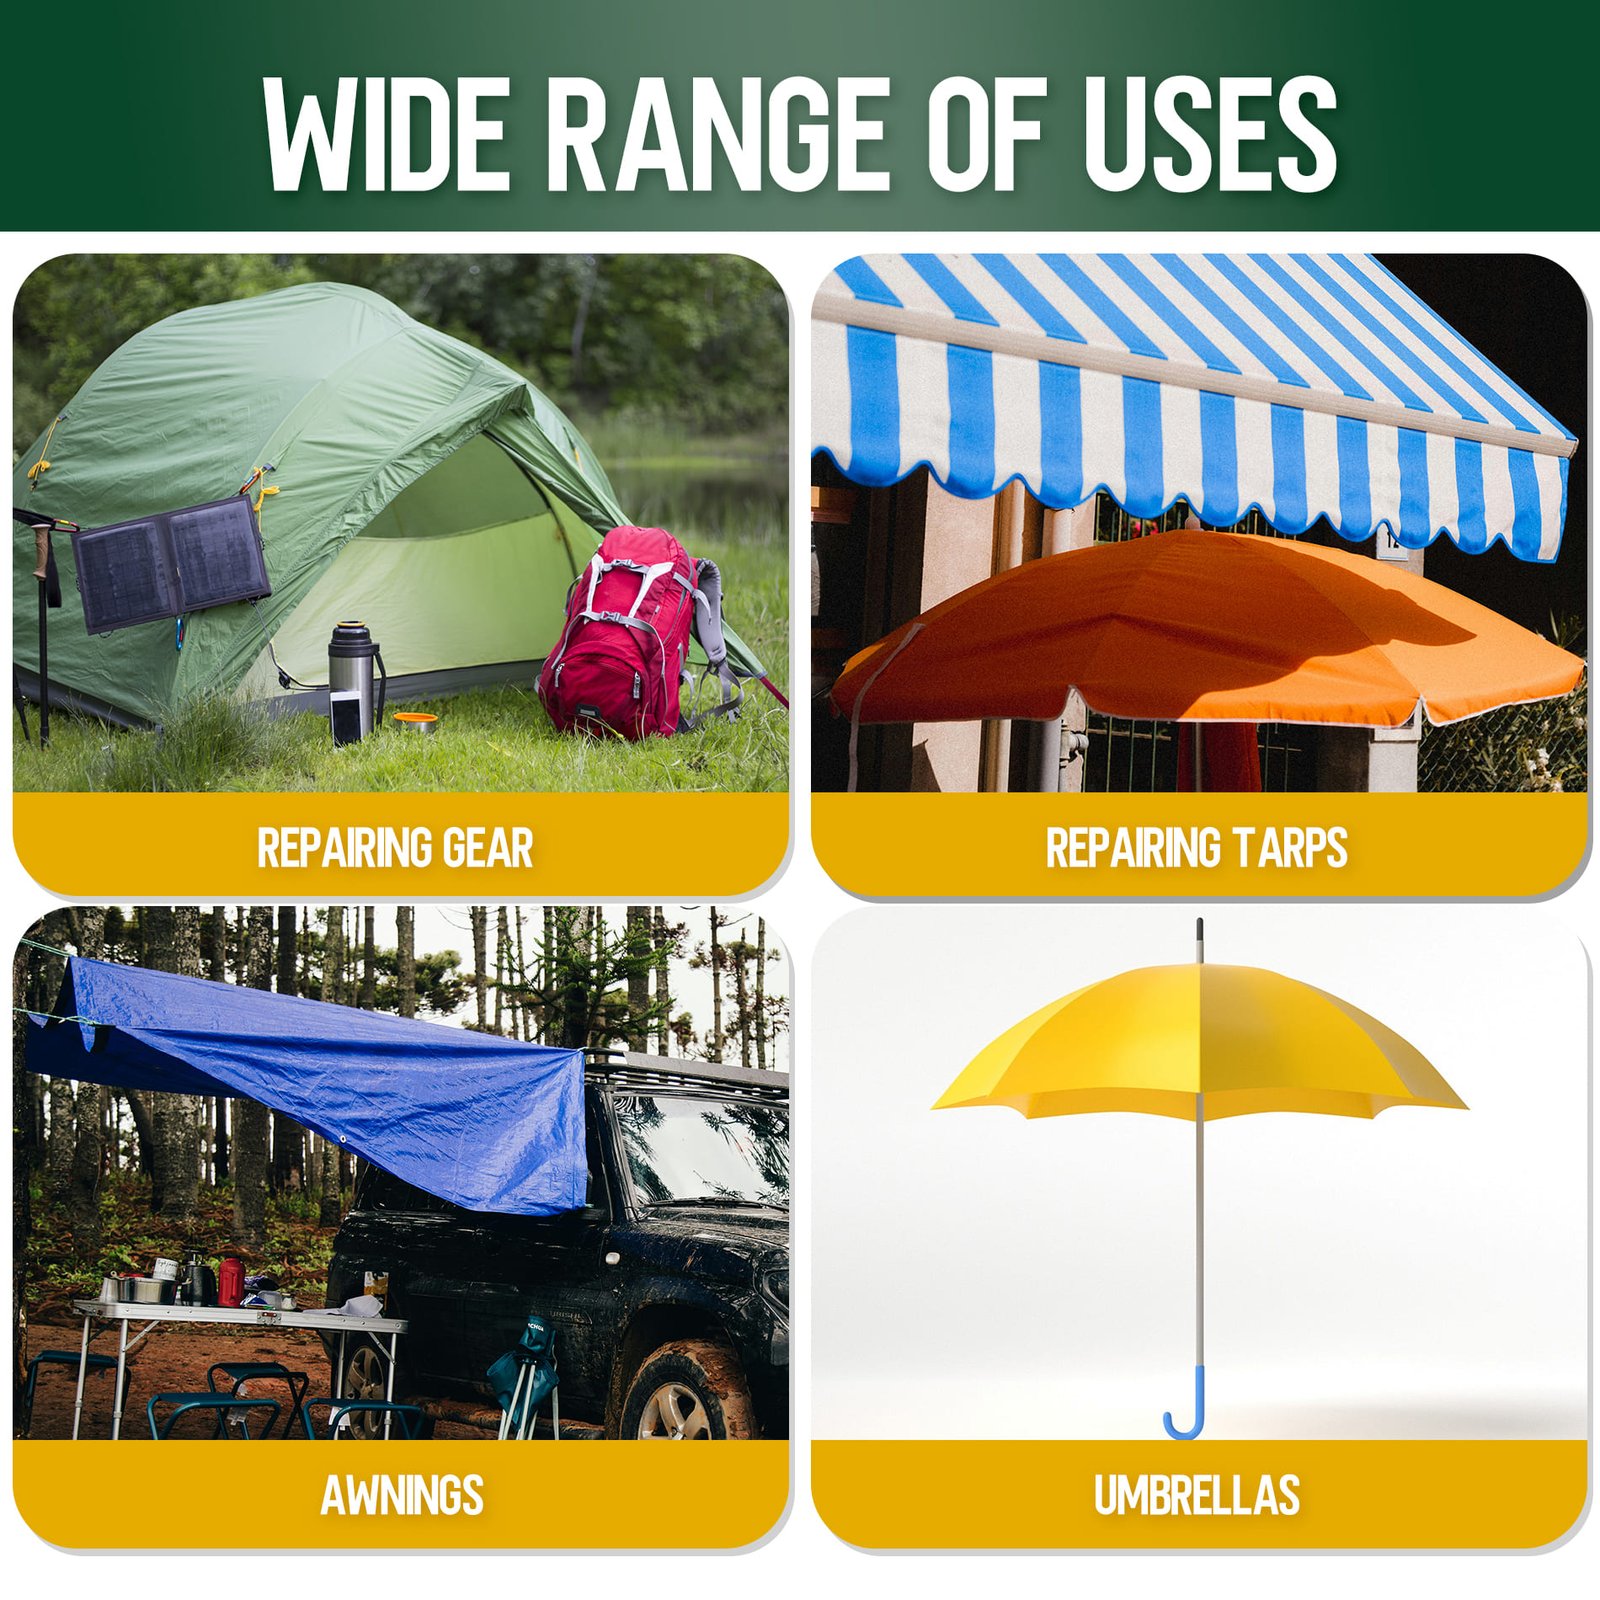
GleamGlee Tent Repair Glue is best suited to localized waterproof repairs on compatible outdoor fabrics and coated materials. Strong applications include stable leaking seams, isolated rainfly pinholes, short aligned tears, small groundsheet punctures, lifted fabric edges, patch borders, tarp cracks, awning seams, and preventive reinforcement of worn stitch lines. Confirmed material categories include nylon, polyester, canvas, vinyl, PVC plastic, and PVC-coated fabric for suitable localized repairs on sound surrounding material. The liquid form is especially useful around curved corners and irregular edges where a wide repair strip may not sit neatly. Plan about 24 hours for full cure before folding, loading, packing, or rain exposure.
- Local damage on sound surrounding fabric.
- No-sew sealing for non-structural repairs.
- Multiple small repairs from one 60ml tube.
Not Intended For
Do not depend on glue alone for large structural tears, failed guyline anchors, broken pole attachments, separated load-bearing webbing, or stitching that carries major tension. High-pressure inflatable chambers, rigid PVC pipe joints, extensive detached seam tape, and crumbling sun-rotted fabric need another method or replacement. Silicone-treated shelters such as silnylon and silpoly may require a silicone-based sealer, so confirm the coating before application. Whole-tent waterproofing loss across broad fabric panels also calls for cleaning and an appropriate water-repellent treatment rather than spot glue.
- Reinforce load-bearing damage mechanically.
- Replace brittle or degraded fabric.
- Use manufacturer-specified products for specialty laminates.
Tent Glue Versus Tape Frequently Asked Questions
Use these answers to compare methods, confirm material compatibility, plan curing time, and recognize situations requiring patches, sewing, reinforcement, replacement, or specialty sealers before outdoor use.
1. Is tent glue better than repair tape?
Neither method wins every repair. Tent glue is usually better for seams, pinholes, curved edges, short irregular tears, and waterproof borders. Repair tape is usually better for broad flat tears and fast field coverage. Larger openings may need a patch or tape for reinforcement, followed by compatible liquid glue around the perimeter.
2. When should I use tent repair tape?
Use repair tape when the tear lies flat, the surrounding material is sound, and a wide adhesive patch can contact clean fabric. Tape is valuable for quick travel repairs because it needs no liquid cure schedule. Choose a product designed for the tent fabric and coating, round the corners, and press firmly.
3. Can liquid glue seal leaking tent seams?
Yes, on compatible materials and stable seam areas. Apply a thin line over the stitch path and needle holes after cleaning and drying the fabric. Extend slightly beyond the observed damp section because water may travel along thread. Detached seam tape or failed stitching may require removal, retaping, sewing, or professional repair.
4. Should I tape or glue a rainfly hole?
Use liquid glue for isolated pinholes and short irregular openings when the surrounding fabric remains strong. Use a compatible patch or repair tape when the hole is broad, the edges separate, or reinforcement is needed. Silicone-treated rainflies may require silicone-compatible products, so identify the coating before applying either method.
5. Can glue and repair tape be used together?
Yes. Tape or a fabric patch can bridge the tear and distribute force, while compatible liquid glue seals irregular borders, needle holes, or lifted corners. Apply reinforcement first, inspect the stable perimeter, then seal only where needed. Keep the work clean, dry, flat, and undisturbed until the liquid adhesive fully cures.
6. Which method works better on large tears?
Repair tape or a fabric patch is generally the better starting method for a large flat tear because it spans the opening. Glue alone should not carry a wide gap or major tension. Structural areas may also need sewing, reinforcement fabric, webbing, hardware replacement, or professional service before waterproof edge sealing.
7. Does GleamGlee stay flexible after curing?
GleamGlee cures into a flexible rubber seal designed to move with compatible foldable outdoor fabric. Flexibility helps around rainflies, tent walls, tarps, awnings, and groundsheets, but it does not replace structural reinforcement. Use a thin layer, allow about 24 hours for full cure, and inspect the repair after the first folding cycle.
8. Can GleamGlee repair nylon tents?
Nylon is listed among the compatible materials, but the surface coating still matters. Polyurethane-coated nylon may accept a polyurethane-based adhesive, while silicone-treated nylon often requires a silicone-compatible sealer. Check the sewn label or manufacturer specifications and test a hidden area before applying glue to an unfamiliar rainfly or tent panel.
9. How long should tent glue cure?
GleamGlee begins setting in about 10-15 minutes and reaches full cure in about 24 hours, depending on temperature, humidity, layer thickness, and surface condition. Initial set is not permission to fold or pack the tent. Keep the repair dry and flat until the full cure period has passed.
10. Does ordinary repair tape work on silnylon?
Ordinary fabric repair tape may not bond reliably to silicone-treated nylon. Silnylon and silpoly often require products specifically designed for silicone surfaces. Confirm the tent manufacturer guidance before repair. A coating-compatible silicone sealer or specialty tape is generally safer than assuming a standard polyurethane adhesive or ordinary fabric tape will work.
Final Verdict on Tent Glue Versus Repair Tape
Choose by damage geometry, waterproofing need, fabric coating, structural load, and repair schedule rather than assuming the most familiar or heavily advertised product will perform better.

Choose by Damage Not Product Popularity
Repair tape is the stronger starting choice for broad, flat tears that need immediate coverage and a wide contact area. Liquid tent glue is the stronger starting choice for leaking seams, pinholes, curved corners, short irregular tears, lifted borders, and patch perimeters. When reinforcement and waterproof sealing are both required, use a compatible patch or tape to bridge the opening, then seal the stable border with liquid adhesive.
GleamGlee Tent Repair Glue fits the liquid-repair side of that decision. The 60ml / 2.12oz polyurethane-based formula works as both a repair adhesive and seam sealer on compatible nylon, polyester, canvas, vinyl, PVC plastic, and PVC-coated fabric for suitable localized repairs on sound surrounding material. It begins setting in about 10-15 minutes, reaches full cure in about 24 hours under typical conditions, and can cover up to 60 feet of seams or fabric areas when applied thinly and evenly.
Choose another method when the damage carries major tension, the fabric is brittle, a wide opening needs reinforcement, or the coating requires a specialty product. Amazon price, stock, ratings, and delivery estimates change, so open the current listing under ASIN B0F2SN6RB9 before ordering for a scheduled trip. Plan enough time to inspect the tent, complete surface preparation, apply the selected repair method, and allow any liquid adhesive to cure fully before packing. A correct repair decision protects gear better than forcing glue or tape into a role it was not designed to perform.





















