 Skip to content
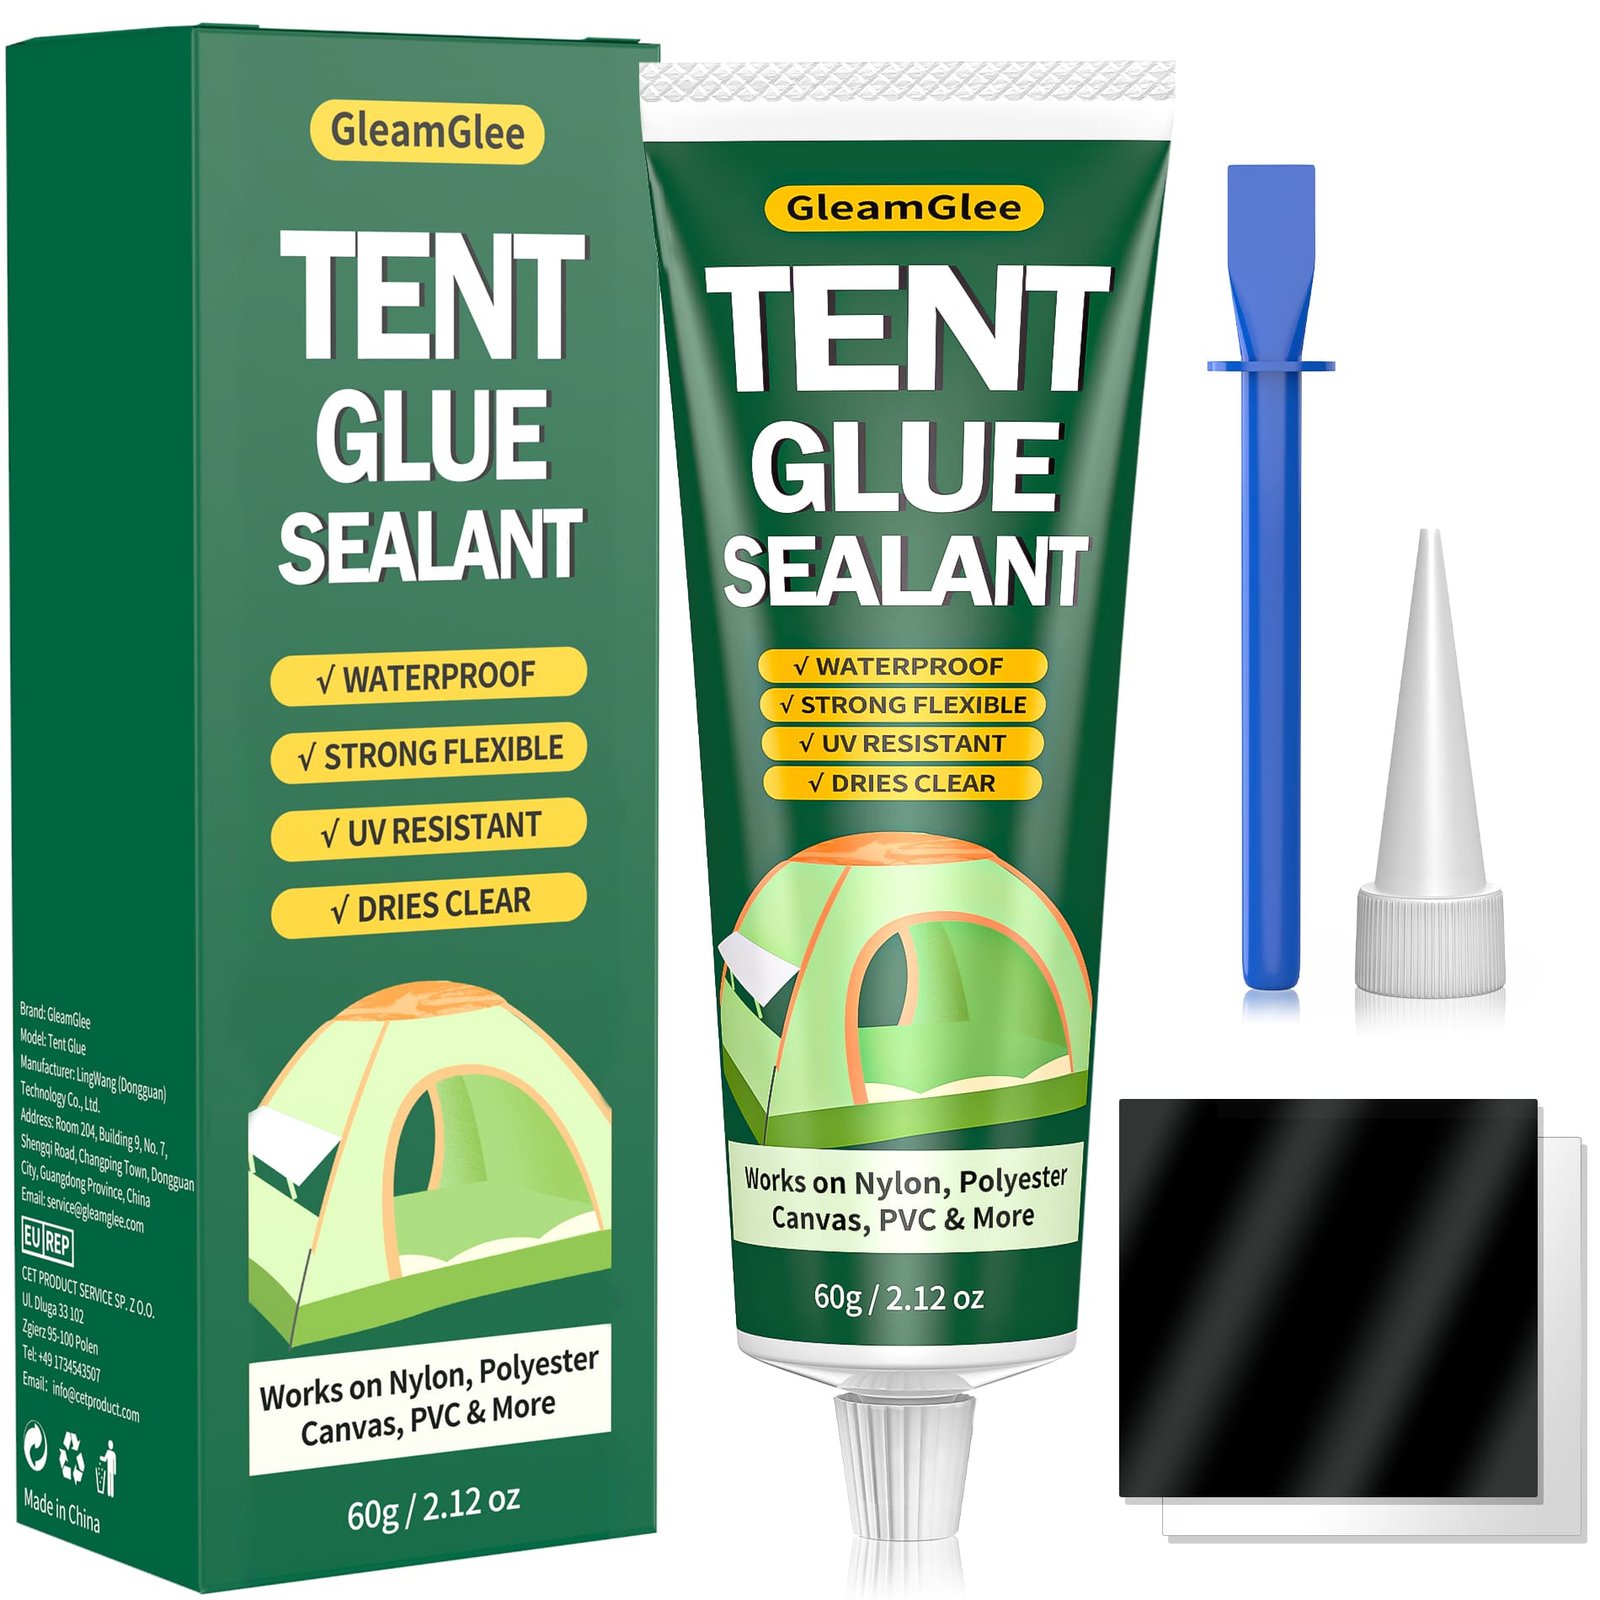
Tent Glue for Canvas, Nylon & Polyester Materials
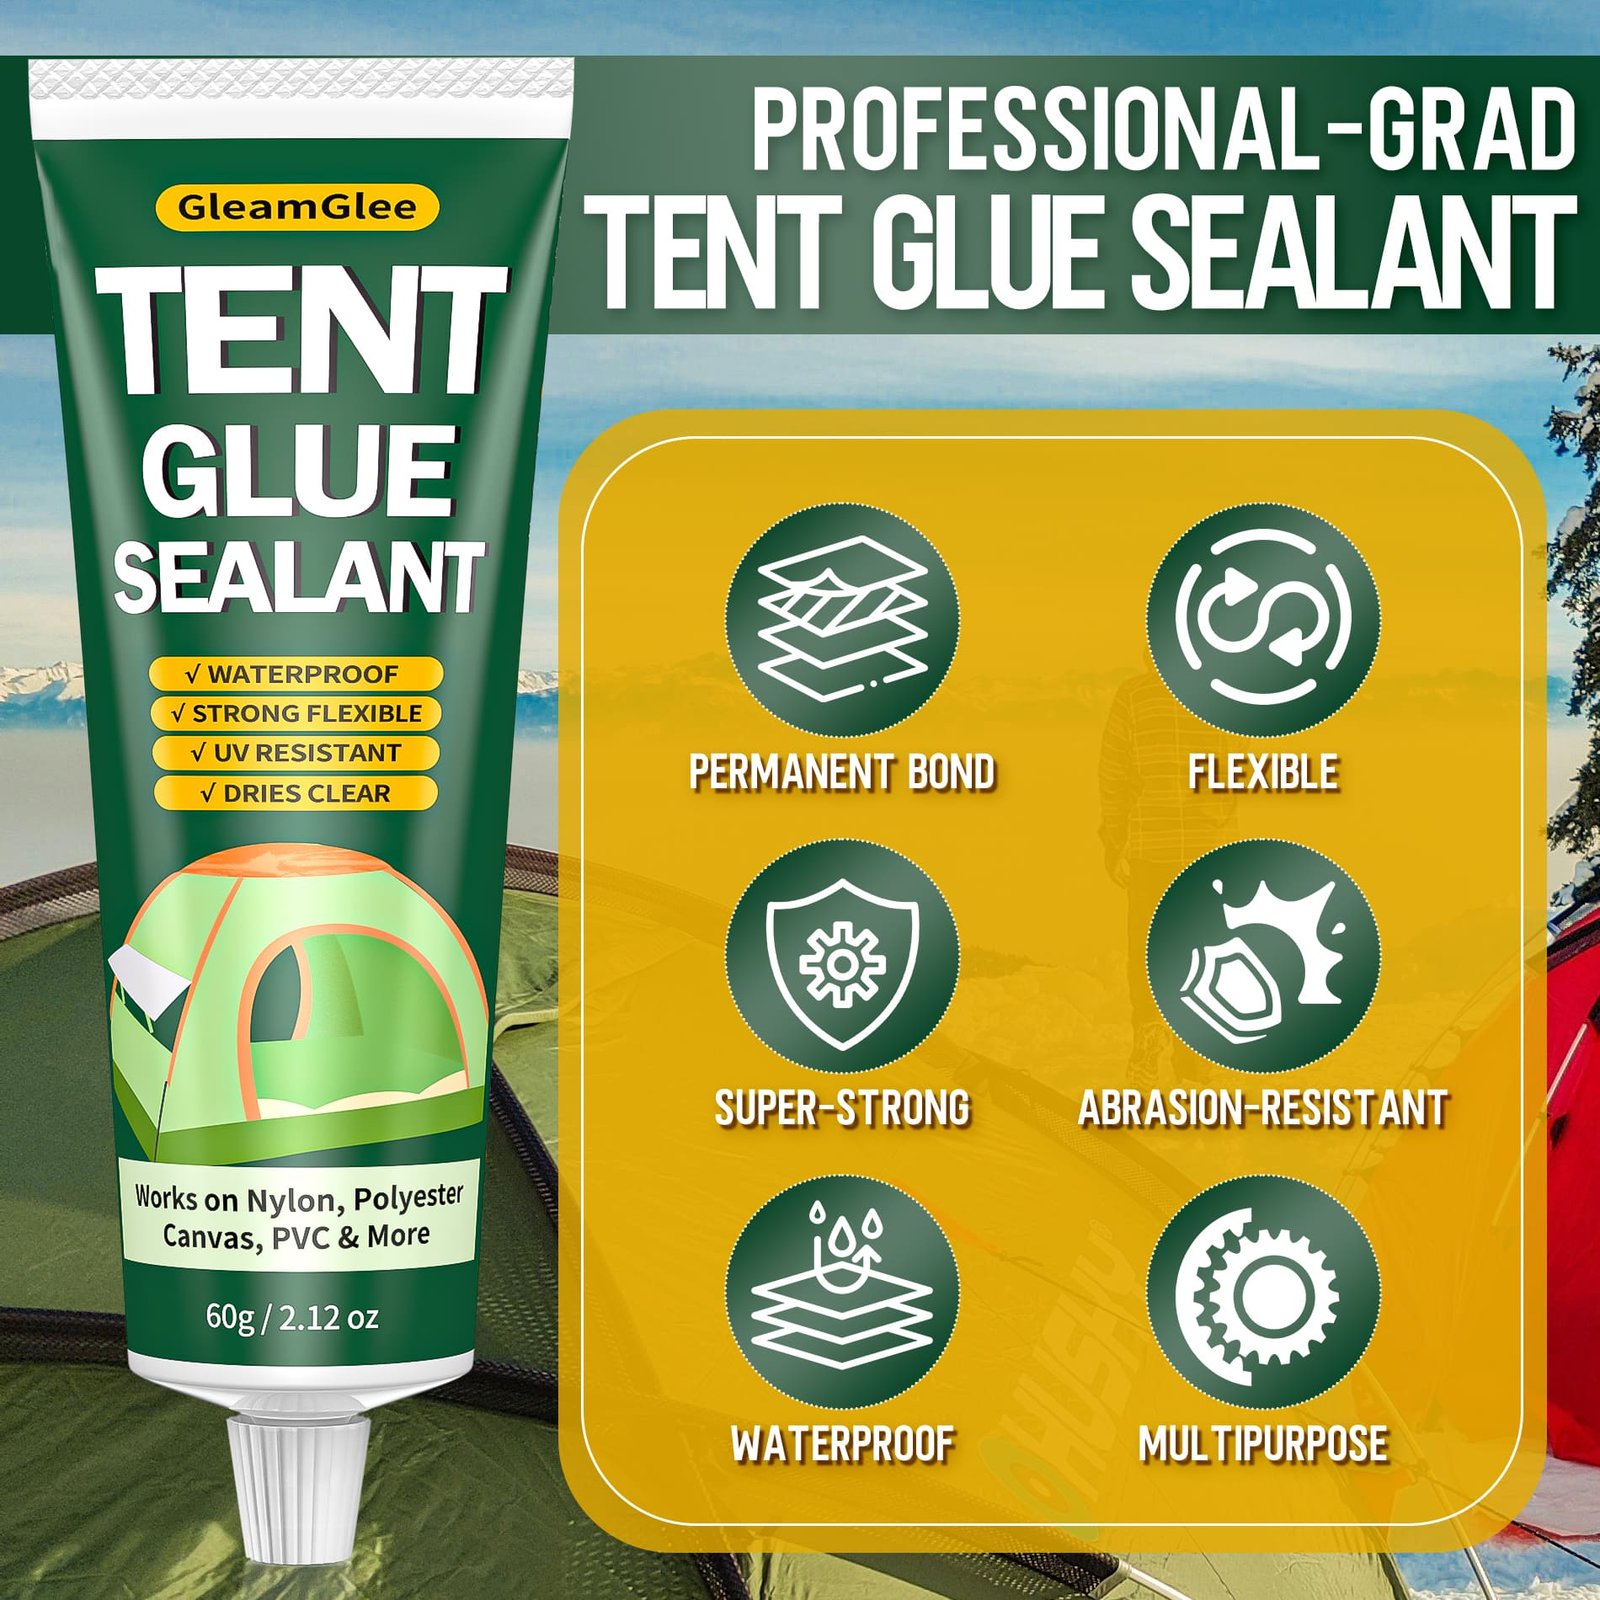
Waterproof, flexible polyurethane repair glue and seam sealer for compatible tent fabrics, rainflies, groundsheets, tarps, awnings, and outdoor covers.
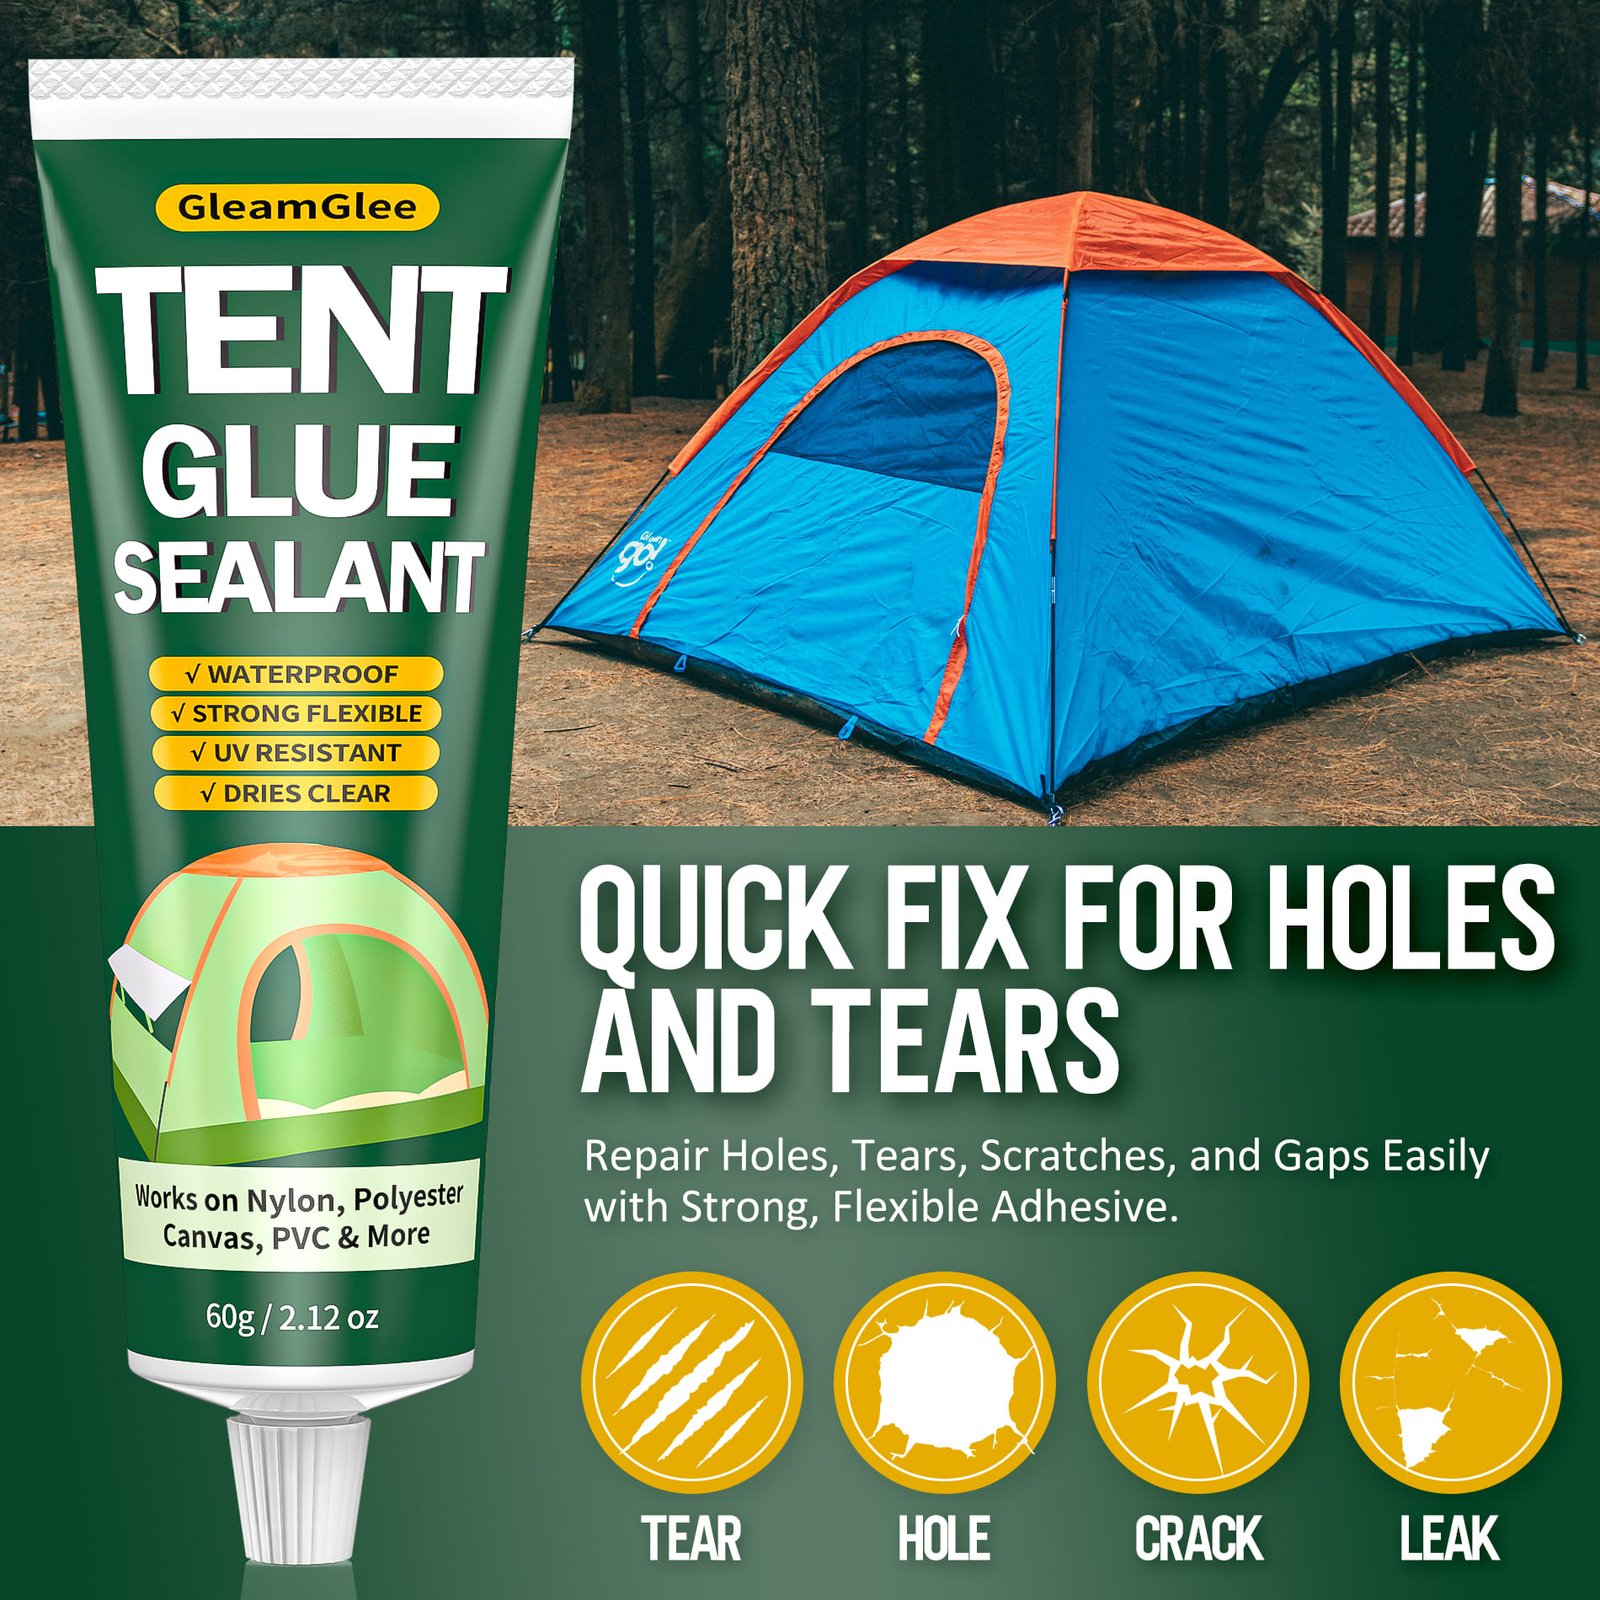
- Seal leaking seams, stitch holes, pinholes, small tears, lifted edges, and worn fabric weak points without sewing or heat.
- Use one 60 ml / 2.12 oz tube for multiple repairs, with coverage of up to 60 feet when applied in a thin, even layer.
- Allow about 10-15 minutes for initial setting and approximately 24 hours for full curing before folding, packing, or heavy outdoor exposure.
- Check the base fabric and surface coating before repair; unknown, silicone-treated, or highly specialized coatings should be tested in a hidden area first.

GleamGlee Tent Repair Glue Facts at a Glance
Use these verified product details to confirm capacity, formula, curing time, material range, repair type, application limits, and Amazon purchase information before starting work.
| Product Detail | Verified Information |
|---|---|
| Brand | GleamGlee |
| Product | Tent Repair Glue / Flexible Repair Glue |
| Amazon ASIN | B0F2SN6RB9 |
| Product Type | Tent repair adhesive + waterproof seam sealer |
| Capacity | 60 ml / 2.12 oz |
| Formula | Polyurethane-based liquid adhesive |
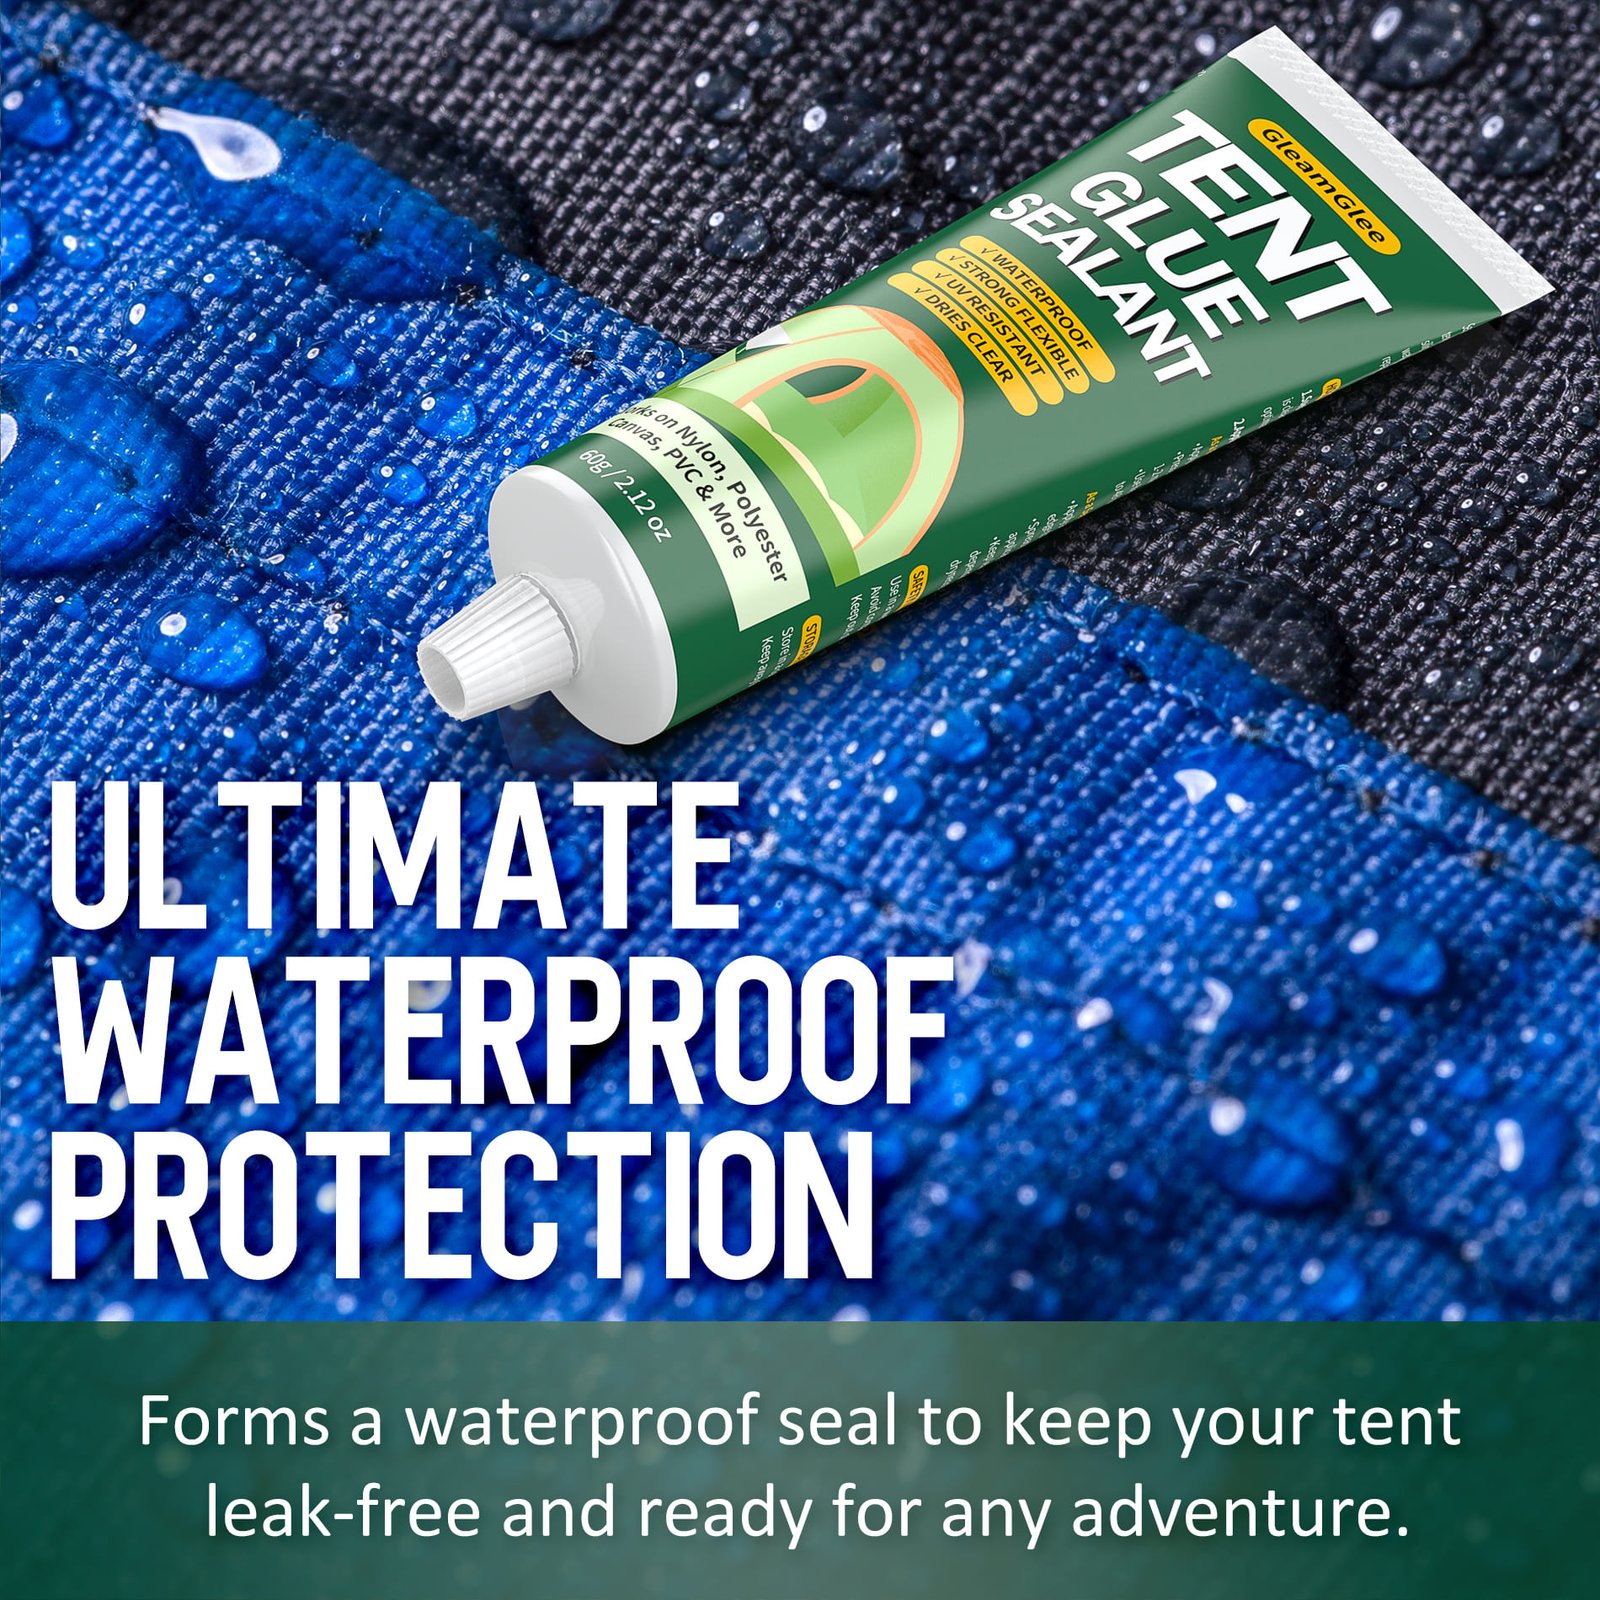
| Water Resistance | Waterproof after proper application and curing |
| Cured Layer | Clear, flexible rubber seal |
| Confirmed Materials | Nylon, polyester, canvas, vinyl, PVC plastic, PVC-coated fabric |
| Common Repairs | Seams, pinholes, small tears, cracks, edges, weak points |
| Coverage | Up to 60 feet of seams or fabric areas with thin, even application |
| Initial Set | About 10-15 minutes |
| Full Cure | About 24 hours, depending on temperature and humidity |
| Tools Required | No sewing, heat, or complicated repair tools |
| Primary Purchase Channel | Amazon US |
Base Fabric and Surface Coating Both Matter
Canvas, nylon, and polyester describe the fabric base, while the outer coating often controls how a liquid repair adhesive contacts, wets, and holds the surface.
Read the Material Label Before Opening the Tube
A tent may be described as nylon, polyester, or canvas, yet the glue rarely touches bare fibers alone. Rainflies and lightweight tent walls are often treated with a waterproof coating. Groundsheets may use PVC-coated fabric. Canvas shelters may carry wax, water-repellent treatment, mildew protection, or another finish. Adhesion depends on the surface presented to the liquid glue, not only the fiber hidden underneath.
Check four sources before repair:
- Sewn-in label: Look for nylon, polyester, canvas, vinyl, PVC-coated, PU-coated, silicone-treated, silnylon, or silpoly wording.
- Manufacturer instructions: Tent makers sometimes specify an approved seam sealer or warn against certain solvents and adhesives.
- Location of damage: A rainfly, floor, clear window, mesh border, storage bag, and tent wall may use different materials on one shelter.
- Existing finish: Glossy, rubberized, waxy, oily, peeling, or heavily weathered surfaces may need different preparation or another repair method.

GleamGlee is positioned for compatible canvas, nylon, polyester, vinyl, PVC plastic, and PVC-coated outdoor materials. When the coating is unknown, apply a small amount in a hidden area and allow it to cure fully. Check for discoloration, poor wetting, softness, coating lift, or weak adhesion before treating the visible repair. A five-minute label check can prevent an entire repair from being placed on the wrong coating and later peeling during storage.

Careful material identification is not a barrier to repair. It prevents wasted time, protects expensive camping gear, and reduces the chance of discovering poor compatibility after the tent has been packed for a wet trip. Record the tested location and result when several tents from the same model will be maintained, so later repairs follow the same verified material decision.
Why Silicone-Treated Fabrics Need Extra Caution
Silicone-treated nylon and polyester are deliberately made difficult for ordinary substances to wet and bond. The low-energy surface helps shed water, but it can also prevent polyurethane or general fabric adhesives from forming reliable contact. A product that performs well on PU-coated nylon may not behave the same way on silnylon. The same distinction applies to standard polyester and silicone-treated silpoly.
Use a simple decision rule:
- Confirmed canvas, standard nylon, standard polyester, vinyl, or compatible PVC-coated fabric: GleamGlee may suit small repairs, seam sealing, edge reinforcement, and patch-edge sealing after proper preparation.
- Confirmed silicone-treated fabric: Follow the tent manufacturer’s guidance and use a sealant specifically identified for silicone surfaces when required.
- Unknown coating: Test a hidden area after cleaning and drying it, then judge the cured result before continuing.
- Large structural tear: Use a fabric patch, reinforcement, sewing, or professional repair rather than relying on liquid glue alone.
Outdoor Fabric Compatibility and Repair Decision Matrix
Match material, equipment area, damage type, preparation method, coating, and repair limits before applying glue across a visible, moving, waterproof, or high-stress location.
| Material | Common Areas | Typical Damage | GleamGlee Use | Preparation | Important Limit |
|---|---|---|---|---|---|
| Canvas | Wall tents, glamping tents, awnings | Small tears, seam wear, edge splits | Compatible small repairs, seam sealing, patch-edge sealing | Brush away dirt; dry fully; apply a thin layer | Large tears may need canvas patching or sewing |
| Nylon | Rainflies, lightweight tent walls, backpacking tents | Pinholes, seam leaks, minor tears | Compatible seams, pinholes, small tears, edges | Clean gently; identify coating; test hidden area | Silnylon may require silicone-specific sealant |
| Polyester | Family tents, canopies, rainflies, covers | Seam leaks, pinholes, edge wear | Compatible sealing and small fabric repairs | Remove dirt and moisture; check coating | Silpoly or unknown finishes need testing |
| Vinyl | Windows, tarp sections, outdoor covers | Small cracks, lifted edges, pinholes | Compatible local sealing and edge repair | Degrease carefully; dry completely | Smooth or plasticized vinyl may vary |
| PVC-Coated Fabric | Groundsheets, tarps, waterproof covers | Coating cracks, punctures, seam leaks | Compatible small sealing and reinforcement | Clean coating without scratching it | Not intended as rigid PVC pipe cement |
| Mesh Border | Tent doors and ventilation panels | Border separation, patch-edge lifting | Edge sealing around compatible fabric borders | Keep openings clear; work only at border | Large mesh holes need a mesh patch |
| Rubberized Surface | Some covers and gear surfaces | Tiny cracks, edge damage | Conditional small repair after testing | Clean, dry, test first | Not verified for every rubber compound |
| Unknown Coating | Any tent or outdoor fabric | Any repair | Use only after identification or test | Check label and manufacturer guidance | Do not assume universal compatibility |
Repairing Canvas Tents Without Creating a Rigid Patch
Canvas is thicker and more absorbent than lightweight tent fabric, so preparation, controlled application, patch selection, and damage-size judgment become especially important during repair.
Use Glue for Local Canvas Damage and Sealed Edges
Canvas tents are built for repeated use, but heavy fabric still develops wear at fold lines, lower walls, corners, door edges, awning seams, and areas that rub against frames or storage surfaces. Small tears and seam leaks can often be repaired without replacing a large canvas panel. The goal is not to soak the fabric with adhesive. A controlled layer should contact clean fibers, bridge the damaged boundary, and remain flexible after curing.
For a narrow split or frayed edge, trim only loose fibers that cannot be laid flat, then brush away dust and dried mud. Make sure the area is completely dry. Apply GleamGlee in a thin, even layer across the damaged line and slightly beyond both ends, where the tear is most likely to continue. Smooth the edge so dirt and moisture have fewer places to enter.
For a larger canvas tear, use a compatible canvas patch that extends beyond the damage on every side. Position the patch without wrinkles, press it evenly, and use the glue to bond and seal the patch perimeter. Sewing may still be appropriate where the canvas carries sustained tension, supports hardware, or has a long split. Glue can then seal the stitch line and patch edge after the structural repair is complete.
Canvas thickness, treatment, and age vary. Test old, waxed, heavily treated, or mildew-damaged fabric before repairing a prominent section. Allow approximately 24 hours for full curing before folding the tent or exposing the repair to rain.
Flexible Repair Guidance for Lightweight Nylon Tent Fabric
Nylon tent fabric moves easily in wind and packing, making coating identification, minimal application, edge control, and a flexible cured seal more important than excessive hardness.
Seal Pinholes, Seams and Small Tears With Control
Nylon is common in backpacking tents, lightweight rainflies, storage bags, and some tent walls. The material can be thin enough for a tiny puncture to become visible when held toward daylight. Damage often begins as a pinhole, short tear, lifted seam edge, or abrasion point caused by branches, pole friction, stakes, rough storage, or repeated folding.
Begin by locating the exact damage. For pinholes, mark the spot with removable tape placed away from the repair area. Clean dust and body oils gently, then let the nylon dry flat. Apply a very small amount of GleamGlee over the opening and extend the seal slightly onto sound fabric. A thin layer is easier to cure evenly and adds less stiffness to lightweight material.
For a short tear, align the edges without stretching the fabric out of shape. A small compatible patch may be added when the tear opens under light tension. Seal the patch perimeter so wind, moisture, and packing friction cannot easily lift the edge. Do not depend on glue alone for a guyline anchor, pole attachment, or another highly loaded point with broken reinforcement.
Coating identification is essential. Standard or PU-coated nylon may fit a polyurethane repair system, while silicone-treated nylon may require a silicone-specific product. When the label does not identify the treatment, test an inconspicuous section and evaluate the fully cured bond. Wait about 24 hours before rolling, stuffing, or waterproof testing the repaired nylon.

Waterproof Repairs for Polyester Tents and Rainflies
Polyester appears across family tents, canopies, rainflies, and covers, where coating condition, seam preparation, controlled application, and curing determine the quality of a local repair.

Restore the Local Barrier, Not Only the Fabric Bond
Polyester is widely used because it holds its shape well, absorbs relatively little moisture, and suits many family tents, event canopies, rainflies, outdoor covers, and storage bags. Damage commonly appears along stitched seams, folded edges, corner stress points, zipper borders, and roof panels exposed to branches or repeated setup. A repair must close the damaged fibers and rebuild the local path that blocks rain.
Inspect the polyester from both sides. Water may enter through needle holes or a worn coating even when the outer fabric has no obvious tear. For a leaking seam, clean the stitch line, remove loose residue, and allow the area to dry. Apply a thin bead of GleamGlee along the seam, working it across the needle holes without creating a heavy ridge. Smooth the bead so it follows the moving fabric rather than forming a bulky strip.
For a small tear, align the edges and add a compatible patch when the opening widens under light tension. Seal the patch border and let the repair remain flat throughout curing. For coating cracks or widespread peeling, a local glue repair may not restore the entire panel; broader recoating or replacement can be more appropriate.
Polyester labels may also identify PU coating, PVC coating, or silicone treatment. GleamGlee fits compatible polyester and coated outdoor materials, but silicone-treated silpoly and unknown finishes should be confirmed or tested before full application. Allow about 24 hours for full cure before folding, packing, or exposing the repaired area to rain.
Why Waterproof Flexibility Matters on Moving Tent Fabrics
A dependable tent repair must block moisture, move with the fabric, resist outdoor abrasion, and remain controlled enough for repeated setup, use, folding, and storage.
Waterproof Seal
Rain usually enters through small openings rather than dramatic damage. Stitch holes, pinholes, worn seams, lifted patch edges, and tiny coating cracks can wet a sleeping bag or tent floor over several hours. GleamGlee forms a waterproof repair layer after proper curing.
- Apply only to clean, dry material.
- Cover the leak path, not just the visible center.
- Wait for full cure before rain or water testing.
Flexible Movement
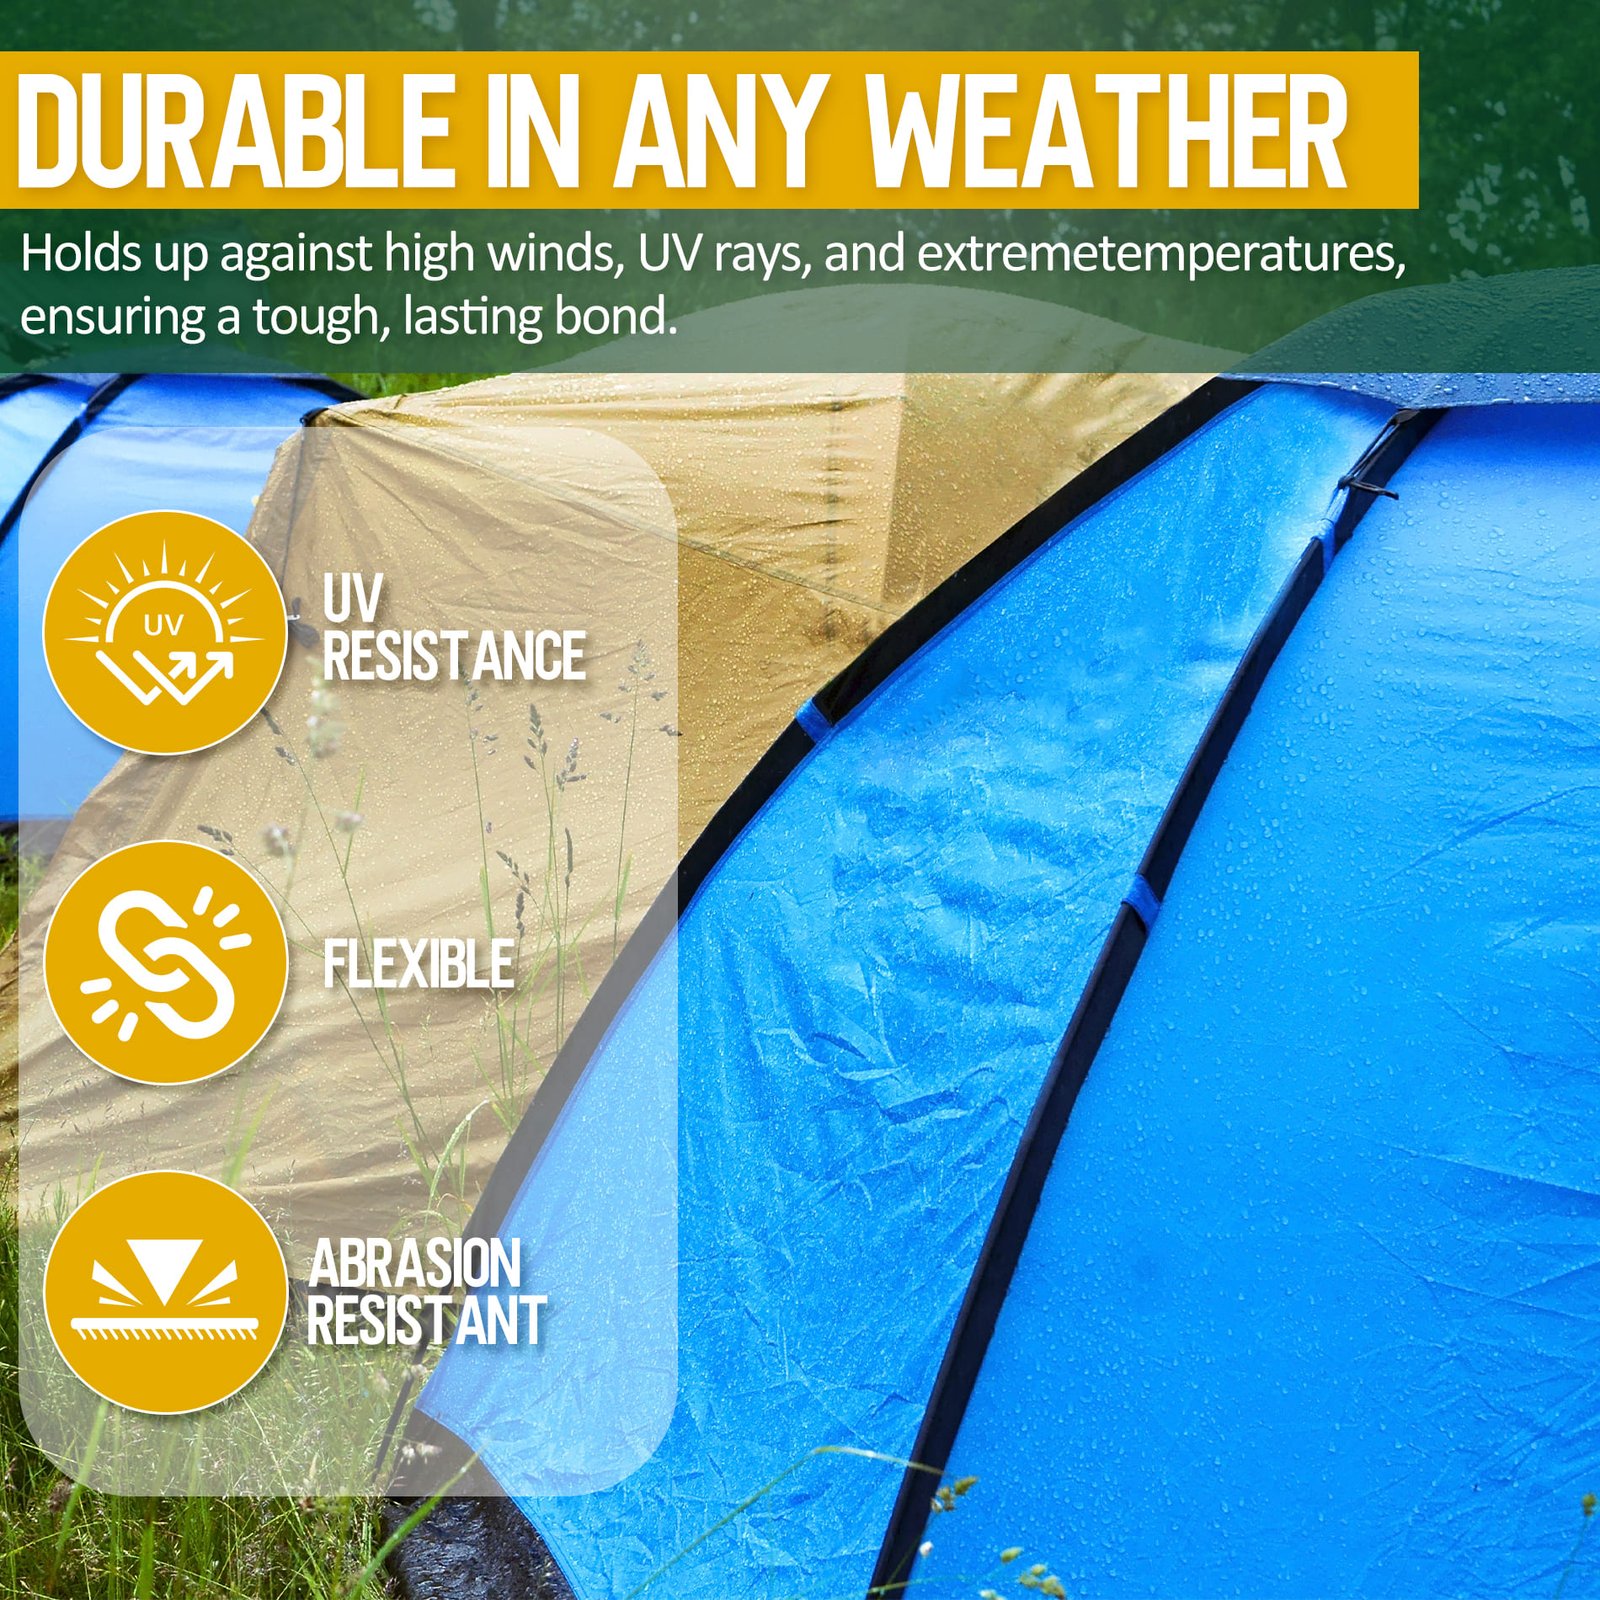
Tent walls, rainflies, tarps, and groundsheets are rolled, folded, stuffed, stretched, and pulled by wind. A rigid household glue may create a hard island that concentrates stress around the repair. GleamGlee cures into a flexible rubber seal intended to move with compatible outdoor fabric.
- Keep the layer thin and even.
- Avoid sharp glue ridges.
- Cure flat before packing. Controlled flexibility also helps the repaired area lie flatter inside a storage bag.
Outdoor Wear
Ground contact, pole friction, dirt, repeated setup, and tight storage continue after a repair. Abrasion resistance matters around tent floors, tarp edges, awning seams, and frequently folded gear. A well-prepared repair is more likely to remain sealed when the surface is not already crumbling, contaminated, or structurally overloaded.
- Remove unstable residue.
- Reinforce weak edges early.
- Use patches for larger damage.
Six Tent Damage Types Suited to Liquid Repair Glue
Liquid tent glue performs best where it can follow seams, edges, needle holes, and irregular damage without requiring a bulky covering patch or rigid repair layer.
Leaking Seams
Water can travel through stitch holes even when the surrounding panel looks intact. Clean the seam, let it dry, and apply a narrow line that covers the thread and adjacent holes. Smooth the liquid rather than building a thick ridge. Floor seams, rainfly seams, door seams, and corner intersections are common repair locations. For broad seam-tape failure, remove loose material and follow the tent maker’s guidance before resealing.
Small Pinholes
Pinholes can be hard to see but easy to locate by holding dry fabric toward daylight. Mark each hole from a short distance, clean the area, and cover it with a minimal amount of glue. Extend the seal slightly beyond the opening. A large patch may be unnecessary for an isolated pinhole, while multiple holes across a worn panel can indicate broader abrasion that needs reinforcement or replacement.
Minor Tears
A short tear can continue growing when the tent is tensioned or packed. Align the edges without stretching them, apply glue across the split, and reinforce with a compatible patch when the opening moves under light pressure. Extend the repair beyond both tear ends, because stress tends to concentrate there. Long tears, torn reinforcement points, and large canvas splits usually need patching, sewing, or professional repair.
Lifted Edges
Raised patch edges, frayed fabric borders, and small edge splits collect dirt and catch during folding. A controlled liquid layer can bond and seal the boundary where flat tape is difficult to wrap. Press the edge into alignment and keep it stable during cure. Replace severely curled, contaminated, or brittle material before sealing; glue cannot create a sound base where the original coating is already separating.
Patch Borders
Larger flat tears often benefit from a fabric patch or repair tape. Liquid glue remains useful around the perimeter, especially at corners and irregular transitions where water and friction may lift the patch. Use a compatible patch extending beyond the damage, remove wrinkles, and seal the entire border. Avoid trapping moisture or applying an oversized layer that prevents the patch from lying flat.
Weak Seams
Older tents may show worn stitching, exposed needle holes, or dry seam areas before an obvious leak develops. Preventive reinforcement can be completed before a camping trip. Apply a thin line only where the seam is stable and the thread remains intact. Broken structural stitching, detached webbing, guyline anchors, and pole attachment points require proper reinforcement rather than sealant alone.
Choose Glue, Tape, Patch or Sewing by Damage
The best repair method depends on opening size, shape, fabric movement, load, coating condition, repair location, and the amount of reinforcement the damaged area requires.
| Damage or Location | Recommended Repair | Why It Fits | Use Another Method When |
|---|---|---|---|
| Leaking stitch line | Liquid seam sealer | Follows needle holes and irregular seam paths | Seam tape is broadly detached or coating is peeling |
| Single pinhole | Thin liquid glue | Covers a tiny opening without a bulky patch | Many holes indicate widespread fabric wear |
| Short irregular tear | Glue or small patch + glue | Seals edges and supports an uneven shape | Tear opens widely under light tension |
| Large flat tear | Repair tape or fabric patch | Provides broad reinforcement across the panel | Location is structural or coating is failing |
| Large canvas split | Canvas patch, sewing, then edge sealing | Restores support before waterproof sealing | Canvas is rotten, brittle, or extensively damaged |
| Lifted patch edge | Liquid edge sealing | Reaches corners and curved boundaries | Patch adhesive has failed across most of its area |
| Guyline or pole anchor | Reinforcement patch or professional repair | Handles concentrated structural load | Do not rely on glue alone |
| Mesh hole | Mesh patch + border sealing | Rebuilds the open mesh area | Glue alone would block ventilation without restoring mesh |
Tent Glue Compared With Common Fabric Repair Products
Each repair product has a useful role; choose by material, coating, damage geometry, movement, water exposure, and the amount of reinforcement the damaged area needs.
Tent Repair Glue
Best for seams, pinholes, small irregular tears, patch borders, and lifted edges on compatible outdoor fabric. A liquid polyurethane product can bond and seal while remaining flexible after curing. It is not the only answer for every tear. Broad openings and highly loaded attachment points need a patch, sewing, reinforcement fabric, or professional repair in addition to waterproof edge sealing.
Seam Sealer
Designed mainly to cover stitch holes and leaking seam lines. Some products are polyurethane-based, while silicone-treated tents may need a silicone-compatible sealer. Seam sealers are efficient for long narrow runs but may not provide enough reinforcement for a torn panel. GleamGlee combines seam sealing with local adhesive repair, supporting small tears and edges as well as compatible seam work. Select by coating chemistry as well as the seam location.
Repair Tape
Useful for larger, flat tears where broad surface coverage adds reinforcement quickly. Tape can be less convenient around curved corners, stitch lines, pinholes, and irregular edges. The border may lift when the surface is dirty, creased, or poorly matched. Glue and tape often work together: use the patch for area reinforcement and liquid adhesive to seal difficult perimeter sections after compatibility is confirmed.
Fabric Glue
General fabric glue may work well for clothing, crafts, hems, or indoor textiles, but outdoor tents add rain, repeated folding, coating chemistry, dirt, UV exposure, and abrasion. A product should clearly support waterproof and flexible outdoor use before it is selected for a rainfly or groundsheet. Always distinguish ordinary fabric bonding from a repair intended to restore a local weather barrier.
Super Glue
Cyanoacrylate products cure quickly and can become too rigid for large areas of moving tent fabric. A hard spot may concentrate stress as nylon or polyester folds around it. Super glue is also difficult to spread evenly along a long seam. Use a flexible outdoor repair adhesive for fabrics that roll, pack, flap, and stretch, unless the equipment manufacturer directs otherwise.
Why GleamGlee Fits Multi-Material Tent Repair Work
Four verified product characteristics support repairs across compatible canvas, nylon, polyester, vinyl, and coated outdoor fabric without claiming universal coverage across every finish or structure.
Bond and Seal
Tent damage often has two parts: fibers or edges need bonding, and the water path needs sealing. GleamGlee works as a repair adhesive and waterproof seam sealer in one liquid formula. Apply it to compatible small tears, pinholes, seams, and patch borders where a controlled layer can contact sound material. Larger or loaded damage still requires suitable reinforcement. The combined role reduces the need to switch products between a short tear and an adjacent leaking stitch line.
Waterproof After Cure
The product is rated waterproof and is intended to create a sealed repair layer after correct preparation and curing. Waterproof performance is not immediate. Keep the area dry during application, prevent movement while curing, and wait approximately 24 hours before rain exposure or water testing. Temperature, humidity, layer thickness, and surface condition can change the actual curing experience. An overnight cure is the safer plan before a weekend departure.
Flexible Rubber Seal
Once cured, GleamGlee forms a flexible rubber seal rather than a brittle household-glue spot. The repair can move more naturally with tent walls, rainflies, tarps, awnings, and groundsheets during rolling, folding, setup, and wind movement. Flexibility does not replace structural reinforcement, but it is a better match for foldable fabric than a rigid adhesive mass. Keep repaired folds loose during the first packing cycle and inspect the edge afterward.
Outdoor Fabric Focus
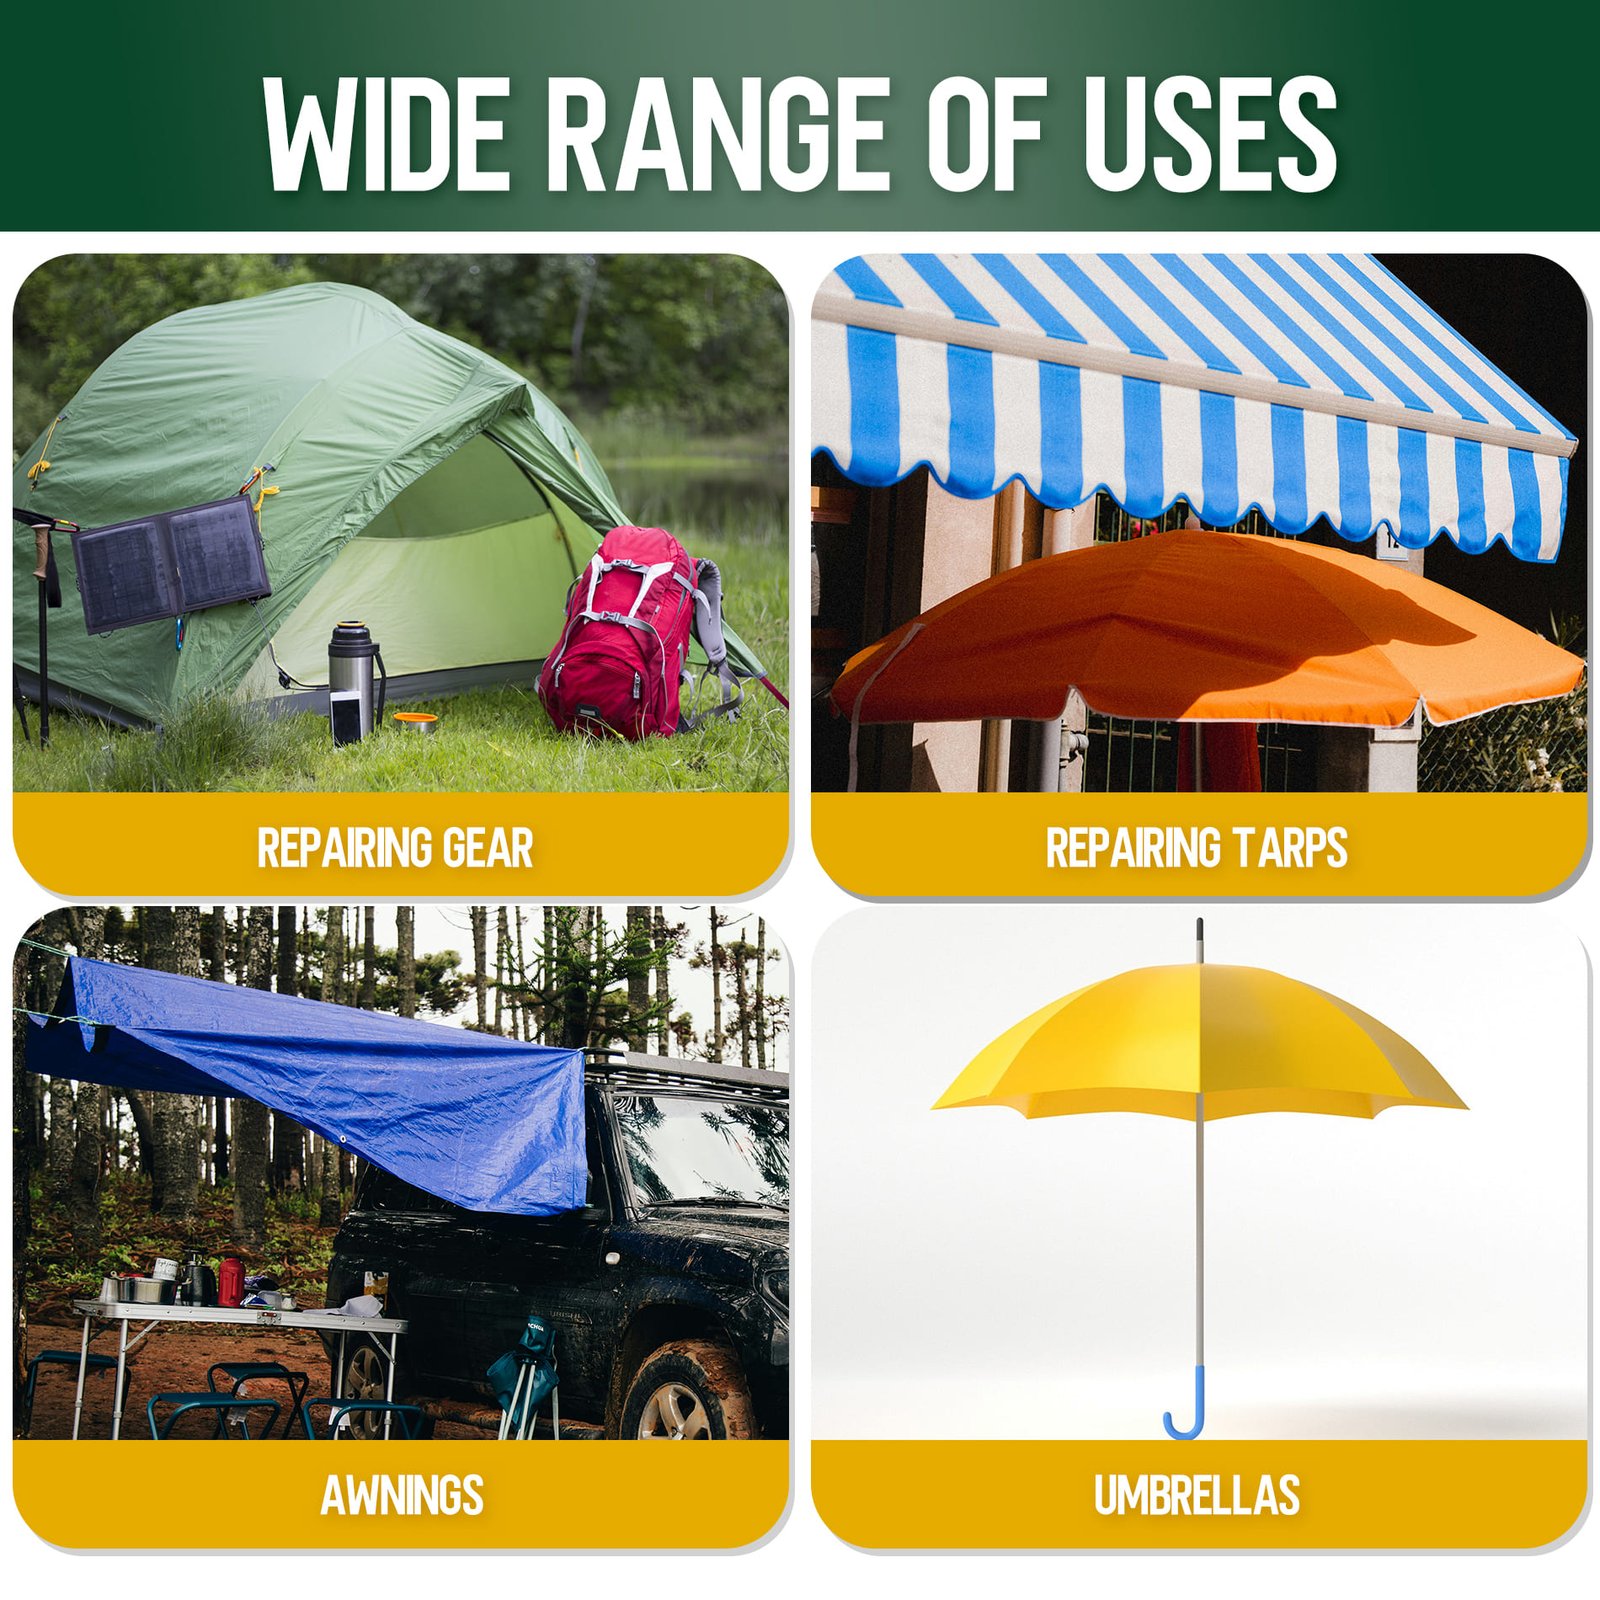
The confirmed application range includes nylon, polyester, canvas, vinyl, PVC plastic, and PVC-coated fabric, along with tents, tarps, rainflies, awnings, groundsheets, sleeping pads, and outdoor covers. The formula is not presented as a universal glue for every plastic, rubber, silicone coating, or high-pressure inflatable structure. Identify and test unfamiliar materials before repair. Clear limits help prevent misuse and support a more dependable repair decision.
Capacity, Coverage and Repair Value in One Tube
Capacity matters when a tent has several seams, pinholes, edges, patch borders, and maintenance areas rather than one isolated repair point before a camping trip.
60 ml Capacity
Each tube contains 60 ml / 2.12 oz of liquid adhesive. The size supports several local repairs across a tent, tarp, awning, groundsheet, or outdoor cover, while remaining compact enough for a garage shelf, camping bin, RV drawer, or outdoor repair kit.
Up to 60 Feet
One tube can seal up to 60 feet of seams or fabric areas when applied as a thin, even layer. Actual coverage depends on seam width, fabric texture, damage size, absorption, surface porosity, and the amount required to bridge the repair without creating a bulky bead.
Multiple Repair Areas
A single tube can address a rainfly seam, several pinholes, a groundsheet puncture, and tarp-edge reinforcement when each location is compatible and properly prepared. Plan the work before opening the tube, finish the highest-priority waterproof areas first, and close the package securely after use.
Six Outdoor Fabric Repairs From One Compact Tube
Use the product where liquid application improves access to seams, edges, pinholes, and small irregular damage across compatible tents, tarps, awnings, groundsheets, and outdoor covers.

Tent Seams
Seal stable stitched lines where water enters through needle holes. Work along door seams, wall seams, corner intersections, and floor seams after cleaning and drying the area. Remove loose tape or residue first. Broken stitching and detached reinforcement require repair before waterproof sealing. A narrow applicator path helps keep the seam flexible and visually controlled.

Rainfly Holes
Cover isolated pinholes and short tears in compatible rainfly fabric with a thin layer. Check whether the fly is PU-coated, silicone-treated, or made with another finish. Add a lightweight compatible patch when the tear opens under tension, then seal its perimeter. Inspect nearby fold lines because one visible puncture may not be the only weak point.

Groundsheet Punctures
Repair small holes and abrasion points that could admit moisture from wet grass or soil. Clean mud from both sides and let the floor dry completely. Use a patch for larger punctures, especially where body weight or gear pressure repeatedly loads the damaged area. Allow the floor to cure without body weight, gear pressure, or contact with damp ground.

Tarp Edges
Liquid glue can follow folded edges, corners, and irregular splits that are difficult to cover neatly with flat tape. Seal frayed boundaries before they continue tearing. Heavily loaded grommet areas need reinforcement fabric or a professional repair rather than adhesive alone. Keep the repair clear of grommets unless the surrounding reinforcement remains fully intact.

Awning Fabric
Treat small seam leaks, edge wear, and local tears on compatible RV or patio awning fabric. A flexible repair is important because awnings repeatedly roll, fold, and move in wind. Large tears or damaged mounting areas need stronger mechanical or fabric reinforcement. Let rolled awning material stay extended and supported until the repair has fully cured.

Outdoor Covers
Use on compatible canvas, polyester, vinyl, or coated covers with small pinholes, seam leaks, and edge splits. Identify the exact surface before application, particularly on boat, grill, furniture, or equipment covers that may use plasticizers, specialty coatings, or rubberized finishes. Test smooth or rubberized finishes before treating a large visible section of the cover.
four Steps for a Clean Controlled Tent Repair
A consistent sequence improves material identification, surface contact, application control, edge alignment, curing, and the final waterproof result across compatible canvas, nylon, and polyester fabric.

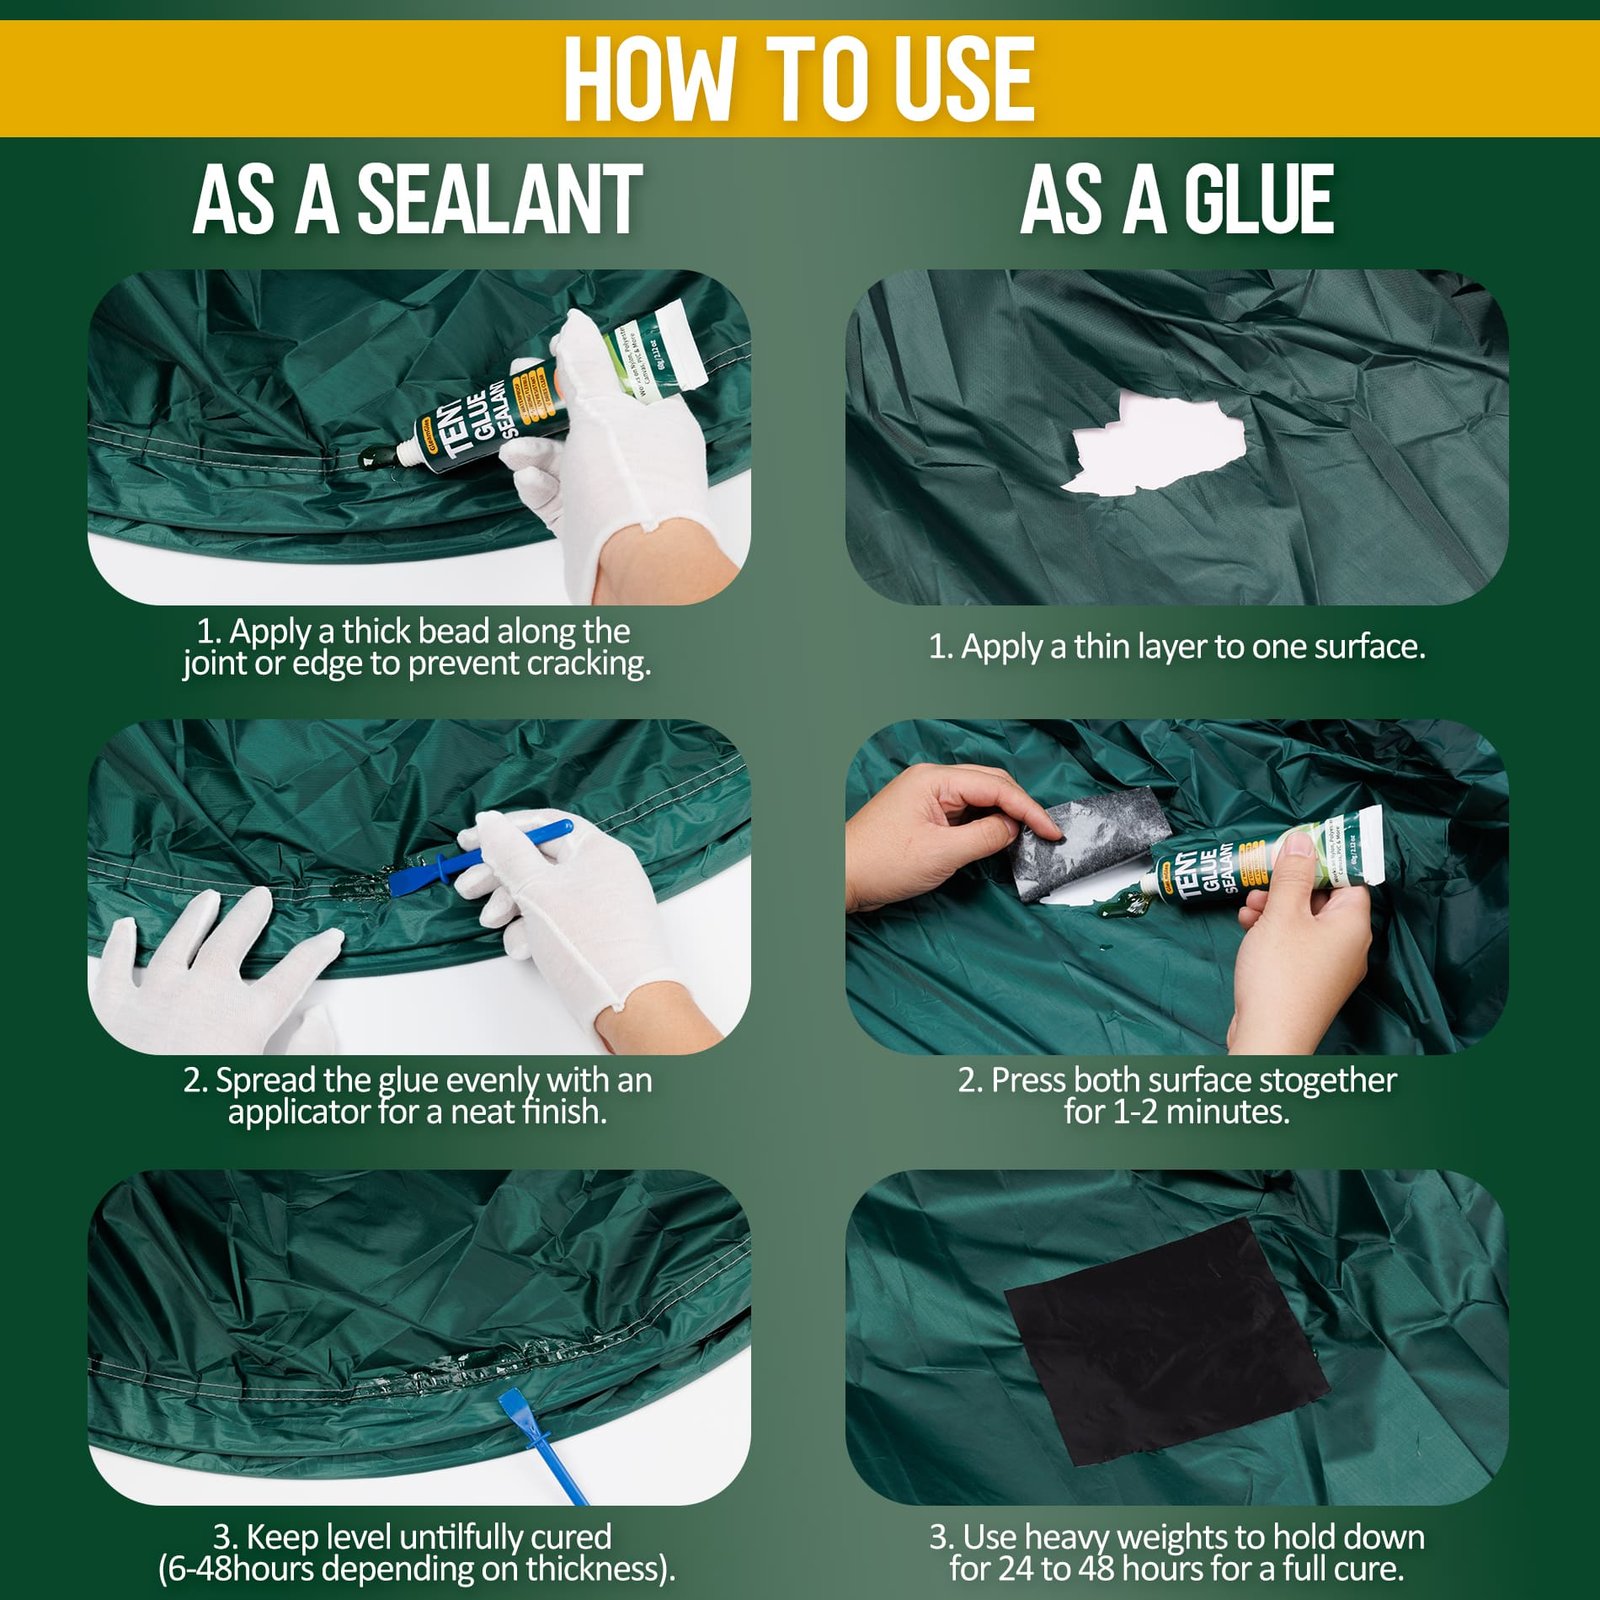
Step 1: Clean the Area
Remove mud, dust, loose fibers, body oils, old adhesive, failing seam tape, and other residue that can block direct contact. Use a cleaning method suitable for the fabric and coating. Avoid harsh chemicals unless the equipment maker approves them. Let any cleaning moisture evaporate before continuing, because glue applied over contamination bonds to the contamination rather than the tent. A soft brush and clean lint-free cloth usually give better control than aggressive scraping on thin coated fabric.

Step 2: Apply Thinly
Use the applicator to place a small, controlled amount directly over the seam, pinhole, tear, or lifted edge. Extend the repair slightly onto sound material and beyond both ends of a tear. Avoid flooding lightweight nylon or building a thick ridge on polyester. For a patch, spread enough adhesive for contact without wrinkles or excessive squeeze-out. Work slowly along long seams and stop periodically to inspect coverage instead of squeezing continuously from end to end.

Step 3: Smooth and Align
Bring torn edges or patch borders into their intended position without stretching the fabric out of shape. Smooth the liquid across needle holes and irregular boundaries so the repair remains low-profile. Keep mesh openings, zipper teeth, valves, and moving hardware clear. Support the fabric flat when needed so gravity or tension does not pull the repair apart during setting. Remove any temporary positioning tape only after the repaired area can remain aligned without lifting or sliding.

Step 4: Allow Full Cure
GleamGlee begins to set in about 10-15 minutes, but full curing takes approximately 24 hours depending on temperature and humidity. Leave the repair undisturbed, protected from rain, folding, stuffing, stretching, abrasion, and heavy pressure. After full cure, inspect the edge and perform a controlled water check before relying on the tent during a trip. Keep a written repair date on the storage tag so the curing window is not shortened by an early departure.
Preparation Rules for Canvas, Nylon and Polyester Fabric
Different fabrics need different cleaning pressure, coating checks, drying time, and application control even when the same waterproof flexible repair formula is selected for local damage.
Canvas Preparation
Brush away dried mud, sand, loose fibers, mildew residue, and flaking old adhesive without damaging the weave. Canvas can hold moisture inside its thickness, so allow more drying time than lightweight fabric. Keep waxed, oily, heavily treated, or rotten areas out of the repair until compatibility is tested and unstable material is removed. Use a thin layer; deep saturation is unnecessary.
Nylon Preparation
Handle lightweight nylon gently to avoid stretching a small hole into a larger tear. Remove oils and dust with a fabric-safe method, then identify PU coating or silicone treatment. Hold the fabric toward light to find nearby pinholes before applying glue. Flatten wrinkles around the repair and use minimal adhesive so the cured area does not become heavier or stiffer than needed.
Polyester Preparation
Inspect polyester seams from both sides because water may enter through worn coating or stitch holes without a visible tear. Clean dirt, sunscreen, cooking residue, and old seam material from the exact contact area. Determine whether the panel is PU-coated, PVC-coated, or silicone-treated. Keep the repair flat and dry, especially around canopy roof seams and rainfly folds. Check roof panels carefully because gravity can move an oversized bead before it begins setting.
Coated Fabric Test
Choose a hidden section made from the same material and coating as the damaged area. Apply a small amount, let it cure for approximately 24 hours, then check for discoloration, coating lift, tackiness, cracking, poor wetting, or easy peeling. A successful test improves confidence but does not convert a non-structural glue into a load-bearing repair for anchors, straps, poles, or hardware.
Curing Rules and Mistakes That Change Repair Quality
Application takes minutes, but reliable waterproof performance depends on dry contact, controlled thickness, stable positioning, correct materials, adequate curing time, and protection from early movement.
Set Is Not Cured
A repair that stops flowing after 10-15 minutes has only reached an early setting stage. The internal adhesive layer still needs time to develop. Do not fold, roll, stretch, stuff, pull, or water-test the fabric at that point. Treat the full 24-hour curing period as part of the repair, not as optional waiting before a camping trip. Early handling is one of the most avoidable causes of lifted edges and distorted seams.
Keep Water Away
Waterproof describes the properly cured repair layer. Fresh glue should not be exposed immediately to rain, dew, washing, condensation, or wet ground. Work in a protected area and check the forecast when repairing large tent sections outdoors. Moisture trapped under a patch, inside canvas, or beneath a folded seam can interfere with contact and produce an uneven cured result. A dry sheltered curing space is more reliable than trying to repair during changing campsite weather.
Avoid Thick Layers
More glue does not automatically create a stronger repair. A heavy bead can remain soft longer, collect dirt, add stiffness, create visible ridges, and prevent a patch from lying flat. Apply enough to cover sound contact zones and bridge the damage, then smooth the surface. Use reinforcement material rather than excessive glue when the opening is too large for a thin repair layer.
Fix the Real Problem
Repeated failure may come from the wrong coating match, broken stitching, rotten canvas, peeling seam tape, a torn anchor, broad abrasion, or insufficient cure time. Adhesive cannot stabilize fabric that is crumbling or carry concentrated structural loads alone. Repair the supporting fabric, replace failed reinforcement, or choose a patch and sewing method before using glue to seal the completed boundary.
Tent Material Frequently Asked Questions
These answers cover fabric compatibility, coatings, waterproofing, flexible curing, repair methods, application timing, patch use, material testing, and safe limits for common tent damage.
1. Can one glue work on canvas, nylon and polyester tents?
Yes, when the exact fabric and surface treatment are compatible. GleamGlee is confirmed for canvas, nylon, polyester, vinyl, PVC plastic, and PVC-coated fabric. The same fiber may carry a PU, PVC, silicone, wax, or other finish, so check the label and test an unknown coating before visible application.
2. Does a tent coating affect glue compatibility?
Yes. The glue contacts the outer coating rather than the hidden fiber alone. PU-coated nylon can behave differently from silicone-treated silnylon, and standard polyester can differ from silpoly. Follow the equipment maker’s guidance when available. Test a hidden area if the coating is unknown or heavily weathered.
3. Can GleamGlee seal nylon rainfly pinholes?
GleamGlee can seal pinholes on compatible nylon and coated outdoor fabric. Locate each hole, clean and dry the area, apply a minimal layer, and extend it slightly onto sound fabric. Confirm that the rainfly is not a silicone-treated material requiring a silicone-specific sealer.
4. Is GleamGlee suitable for polyester tent seams?
Yes, for compatible polyester seams, needle holes, and small leak points. Remove dirt and loose old residue, dry the seam, and apply a thin line across the stitch path. Silicone-treated polyester or unidentified specialty coatings should be confirmed or tested before full application.
5. Can it repair a tear in a canvas tent?
It can repair and seal small tears, edges, and seams on compatible canvas. Larger canvas tears should use a patch that extends beyond the damaged area. Sewing or reinforcement may be needed where the fabric carries tension, supports hardware, or has a long split.
6. Is the repaired area waterproof immediately?
No. Waterproof performance applies after proper preparation and curing. GleamGlee begins to set in about 10-15 minutes, but full curing takes approximately 24 hours depending on temperature and humidity. Keep the repair dry, flat, and undisturbed until the curing period is complete.
7. Should I use tent glue or repair tape?
Use liquid glue for seams, pinholes, curved edges, patch borders, and irregular small tears. Repair tape or a fabric patch is often better for a broad flat opening that needs area reinforcement. Many repairs use both: patch the damage, then seal difficult edges with compatible glue.
8. Can I fold the tent after applying glue?
Wait until the repair has fully cured, generally about 24 hours under suitable conditions. Folding too early can crease the uncured layer, lift patch edges, transfer adhesive, or concentrate stress. Temperature, humidity, layer thickness, and fabric absorption can change the actual curing experience.
9. When should I add a fabric patch?
Add a compatible patch when a tear opens under light tension, the hole is too large for a thin glue layer, the fabric has lost material, or the repair needs broader reinforcement. The patch should extend beyond the damage. Seal the perimeter after confirming material compatibility.
10. What damage should not rely on glue alone?
Do not rely on liquid glue alone for torn guyline anchors, pole attachments, load-bearing straps, large structural tears, rotten canvas, widespread coating failure, or high-pressure inflatable chambers. Use reinforcement, sewing, a suitable patch system, professional repair, or replacement according to the equipment manufacturer.
Confirm Your Material Before the Repair Begins
A reliable recommendation starts with the exact equipment area, fabric, coating, damage size, and intended use. Send a clear photo of the damaged section and a second photo of the sewn material label or manufacturer’s specification. Include whether the item is a canvas wall tent, nylon rainfly, polyester family tent, PVC-coated groundsheet, tarp, awning, canopy, or outdoor cover. Describe the damage as a seam leak, pinhole, short tear, lifted edge, patch border, coating crack, or structural attachment failure.
For individual repairs, the current Amazon listing provides price, delivery choices, verified reviews, and order information. For campgrounds, rental fleets, outdoor stores, clubs, or repeated maintenance needs, include the estimated number of tents or fabric items, repair frequency, shipping destination, and preferred order timing. Photos help distinguish a suitable local glue repair from damage that requires a patch, sewing, reinforcement, or replacement. Unknown and silicone-treated coatings may need additional confirmation before application.





















